Page 3825 of 4555

SUNROOF
RF-17
C
D
E
F
G
H
J
K
L
MA
B
RF
Installation
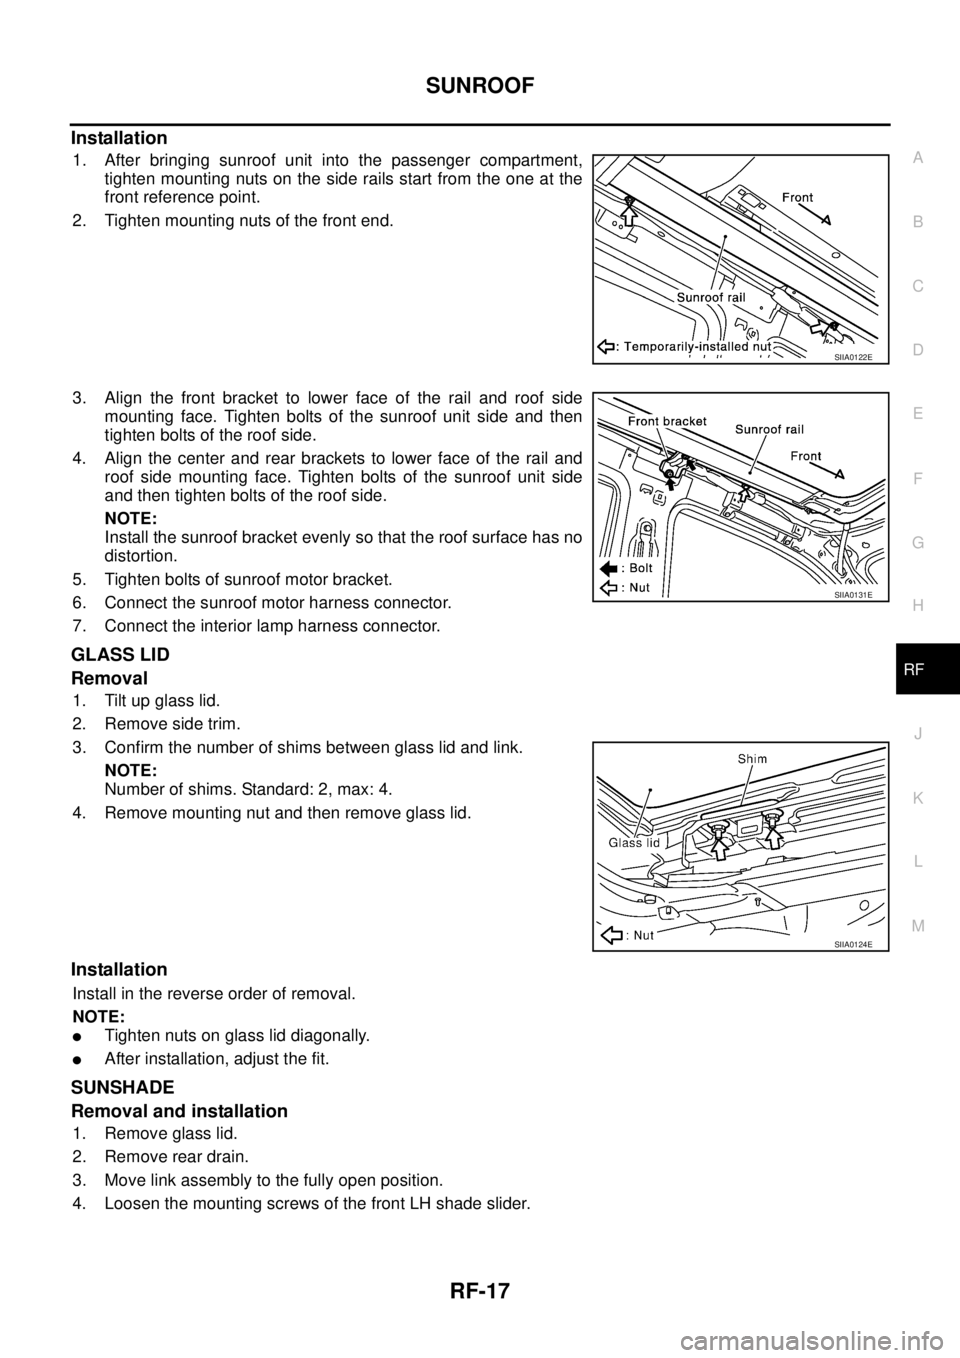
1. After bringing sunroof unit into the passenger compartment,
tighten mounting nuts on the side rails start from the one at the
front reference point.
2. Tighten mounting nuts of the front end.
3. Align the front bracket to lower face of the rail and roof side
mounting face. Tighten bolts of the sunroof unit side and then
tighten bolts of the roof side.
4. Align the center and rear brackets to lower face of the rail and
roof side mounting face. Tighten bolts of the sunroof unit side
and then tighten bolts of the roof side.
NOTE:
Install the sunroof bracket evenly so that the roof surface has no
distortion.
5. Tighten bolts of sunroof motor bracket.
6. Connect the sunroof motor harness connector.
7. Connect the interior lamp harness connector.
GLASS LID
Removal
1. Tilt up glass lid.
2. Remove side trim.
3. Confirm the number of shims between glass lid and link.
NOTE:
Number of shims. Standard: 2, max: 4.
4. Remove mounting nut and then remove glass lid.
Installation
Install in the reverse order of removal.
NOTE:
�Tighten nuts on glass lid diagonally.
�After installation, adjust the fit.
SUNSHADE
Removal and installation
1. Remove glass lid.
2. Remove rear drain.
3. Move link assembly to the fully open position.
4. Loosen the mounting screws of the front LH shade slider.
SIIA0122E
SIIA0131E
SIIA0124E
Page 3951 of 4555
HEATER UNIT
MTC-27
C
D
E
F
G
H
I
K
L
MA
B
MTC
HEATER UNITPFP:27100
Removal and InstallationEJS001F9
REMOVAL
1. Drain coolant from cooling system. Refer to CO-9, "Changing Engine Coolant" for QR engine or CO-32,
"Changing Engine Coolant" for YD engine.
2. Disconnect two heater hoses from heater core pipe.
3. Remove instrument panel. Refer to IP-11, "
Removal and Installation" .
4. Remove blower unit. Refer to MTC-22, "
BLOWER UNIT" .
5. Remove clips of vehicle harness from steering member.
6. Remove mounting nuts, and then remove instrument stay.
7. Remove mounting bolts from heater (& cooling) unit.
RJIA0060E
RJIA0061E
RJIA2444E
Page 4526 of 4555

MA-30
ENGINE MAINTENANCE (YD22DDTI)
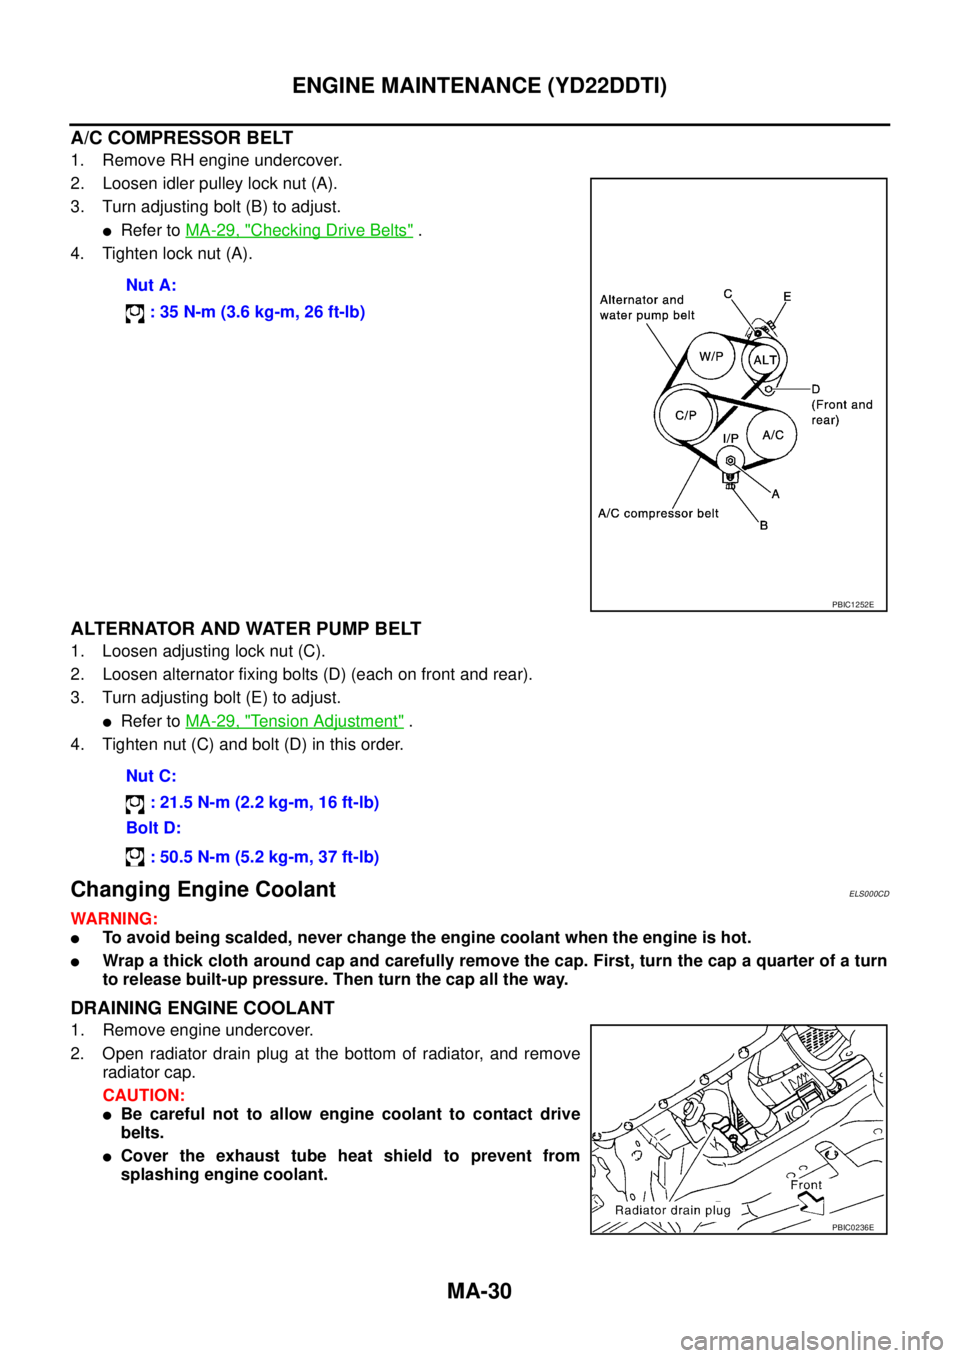
A/C COMPRESSOR BELT
1. Remove RH engine undercover.
2. Loosen idler pulley lock nut (A).
3. Turn adjusting bolt (B) to adjust.
�Refer to MA-29, "Checking Drive Belts" .
4. Tighten lock nut (A).
ALTERNATOR AND WATER PUMP BELT
1. Loosen adjusting lock nut (C).
2. Loosen alternator fixing bolts (D) (each on front and rear).
3. Turn adjusting bolt (E) to adjust.
�Refer to MA-29, "Tension Adjustment" .
4. Tighten nut (C) and bolt (D) in this order.
Changing Engine CoolantELS000CD
WARNING:
�To avoid being scalded, never change the engine coolant when the engine is hot.
�Wrap a thick cloth around cap and carefully remove the cap. First, turn the cap a quarter of a turn
to release built-up pressure. Then turn the cap all the way.
DRAINING ENGINE COOLANT
1. Remove engine undercover.
2. Open radiator drain plug at the bottom of radiator, and remove
radiator cap.
CAUTION:
�Be careful not to allow engine coolant to contact drive
belts.
�Cover the exhaust tube heat shield to prevent from
splashing engine coolant.Nut A:
: 35 N-m (3.6 kg-m, 26 ft-lb)
PBIC1252E
Nut C:
: 21.5 N-m (2.2 kg-m, 16 ft-lb)
Bolt D:
: 50.5 N-m (5.2 kg-m, 37 ft-lb)
PBIC0236E