2005 NISSAN NAVARA check oil
[x] Cancel search: check oilPage 15 of 3171
PRECAUTIONS
AT-7
D
E
F
G
H
I
J
K
L
MA
B
AT
PRECAUTIONSPFP:00001
Precautions for Supplemental Restraint System (SRS) “AIR BAG” and “SEAT
BELT PRE-TENSIONER”
ECS00IPT
The Supplemental Restraint System such as “AIR BAG” and “SEAT BELT PRE-TENSIONER”, used along
with a front seat belt, helps to reduce the risk or severity of injury to the driver and front passenger for certain
types of collision. Information necessary to service the system safely is included in the SRS and SB section of
this Service Manual.
WARNING:
lTo avoid rendering the SRS inoperative, which could increase the risk of personal injury or death
in the event of a collision which would result in air bag inflation, all maintenance must be per-
formed by an authorized NISSAN/INFINITI dealer.
lImproper maintenance, including incorrect removal and installation of the SRS, can lead to per-
sonal injury caused by unintentional activation of the system. For removal of Spiral Cable and Air
Bag Module, see the SRS section.
lDo not use electrical test equipment on any circuit related to the SRS unless instructed to in this
Service Manual. SRS wiring harnesses can be identified by yellow and/or orange harnesses or
harness connectors.
PrecautionsECS00IPR
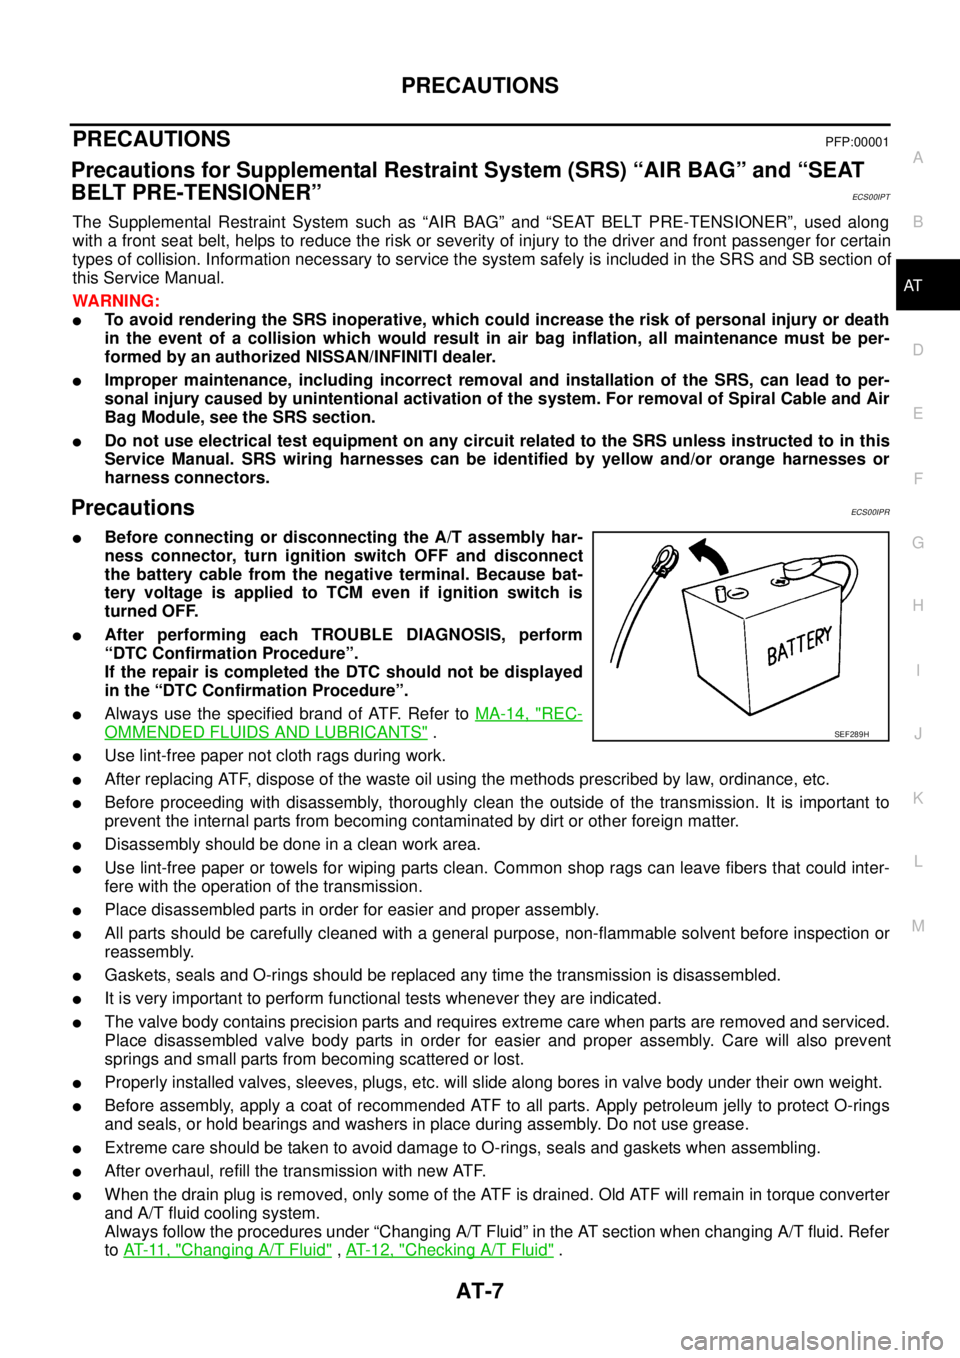
lBefore connecting or disconnecting the A/T assembly har-
ness connector, turn ignition switch OFF and disconnect
the battery cable from the negative terminal. Because bat-
tery voltage is applied to TCM even if ignition switch is
turned OFF.
lAfter performing each TROUBLE DIAGNOSIS, perform
“DTC Confirmation Procedure”.
If the repair is completed the DTC should not be displayed
in the “DTC Confirmation Procedure”.
lAlways use the specified brand of ATF. Refer toMA-14, "REC-
OMMENDED FLUIDS AND LUBRICANTS".
lUse lint-free paper not cloth rags during work.
lAfter replacing ATF, dispose of the waste oil using the methods prescribed by law, ordinance, etc.
lBefore proceeding with disassembly, thoroughly clean the outside of the transmission. It is important to
prevent the internal parts from becoming contaminated by dirt or other foreign matter.
lDisassembly should be done in a clean work area.
lUse lint-free paper or towels for wiping parts clean. Common shop rags can leave fibers that could inter-
fere with the operation of the transmission.
lPlace disassembled parts in order for easier and proper assembly.
lAll parts should be carefully cleaned with a general purpose, non-flammable solvent before inspection or
reassembly.
lGaskets, seals and O-rings should be replaced any time the transmission is disassembled.
lIt is very important to perform functional tests whenever they are indicated.
lThe valve body contains precision parts and requires extreme care when parts are removed and serviced.
Place disassembled valve body parts in order for easier and proper assembly. Care will also prevent
springs and small parts from becoming scattered or lost.
lProperly installed valves, sleeves, plugs, etc. will slide along bores in valve body under their own weight.
lBefore assembly, apply a coat of recommended ATF to all parts. Apply petroleum jelly to protect O-rings
and seals, or hold bearings and washers in place during assembly. Do not use grease.
lExtreme care should be taken to avoid damage to O-rings, seals and gaskets when assembling.
lAfter overhaul, refill the transmission with new ATF.
lWhen the drain plug is removed, only some of the ATF is drained. Old ATF will remain in torque converter
and A/T fluid cooling system.
Always follow the procedures under “Changing A/T Fluid” in the AT section when changing A/T fluid. Refer
toAT-11, "
Changing A/T Fluid",AT-12, "Checking A/T Fluid".
SEF289H
Page 19 of 3171

A/T FLUID
AT-11
D
E
F
G
H
I
J
K
L
MA
B
AT
A/T FLUIDPFP:KLE40
Changing A/T FluidECS00FWD
1. Warm up ATF.
2. Stop engine.
3. Loosen level gauge bolt.
4. Remove A/T fluid level gauge.
5. Remove drain plug and drain ATF from drain hole.
6. Install drain plug gasket and drain plug to oil pan.
CAUTION:
Do not reuse drain plug gasket.
7. Tighten drain plug to the specified torque. Refer toAT-218,
"COMPONENTS".
8. Refill with new ATF. Always refill same volume with drained ATF.
lTo replace the ATF, pour in new ATF at A/T fluid charging pipe
with the engine idling and at the same time drain the old ATF
from A/T fluid cooler hose return side.
lWhen the color of the ATF coming out is about the same as the color of the new ATF, the replacement
is complete. The amount of new ATF to use should be 30 to 50% increase of the specified amount.
CAUTION:
lUse only Genuine NISSAN ATF Matic Fluid J. Do not mix with other ATF.
lUsing ATF other than Genuine NISSAN ATF Matic Fluid J will cause deterioration in driveability
and A/T durability, and may damage the A/T, which is not covered by the NISSAN new vehicle
warranty.
lWhen filling ATF, take care not to spillover heat generating parts such as exhaust.
9. Run engine at idle speed for 5 minutes.
10. Check A/T fluid level and condition. Refer toAT-12, "
Checking A/T Fluid". If ATF is still dirty, repeat step 2
through 9.
11. Install the removed A/T fluid level gauge into A/T fluid charging pipe.
12. Tighten level gauge bolt to the specified torque. Refer toAT- 2 4 7 , "
COMPONENTS". ATF: Genuine NISSAN ATF Matic Fluid J
Fluid capacity:
10.3 (9-1/8 lmp qt)
SCIA4896E
Page 51 of 3171

TROUBLE DIAGNOSIS
AT-43
D
E
F
G
H
I
J
K
L
MA
B
AT
Inspections Before Trouble DiagnosisECS00FX0
A/T FLUID CHECK
A/T Fluid Leakage and A/T Fluid Level Check
Inspect for A/T fluid leakage and check the A/T fluid level. Refer toAT-12, "Checking A/T Fluid".
A/T Fluid Condition Check
Inspect the A/T fluid condition.
STALL TEST
Stall Test Procedure
1. Inspect the amount of engine oil. Replenish the engine oil if necessary.
2. Drive for about 10 minutes to warm up the vehicle so that the A/
Tfluidtemperatureis50to80°C(122to176°F). Inspect the
amount of ATF. Replenish if necessary.
3. Securely engage the parking brake so that the tires do not turn.
4. Engine start, apply foot brake, and place selector lever in “D”
position.
5. While holding down the foot brake, gradually press down the
accelerator pedal.
6. Quickly read off the stall speed, then quickly remove your foot
from the accelerator pedal.
CAUTION:
Do not hold down the accelerator pedal for more than 5 sec-
onds during this test.
7. Move selector lever to the “N” position.
8. Cool down the ATF.
Fluid condition Conceivable Cause Required Operation
Varnished (viscous
varnish state)Clutch, brake
scorchedReplace the ATF and check the A/T
main unit and the vehicle for mal-
functions (wire harnesses, cooler
pipes, etc.)
Milky white or cloudy Water in the fluidReplace the ATF and check for
places where water is getting in.
Large amount of
metal powder mixed
inUnusual wear of
sliding parts within
A/TReplace the ATF and check for
improper operation of the A/T.
SAT638A
SAT647B
SAT513G
Stall speed: 2,700 - 3,100 rpm
SAT514G
Page 54 of 3171

AT-46
TROUBLE DIAGNOSIS
ROAD TEST
Description
lThe road test inspects overall performance of A/T and analyzes possible malfunction causes.
lThe road test is perform in the following three stages.
1. Check before engine is started. Refer toAT-46
.
2. Check at idle. Refer toAT-47
.
3. Cruise test.
lInspect all the items from Part 1 to Part 3. Refer toAT-48,AT-50,AT-51.
lBefore beginning the road test, check the test procedure and inspection items.
lTest all inspection items until the symptom is uncovered. Diagnose NG items when all road tests are com-
plete.
CheckBeforeEngineIsStartedECS00FX1
1.CHECK OD OFF INDICATOR LAMP
1. Park vehicle on level surface.
2. Move selector lever to “P” position.
3. Turn ignition switch OFF and wait at least 10 seconds.
4. Turn ignition switch ON. (Do not start engine.)
Does OD OFF indicator lamp light up for about 2 seconds?
YES >> 1. Turn ignition switch OFF.
2. Perform self-diagnosis and record all NG items onAT-38, "
DIAGNOSTIC WORKSHEET".
Refer toAT-80, "
SELF-DIAGNOSTIC RESULT MODE",AT-89, "TCM SELF-DIAGNOSTIC
PROCEDURE (WITHOUT CONSULT-II)".
3. Go toAT-47, "
Check at Idle".
NO >> Stop the road test and go toAT- 1 7 7 , "
OD OFF Indicator Lamp Does Not Come On".
Stall speedOil pressure does not
rise higher than the oil
pressure for idle.Possible causes include a sensor malfunction or malfunction in the pressure adjustment
function.
For example
lAccelerator pedal position signal malfunction
lTCM malfunction
lLine pressure solenoid malfunction (shorting, sticking in ON state)
lPressure regulator valve or plug sticking
lPilot valve sticking or pilot filter clogged
The pressure rises, but
does not enter the stan-
dard position.Possible causes include malfunctions in the pressure supply system and malfunction in the
pressure adjustment function.
For example
lAccelerator pedal position signal malfunction
lLine pressure solenoid malfunction (sticking, filter clog)
lPressure regulator valve or plug sticking
lPilot valve sticking or pilot filter clogged
Only low for a specific
positionPossible causes include an oil pressure leak in a passage or device related to the position
after the pressure is distributed by the manual valve. Judgement Possible cause
Page 56 of 3171
AT-48
TROUBLE DIAGNOSIS
6.CHECK “R” POSITION FUNCTIONS
1. Engage the brake.
2. Move selector lever to “R” position.
3. Release the brake for 4 to 5 seconds.
Does the vehicle creep backward?
YES >> GO TO 7.
NO >> Enter a check mark at “Vehicle Does Not Creep Backward in “R” Position” onAT-38, "
DIAGNOS-
TIC WORKSHEET", then continue the road test.
7.CHECK “D” POSITION FUNCTIONS
Inspect whether the vehicle creep forward when the A/T is put into the “D” position.
Does the vehicle creep forward in
“D”position?
YES >> Go toAT-48, "Cruise Test - Part 1",AT-50, "Cruise Test - Part 2"andAT-51, "Cruise Test - Part 3"
.
NO >> Enter a check mark at “Vehicle Does Not Creep Forward in “D” Position” onAT-38, "
DIAGNOSTIC
WORKSHEET", then continue the road test. Go toAT-48, "Cruise Test - Part 1",AT-50, "Cruise
Te s t - P a r t 2"andAT-51, "Cruise Test - Part 3".
CruiseTest-Part1ECS00FX3
1.CHECK STARTING OUT FROM D1
1. Drive the vehicle for about 10 minutes to warm up the engine oil and ATF.
Appropriate temperature for the ATF: 50 - 80°C (122 - 176°F)
2. Park the vehicle on a level surface.
3. Move selector lever to “P” position.
4. Start engine.
5. Move selector lever to “D” position.
6. Press accelerator pedal about half-way down to accelerate the vehicle.
With CONSULT-II
Read the gear position. Refer toAT-83, "
DATA MONITOR MODE".
Starts from D
1?
YES >> GO TO 2.
NO >> Enter a check mark at “Vehicle Cannot Be Started from D
1”onAT-38, "DIAGNOSTIC WORK-
SHEET", then continue the road test.
2.CHECK SHIFT-UP D1®D2
Press down accelerator pedal about half-way and inspect if the vehicle shifts up (D1®D2) at the appropriate
speed. Refer toAT-52, "
Vehicle Speed at Which Gear Shifting Occurs".
With CONSULT-II
Read the gear position, throttle degree and vehicle speed. Refer toAT-83, "
DATA MONITOR MODE".
Does the A/T shift-up D
1®D2at the correct speed?
YES >> GO TO 3.
NO >> Enter a check mark at “A/T Does Not Shift: D
1®D2”onAT-38, "DIAGNOSTIC WORKSHEET",
then continue the road test.
Page 186 of 3171
AT-178
TROUBLE DIAGNOSIS FOR SYMPTOMS
2.CHECK CONTROL CABLE
Check control cable. Refer toAT- 2 11 , "
Checking of A/T Position".
OK or NG
OK >> GO TO 3.
NG >> Adjust control cable. Refer toAT- 2 11 , "
Adjustment of A/T Position".
3.CHECK STARTING SYSTEM
Check starting system. Refer toSC-27, "
STARTING SYSTEM".
OK or NG
OK >>INSPECTION END
NG >> Repair or replace damaged parts.
In “P” Position, Vehicle Moves When PushedECS00G2D
SYMPTOM:
Even though selector lever is set in the “P” position, the parking mechanism is not actuated, allowing
the vehicle to be moved when it is pushed.
DIAGNOSTIC PROCEDURE
1.CHECK PNP SWITCH CIRCUIT
Perform self-diagnosis. Refer toAT-80, "
SELF-DIAGNOSTIC RESULT MODE",AT-89, "Diagnostic Procedure
Without CONSULT-II".
Do the self-diagnosis results indicate PNP switch?
YES >> Check malfunctioning system. Refer toAT-99, "DTC P0705 PARK/NEUTRAL POSITION
SWITCH".
NO >> GO TO 2.
2.CHECK CONTROL CABLE
Check control cable. Refer toAT- 2 11 , "
Checking of A/T Position".
OK or NG
OK >> GO TO 3.
NG >> Adjust control cable. Refer toAT- 2 11 , "
Adjustment of A/T Position".
3.CHECK PARKING COMPONENTS
Check parking components. Refer toAT- 2 3 0 , "
Parking Components (2WD Models Only)"(2WD models),AT-
263, "DISASSEMBLY"(4WD models).
OK or NG
OK >> GO TO 4.
NG >> Repair or replace damaged parts.
4.CHECK A/T FLUID CONDITION
1. Remove oil pan. Refer toAT- 2 1 8 , "
Control Valve With TCM and A/T Fluid Temperature Sensor 2".
2. Check A/T fluid condition. Refer toAT-43, "
A/T Fluid Condition Check".
OK or NG
OK >>INSPECTION END
NG >> Check malfunction items. If any items are damaged, repair or replace damaged parts. Refer toAT-
53, "Symptom Chart"(Symptom No.58)
Page 187 of 3171
TROUBLE DIAGNOSIS FOR SYMPTOMS
AT-179
D
E
F
G
H
I
J
K
L
MA
B
AT
In “N” Position, Vehicle MovesECS00G2E
SYMPTOM:
Vehicle moves forward or backward when selecting “N” position.
DIAGNOSTIC PROCEDURE
1.CHECK PNP SWITCH CIRCUIT
Perform self-diagnosis. Refer toAT-80, "
SELF-DIAGNOSTIC RESULT MODE",AT-89, "Diagnostic Procedure
Without CONSULT-II".
Do the self-diagnostic results indicate PNP switch?
YES >> Check malfunctioning system. Refer toAT-99, "DTC P0705 PARK/NEUTRAL POSITION
SWITCH".
NO >> GO TO 2.
2.CHECK CONTROL CABLE
Check control cable. Refer toAT- 2 11 , "
Checking of A/T Position".
OK or NG
OK >> GO TO 3.
NG >> Adjust control cable. Refer toAT- 2 11 , "
Adjustment of A/T Position".
3.CHECK A/T FLUID LEVEL
Check A/T fluid level. Refer toAT-12, "
Checking A/T Fluid".
OK or NG
OK >> GO TO 4.
NG >> Refill ATF.
4.CHECK A/T FLUID CONDITION
1. Remove oil pan. Refer toAT- 2 1 8 , "
Control Valve With TCM and A/T Fluid Temperature Sensor 2".
2. Check A/T fluid condition. Refer toAT-43, "
A/T Fluid Condition Check".
OK or NG
OK >> GO TO 5.
NG >> Check malfunction items. If any items are damaged, repair or replace damaged parts. Refer toAT-
53, "Symptom Chart"(Symptom No.60).
5.CHECK SYMPTOM
Check again. Refer toAT-47, "
Check at Idle".
OK or NG
OK >>INSPECTION END
NG >> GO TO 6.
6.CHECK TCM
1. Check TCM input/output signals. Refer toAT-76, "
TCM Input/Output Signal Reference Values".
2. If NG, recheck A/T assembly harness connector terminals for damage or loose connection with harness
connector.
OK or NG
OK >>INSPECTION END
NG >> Repair or replace damaged parts.
Page 188 of 3171
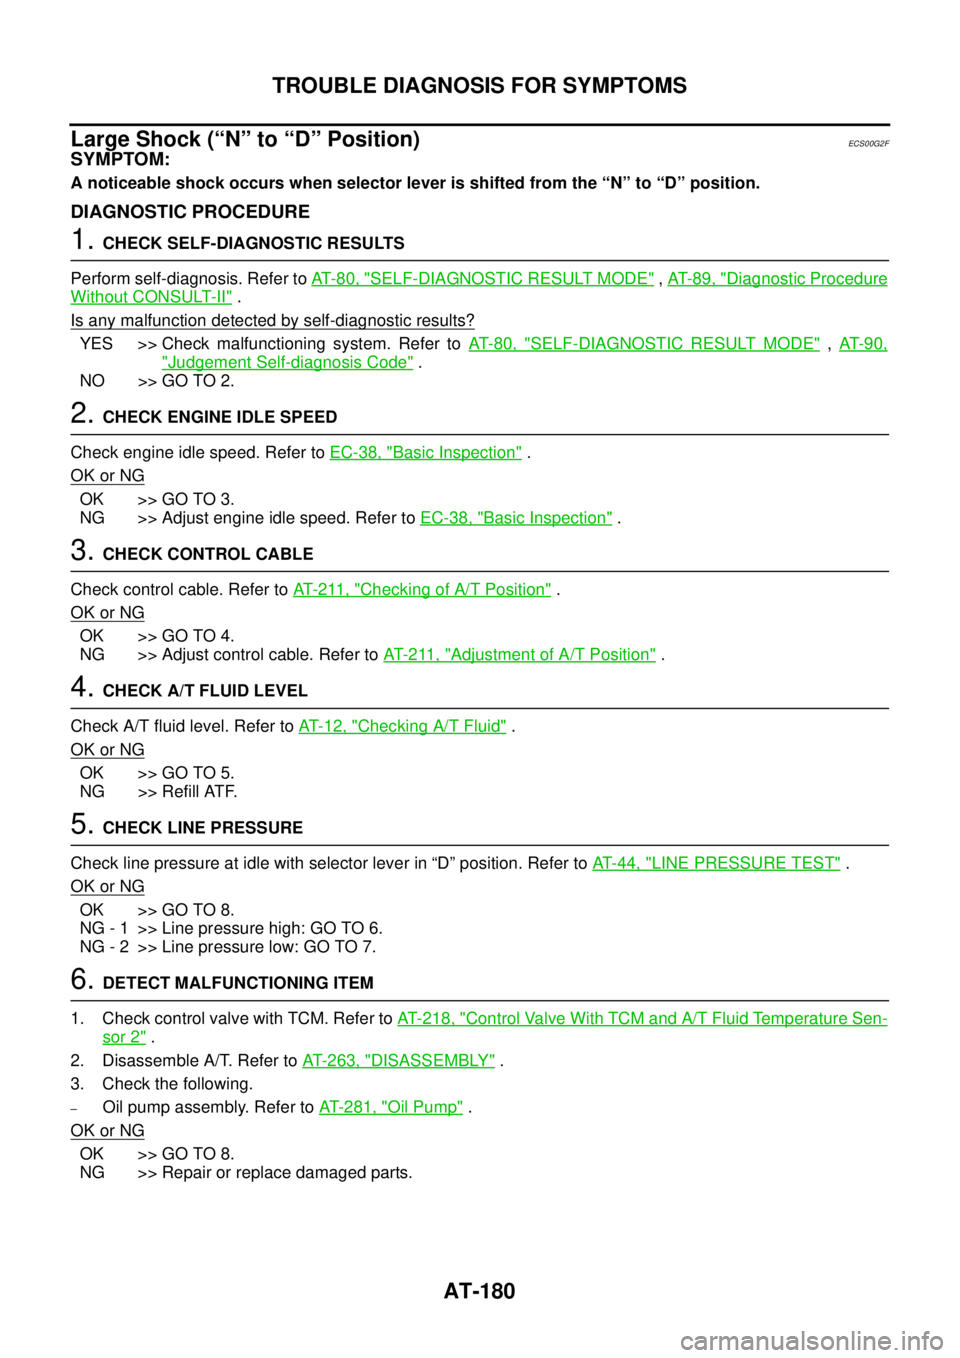
AT-180
TROUBLE DIAGNOSIS FOR SYMPTOMS
Large Shock (“N” to “D” Position)
ECS00G2F
SYMPTOM:
A noticeable shock occurs when selector lever is shifted from the “N” to “D” position.
DIAGNOSTIC PROCEDURE
1.CHECK SELF-DIAGNOSTIC RESULTS
Perform self-diagnosis. Refer toAT-80, "
SELF-DIAGNOSTIC RESULT MODE",AT-89, "Diagnostic Procedure
Without CONSULT-II".
Is any malfunction detected by self-diagnostic results?
YES >> Check malfunctioning system. Refer toAT-80, "SELF-DIAGNOSTIC RESULT MODE",AT- 9 0 ,
"Judgement Self-diagnosis Code".
NO >> GO TO 2.
2.CHECK ENGINE IDLE SPEED
Check engine idle speed. Refer toEC-38, "
Basic Inspection".
OK or NG
OK >> GO TO 3.
NG >> Adjust engine idle speed. Refer toEC-38, "
Basic Inspection".
3.CHECK CONTROL CABLE
Check control cable. Refer toAT- 2 11 , "
Checking of A/T Position".
OK or NG
OK >> GO TO 4.
NG >> Adjust control cable. Refer toAT- 2 11 , "
Adjustment of A/T Position".
4.CHECK A/T FLUID LEVEL
Check A/T fluid level. Refer toAT-12, "
Checking A/T Fluid".
OK or NG
OK >> GO TO 5.
NG >> Refill ATF.
5.CHECK LINE PRESSURE
Check line pressure at idle with selector lever in “D” position. Refer toAT-44, "
LINE PRESSURE TEST".
OK or NG
OK >> GO TO 8.
NG - 1 >> Line pressure high: GO TO 6.
NG - 2 >> Line pressure low: GO TO 7.
6.DETECT MALFUNCTIONING ITEM
1. Check control valve with TCM. Refer toAT- 2 1 8 , "
Control Valve With TCM and A/T Fluid Temperature Sen-
sor 2".
2. Disassemble A/T. Refer toAT- 2 6 3 , "
DISASSEMBLY".
3. Check the following.
–Oil pump assembly. Refer toAT- 2 8 1 , "Oil Pump".
OK or NG
OK >> GO TO 8.
NG >> Repair or replace damaged parts.