Page 2157 of 3870
Check that the middle-grade multi-center display unit sets a DTC.
1. Turn the ignition switch to the "ON" position.
2. Check for the DTC related to the middle-grade multi-center display unit.
3. Turn the ignition switch to the "LOCK" (OFF) position. Q: Is the check result satisfactory?
YES:
Go to Step 3.
NO:
Refer to
VEHICLES WITH ABS AND VEHICLES WITH
MULTI
-CENTER DISPLAY (MIDDLE
-GRADE TYPE)
.
STEP 3. Using scan tool MB991958, read the SWS diagnostic trouble code.
2004 Mitsubishi Endeavor LS
2004 HVAC Heater Air Conditioning, Ventilation - Endeavor
Page 2381 of 3870
Fig. 281: Removing And Installing Heater Uni
t
Courtesy of MITSUBISHI MOTOR SALES OF AMERICA.
REMOVAL SERVICE POINTS << A >> SUCTION PIPE AND LIQUID PIPE DISCONNECTION To prevent the entry of dust or other foreign bodies, plug the dismantled hose and
the nipples of the expansion valves. Fig. 282: Identifying Connectors
Courtesy of MITSUBISHI MOTOR SALES OF AMERICA.CAUTION: As the compressor oil and receiver are highly
moisture absorbent, use a non-porous material to
plug the hose and nipples.
2004 Mitsubishi Endeavor LS
2004 HVAC Heater Air Conditioning, Ventilation - Endeavor
Page 2399 of 3870

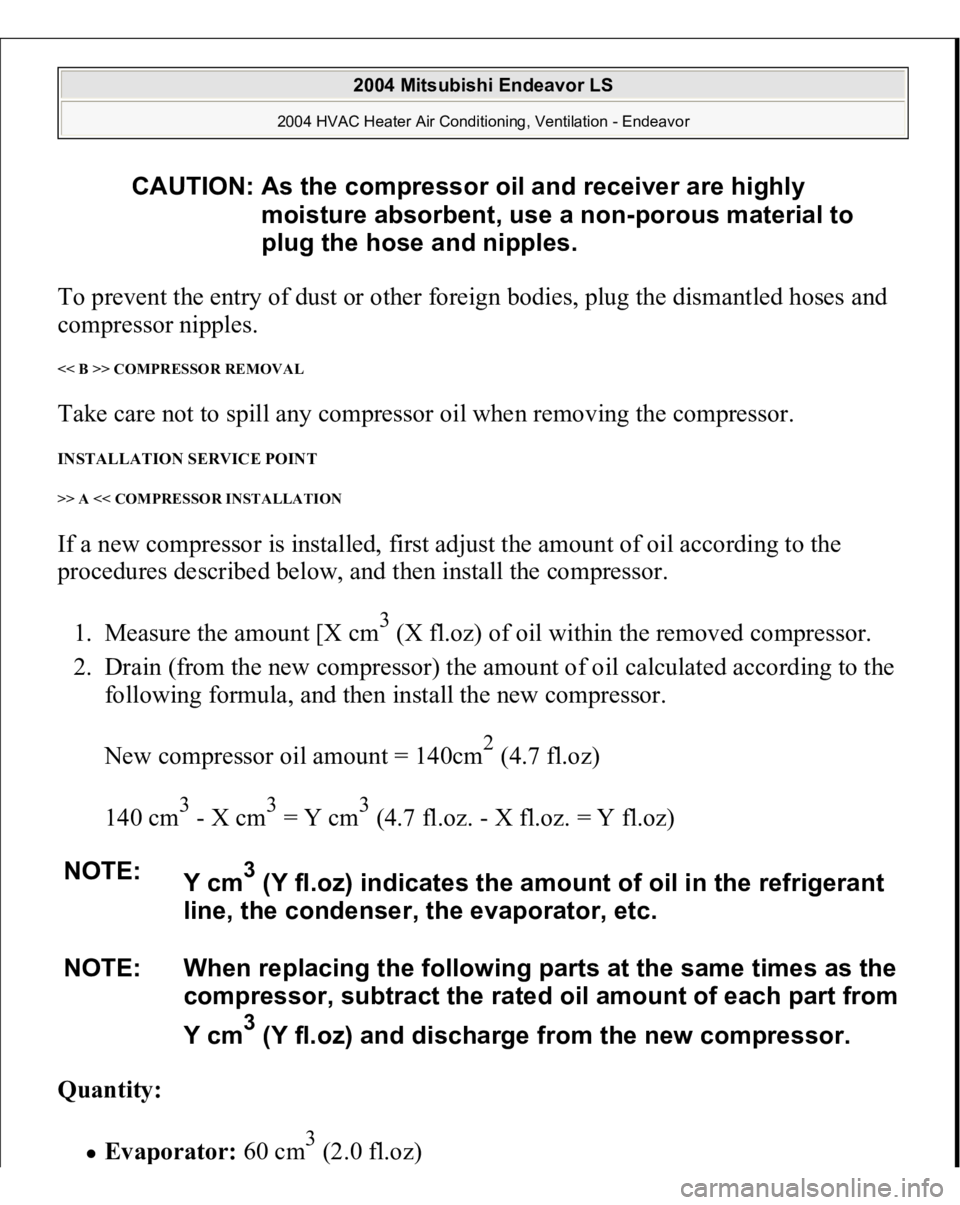
To prevent the entry of dust or other foreign bodies, plug the dismantled hoses and
compressor nipples. << B >> COMPRESSOR REMOVAL Take care not to spill any compressor oil when removing the compressor. INSTALLATION SERVICE POINT >> A << COMPRESSOR INSTALLATION If a new compressor is installed, first adjust the amount of oil according to the
procedures described below, and then install the compressor.
1. Measure the amount [X cm
3 (X fl.oz) of oil within the removed compressor.
2. Drain (from the new compressor) the amount of oil calculated according to the
following formula, and then install the new compressor.
New compressor oil amount = 140cm
2 (4.7 fl.oz)
140 cm
3 - X cm
3 = Y cm
3 (4.7 fl.oz. - X fl.oz. = Y fl.oz)
Quantity:
Eva
porator
: 60 c
m3 (2.0 fl.oz
)
CAUTION: As the compressor oil and receiver are highly
moisture absorbent, use a non-porous material to
plug the hose and nipples.
NOTE:
Y cm
3 (Y fl.oz) indicates the amount of oil in the refrigerant
line, the condenser, the evaporator, etc.
NOTE: When replacing the following parts at the same times as the
compressor, subtract the rated oil amount of each part from
Y cm3 (Y fl.oz) and discharge from the new compressor.
2004 Mitsubishi Endeavor LS
2004 HVAC Heater Air Conditioning, Ventilation - Endeavor
Page 2409 of 3870
REMOVAL SERVICE POINTS << A >> RESERVE TANK ASSEMBLY REMOVAL Position the reserve tank assembly out of the way. The reserve tank assembly
cannot be removed completely from the engine compartment. Fig. 308: Identifying Reserve Tank Assembly And Air Cleaner Body
Courtesy of MITSUBISHI MOTOR SALES OF AMERICA.
<< B >> FLEXIBLE SUCTION HOSE AND LIQUID PIPE A DISCONNECTION NOTE: For removal and installation of the condenser fan motor,
refer to REMOVAL AND INSTALLATION
.
CAUTION: As the compressor oil and receiver are highly
moisture absorbent, use a non-porous material to
2004 Mitsubishi Endeavor LS
2004 HVAC Heater Air Conditioning, Ventilation - Endeavor
Page 2412 of 3870
Fig. 310: Removing And Installing Refrigerant Line
Courtesy of MITSUBISHI MOTOR SALES OF AMERICA.
REMOVAL SERVICE POINT << A >> HOSE/PIPE DISCONNECTION To prevent the entry of other foreign bodies, plug the condenser, compressor, and
expansion valve nipples. << B >> SUCTION PIPE AND SUCTION FLEXIBLE HOSE DISCONNECTION
CAUTION: As the compressor oil and receiver are highly
moisture absorbent, use a non-porous material to
plug the hose and nipples.
CAUTION: As the compressor oil and receiver are highly
2004 Mitsubishi Endeavor LS
2004 HVAC Heater Air Conditioning, Ventilation - Endeavor
Page 2413 of 3870
To disconnect the suction hose from the suction flexible hose, lift the lug on the
suction pipe and twist the suction flexible hose union counterclockwise.
Plug the hose nipple to prevent entry of dust and dirt. Fig. 311: Disconnecting Suction Pipe
Courtesy of MITSUBISHI MOTOR SALES OF AMERICA.
INSTALLATION SERVICE POINT >> A << SUCTION HOSE INSTALLATION When replacing the suction hose, refill them with a specified amount of compressor
oil, and then install them.
moisture absorbent, use a non-porous material to
plug the hose and nipples.
2004 Mitsubishi Endeavor LS
2004 HVAC Heater Air Conditioning, Ventilation - Endeavor
Page 2420 of 3870

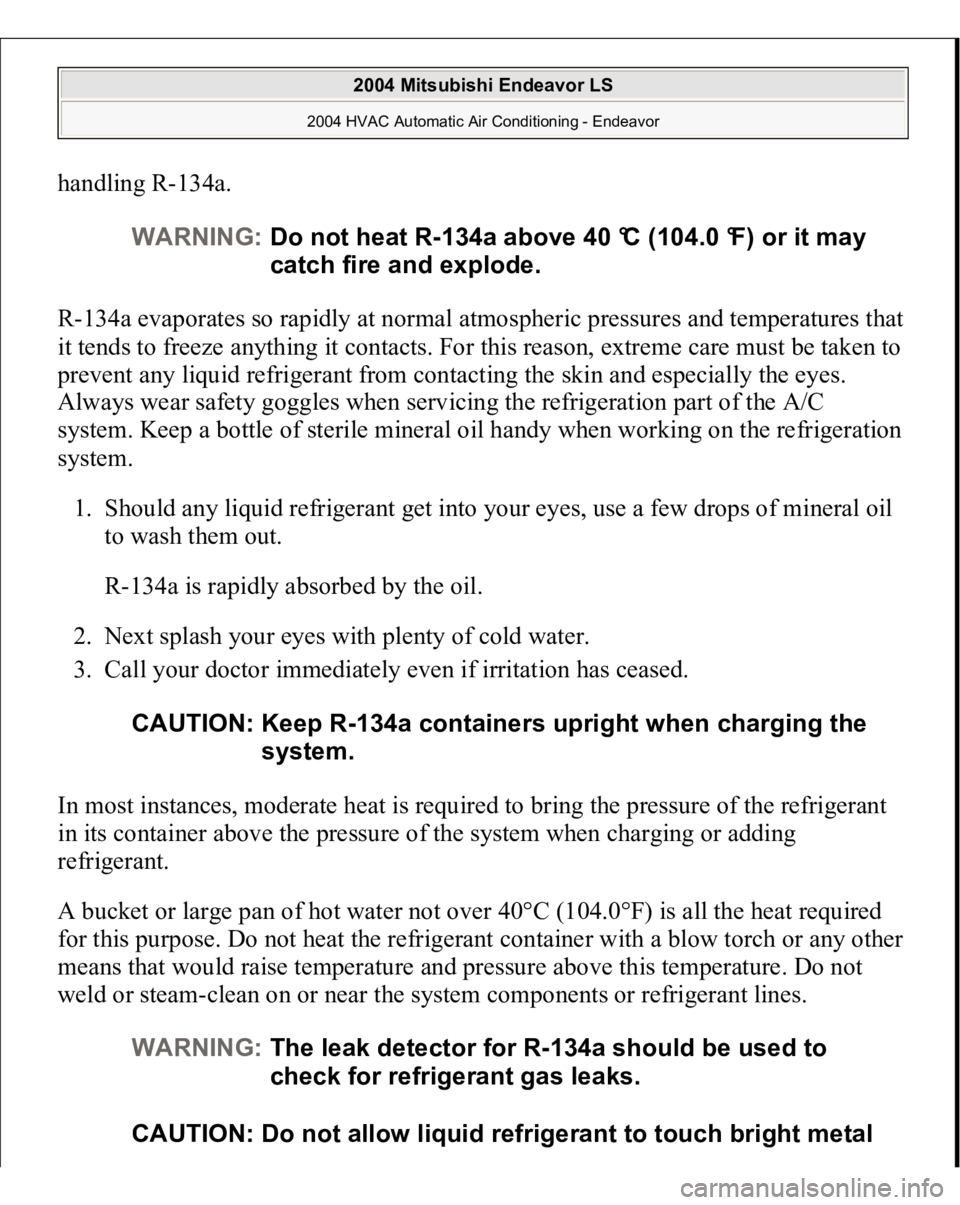
handling R-134a.
R-134a evaporates so rapidly at normal atmospheric pressures and temperatures that
it tends to freeze anything it contacts. For this reason, extreme care must be taken to
prevent any liquid refrigerant from contacting the skin and especially the eyes.
Always wear safety goggles when servicing the refrigeration part of the A/C
system. Keep a bottle of sterile mineral oil handy when working on the refrigeration
system.
1. Should any liquid refrigerant get into your eyes, use a few drops of mineral oil
to wash them out.
R-134a is rapidly absorbed by the oil.
2. Next splash your eyes with plenty of cold water.
3. Call your doctor immediately even if irritation has ceased.
In most instances, moderate heat is required to bring the pressure of the refrigerant
in its container above the pressure of the system when charging or adding
refrigerant.
A bucket or large pan of hot water not over 40°C (104.0°F) is all the heat required
for this purpose. Do not heat the refrigerant container with a blow torch or any other
means that would raise temperature and pressure above this temperature. Do not
weld or steam-clean on or near the system components or refrigerant lines.
WARNING:Do not heat R-134a above 40 °C (104.0 °F) or it may
catch fire and explode.
CAUTION: Keep R-134a containers upright when charging the
system.
WARNING:The leak detector for R-134a should be used to
check for refrigerant gas leaks.
CAUTION: Do not allow liquid refrigerant to touch bright metal
2004 Mitsubishi Endeavor LS
2004 HVAC Automatic Air Conditioning - Endeavor
Page 2815 of 3870
2004 STEERING
Power Steering - Endeavor
GENERAL DESCRIPTION Power steering has been adopted in all vehicles to make the steering system easier
to handle.
A 4-spoke steering wheel is used. A steering column has a shock absorbing mechanism and a tilt steering
mechanism. A rack and pinion steering gear is used. An oil pump responsive to engine RPM is used, which, with tuning for a rigid
gear box mount, improves steering stability at high speeds. The separate plastic resin oil reservoir reduces weight and makes fluid level
checking easier.
Fig. 1: Identifying Power Steering Components
Courtesy of MITSUBISHI MOTOR SALES OF AMERICA.
POWER STEERING DIAGNOSIS
2004 Mitsubishi Endeavor LS
2004 STEERING Power Steering - Endeavor
2004 Mitsubishi Endeavor LS
2004 STEERING Power Steering - Endeavor