Page 3038 of 3870
Fig. 2: Rear Suspension Construction Diagram (AWD)
Courtesy of MITSUBISHI MOTOR SALES OF AMERICA.
REAR SUSPENSION DIAGNOSIS INTRODUCTION TO REAR SUSPENSION DIAGNOSIS If the rear suspension is faulty, the vehicle will not run straightforward or noise will
occur. Incorrect wheel alignment, malfunction of shock absorber, stabilizer bar, coil
spring, control arms or worn or out-of-balance will cause these problems. REAR SUSPENSION DIAGNOSTIC TROUBLESHOOTING STRATEGY Use these steps to plan your diagnostic strategy. If you follow them carefully, you
will be sure that you have exhausted most of the possible ways to find a rear
suspension fault.
1. Gather information from the customer.
2. Verify that the condition described by the customer exists.
3. Find the malfunction by following the Symptom Chart.
4. Verif
y malfunction is eliminated.
2004 Mitsubishi Endeavor LS 2004 SUSPENSION Rear - Endeavor
Page 3039 of 3870
SYMPTOM CHART Fig. 3: Symptom Chart
Courtesy of MITSUBISHI MOTOR SALES OF AMERICA.
SYMPTOM PROCEDURES INSPECTION PROCEDURE 1: Squeaks or other Abnormal Noise DIAGNOSIS
STEP 1. Check for loose rear suspension installation bolts and nuts.
Q: Are the rear suspension installation bolts and nuts loose?
YES: Retighten them, then go to Step 5 .
NO: Go to Step 2.
STEP 2. Check the malfunction of shock absorbers (worn bushings).
Q: Are the shock absorbers (bushings) in good condition?
YES: Go to Step 3.
NO: Replace the faulty part, then go to Step 5 .
STEP 3. Check the upper arms and/or lower arms and/or toe control arms
for deformity or damage.
Q: Are the u
pp
er arms and/or lower arms and/or toe control arms in
good
condition?
YES: Go to Step 4.
NO: Re
place the fault
y part, then
go to Ste
p 5 .
2004 Mitsubishi Endeavor LS 2004 SUSPENSION Rear - Endeavor
Page 3040 of 3870

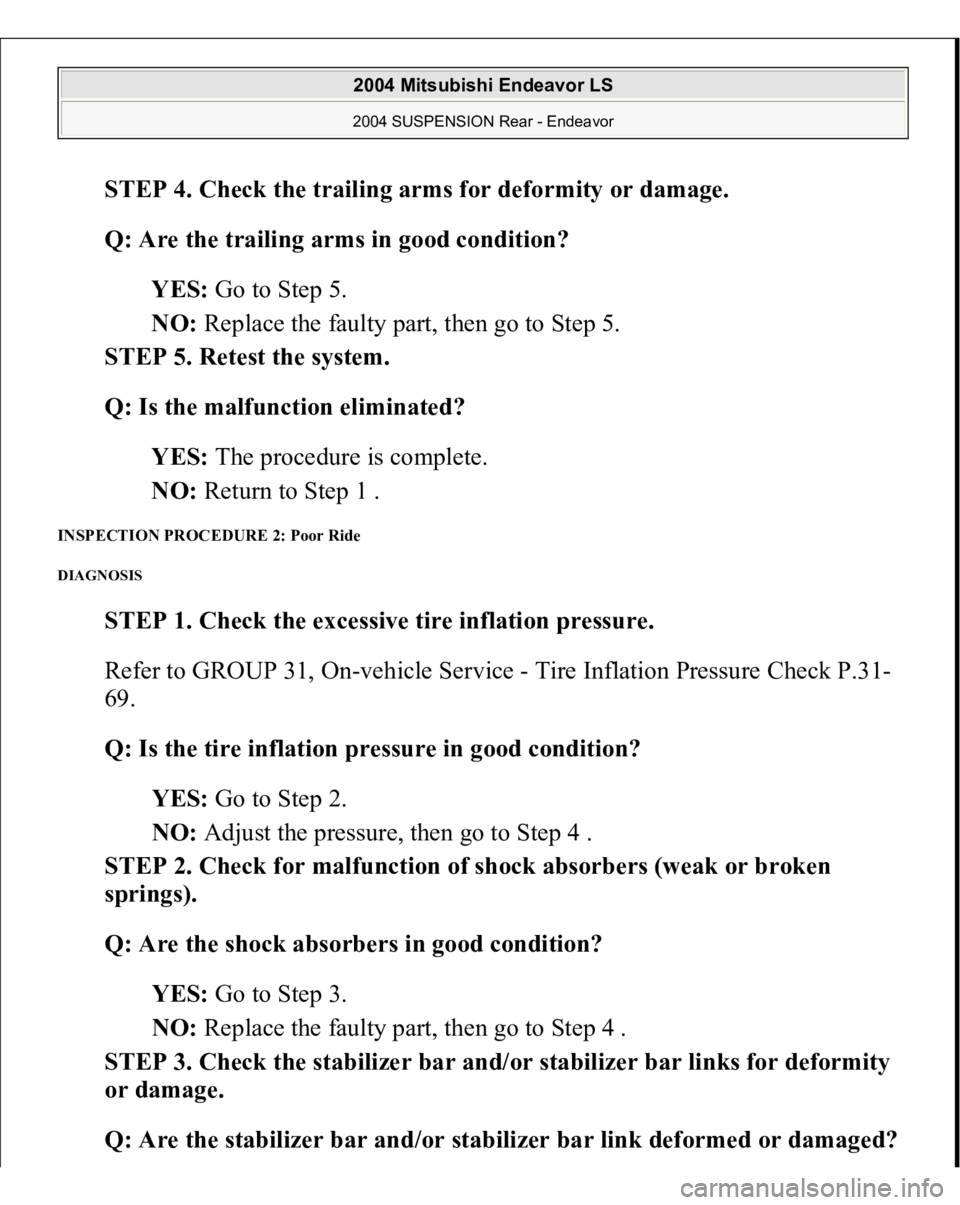
STEP 4. Check the trailing arms for deformity or damage.
Q: Are the trailing arms in good condition?
YES: Go to Step 5.
NO: Replace the faulty part, then go to Step 5.
STEP 5. Retest the system.
Q: Is the malfunction eliminated?
YES: The procedure is complete.
NO: Return to Step 1 .
INSPECTION PROCEDURE 2: Poor Ride DIAGNOSIS
STEP 1. Check the excessive tire inflation pressure.
Refer to GROUP 31, On-vehicle Service - Tire Inflation Pressure Check P.31-
69.
Q: Is the tire inflation pressure in good condition?
YES: Go to Step 2.
NO: Adjust the pressure, then go to Step 4 .
STEP 2. Check for malfunction of shock absorbers (weak or broken
springs).
Q: Are the shock absorbers in good condition?
YES: Go to Step 3.
NO: Replace the faulty part, then go to Step 4 .
STEP 3. Check the stabilizer bar and/or stabilizer bar links for deformity
or damage.
Q: Are the stabilizer bar and/or stabilizer bar link deformed or damaged?
2004 Mitsubishi Endeavor LS 2004 SUSPENSION Rear - Endeavor
Page 3060 of 3870
2. Fill the multipurpose grease in the dust cover and lubricate the lip [Amount of
filling grease in the dust cover: approximately 7g (0.247 ounce)].
3. Using special tool MB990800, punch the dust cover until it contacts the snap
ring.
4. Press the dust cover with your finger to check that there are no cracks or
damage in the dust cover.
Fig. 19: Replacing Trailing Arm Ball Joint Dust Cover
Courtesy of MITSUBISHI MOTOR SALES OF AMERICA.
SHOCK ABSORBER ASSEMBLY REMOVAL AND INSTALLATION
CAUTION: *: Indicates parts which should be temporarily
tightened, and then fully tightened with the vehicle
on the ground in the unladen condition.
2004 Mitsubishi Endeavor LS 2004 SUSPENSION Rear - Endeavor
Page 3061 of 3870
Fig. 20: Removing & Installing Shock Absorber
Courtesy of MITSUBISHI MOTOR SALES OF AMERICA.
INSPECTION
Check the rubber parts for cracks and wear. Check the shock absorber for malfunctions, oil leakage, or abnormal noise.
DISASSEMBLY AND ASSEMBLY
2004 Mitsubishi Endeavor LS 2004 SUSPENSION Rear - Endeavor
Page 3062 of 3870
Fig. 21: Disassembling & Assembling Shock Absorber
Courtesy of MITSUBISHI MOTOR SALES OF AMERICA.
Required Special Tools:
MB991237: Spring Compressor Body MB991239: Arm Set MB991109: Deep Socket
DISASSEMBLY SERVICE POINT << A>> COIL SPRING NUT REMOVAL
CAUTION:
To hold the coil spring securely, install special
tools MB991237 and MB991239 evenly, and so
that the space between both arms of the special
tool will be maximum within the installation
range. Do not use an impact wrench to tighten the bolt
2004 Mitsubishi Endeavor LS 2004 SUSPENSION Rear - Endeavor
Page 3065 of 3870
install it to the spring seat of the shock absorber.
2. Align the end of the coil spring with the stepped section of the spring seat of
the shock absorber.
Fig. 24: Installing Coil Spring
Courtesy of MITSUBISHI MOTOR SALES OF AMERICA.
>>B<< SHOCK ABSORBER INSULATOR INSTALLATION Position a center line (A) of the shock absorber lower bushing inner pipe as shown
from the arrow (B) on the shock absorber insulator. Then install the shock absorber
insulator.
2004 Mitsubishi Endeavor LS 2004 SUSPENSION Rear - Endeavor
Page 3066 of 3870
Fig. 25: Installing Shock Absorber Insulator (LH)
Courtesy of MITSUBISHI MOTOR SALES OF AMERICA.
2004 Mitsubishi Endeavor LS 2004 SUSPENSION Rear - Endeavor