2003 PONTIAC BONNEVILLE buttons
[x] Cancel search: buttonsPage 201 of 418

BAND (Alternate Frequency): Alternate frequency
allows the radio to switch to a stronger station with the
same programming. Press and hold BAND for two
seconds to turn alternate frequency on. AF ON
will appear on the display. The radio may switch to
stronger stations. Press and hold BAND again for two
seconds to turn alternate frequency off. AF OFF
will appear on the display. The radio will not switch to
other stations.
This function does not apply for XMTM.
Setting Preset PTY Stations (RDS Only)
The six numbered pushbuttons let you return to your
favorite program types (PTYs). These pushbuttons have
factory PTY presets. You can set up to
12 PTYs
(six FMl and six FM2) by performing the following steps:
1. Press BAND to select FM1 or FM2.
2. Press PROG TYPE,
if it is not already on.
3. Turn the SELECT knob to select a PTY.
4. Press and hold one of the six numbered
pushbuttons until you hear a beep. Whenever you
press that numbered pushbutton, the PTY you
set will return.
5. Repeat the steps for each pushbutton.
RDS Messages
ALERT!: Alert warns of local or national emergencies.
When an alert announcement comes on the current
radio station, ALERT! will appear on the display. You will
hear the announcement, even
if the volume is muted
or a cassette tape or a compact disc is playing.
If
the cassette tape or compact disc player is playing, play
will stop during the announcement.
You will not be
able to turn off alert announcements.
ALERT! will not be affected by tests of the emergency
broadcast system. This feature
is not supported by
all
RDS stations.
INFO (Information): If the current station has a
message, INFO will appear on the display. Press this
button to see the message. The message may display
the artist and song title, call in phone numbers, etc.
If the whole message is not displayed, parts of it
will appear every three seconds. To scroll through the
message at your own speed, press the INFO button
repeatedly.
A new group of words will appear on
the display with each press. Once the complete
message has been displayed, INFO will disappear from
the display until another new message is received.
The old message can be displayed by pressing
the INFO button until a new message
is received or a
different station is tuned to.
3-86
Page 211 of 418

Whenever a CD magazine with discs is loaded in the
changer and the door is closed, the compact disc
symbol will appear on the radio display.
If the CD
changer is checking the magazine for CDs, the compact
disc symbol will flash on the display until the changer
is ready to play.
If CD changer mode is entered
during initialization, LOADING will appear on the display.
When a
CD begins playing, a disc and track number
will be displayed. The disc numbers are listed on
the front of the magazine.
All of the CD functions are controlled by the radio
pushbuttons except
for ejecting the magazine.
Playing a Compact Disc
If an error appears on the display, see “Compact Disc
Messages” later in this section.
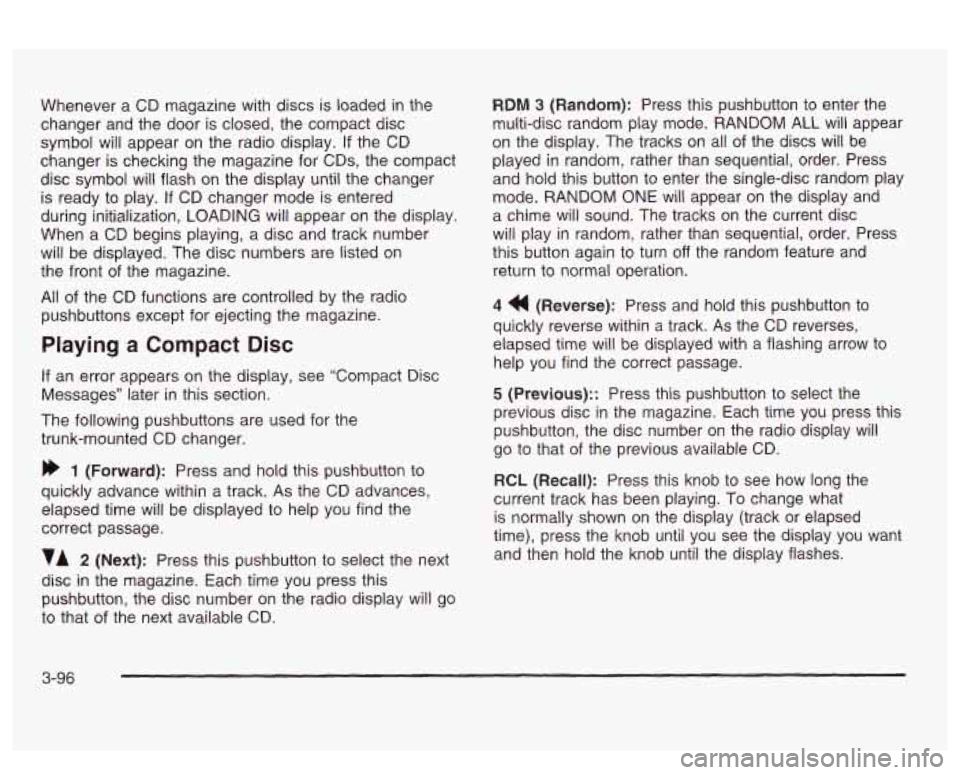
The following pushbuttons are used for the
trunk-mounted CD changer.
bb 1 (Forward): Press and hold this pushbutton to
quickly advance within a track.
As the CD advances,
elapsed time will be displayed to help you find the
correct passage.
VA 2 (Next): Press this pushbutton to select the next
disc
in the magazine. Each time you press this
pushbutton, the disc number on the radio display will go
to that of the next available CD.
RDM 3 (Random): Press this pushbutton to enter the
multi-disc random play mode. RANDOM ALL will appear
on the display. The tracks on all
of the discs will be
played
in random, rather than sequential, order. Press
and hold this button to enter the single-disc random play
mode. RANDOM
ONE will appear on the display and
a chime will sound. The tracks on the current disc
will play in random, rather than sequential, order. Press
this button again to turn
off the random feature and
return to normal operation.
4 (Reverse): Press and hold this pushbutton to
quickly reverse within a track. As the CD reverses,
elapsed time will be displayed with a flashing arrow to
help you find the correct passage.
5 (Previous):: Press this pushbutton to select the
previous disc in the magazine. Each time you press this
pushbutton, the disc number on the radio display will
go to that
of the previous available CD.
RCL (Recall): Press this knob to see how long the
current track has been playing.
To change what
is normally shown on the display (track or elapsed
time), press the knob until you
see the display you want
and then hold the knob until the display flashes.
3-96
Page 213 of 418

CD DOOR OPEN: The CD changer door is open.
Completely close the door to restore normal operation.
If the CD is not playing correctly, for any other
reason, try a known good CD.
If any error occurs repeatedly or if an error can’t be
corrected, contact your dealer.
If your radio displays an
error message, write it down and provide it to your
dealer when reporting the problem.
Theft-Deterrent Feature
THEFTLOCK@ is designed to discourage theft of your
radio. The feature works automatically by learning
a portion of the Vehicle Identification Number
(VIN)-
If the radio is moved to a different vehicle, it will
not operate and LOCKED will be displayed.
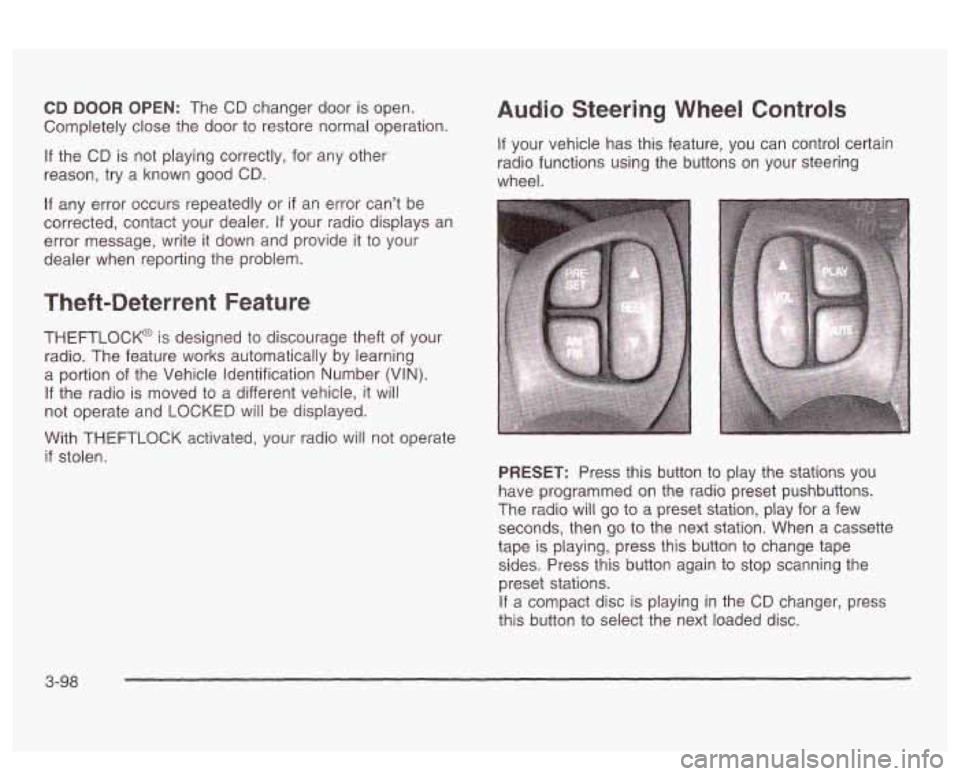
Audio Steering Wheel Controls
If your vehicle has this feature, you can control certain
radio functions using the buttons on your steering
wheel.
With THEFTLOCK activated, your radio will not operate
if stolen.
PRESET: Press this button to play the stations you
have programmed on the radio preset pushbuttons.
The radio will
go to a preset station, play for a few
seconds, then
go to the next station. When a cassette
tape is playing, press this button to change tape
sides. Press this button again to stop scanning the
preset stations.
If a compact disc is playing in the CD changer, press
this button to select the next loaded disc.
3-98
Page 324 of 418

To reset (calibrate) the system with a Driver Information
Center (DIC):
1.
2.
3.
4.
5.
Turn the ignition switch to ON.
Using the MODE and SELECT buttons, change the The system Completes
the calibration process during
DIC to display TIRE PRESSURE. driving. Calibration time
can take
45 to 90 minutes, ..,
Press and hold the RESET button for about five
seconds.
The display should change to read TIRE
PRESSURE RESET. If TIRE PRESSURE RESET
does not appear on the display after about five
seconds, see your dealer for service.
When you release the button after seeing the TIRE
PRESSURE RESET message, the display will
change to read TIRE PRESSURE NORMAL.
1.
2.
4. Release the TIRE PRESS RESET button and the
system should reset. The TIRE PRESS light will
go out.
To reset (calibrate) the system with a systems monitor:
n 3.
Turn the ignition switch to ON.
Press and hold the TIRE PRESS RESET button for
about five seconds.
should begin to flash.
If the TIRE PRESS light
does not begin to flash after about five seconds, see
your dealer for service.
TIL- TI~T nnr-nn I:-.LL -- LL- -..-.I.--- I I le I 1nc r ncaa II~I 11 VI I 11 IC ayatcl I 13 I I IUI IILUI
depending on your driving habits. After the system has
been calibrated, the system will alert the driver that
a tire is low, up to a maximum speed of
65 mph
(1 05 km/h).
Tire Inspection and Rotation
Tires should be rotated every 6,000 to 8,000 miles
(10 000 to 13 000 km).
Any time you notice unusual wear rotate your tires as
soon as possible and check wheel alignment. Also
check for damaged tires or wheels. See
When It Is Time
for New Tires on page 5-67 and Wheel Replacement
on page 5-69 for more information.
Tne purpose
oi reguiar rorarion is io acnieve more
uniform wear for all tires on the vehicle. The first rotation
is the most important. See “Part A: Scheduled
Maintenance Services,” in Section
6, for scheduled
rotation intervals.
5-65
Page 404 of 418

Electrical System Add-on Equipment
...................................... 5-91
Fuses and Circuit Breakers
........................... 5-92
Headlamp Wiring
......................................... 5-91
Power Windows and Other Power Options
...... 5-91
Removing the Rear Seat Cushion
.................. 5-95
Windshield Wiper Fuses
............................... 5-91
Electronic Compass
......................................... 3-68
Programs
................................................... 3-48
Air Cleaner/Filter
......................................... 5-22
Battery
....................................................... 5-44
Check and Service Engine Soon Light
............ 3-46
Coolant
...................................................... 5-26
Coolant Heater
............................................ 2-27
Coolant Temperature Gage
........................... 3-45
Cooling System Inspection
............................ 6-23
Engine Compartment Overview
...................... 5-1 4
Overheating
................................................ 5-29
Starting
...................................................... 2-26
Supercharger Oil
......................................... 5-21
Engine Cooling When Trailer Towing
.................. 4-42
Emergency Trunk Release Handle
..................... 2-18
Emissions Inspection and Maintenance
Engine
Exhaust
..................................................... 2-36
Oil ............................................................. 5-15
Engine Compartment Fuse Block ...................... 5-92
Engine Coolant Level Check
............................. 6-18 Engine
Oil Additives
......, .......................... 5-19
Entry Lighting
................................................. 3-17
Erasing HomeLink@ Buttons
.............................. 2-45
Exterior Lamps
............................................... 3-13
Exterior Lighting Battery Saver
............... ... 3-16
Engine
Oil Level Check
..... ...................... 6-18
Express-Down Window
.................................... 2-20
Extender, Safety Belt
....................................... 1-26
F
FabridCarpet .........................
Filter
............. ... 5-82
Engine Air Cleaner
...................................... 5-22
Finding a
PTY Station (RDS and XMTM) ..... 3-75, 3-85
Finding a Station
.................................... 3-73, 3-83
Finish Care
.................................................... 5-86
Finish Damage
............................................... 5-87
Flash-To-Pass
.................................................. 3-8
Flat Tire
........................................................ 5-72
Flat Tire, Changing
......................................... 5-73
!=!zid
Automatic Transaxle ..................................... 5-23
Power Steering
........................................... 5-40
Windshield Washer
...................................... 5-40
FM Stereo
..................................................... 3-99
Fog Lamps
.................................................... 3-15
Following Distance
.......................................... 4-40
Footnotes ................................................ 6-7, 6-13
5