2003 PONTIAC BONNEVILLE buttons
[x] Cancel search: buttonsPage 173 of 418
TRIP RESET: This button allows you to reset your trip
odometer. To reset the trip odometer, press the
TRIP RESET button. The trip odometer will now
accumulate miles (kilometers) until the next reset.
MODE: This button allows you to toggle through the
DIC modes (Vehicle Data, Personalization Programming,
Compass Calibration).
SELECT: This button allows you to select a DIC mode.
RESET: This button, when used along with other
buttons, will allow you
to reset system functions.
Vehicle Data
Average Fuel Economy: Press the SELECT button
until the display shows AVG FUEL ECONOMY. Average
fuel economy is viewed as a long term approximation
of your overall driving conditions. To learn the average
fuel economy from a new starting point, press the
RESET button for five seconds while the average fuel
economy is displayed on the DIC.
Instantaneous Fuel Economy: Press the SELECT
button until the display shows INST FUEL ECONOMY.
Instantaneous fuel economy varies with your driving
conditions, such as acceleration, braking and the grade
of the road being traveled. The RESET button does
not function in this mode.
Fuel Range: Press the SELECT button until the display
shows FUEL RANGE. The fuel range will calculate
the remaining distance you can drive without refueling.
This calculation is based on the average fuel economy
for the last
25 miles (40.25 km) driven, and the fuel
remaining in the fuel tank. If the fuel range drops below
40 miles (64.4 km), the display will show FUEL
RANGE LOW. The RESET button does not function in
this mode.
Fuel Used: Press the SELECT button until the display
shows FUEL USED. The value indicates how much
fuel has been used since the last reset. Don’t confuse
fuel used with the amount of fuel in your tank. To
learn how much fuel
will be used from a specific starting
point, press
the RESET button for five seconds while
the fuel used is displayed on the DIC.
3-58
Page 175 of 418
DIC Warnings and Messages
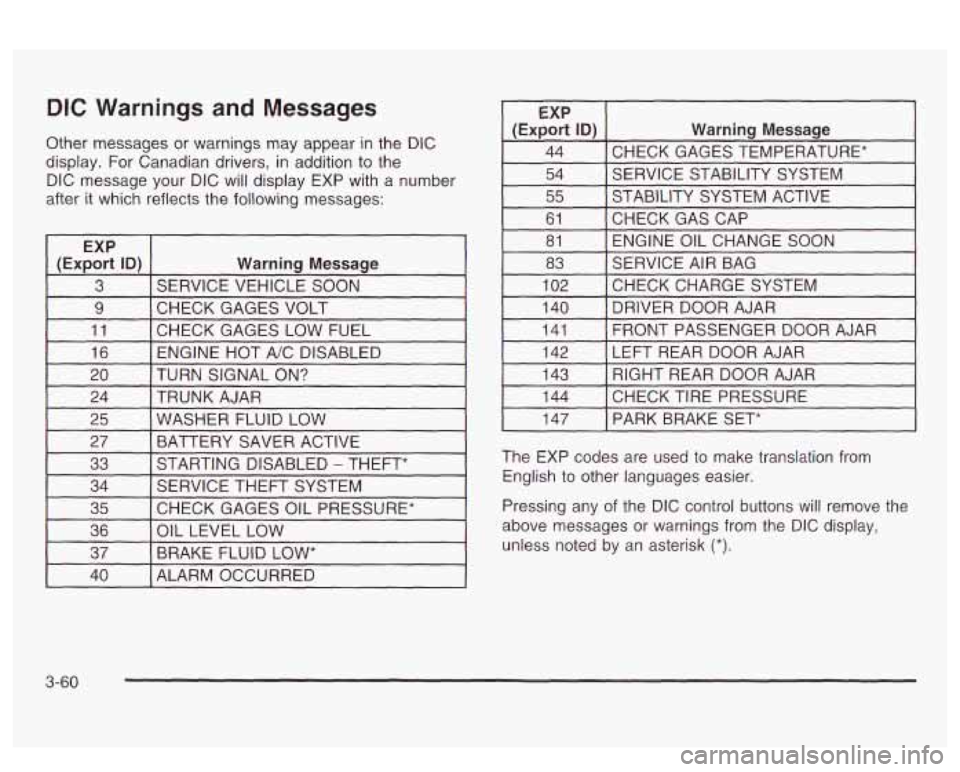
Other messages or warnings may appear in the DIC
display. For Canadian drivers, in addition to the
DIC message your DIC will display EXP with a number
after it which reflects the following messages:
~
EXP
(Export
ID) Warning Message
3 SERVICE VEHICLE SOON
9 I CHECK GAGES VOLT I I
11 [CHECK GAGES LOW FUEL 1
16 I ENGINE HOT A/C DISABLED I
EXP
(Export
ID) Warning Message
44 CHECK GAGES TEMPERATURE* ~~ ~
54 SERVICE STABILITY SYSTEM
55 STABILITY SYSTEM ACTIVE
61 ENGINE OIL CHANGE SOON
81
CHECKGASCAP
83
CHECKCHARGESYSTEM
102 SERVICE
AIR BAG
I 140 I DRIVER DOOR AJAR I
141
LEFT REAR DOOR AJAR
142 FRONT PASSENGER
DOOR AJAR
20 TRUNK AJAR
24 TURN SIGNAL
ON? 143
CHECK TIRE PRESSURE 144 RIGHT REAR DOOR AJAR
25 BATTERY SAVER ACTIVE
27
WASHER FLUID LOW
33
CHECK GAGES OIL PRESSURE*
35 SERVICE
THEFT SYSTEM
34 STARTING DISABLED
- THEFT*
36
BRAKE FLUID
LOW* 37
OIL
LEVEL LOW
I 147 I PARK BRAKE SET*
The EXP codes are used to make translation from
English to other languages easier.
Pressing any of the DIC control buttons
will remove the
above messages or warnings from the DIC display,
unless noted by an asterisk
(*).
40 I ALARM OCCURRED
3-60
Page 176 of 418
SERVICE STABILITY SYSTEM - 54: If you ever see
the SERVICE STABILITY SYSTEM message,
it
means there may be a problem with your stability
enhancement system.
If you see this message, try to
reset the system (stop; turn
off the engine; then start the
engine again).
If the SERVICE STABILITY SYSTEM
message still comes on, it means there is a problem.
You should see your dealer for service. Reduce
your speed and drive accordingly.
STABILITY SYSTEM ACTIVE - 55: You may see the
STABILITY SYSTEM ACTIVE message on the Driver
Information Center. It means that an advanced,
computer-controlled system has come on to help your
vehicle cmtinue to
go in the direction in which you’re
steering. This stability enhancement system activates
when the computer senses that your vehicle
is just
starting to spin, as it might
if you hit a patch of ice or
other slippery spot
on the road. When the system is on,
you may hear a noise or feel a vibration in the brake
pedal. This is normal.
When the STABILITY SYSTEM ACTIVE message
is on,
you should continue to steer in the direction you want
to go. The system is designed to help you in bad
weather or other difficult driving situations by making the
most
of whatever road conditions will permit. If the
STABiLiiY SYSTEM ACTIVE message comes on, you’!!
know that something has caused your vehicle to start
to spin,
so you should consider slowing down.
Tire Pressure Status - 144: If you see the CHECK
TIRE PRESSURE message, you should stop as soon as
you can and check all your tires for damage. (If a tire
is flat, see
If a Tire Goes Flat on page 5-72.) Also check
the tire pressure in all four tires as soon as you can.
See
inflation -- lire Pressure on page 5-62 and Check
Tire Pressure System
on page 5-64.
Driver Identifier DIC Display
This feature allows two different drivers to store and
recall their own preferred display mode. The
personalization settings displayed
on the DIC are
determined by the transmitter used to enter the vehicle.
After the uniock button
on a remote keyless entry
transmitter (if equipped) is pressed and the ignition is
in
ON, the DIC will display the identified driver. The
settings can also be changed by briefly pressing one of
the MEMORY buttons located on the driver’s door.
The DIC is used to program information for DRIVER
#I
UNKNOWN DRIVER if they are neither DRIVER #I nor
DRIVER
#2.
1 --a* .un TI^ nbfi ... :II :A~...+;$., ,-,~orp.,n Qc ~[IU unlvcn ft~. I IIZ UIU vvII1 luGltrl~y S r)bld-aI --
3-61
Page 188 of 418
Set the volume at the desired level. Press this button to
select MIN, MED or MAX. Each higher choice allows
for more volume compensation at faster vehicle speeds.
Then, as you drive, SCV automatically increases the
volume, as necessary, to overcome noise at any speed.
The volume level should always sound the same to
you as you drive.
If you don’t want to use SCV,
select
OFF.
RCL (Recall): Push this knob to switch the display
between the radio station frequency and the time.
Pushing this knob with the ignition off will display the
time.
For
XMTM (USA only, if your radio is equipped with
XMTM Satellite Radio Service), pressing this button while
in XMTM mode to retrieve various pieces of information
related to the current song or channel. By pressing
and releasing the RCL knob, you may retrieve
four different categories of information: Artist, Song
Title, Category or PTY, Channel Number/ Cnannei hame.
To change the default on the display, push the knob
until you see the display you want, then hold the knob
until the display flashes. The selected display will
now be the default.
Finding a Station
BAND: Press this button to switch between AM, FM,
FM2, or XMI, XM2 (USA only,
if your radio is equipped
with XMTM Satellite Radio Service). The display will
show your selection.
TUNE: Turn this knob to choose radio stations.
A SEEK v : Press the up or the down arrow to go to
the next or to the previous station and stay there.
The radio will seek only to stations that are in the
selected band and only to those with a strong signal.
SCAN v : Press and hold one of the SCAN arrows
for two seconds until SCAN appears on the display
and you hear a beep. The radio will go to a station, play
for a few seconds, then go on to the next station.
Press one of the SCAN arrows again to stop scanning.
To scan preset stations, press and hold one of the
SCAN arrows for more man Tour seconas uniii FSGAi<
and the preset number appear on the display. You
will hear a double beep. The radio will go to the first
preset station stored on your pushbuttons, play for a few
seconds, then go on to the next preset station. Press
one of the SCAN arrows again to stop scanning presets.
The radio will scan only to stations that are
in the
selected band and only to those with a strong signal.
3-73
Page 189 of 418
Setting Preset Stations
The six numbered pushbuttons let you return to your
favorite stations. You can set up to
30 stations (six AM,
six FM1 and six FM2, six XM1 and six XM2
(USA
only, if your radio is equipped with the XMTM Satellite
Radio Service), by pedorming the following steps:
1. Turn the radio on.
2. Press BAND to select AM, FMI or FM2,
3. Tune in the desired station.
4. Press EQ to select the equalization.
5. Press and hold one of the six numbered
or
XMl, XM2.
pushbuttons until you hear a beep. Whenever you
press that numbered pushbutton, the station
you set
will return and the equalization that you
selected will also be automatically selected for that
pushbutton.
6. Repeat the steps for each pushbutton.
Setting the Tone (Bassnreble)
TONE: Press and release this button until BASS, MID
or TREB appears on the display. The SELECT LED
indicator
will light to show that the tone control can be
adjusted. Turn the SELECT knob to increase or
to
decrease. If a station is weak or noisy, you may want to
decrease the treble. To
adjust all of the tone controls
to the middle position,
press and hold TONE until FLAT appears on the
display.
EQ (Equalizer): Press this button to select customized
bass, mid and treble equalization settings.
You can set up to six customized equalization settings
by performing the following steps:
1.
2.
3.
4.
5.
6. Turn
the radio on.
Use the TONE button and the SELECT knob to
create the desired equalization.
Press and hold the
EQ button for two seconds.
SELECT EQ
# will appear on the display and the
EQ symbol will flash.
Press EQ or turn the
SELECT knob to select the
desired EQ number.
Press and hold the EQ button or push the SELECT
knob
to store the equalization setting and the
number. You will hear
a beep and EQ SAVED will
appear on the display.
Repeat the steps for the other
EQ settings and
numbers.
EQ
5 has been programmed at the factory for use with
talk radio, but it can be preset
to a different tone.
3-74
Page 191 of 418
BAND (Alternate Frequency): Alternate frequency
allows the radio to switch to a stronger station with the
same programming. Press and hold
BAND for two
seconds to turn alternate frequency on. AF ON
will appear on the display. The radio may switch to
stronger stations. Press and hold BAND again for two
seconds to turn alternate frequency off. AF OFF
will appear on the display. The radio will not switch to
other stations.
This function does not apply for
XMTM.
Setting Preset PTYs (RDS Only)
The six numbered pushbuttons let you return to your
favorite program types (PTYs). These pushbuttons have
factory PTY presets.
You can set up to 12 PTYs
(six FMI and six
FM2) by performing the following steps:
1. Press BAND to select FM1 or FM2.
2. Press PROG TYPE, if it is not already on.
3. Turn the SELECT knob to select a PTY
4. Press and hold one of the six numbered
pushbuttons until you hear a beep. Whenever you
press that numbered pushbutton, the PTY you
set will return.
RDS Messages
ALERT!: Alert warns of national or local emergencies.
When an alert announcement comes on the current
radio station, ALERT! will appear on the display. You will
hear the announcement, even
if the volume is muted
or a compact disc is playing.
If the compact disc player
is playing, play will stop during the announcement.
You will not be able to turn off alert announcements.
ALERT! will not be affected by tests of the emergency
broadcast system. This feature is not supported by
all RDS stations.
INFO (Information): If the current station has a
message, INFO will appear on the display. Press this
button to see the message. The message may display
the artist and song title, call in phone numbers, etc.
If the whole message is not displayed, parts of it
will appear every three seconds. To scroll through the
message at your own speed, press the INFO button
repeatedly. A new group of words will appear on
the display with each press. Once the complete
message has been displayed, INFO will disappear from
the display until another new message is received.
The old message can be displayed by pressing
the INFO button until a new message is received or a
different station is tuned to.
5. Repeat the steps for each pushbutton.
3-76
Page 198 of 418
Set the volume at the desired level. Press this button to
select MIN,
MED or MAX. Each higher choice allows
for more volume compensation at faster vehicle speeds.
Then, as you drive,
SCV automatically increases the
volume, as necessary, to overcome noise at any speed.
The volume level should always sound the same to
you as you drive.
If you don’t want to use SCV,
select OFF.
RCL (Recall): Push this knob to switch the display
between the radio station frequency and the time.
Pushing this knob with the ignition off will display
the time.
For XMTM (USA only, if your radio is equipped with
XMTM Satellite Radio Service), pressing this button while
in XMTM mode to retrieve various pieces of information
related to the current song or channel. By pressing
and releasing the RCL knob, you may retrieve
four different categories of information: Artist, Song
Title, Category or PTY, Channel Number/
Cnannei iiame.
To change the default on the display, push the knob
until you see the display you want, then hold the knob
until the display flashes. The selected display will
now be the default.
Finding a Station
BAND: Press this button to switch between AM, FM1,
FM2, or XM1,
XM2 if your radio is equipped with
XM Satellite Radio Service. The display will show your
selection.
TUNE: Turn this knob to choose radio stations.
A SEEK v : Press the up or the down arrow to go to
the next or to the previous station and stay there.
The radio will seek only to stations that are in the
selected band and only to those with a strong signal.
A SCAN v : Press and hold one of the SCAN arrows
for two seconds until SCAN appears on the display
and you hear a beep. The radio will
go to a station, play
for a few seconds, then go on to the next station.
Press one of the SCAN arrows again to stop scanning.
To scan preset stations, press and hold one of the
SCAN arrows for more than four seconds until
PSCAN
and the preset number appear on the display. You
will hear a double beep. The radio will go to the first
preset station stored on your pushbuttons, play for
a few
seconds, then go on to the next preset station. Press
one of the SCAN arrows again to stop scanning presets.
The radio will scan only to stations that are in the
selected band and only to those with a strong signal.
3-83
Page 199 of 418
Setting Preset Stations
The six numbered pushbuttons let you return to your
favorite stations. You can set up to
30 stations (six AM,
six FMI and six FM2, six XMI and six XM2
if your
radio is equipped with the XM Satellite Radio Service)
by performing the following steps:
1. Turn the radio on.
2. Press BAND to select AM, FMI or FM2,
3. Tune in the desired station.
4. Press EQ to select the equalization.
5. Press and hold one of the six numbered
XMI
or XM2.
pushbuttons until you hear a beep. Whenever you
press that numbered pushbutton, the station
you set will return and the equalization that you
selected will also be automatically selected for that
pushbutton.
6. Repeat the steps for each pushbutton.
Setting the Tone (Bassnreble)
TONE: Press and release this button until BASS, MID
or TREB appears on the display. The SELECT LED
indicator will light to show that the tone control can be
adjusted. Turn the SELECT knob to increase or to
decrease.
If a station is weak or noisy, you may want to
decrease the treble. To
adjust all of the tone controls to the middle position,
press and hold TONE until FLAT appears on the
display.
EQ
(Equalizer): Press this button to select customized
bass, mid and treble equalization settings.
You can set
up to six customized equalization settings
by performing the following steps:
1.
2.
3.
4.
5.
6.
Turn the radio on.
Use the TONE button and the SELECT knob to
create the desired equalization.
Press and hold the EQ button for two seconds.
SELECT EQ
# will appear on the display and the
EQ symbol will flash.
Press the
EQ button or turn the SELECT knob to
select the desired EQ setting number.
Press and hold the EQ button or push the SELECT
knob to store the equalization setting and the
number. You will hear a beep and EQ SAVED
will
appear on the display.
Repeat the steps for the other EQ settings and
numbers.
EQ 5 has been programmed at the factory for use with
talk radio, but it can be set to a different tone.
3-84