2003 PONTIAC BONNEVILLE check engine
[x] Cancel search: check enginePage 88 of 418
PASS-Key@ 111 Operation
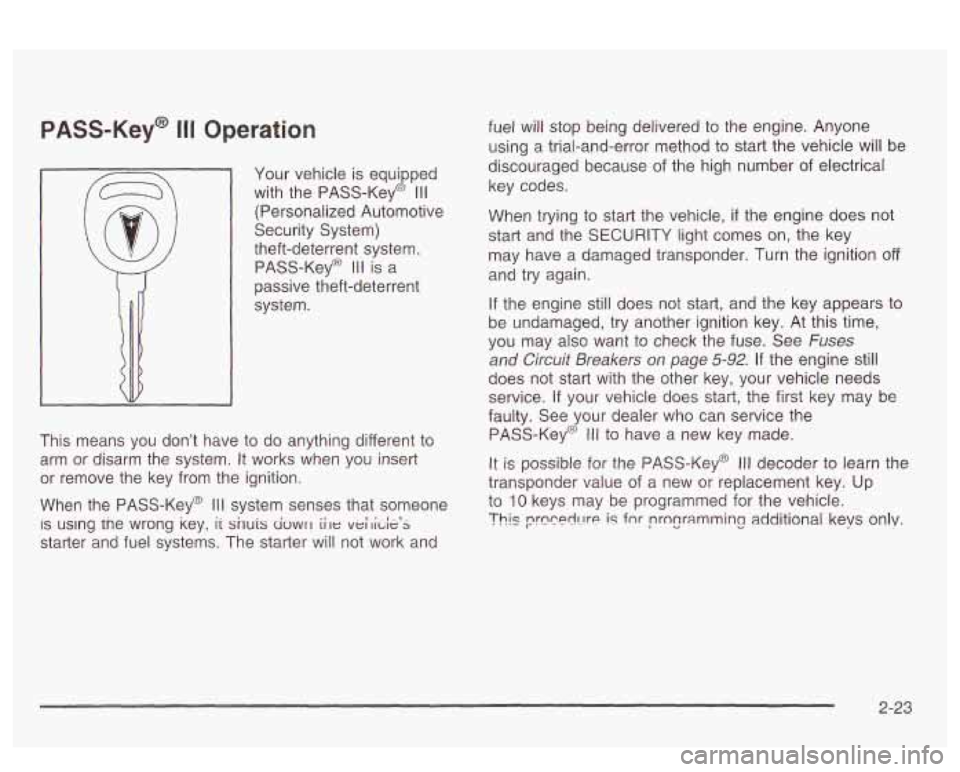
Your vehicle is equipped
with the PASS-Key@
Ill
(Personalized Automotive
Security System)
theft-deterrent system.
PASS-Key@
I II is a
passive theft-deterrent
system.
This means you don’t have
to do anything different to
arm or disarm the system. It works when you insert
or remove the key from the ignition.
When the PASS-Key@
Ill system senses that someone
IS using tne wrong key, ii snuis civwrl iile veilide’s
starter and fuel systems. The starter will not work and fuel will stop being delivered to the
engine. Anyone
using a trial-and-error method to start the vehicle will be
discouraged because of the high number
of electrical
key codes.
When trying to start the vehicle,
if the engine does not
start and the SECURITY light comes on, the key
may have a damaged transponder. Turn the ignition
off
and try again.
If the engine
still does not start, and the key appears to
be undamaged, try another ignition key. At this time,
you may also want to check the fuse. See
Fuses
and Circuit Breakers on page 5-92. If the engine still
does not start with the other key, your vehicle needs
service.
ii your vehicle does star?, the first key ~ay be
faulty. See your dealer who can service the
PASS-Key@
Ill to have a new key made.
It is possible for the PASS-Key@ Ill decoder to learn the
transponder value of a new or replacement key. Up
to
10 keys may be programmed for the vehicle.
Thls prccerll-!re is fnr programming additional keys only.
2-23
Page 92 of 418
Notice: Holding your key in START for longer than
15 seconds at a time will cause your battery to
be drained much sooner. And the excessive heat
can damage your starter motor. Wait about
15
seconds between each try to help avoid draining
your battery
or damaging your starter.
2. If it doesn’t start within 10 seconds, hold your key in
START for about
10 seconds at a time until your
engine starts. Wait about 15 seconds between
each try.
stops), it could be flooded with too much gasoline.
Try pushing your accelerator pedal all the way to the
floor and holding it there as you hold the key
in
START for about three seconds. If the vehicle starts
briefly but then stops again, do the same thing.
This time keep the pedal down for five or six
seconds to clear the extra gasoline from the engine.
After waiting about 15 seconds, repeat the normal
starting procedure.
3. If your engine still won’t start (or starts but then
Notice: Your engine is designed to work with the
electronics
in your vehicle. If you add electrical
parts or accessories, you could change the way the
engine operates. Before adding electrical equipment,
check with your dealer. If you don’t, your engine might not perform properly.
Engine Coolant Heater
If your vehicle has this feature, in very cold weather,
0°F (-18°C) or colder, the engine coolant heater
can help. You’ll get easier starting and better fuel
economy during engine warm-up. Usually, the coolant
heater should be plugged in a minimum of four
hours prior to starting your vehicle. At temperatures
above
32°F (OOC), use of the coolant heater is not
required.
2-27
Page 116 of 418
Section 3 Instrument Panel
Instrument Panel Overview ............................... 3.4
Hazard Warning Flashers
................................ 3.5
Other Warning Devises
................................... 3.6
Horn
............................................................. 3.6
Tilt Wheel
..................................................... 3.6
Turn SignaVMultifunction Lever
......................... 3.7
Exterior Lamps
............................................. 3.13
Interior Lamps
.............................................. 3.16
Head-Up Display (HUD)
................................. 3-21
Accessory Power Outlets
............................... 3.23
Ashtrays and Cigarette Lighter
........................ 3.24
Ciimate Controls ............................................ 3.25
Climate Control System ................................. 3.25
Automatic Climate Control System
................... 3.28
Outlet Adjustment
......................................... 3.32
Climate Controls Personalization
..................... 3.33
Warning Lights, Gages and Indicators ............. 3.34
Instrument Panel Cluster
................................ 3-35
Speedometer and Odometer
-8-38
Tachometer ................................................. 3.39
Safety Belt Reminder Light
............................. 3.39
. -- ..........................
Air Bag Readiness Light ............................. 3.40
Battery Warning bight
.................................... 3-41
Voltmeter Gage
............................................ 3-41
Brake System Warning Light
.......................... 3-42
Warning Light
........................................... 3-43
Traction Control System (TCS) Warning Light
...... 3-43
Low Traction Active Light ............................... 3-44
Engine Coolant Temperature Gage
.................. 3-45
Tire Pressure Light
....................................... 3-46
Anti-Lock
Brake System
Malfunction Indicator Lamp
....... ............... 3-46
Oil Pressure Gage
.................. ............... 3-49
Check Oil Level Light
J-50
Low Washer Fluid Warning Light ..................... 3-51
n ....................................
Security Light ............................................... 3-51
Check Gages Warning Light
........................... 3-51
Door Ajar Light
............................................. 3-52
Trunk Ajar Light
............................................ 3-52
............... 3-53
Fuel Gage
............................. ............... 3-53
Boost Gage
....................... ................... 3-54
Cnnrirn vu, Y . "1 \!nhirlo I . ..-.- Snnn - - - . lizht . ~
3- 1
Page 138 of 418
If you can’t see the HUD image when the ignition is on,
check to see
if:
0 The HUD unit is covered,
0 the HUD INTENSITY knob is adjusted correctly,
0 the HUD image is adjusted to the proper height, or
a fuse in the fuse panel may have blown. See
Fuses and Circuit Breakers on page 5-92.
If the HUD image is not clear, it could be too bright.
Move the HUD INTENSITY knob counterclockwise. You
may need to clean the windshield and HUD lens.
Your windshield is part of the HUD system. If you ever
have to have a new windshield, be sure to get one
designed for HUD.
If you don’t, the HUD image may look
blurred and out of focus.
Accessory Power Outlets
If your vehicle has a front console, the accessory power
outlet
(1 2-volt ) is located at the rear of the front
console.
If your vehicle has a floor console, the outlet is
located at the rear of the floor console. To
use the outlet, remove the protective cap which
covers it. When not using it, always cover the outlet with
the protective cap.
The accessory power outlet will only operate when the
ignition key
is in ON and for 10 minutes after turning
the ignition OFF. If you would like the accessory power
outlet to operate regardless of ignition position, and
for extended periods of time, see “Engine Compartment
Fuse
Block” under Fuses and Circuit Breakers on
page 5-92 or see your dealer for more information.
Nofice: When using an accessory power outlet,
maximum electrical load must not exceed
15 amps.
Always turn
off any electrical equipment when
not in use. Leaving electrical equipment on for
extended periods will drain your battery.
Certain electrical accessories may not be compatible
with the accessory power outlet and could result
in blown vehicle or adapter fuses.
If you experience a
problem, see your dealer for additional information
on accessory power outlets.
3-23
Page 139 of 418
Notice: Adding some electrical equipment to your
vehicle can damage
it or keep other things from
working as they should. This wouldn’t be covered by
your warranty. Check with your dealer before adding electrical equipment, and never use anything
that exceeds the amperage rating.
When adding electrical equipment, be sure to follow the
proper installation instructions included with the
equipment.
Notice: Power outlets are designed for accessory
plugs only.
Do not hang any type of accessory
or accessory bracket from the plug. Improper use of
the power outlet can cause damage not covered
by your warranty.
Ashtrays and Cigarette Lighter
Push down on the cover to reveal the front ashtray.
To clean the ashtray,
lift it out by pulling on the finger
holes on each side.
On models without a console, an ashtray is located
underneath the instrument panel.
To clean the ashtray,
lift it out by pulling up on the tabs on either side.
It snaps back into place.
To open a rear ashtray, lift the cover
Notice: Don’t put papers or other flammable
items into your ashtrays. Hot cigarettes or other
smoking materials could ignite them, causing
a damaging fire.
The cigarette lighter is located next to the storage tray.
To use a lighter, just push the center in all the way
and let
it go. When it is ready, the center will pop back
out by itself. Pull out the entire unit to use it.
Notice: Don’t hold a cigarette lighter in with your
hand while
it is heating. If you do, it won’t be able to
back away from the heating element when it’s
ready. That can make
it overheat, damaging the
lighter and the heating element.
The cigarette lighter will only operate when the ignition
key is in
ON and for 10 minutes after turning the
ignition
OFF. If you would like the lighter to operate
regardless of ignition position, and for extended periods
of time, see “Engine Compartment Fuse Block under
Fuses and Circuit Breakers on page 5-92 or see
your dealer.
3-24
Page 149 of 418
Warning Lights, Gages and
Indicators
This part describes the warning lights and gages that
may be on your vehicle. The pictures will help you
locate them.
Warning lights and gages can signal that something is
wrong before it becomes serious enough to cause
an expensive repair or replacement. Paying attention to
your warning lights and gages could also save you
or others from injury.
Warning lights come on when there may be or is a
problem with one of your vehicle’s functions.
As you will
see
in the details on the next few pages, some
warning lights come on briefly when you start the
engine just to let you know they’re working.
If you are
familiar with this section, you should not be alarmed
when this happens. Gages
can indicate when there may be or
is a problem
with one
of your vehicle’s functions. Often gages
and warning lights work together to let you know when
there’s a problem with your vehicle.
When one of the warning lights comes on and stays on
when you are driving,
or when one of the gages
shows there may be a problem, check the section that
tells you what to do about
it. Please follow this
manual’s advice. Waiting to
do repairs can be
costly
- and even dangerous. So please get to know
your warning lights and gages. They’re
a big help.
Your vehicle may also have a
DIG that works along with
the warning lights and gages. See
Driver lnformation
Center
(DIC) on page 3-57.
The volume of your vehicle’s warning chimes can be
adjusted. For information see
Chime Level Adjustment
on page 3- 10 1.
3-34
Page 156 of 418
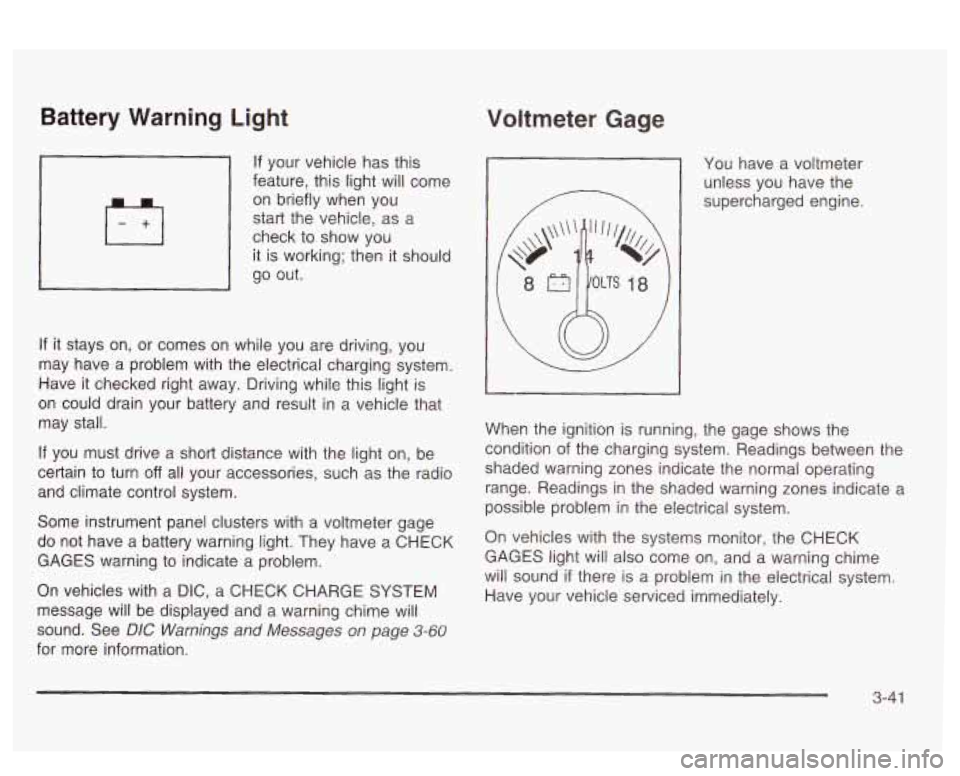
Battery Warning Light
If your vehicle has this
feature, this light will come
on briefly when you
start the vehicle, as a
check to show you
it is working; then it should
go out.
If it stays on, or comes on while you are driving, you
may have a problem with the electrical charging system.
Have
it checked right away. Eriving while this light is
on could drain your battery and result in a vehicle that
may stall.
If you must drive a short distance with the light on, be
certain to turn
off all your accessories, such as the radio
and climate control system.
Some instrument panel clusters with a voltmeter gage
do not have a battery warning light. They have a CHECK
GAGES warning to indicate a problem.
On vehicles with a DIC, a CHECK CHARGE SYSTEM
message will be displayed and a warning chime will
sound. See
DIC Warnings and Messages on page 3-60
for more information.
Voltmeter Gage
You have a voltmeter
unless you have the
supercharged engine.
When the ignition is running, the gage shows the
condition
of the charging system. Readings between the
shaded warning zones indicate the normal operating
range. Readings in the shaded warning zones indicate a
possible problem in the electrical system.
On vehicles with the systems monitor, the CHECK
GAGES light will also come on, and a warning chime
will sound
if there is a problem in the electrical system.
Have your vehicle serviced immediately.
3-41
Page 160 of 418
The optional Traction Control System is active and
is limiting wheel spin. You may feel the system
working, but this is normal. Slippery road conditions
may exist,
so adjust your driving accordingly.
If the LOW TRAC light comes on, slippery road
conditions may exist,
so you should consider slowing
down and adjusting your driving accordingly.
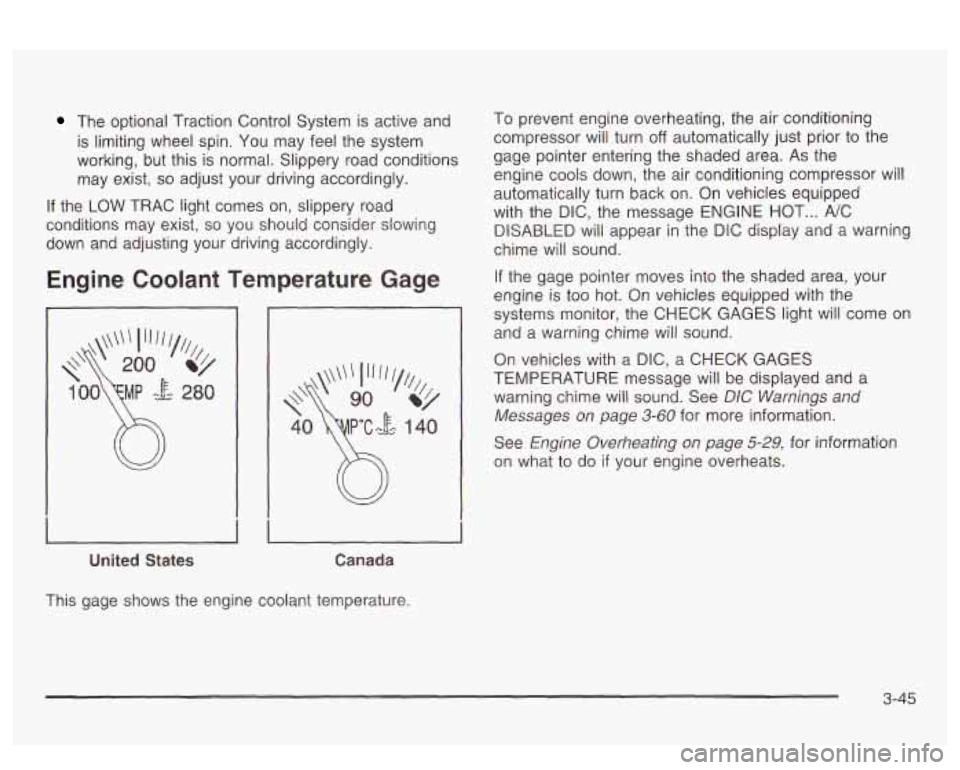
Engine Coolant Temperature Gage
United States Canada
To prevent engine overheating, the air conditioning
compressor will turn
off automatically just prior to the
gage pointer entering the shaded area. As the
engine cools down, the air conditioning compressor will
automatically turn back on. On vehicles equipped
with the DIC, the message ENGINE HOT
... NC
DISABLED will appear in the DiC display and a warning
chime will sound.
If the gage pointer moves into the shaded area, your
engine is too hot.
On vehicles equipped with the
systems monitor, the CHECK GAGES light will come
on
and a warning chime will sound.
On vehicles with a
DIC, a CHECK GAGES
TEMPERATURE message will be displayed and a
warning cnime wili sound.
See DIC bVamiisgs and
Messages on page 3-60 for more information.
See
Engine Overheating on page 5-29, for information
on what to do
if your engine overheats.
This gage shows the engine coolant temperature.
3-45