2003 PONTIAC BONNEVILLE turn signal
[x] Cancel search: turn signalPage 77 of 418
Delayed Locking
This feature lets the driver delay the actual locking of
the vehicle. When the driver’s power door lock switch or
the remote keyless entry lock button is pressed, with
the key removed from the ignition and the driver’s door
open, a chime will sound three times to signal that
the delayed locking system
is active. When all doors
have been closed, the doors will lock automatically after
five seconds.
If any door is opened before this, the
five-second timer will reset itself once all the doors have
been closed again.
Pressing a power door lock switch or the remote
keyless entry lock button again will override this feature.
Personalization Programming
The delayed locking feature can be turned on or off.
If your vehicle is not equipped with remote keyless
entry, the delayed locking feature can be turned on
or
off by using the following procedure:
1. Keep all doors closed, the vehicle in PARK (P) and
the ignition on throughout this procedure.
2. Press and hold the driver’s power door lock switch
in LOCK through Step
4.
3. Cycle the parking lamp switch from off to on six
times. On the sixth cycle, the doors will unlock to
confirm that the feature has been turned on.
Your doors will remain locked
if delayed locking is
off. If the doors unlock, delayed locking is on.
switch once more.
A locking action will confirm
the new mode.
4. To change modes, cycle the parking lamp
5. Release the power door lock switch.
If your vehicle is equipped with the Driver Information
Center
(DIC), you must program this feature through the
DIC. See
DIC Vehicle Personalization on page 3-62.
2-1 2
Page 108 of 418
Programming the HomeLinkB
Transmitter
Do not use the HomeLink@ Transmitter with any garage
door opener that does not have the “stop and reverse”
feature. This includes any garage door opener model
manufactured before April
1, 1982.
Keep the original transmitter for use in other vehicles as
well as for future HomeLink@ programming. It is also
recommended that upon the sale of the vehicle,
the programmed HomeLink@ buttons should be erased
for security purposes. Refer to “Erasing HomeLink@
Buttons” or, for assistance, contact HomeLink@ on the
internet at: www.homelink.com or by calling
1 -800-355-351 5.
Be sure that people and objects are clear of the garage
door or gate operator you are programming. When
programming a garage door, it is advised to park outside
of the garage.
It is recommended that a new battery be installed in
your hand-held transmitter for quicker and more
accurate transmission of the radio frequency. Your vehicle’s engine should
be turned
off while
programming the transmitter. Follow these steps to
program up to three channels:
1. Press and hold down the two outside buttons,
releasing only when the indicator light begins to
flash, after
20 seconds. Do not hold down the
buttons for longer than
30 seconds and do not
repeat this step to program
a second and/or third
transmitter to the remaining two HomeLink@ buttons.
2. Position the end of your hand-held transmitter about
1 to 3 inches (3 to 8 cm) away from the HomeLink@
buttons while keeping the indicator light in view.
3. Simultaneously press and hold both the desired
button on HomeLink@ and the hand-held transmitter
button.
Do not release the buttons until Step 4
has been completed.
Some entry gates and garage door openers may
require you to substitute Step
3 with the procedure
noted in “Gate Operator and Canadian
Programming” later in this section.
4. The indicator light wiii tiasn siowiy at iirsi and iilerl
rapidly after HomeLink@ successfully receives the
frequency signal from the hand-held transmitter.
Release both buttons.
2-43
Page 109 of 418
5. Press and hold the newly-trained HomeLink@ button
and observe the indicator light.
If the indicator light stays on constantly,
programming is complete and your device should
activate when the HomeLink@ button is pressed and
released.
To program the remaining two HomeLink@ buttons,
begin with Step
2 under “Programming HomeLink@.”
Do not repeat Step 1 as this will erase all of the
programmed channels.
If the indicator light blinks rapidly for two seconds
and then turns to a constant light, continue with
Steps
6 through 8 following to complete the
programming
of a rolling-code equipped device
(most commonly, a garage door opener).
6. At the garage door opener receiver (motor-head
unit) in the garage, locate the “Learn” or “Smart”
button. This can usually be found where the hanging
antenna wire is attached to the motor-head unit.
7. Firmly press and release the “Learn” or “Smart”
button. The name and color
of the button may
vary by manufacturer.
You will have
30 seconds to start Step 8.
8. Return to the vehicle. Firmly press and hold the
programmed HomeLink@ button for two seconds,
then release. Repeat the press/hold/release
sequence a second time, and depending on the
2-44
brand of the garage door opener (or other rolling
code device), repeat this sequence
a third time
to complete the programming.
HomeLink@ should now activate your rolling code
equipped device.
To program the remaining two HomeLink@ buttons,
begin with Step
2 of “Programming HomeLink@.” Do not
repeat Step
1.
Gate Operator and Canadian
Programming
Canadian radio-frequency laws require transmitter
signals
to “time out” or quit after several seconds of
transmission. This may not be long enough for
HomeLink@ to pick up the signal during programming.
Similarly, some
U.S. gate operators are manufactured to
“time out” in the same manner.
If you live in Canada, or you are having difficulty
programming a gate operator by using the
“Programming HomeLink@’ procedures (regardless
of
where you live), replace Step 3 under “Programming
HomeLink@’ with the following:
Continue to press and hold the HomeLink@ button while
you press and release every two seconds (cycle)
your hand-held transmitter until the frequency signal has
been successfully accepted by HomeLink@. The
indicator light will flash slowly at first and then rapidly.
Proceed with Step
4 under “Programming HomeLink@“
to complete.
Page 110 of 418
Using HomeLink@
Press and hold the appropriate HomeLink@ button for at
least half of a second. The indicator light will come
on while the signal is being transmitted.
Erasing HomeLink@ Buttons
To erase programming from the three buttons do the
following:
1. Press and hold down the two outside buttons until
the indicator light begins to flash, after
20 seconds.
2. Release both buttons. Do not hold for longer than
HomeLink@ is now in the train jiearning) mode
and can
be programmed at any time beginning with Step
2
under “Programming HomeLink@.”
30 seconds.
Individual buttons can not be erased, but they can be
reprogrammed. See “Reprogramming a Single
HomeLink@ Button” next.
Reprogramming a Single HomeLink@
Button
To program a device to HomeLink@ using a HomeLink@
button previously trained, follow these steps:
1. Press and hold the desired HomeLink@ button.
Do not release the button.
2. The indicator light will begin to flash after
20 seconds. While still holding the HomeLink@
button, proceed with Step
2 under “Programming
HomeLink@.”
Resetting Defaults
1. Hold down the two outside buttons for about
20 seconds until the indicator light begins to flash.
2. Continue to hold both buttons until the HomeLink@
indicator light turns
off.
3. Release both buttons.
For questions or comments, contact HomeLink@ at
1-800-355-351 5, or on the internet at
www.homelink.com.
2-45
Page 120 of 418
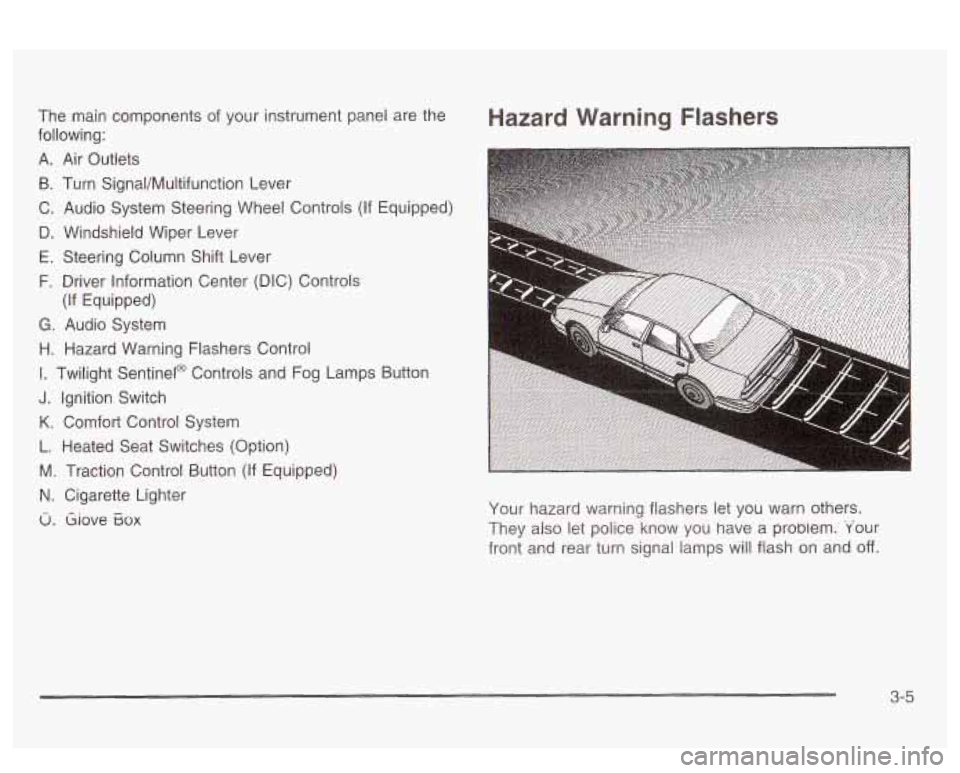
The main components of your instrument panel are the
following:
A. Air Outlets
B. Turn Signal/Multifunction Lever
C. Audio System Steering Wheel Controls (If Equipped)
D. Windshield Wiper Lever
E. Steering Column Shift Lever
F. Driver Information Center (DIC) Controls
G. Audio System
H. Hazard Warning Flashers Control
I. Twilight Sentinel@ Controls and Fog Lamps Button
J. Ignition Switch
K. Comfort Control System
L. Heated Seat Switches (Option)
M. Traction Control Button (If Equipped)
N. Cigarette Lighter
u. Giove Eox
(If Equipped)
Hazard Warning Flashers
Your hazard warning flashers let you warn others.
They also let police know you have a probiem. 'Your
front and rear turn signal lamps will flash on and
off.
3-5
Page 121 of 418
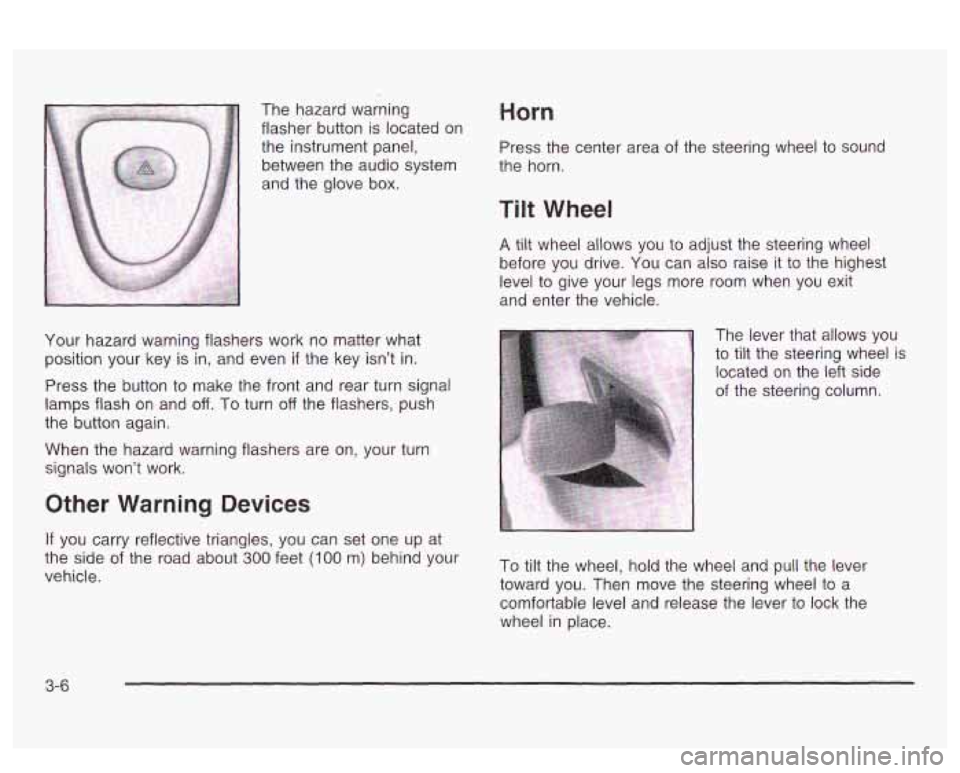
The hazard warning
flasher button is located on
the instrument panel,
between the audio system
and the glove box. Horn
Press the center area of the steering wheel to sound
the horn.
Tilt Wheel
A tilt wheel allows you to adjust the steering wheel
before you drive. You can
also raise it to the highest
level to give your legs more room when you exit
and enter the vehicle.
Your hazard warning flashers work no matter what
position your key is
in, and even if the key isn't in.
Press the button to make the front and rear turn signal
lamps flash on and off. To turn off the flashers, push
the button again.
When the hazard warning flashers are on, your turn
signals won't work. The lever that allows you
to
tilt the steering wheel is
located
on the left side
of the steering column.
Other Warning Devices
If you carry reflective triangles, you can set one up at
vehicle.
the side Of the road about 300 feet (loo m, behind your To tiit the wheel, hold the wheel and pull the lever
toward you. Then move the steering wheel to a
comfortable level and release the lever to lock the
wheel in place.
3-6
Page 122 of 418
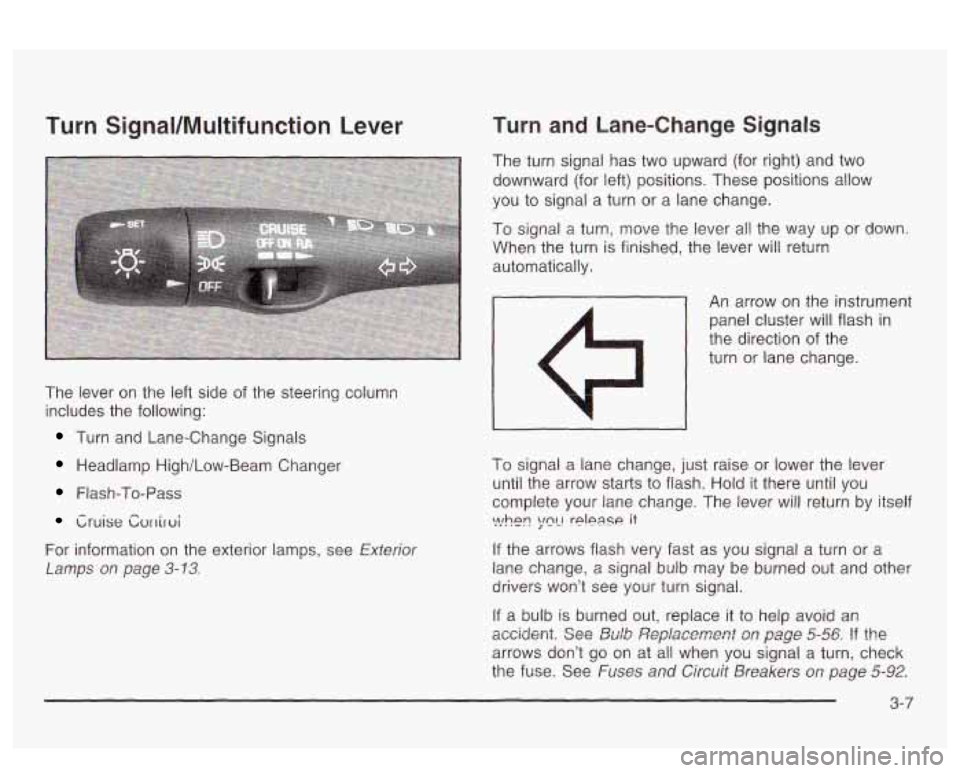
Turn Signal/Nlultifunction Lever
The lever on the left side of the steering column
includes the following:
Turn and Lane-Change Signals
Headlamp High/Low-Beam Changer
Flash-To-Pass
Cruise Cvrriroi
For information on the exterior lamps, see Exterior
Lamps
on page 3-13.
Turn and Lane-Change Signals
The turn signal has two upward (for right) and two
downward (for left) positions. These positions allow
you
to signal a turn or a lane change.
To signal a turn, move the lever all the way up or down.
When the turn is finished, the lever will return
automatically.
- An arrow on the instrument
panel cluster will flash in
the direction of the
turn or lane change.
I
To signal a lane change, just raise or lower the lever
until the arrow starts to flash. Hold
it there until you
complete your lane change. The lever will return by itself
If the arrows flash very fast as you signal a turn or a
lane change, a signal bulb may be burned out and other
drivers won’t see your turn signal.
If a bulb is burned out, replace it to help avoid an
accidmt. See &Ab ,%?pfaxment s,~ page 5-56 !? the
arrows don’t go on at all when you signal a turn, check
the fuse. See
Fuses and Circuit Breakers on page 5-92.
\>!hen ;mL! rplpase it
3-7
Page 123 of 418
Turn Signal On Chime
If your turn signal is left on for more than 3/4 of a mile
(1.2 km), a chime will sound at each flash of the
turn signal. To turn
off the chime, move the turn signal
lever
to the off position.
Headlamp High/Low-Beam Changer
To change the headlamps from low beam to high beam,
push the lever forward. To change from high beam
to
low beam, pull the turn signal lever toward you,
then release it.
When the high beams are
on, this light on the
instrument panel cluster
will also be on.
Headlamps On Reminder
If you open the driver’s door while leaving the
headlamps or parking lamps
on and the key is in OFF,
you will hear a warning chime.
Flash-To-Pass
This feature lets you use your high-beam headlamps to
signal a driver in front of you that you want to pass.
It works even
if your headlamps are off.
To use it, pull the turn signal lever toward you.
If your headlamps are off or on low beam, your
high-beam headlamps will turn on. They’ll stay on as
long as you hold the lever toward you and the
high-beam indicator on the instrument panel cluster will
come on. Release the lever
to turn the high-beam
headlamps
off.
3-8