2003 PONTIAC BONNEVILLE brake light
[x] Cancel search: brake lightPage 96 of 418
SECOND (2): This position gives you more power but
lower fuel economy.
You can use SECOND (2) on
hills. It can help control your speed as you go down
steep mountain roads, but then you would also want to
use your brakes
off and on.
Notice: Don’t drive in SECOND (2) for more than
5 miles (8 km), or at speeds over 55 mph (98 km/h),
or you can damage your transaxle. Use AUTOMATIC
OVERDRIVE
(@) or THIRD (3) as much as
possible.
Don’t shift into SECOND
(2) unless you are going
slower than
65 mph (105 km/h), or you can damage
your engine.
FIRST
(1): This position gives you even more power
but lower fuel economy than SECOND
(2). You can use
it on very steep hills, or
in deep snow or mud. If the
shift lever is put in
FIRST (l), the transaxle won’t shift
into first gear until the vehicle is going slowly enough.
Notice: If your front wheels won’t turn, don’t
try to drive. This might happen if you were stuck
in
very deep sand or mud or were up against a solid
object. You could damage your transaxle.
Also,
if you stop when going uphill, don’t hold your
vehicle there with only the accelerator pedal. This
could overheat and damage the transaxle. Use your
brakes to
hold your vehicle in position on a hill.
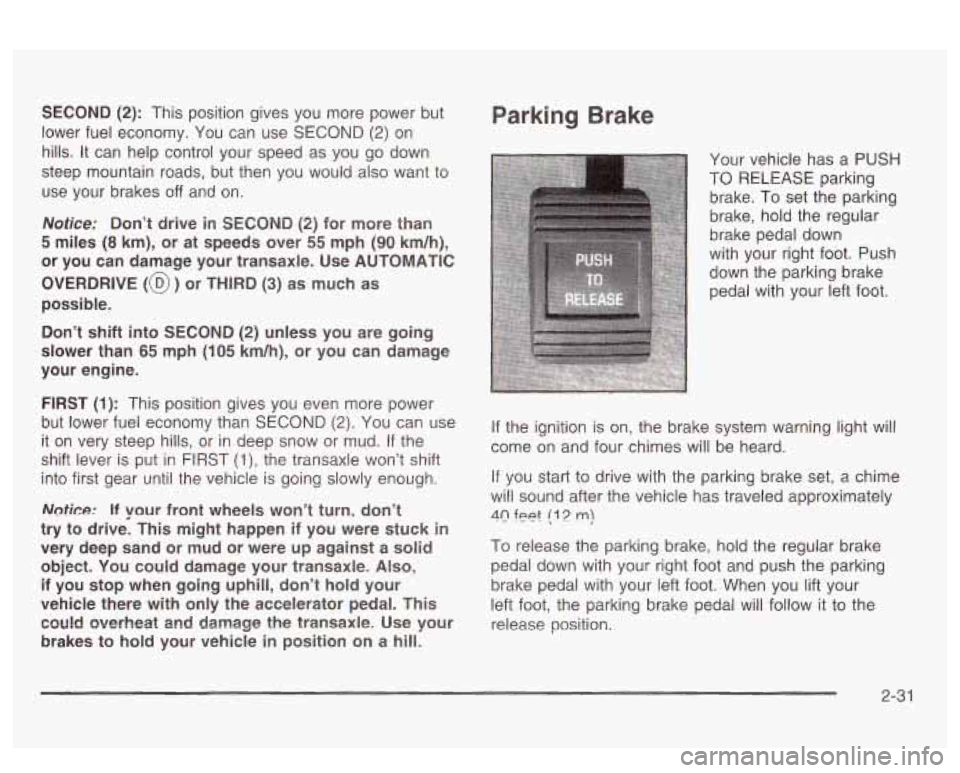
Parking Brake
Your vehicle has a PUSH
TO RELEASE parking
brake. To set the parking
brake, hold the regular
brake pedal down
with your right foot. Push
down the parking brake
pedal with your left foot.
If the ignition is on, the brake system warning light will
come on and four chimes will be heard.
If you start to drive with the parking brake set, a chime
will sound after the vehicle has traveled approximately
40 feet (1 2 m)
To release the parking brake, hold the regular brake
pedal down with your right foot and push the parking
brake pedal with your left foot. When you lift your
left foot, the parking brake pedal will follow it to the
release position.
2-3 1
Page 97 of 418
If you try to drive with the parking brake on, the brake
light stays on and a chime sounds until you release the
parking brake.
Notice: Driving with the parking brake on can
cause your rear brakes to overheat. You may have
to replace them, and you could also damage
other parts of your vehicle.
If you are towing a trailer and are parking on any hill,
see Towing a Trailer on page 4-36. That section shows
what to do first to keep the trailer from moving.
Shiftinc '--lo Park (P)
It can be dangerous to get out of your vehicle
if the shift lever is not fully in PARK (P) with
the parking brake firmly set. Your vehicle can
roll. If you have
left the engine running, the
vehicle can move suddenly. You or others
could be injured.
To be sure your vehicle won't
move, even when you're
on fairly level ground,
use the steps that follow.
If you're pulling a
trailer, see "Towing a Trailer"
in the Index.
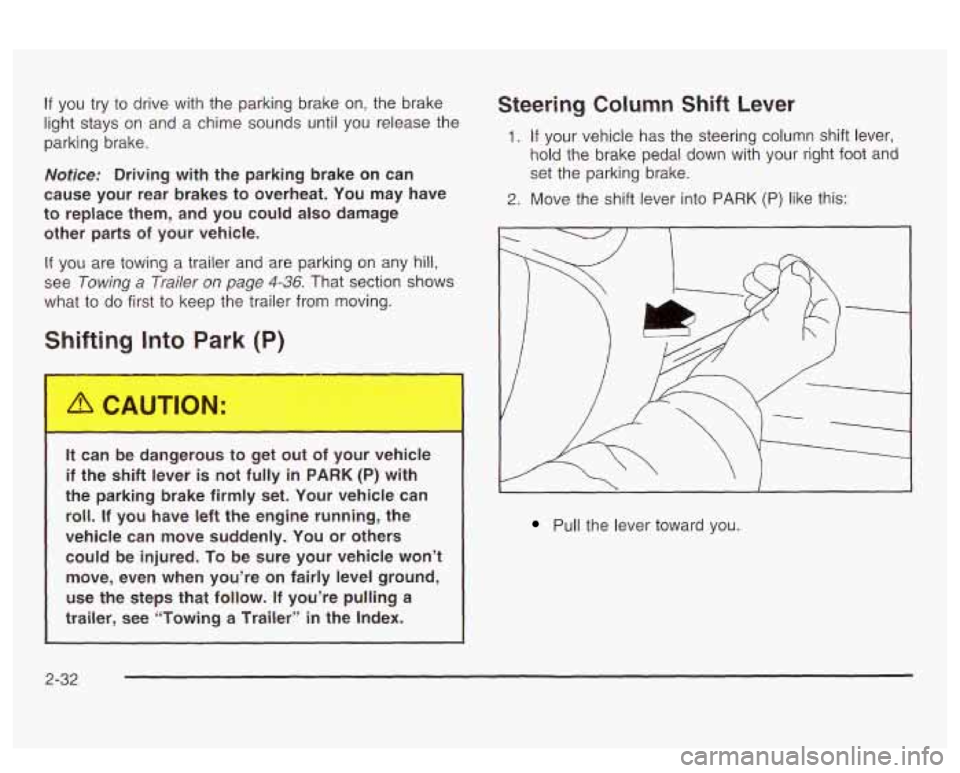
Steering Column Shift Lever
1. If your vehicle has the steering column shift lever,
hold the brake pedal
down with your right foot and
set the parking brake.
2. Move the shift lever into PARK (P) like this:
I I I
Pull the lever toward you.
2-32
Page 116 of 418
Section 3 Instrument Panel
Instrument Panel Overview ............................... 3.4
Hazard Warning Flashers
................................ 3.5
Other Warning Devises
................................... 3.6
Horn
............................................................. 3.6
Tilt Wheel
..................................................... 3.6
Turn SignaVMultifunction Lever
......................... 3.7
Exterior Lamps
............................................. 3.13
Interior Lamps
.............................................. 3.16
Head-Up Display (HUD)
................................. 3-21
Accessory Power Outlets
............................... 3.23
Ashtrays and Cigarette Lighter
........................ 3.24
Ciimate Controls ............................................ 3.25
Climate Control System ................................. 3.25
Automatic Climate Control System
................... 3.28
Outlet Adjustment
......................................... 3.32
Climate Controls Personalization
..................... 3.33
Warning Lights, Gages and Indicators ............. 3.34
Instrument Panel Cluster
................................ 3-35
Speedometer and Odometer
-8-38
Tachometer ................................................. 3.39
Safety Belt Reminder Light
............................. 3.39
. -- ..........................
Air Bag Readiness Light ............................. 3.40
Battery Warning bight
.................................... 3-41
Voltmeter Gage
............................................ 3-41
Brake System Warning Light
.......................... 3-42
Warning Light
........................................... 3-43
Traction Control System (TCS) Warning Light
...... 3-43
Low Traction Active Light ............................... 3-44
Engine Coolant Temperature Gage
.................. 3-45
Tire Pressure Light
....................................... 3-46
Anti-Lock
Brake System
Malfunction Indicator Lamp
....... ............... 3-46
Oil Pressure Gage
.................. ............... 3-49
Check Oil Level Light
J-50
Low Washer Fluid Warning Light ..................... 3-51
n ....................................
Security Light ............................................... 3-51
Check Gages Warning Light
........................... 3-51
Door Ajar Light
............................................. 3-52
Trunk Ajar Light
............................................ 3-52
............... 3-53
Fuel Gage
............................. ............... 3-53
Boost Gage
....................... ................... 3-54
Cnnrirn vu, Y . "1 \!nhirlo I . ..-.- Snnn - - - . lizht . ~
3- 1
Page 125 of 418
Windshield Washer
At the end of the wiper lever, there’s a button. To spray
washer fluid on the windshield, push the button until
you have enough fluid to clean the windshield. The
wipers will clear the window and either stop or return to
yot set
speed.
~ -
In freezing weather, don’t use your washer
until the windshield is warmed. Otherwise the
washer fluid can form ice on the windshield,
blocking your vision.
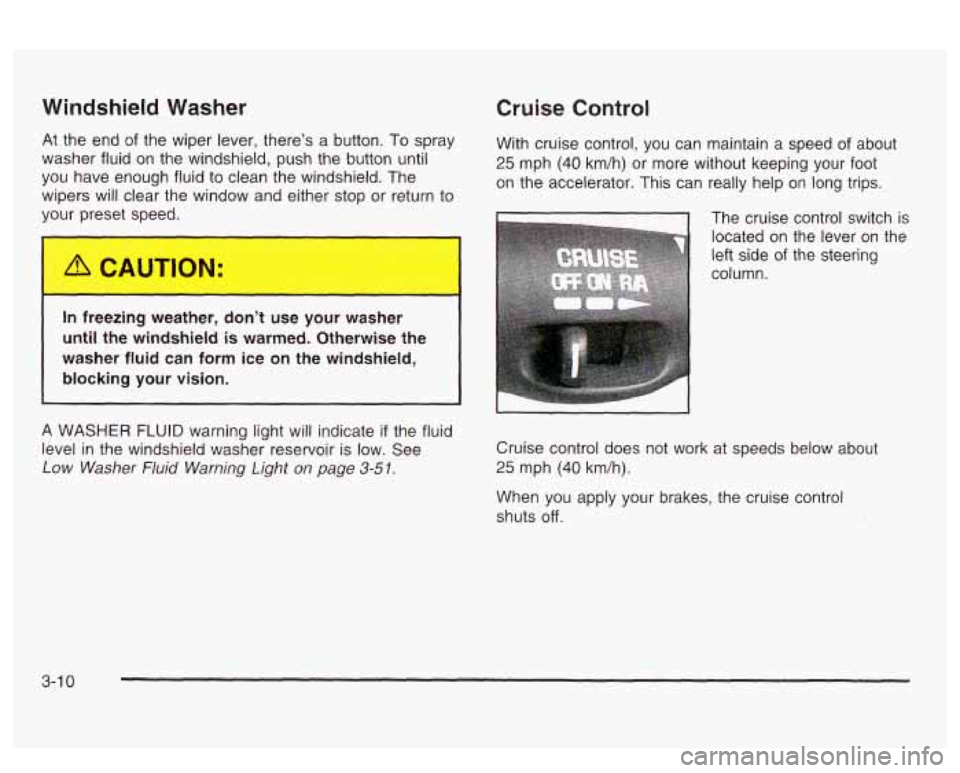
Cruise Control
With cruise control, you can maintain a speed of about
25 mph (40 km/h) or more without keeping your foot
on the accelerator. This can really help
on long trips.
A WASHER FLUID warning light will indicate if the fluid
level in the windshield washer reservoir is low. See
Low Washer Fluid Warning Light on page 3-51.
The cruise control switch is
located on the lever
on the
left side
of the steering
column.
Cruise control does not work at speeds below about
25 mph (40 km/h).
When you apply your brakes, the cruise control
shuts
off.
3-1 0
Page 127 of 418
You’ll go right back up to your chosen speed and stay
there. Remember that
if you hold the lever at R/A,
the vehicle will keep going faster until you release the
It to
switch or apply the brake--
So unless you wat
go faster, don’t hold the lever at R/A.
Increasing Speed While Using Cru
Control
There are two ways to go to a higher speed.
ise
Use the accelerator pedal to get to the higher
speed. Press the SET button and then release it as
well as the accelerator pedal. You’ll now cruise
at the higher speed.
Move the cruise switch to R/A. Hold it there until
you get up to the speed you want, and then
release it.
To increase your speed in very small
amounts, move the switch to RIA briefly and then
release it. Each time you do this, your vehicle will go
about 1 mph
(1 -6 km/h) faster.
The accelerate feature will only work after you have set
the cruise control speed by pressing the SET button.
Reducing Speed While Using Cruise
Control
There are two ways to reduce your speed while using
cruise control:
Press and hold the SET button until you get to the
speed you want, and then release it.
To slow down in very small amounts, press and
release the
SET button briefly. Each time you
do this, you’ll go about 1 mph (1.6 km/h) slower.
Passing Another Vehicle While Using
Cruise Control
Use the accelerator pedal to increase your speed.
When you take your foot
off the pedal, your vehicle will
slow down to the cruise control speed you set earlier.
Using Cruise Control on Hills
How well your cruise control will work on hills depends
upon your speed, load and the steepness
of the
hills. When going up steep hills, you may have to step
on the accelerator pedal to maintain your speed.
When going downhill, you may have to brake or shift to
a lower gear to keep your speed down. Of course,
applying the brake takes you out of cruise control. Many
drivers find this to be too much trouble and don’t use
cruise control on steep hills.
Ending Cruise Control
There are three ways to turn off the cruise control:
Step lightly on the brake pedal,
move.the cruise switch to OFF, or
pull the multifunction lever toward the driver.
3-1
2
Page 136 of 418
Head-Up Display (HUD)
If the HUD image is too bright, or too high in
your field
of view, it may take you more time to
see things you need to see when it's dark
outside. Be sure to keep the HUD image dim
and placed low in your field of view.
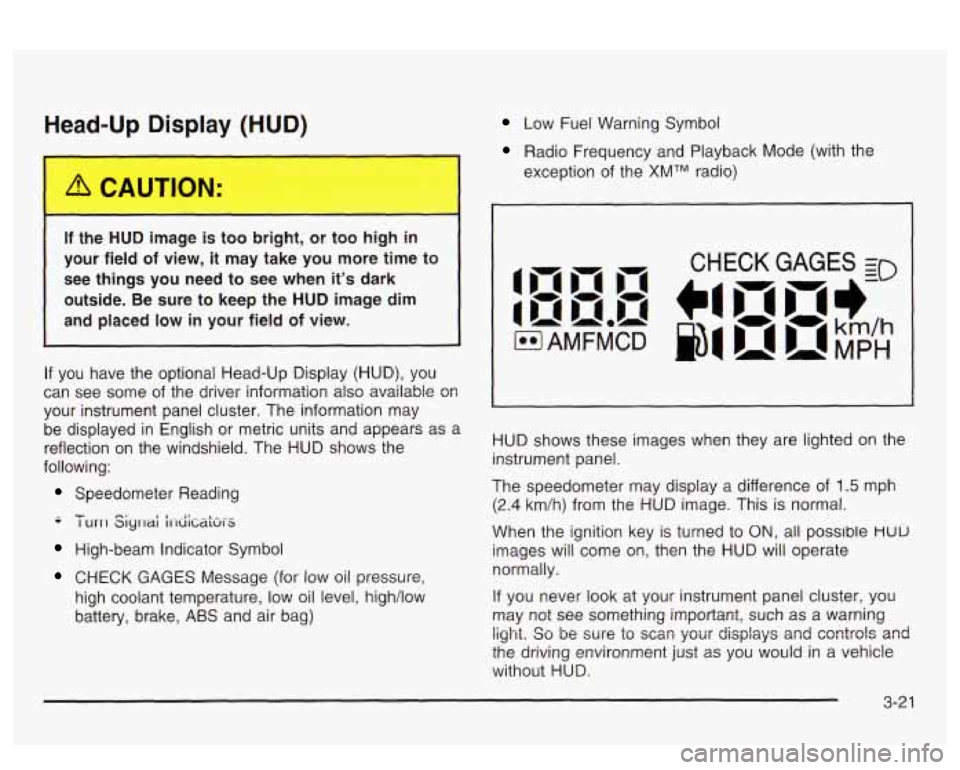
If you have the optional Head-Up Display (HUD), you
can see
some of the driver information also available 08
your instrument panel cluster. The information may
be displayed in English
or metric units and appears as a
reflection on the windshield. The HUD shows the
following:
Speedometer Reading
-- - I urrl Siyrlai i1-diCaki-S
High-beam Indicator Symbol
CHECK GAGES Message (for low oil pressure,
high coolant temperature, low oil level, high/low
battery, brake,
ABS and air bag)
Low Fuel Warning Symbol
Radio Frequency and Playback Mode (with the
exception of the
XMTM radio)
HUD shows these images when they are lighted on the
instrument panel.
The speedometer may display a difference of
1.5 mph
(2.4 km/h) from the HUD image. This is normal.
When the ignition key is turned to
ON, all possible HUU
images will come on, then the HUD will operate
normally.
If you never look at your instrument panel cluster, you
may not see something important, such as a warning
light. So be wre to scm your displays and csntrols and
the driving environment just as you would in a vehicle
without HUD.
Page 157 of 418
On vehicles with a DIC, a CHECK CHARGE SYSTEM
message will be displayed and a warning chime will
sound
if there is a problem in the electrical system. Have
your vehicle serviced immediately. See
DIC Warnings
and Messages on page
3-60 for more information.
Brake System Warning Light
Your vehicle’s hydraulic brake system is divided into two
parts.
If one part isn’t working, the other part can still
work and stop you. For good braking, though, you need
both parts working well.
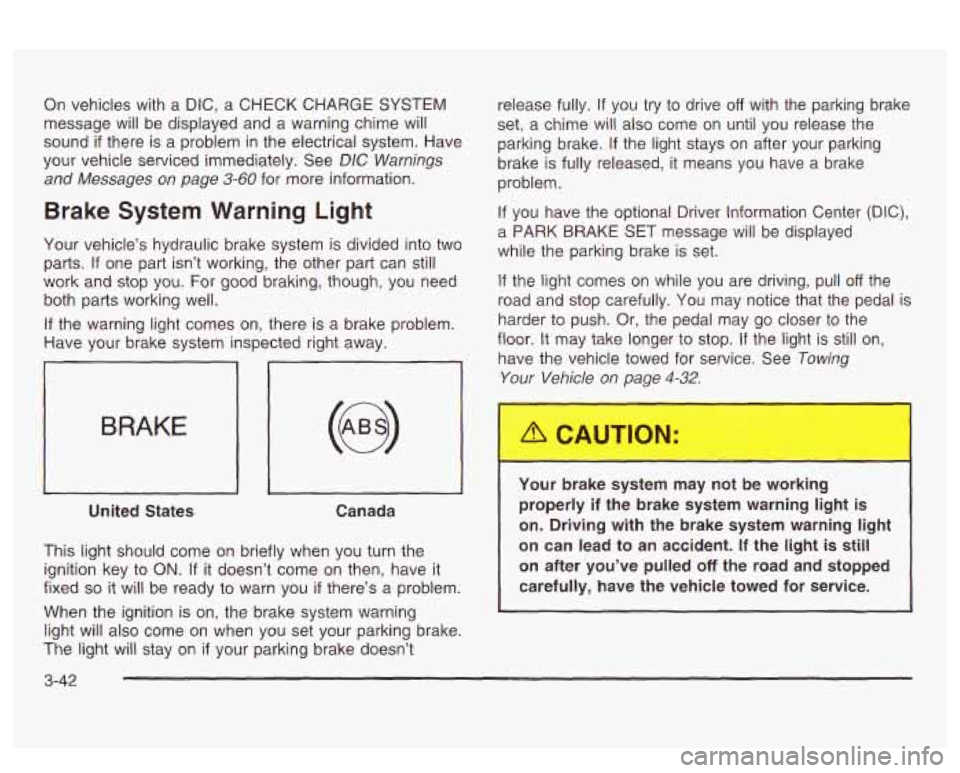
If the warning light comes on, there is a brake problem.
Have your brake system inspected right away.
iL
BRAKE
United States Canada
This light should come on briefly when you turn the
ignition key to
ON. If it doesn’t come on then, have it
fixed
so it will be ready to warn you if there’s a problem.
When the ignition is on, the brake system warning
light will also come on when you set your parking brake.
The light will stay on
if your parking brake doesn’t release fully.
If you
try to drive off with the parking brake
set,
a chime will also come on until you release the
parking brake.
If the light stays on after your parking
brake is fully released, it means you have a brake
problem.
If you have the optional Driver Information Center (DIC),
a PARK BRAKE SET message will be displayed
while the parking brake is set.
If the light comes on while you are driving, pull off the
road and stop carefully. You may notice that the pedal is
harder to push. Or, the pedal may go closer to the
floor.
It may take longer to stop. If the light is still on,
have the vehicle towed for service. See
Towing
Your Vehicle on page 4-32.
Your brake system may not be working
properly
if the brake system warning light is
on. Driving with the brake system warning light
on can lead to an accident.
If the light is still
on after you’ve pulled
off the road and stopped
carefully, have the vehicle towed for service.
I
3-42
Page 158 of 418
Anti-Lock Brake System
Warning Light
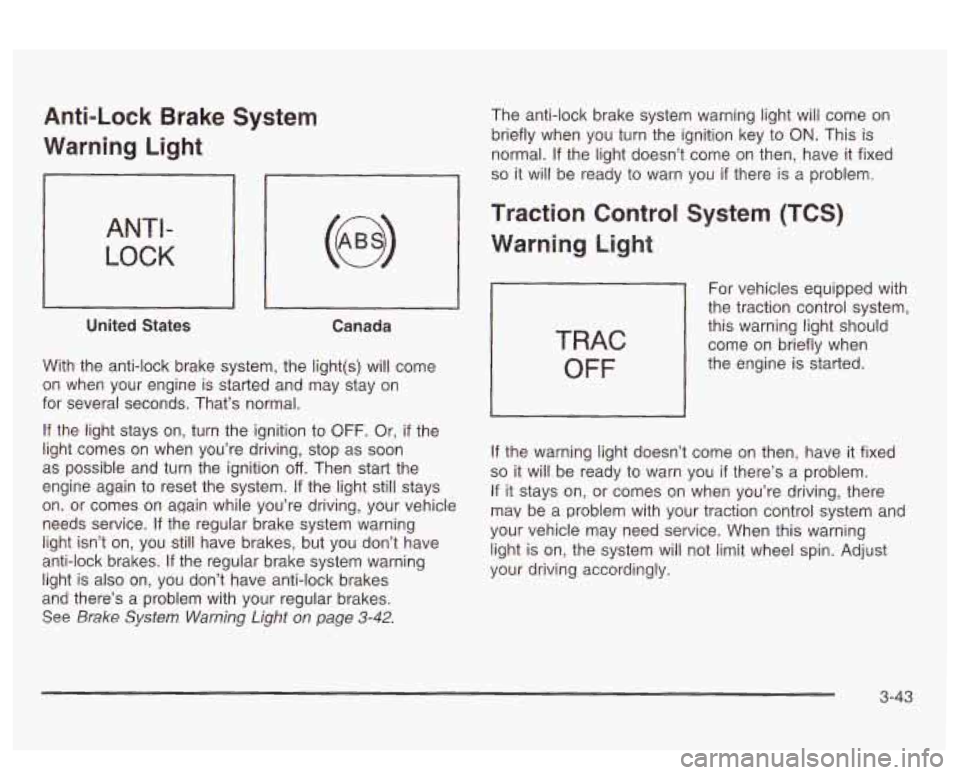
ANTI-
LOCK
United States Canada
With the anti-lock brake system, the light(s) will come
on when your engine
is starled and x2y stay on
for several seconds. That’s normal.
If the light stays on, turn the ignition to OFF. Or, if the
light comes on when you’re driving, stop as soon
as possible and turn the ignition
off. Then start the
engine again to reset the system.
If the light still stays
on. or comes on again while you’re driving, your vehicle
needs service. If the regular brake system warning
light isn’t on, you still have brakes, but
you don’t have
anti-lock brakes. If the regular brake system warning
light is also on, you don’t have anti-lock brakes
and there’s a problem with your regular brakes.
See Brake System Warning Light on page 3-42.
The anti-lock brake system warning light will come on
briefly when you turn the ignition key to
ON. This is
normal.
If the light doesn’t come on then, have it fixed
so it will be ready to warn you if there is a problem.
Traction Control System (TCS)
Warning Light
TRAC
OFF
For vehicles equipped with
the traction control system,
this warning light should
come on briefly when
the engine is started.
If the warning light doesn’t come on then, have it fixed
so it will be ready to warn you if there’s a problem.
If it stays on, or comes on when you’re driving, there
may be a problem with your traction control system and
your vehicle may need service. When this warning
light is on, the system will not limit wheel spin. Adjust
your driving accordingly.
3-43