2003 PONTIAC BONNEVILLE remote start
[x] Cancel search: remote startPage 66 of 418
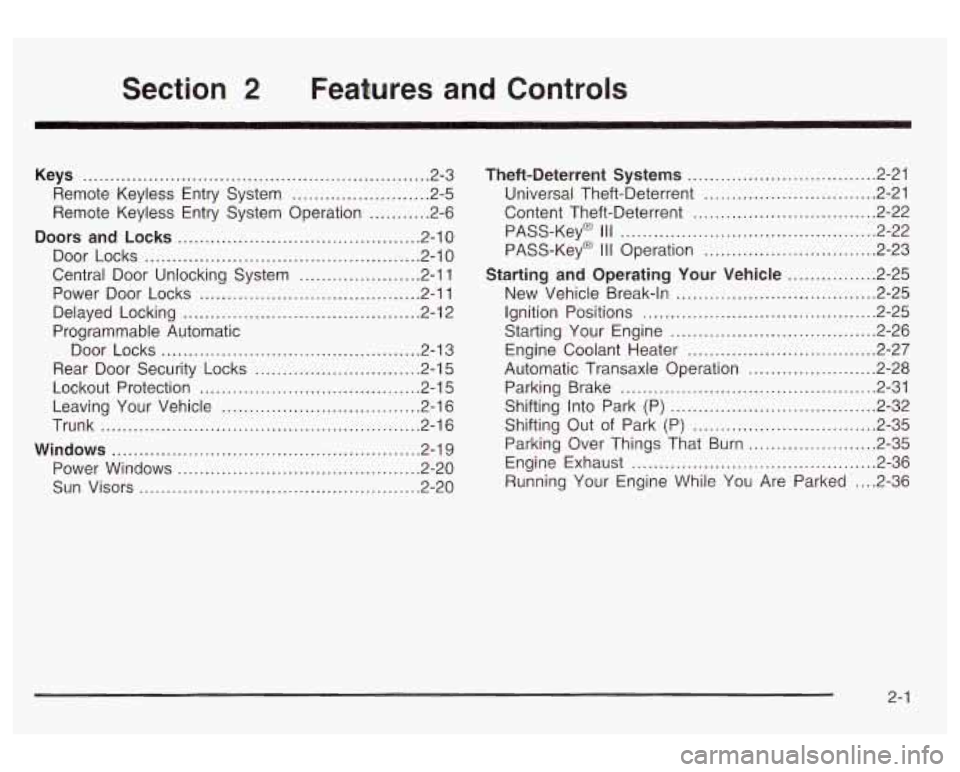
Section 2 Features and Controls
Keys ............................................................... 2.3
Remote Keyless Entry System
......................... 2.5
Remote Keyless Entry System Operation
........... 2.6
Doors and Locks ............................................ 2.10
Door Locks
.................................................. 2.10
Central Door Unlocking System
...................... 2-1 1
Power Door Locks ........................................ 2-11
Programmable Automatic
Delayed Locking
........................................... 2-12
Door Locks
................................. ....... 2-13
Rear Door Security Locks
.............................. 2-15
Lockout Protection
........................................ 2-15
Leaving Your Vehicle
.................................... 2-16
Trunk
.......................................................... 2-16
Windows ........................................................ 2-19
Power Windows
............................................ 2-20
Sun Visors
.......... .............................. 2.20
Theft-Deterrent Systems .................. .... 2.21
Universal Theft-Deterrent
............................... 2.21
Content Theft-Deterrent
................................. 2.22
PASS-Key@
I I I Operation ............................... 2-23
Starting and Operating Your Vehicle ................ 2-25
New Vehicle Break-In
................................... -2-25
Ignition Positions
.......................................... 2-25
Starting Your Engine
.................. ............ 2-26
Engine Coolant Heater
........... ........... -2-27
Automatic Transaxle Operation
....................... 2-28
Parking Brake
.............................................. 2-31
Shifting Into Park (P)
..................................... 2-32
Engine Exhaust
............................................ 2-36
Running Your Engine While You Are Parked
.... 2-36
PASS-Key@
Ill .............................................. 2-22
Shifting Out
of Park (P) ................................. 2-35
Parking Over Things That Burn
....................... 2-35
2-
1
Page 79 of 418
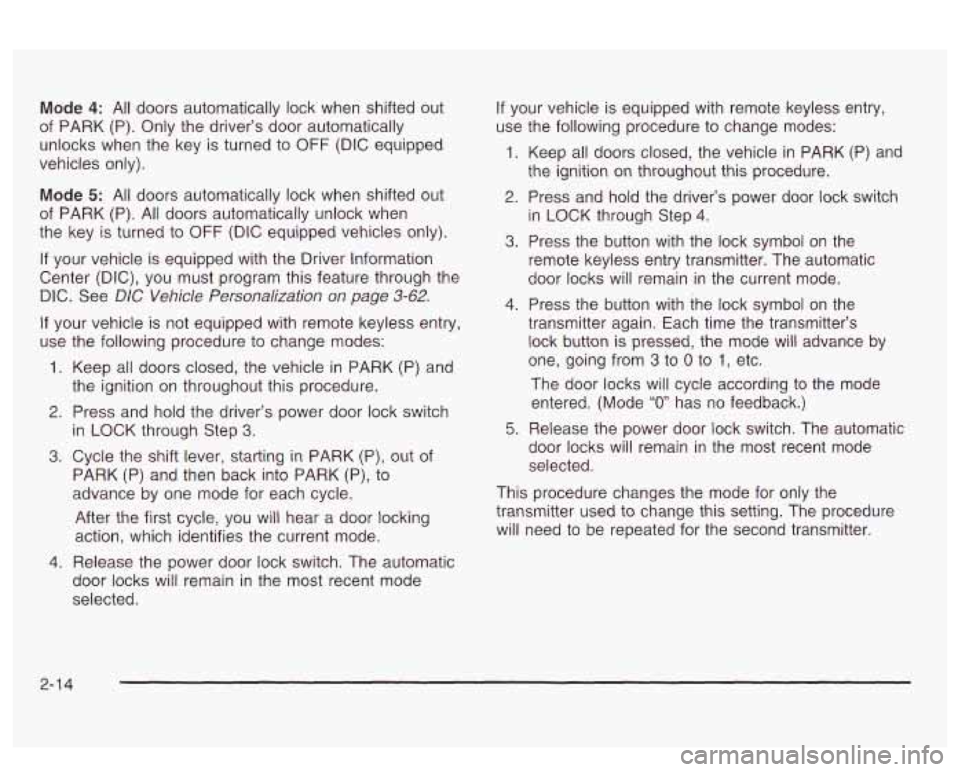
Mode 4: All doors automatically lock when shifted out
of PARK
(P). Only the driver‘s door automatically
unlocks when the key is turned to
OFF (DIC equipped
vehicles only).
Mode 5: All doors automatically lock when shifted out
of PARK (P).
All doors automatically unlock when
the key is turned to
OFF (DIC equipped vehicles only).
If your vehicle is equipped with the Driver Information
Center (DIC), you must program this feature through the
DIC. See
DIC Vehicle Personalization on page 3-62.
If your vehicle is not equipped with remote keyless entry,
use the following procedure to change modes:
1.
2.
3.
4.
Keep all doors closed, the vehicle in PARK (P) and
the ignition on throughout this procedure.
Press and hold the driver’s power door lock switch
in LOCK through Step
3.
Cycle the shift lever, starting in PARK (P), out of
PARK (P) and then back into PARK
(P), to
advance by one mode for each cycle.
After the first cycle, you will hear a door locking
action, which identifies the current mode.
Release the power door lock switch. The automatic
door locks will remain in the most recent mode
selected.
If your vehicle is equipped with remote keyless entry,
use the following procedure to change modes:
1.
2.
3.
4.
5.
Keep all doors closed, the vehicle in PARK (P) and
the ignition on throughout this procedure.
Press and hold the driver’s power door lock switch
in LOCK through Step
4.
Press the button with the lock symbol on the
remote keyless entry transmitter. The automatic
door locks will remain in the current mode.
Press the button with the lock symbol on the
transmitter again. Each time the transmitter’s
lock button is pressed, the mode will advance by
one, going from
3 to 0 to 1, etc.
The door locks will cycle according to the mode
entered. (Mode
“0 has no feedback.)
Release the power door lock switch. The automatic
door locks will remain in the most recent mode
selected.
This procedure changes the mode for only the
transmitter used to change this setting. The procedure
will need to be repeated for the second transmitter.
2-1 4
Page 113 of 418
Vehicle Personalization
Memory Seat and Mirrors
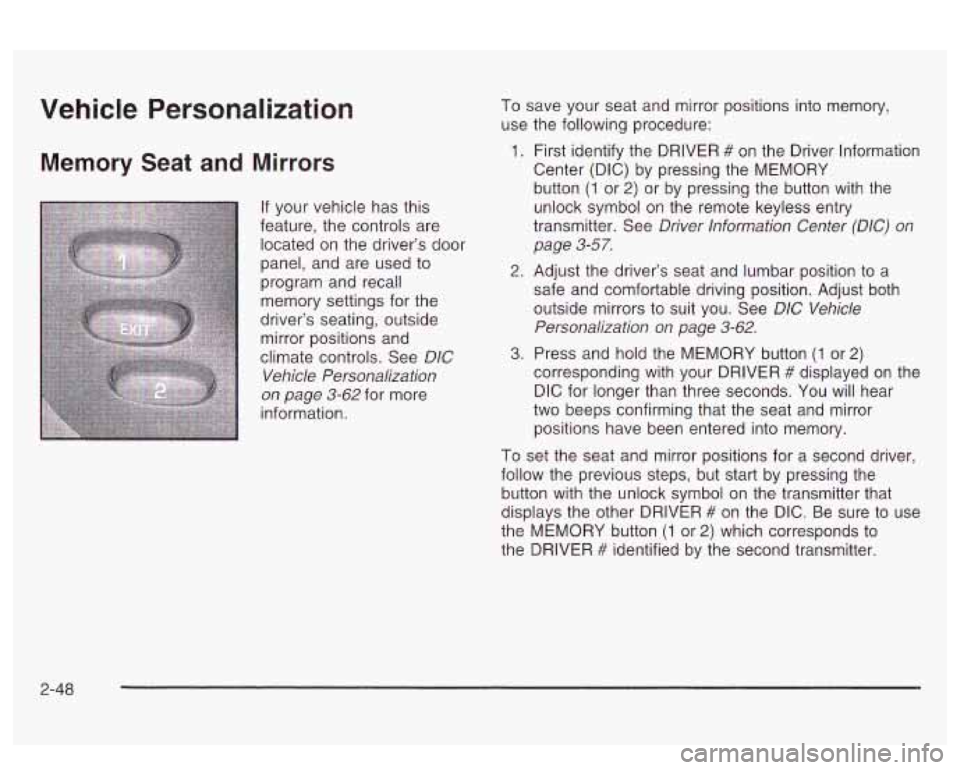
If your vehicle has this
feature, the controls are
located on the driver’s door
panel, and are used
to
program and recall
memory settings for the
driver’s seating, outside mirror positions and
climate controls. See
DIC
Vehicle Personalization
on page 3-62 for more
information. To
save your seat and mirror positions into memory,
use the following procedure:
1. First identify the DRIVER # on the Driver lnformation
Center (DIC) by pressing the MEMORY
button
(1 or 2) or by pressing the button with the
unlock symbol on the remote keyless entry
transmitter. See
Driver lnformation Center (DIC) on
page 3-57.
2. Adjust the driver’s seat and lumbar position to a
safe and comfortable driving position. Adjust both
outside mirrors to suit you. See
D/C Vehicle
Personalization on page 3-62.
3. Press and hold the MEMORY button (1 or 2)
corresponding with your DRIVER # displayed on the
DIC for longer than three seconds. You will hear
two beeps confirming that the seat and mirror
positions have been entered into memory.
To set the seat and mirror positions for a second driver,
follow the previous steps, but start by pressing the
button with the unlock symbol on the transmitter that
displays the other DRIVER
# on the DIC. Be sure to use
the MEMORY button
(1 or 2) which corresponds to
the DRIVER
# identified by the second transmitter.
2-48
Page 176 of 418
SERVICE STABILITY SYSTEM - 54: If you ever see
the SERVICE STABILITY SYSTEM message,
it
means there may be a problem with your stability
enhancement system.
If you see this message, try to
reset the system (stop; turn
off the engine; then start the
engine again).
If the SERVICE STABILITY SYSTEM
message still comes on, it means there is a problem.
You should see your dealer for service. Reduce
your speed and drive accordingly.
STABILITY SYSTEM ACTIVE - 55: You may see the
STABILITY SYSTEM ACTIVE message on the Driver
Information Center. It means that an advanced,
computer-controlled system has come on to help your
vehicle cmtinue to
go in the direction in which you’re
steering. This stability enhancement system activates
when the computer senses that your vehicle
is just
starting to spin, as it might
if you hit a patch of ice or
other slippery spot
on the road. When the system is on,
you may hear a noise or feel a vibration in the brake
pedal. This is normal.
When the STABILITY SYSTEM ACTIVE message
is on,
you should continue to steer in the direction you want
to go. The system is designed to help you in bad
weather or other difficult driving situations by making the
most
of whatever road conditions will permit. If the
STABiLiiY SYSTEM ACTIVE message comes on, you’!!
know that something has caused your vehicle to start
to spin,
so you should consider slowing down.
Tire Pressure Status - 144: If you see the CHECK
TIRE PRESSURE message, you should stop as soon as
you can and check all your tires for damage. (If a tire
is flat, see
If a Tire Goes Flat on page 5-72.) Also check
the tire pressure in all four tires as soon as you can.
See
inflation -- lire Pressure on page 5-62 and Check
Tire Pressure System
on page 5-64.
Driver Identifier DIC Display
This feature allows two different drivers to store and
recall their own preferred display mode. The
personalization settings displayed
on the DIC are
determined by the transmitter used to enter the vehicle.
After the uniock button
on a remote keyless entry
transmitter (if equipped) is pressed and the ignition is
in
ON, the DIC will display the identified driver. The
settings can also be changed by briefly pressing one of
the MEMORY buttons located on the driver’s door.
The DIC is used to program information for DRIVER
#I
UNKNOWN DRIVER if they are neither DRIVER #I nor
DRIVER
#2.
1 --a* .un TI^ nbfi ... :II :A~...+;$., ,-,~orp.,n Qc ~[IU unlvcn ft~. I IIZ UIU vvII1 luGltrl~y S r)bld-aI --
3-61
Page 306 of 418
Notice: Ignoring these steps could result in costly
damage to your vehicle that wouldn’t be covered
by your warranty.
Trying to start your vehicle by pushing or pulling
it
won’t work, and it could damage your vehicle.
1. Check the other vehicle. It must have a 12-volt
battery with a negative ground system.
Notice:
If the other system isn’t a 12-volt system
with a negative ground, both vehicles can be damaged.
2. Get the vehicles close enough so the jumper cables
can reach, but be sure the vehicles aren’t touching
each other.
If they are, it could cause a ground
connection you don’t want. You wouldn’t be able to
start your vehicle, and the bad grounding could
damage the electrical systems.
To avoid the possibility of the vehicles rolling, set
the parking brake firmly on both vehicles involved in
the jump start procedure. Put an automatic
transaxle in PARK (P) or a manual transmission in
NEUTRAL (N) before setting the parking brake. Notice:
If you
leave your radio on, it could be badly
damaged. The repairs wouldn’t be covered by
your warranty.
3. Turn off the ignition on both vehicles. Unplug
unnecessary accessories plugged into the cigarette
lighter or in the accessory power outlet. Turn
off
the radio and all lamps that aren’t needed. This will
avoid sparks and help save both batteries. And it
could save your radio!
4. Open the hood on the other vehicle and locate the
positive
(+) and the negative (-) terminal locations
on that vehicle.
Open the hood on your vehicle and find the remote
positive
(+) terminal located in the engine
compartment
on the passenger side of the vehicle.
See
Engine Compartment Overview on page 5-14
for more information on location.
5-47
Page 307 of 418
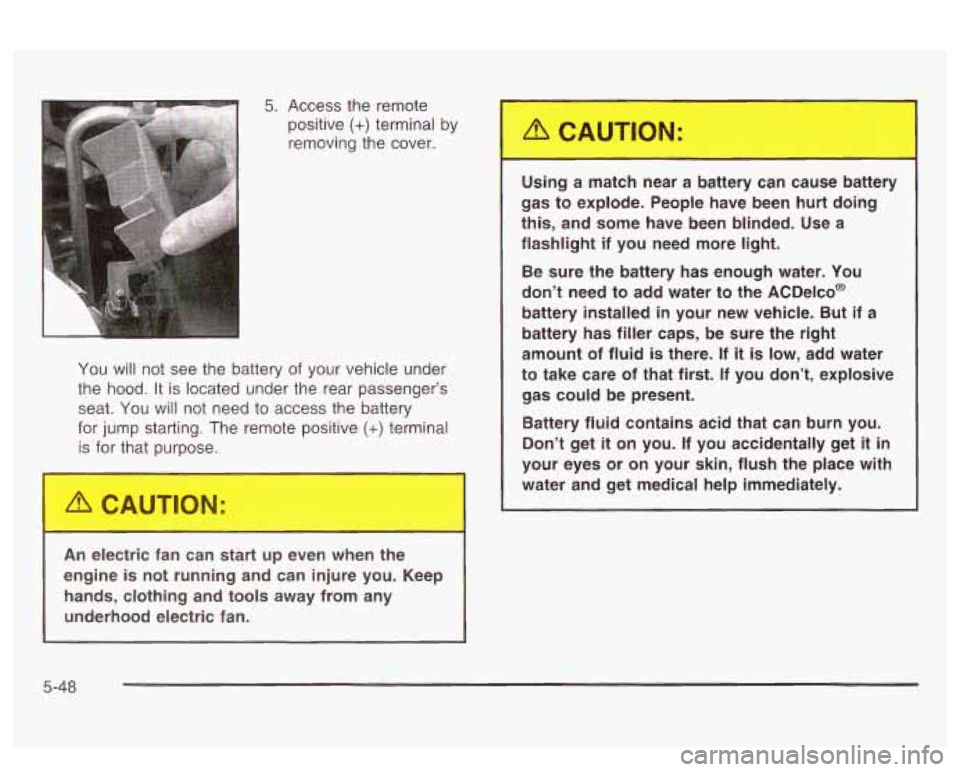
You will not see the battery of your vehicle under
the hood.
It is located under the rear passenger’s
seat. You will not need to access the battery
for jump starting. The remote positive
(+) terminal
is for that purpose.
An electric fan can start
up even when the
engine is not running and can injure you. Keep
hands, clothing and tools away from any
underhood electric fan. Using a match
near a battery can cause battery
gas to explode. People have been hurt doing
this, and some have been blinded. Use a
flashlight if you need more light.
Be sure the battery has enough water. You
don’t need to add water to the ACDelco@
battery installed in your new vehicle. But if a
battery has filler caps, be sure the right
amount of fluid
is there. If it is low, add water
to take care
of that first. If you don’t, explosive
gas could be present.
Battery fluid contains acid that can burn you.
Don’t get
it on you. If you accidentally get it in
your eyes or on your skin, flush the place with
water and get medical help immediately.
5-48
Page 309 of 418
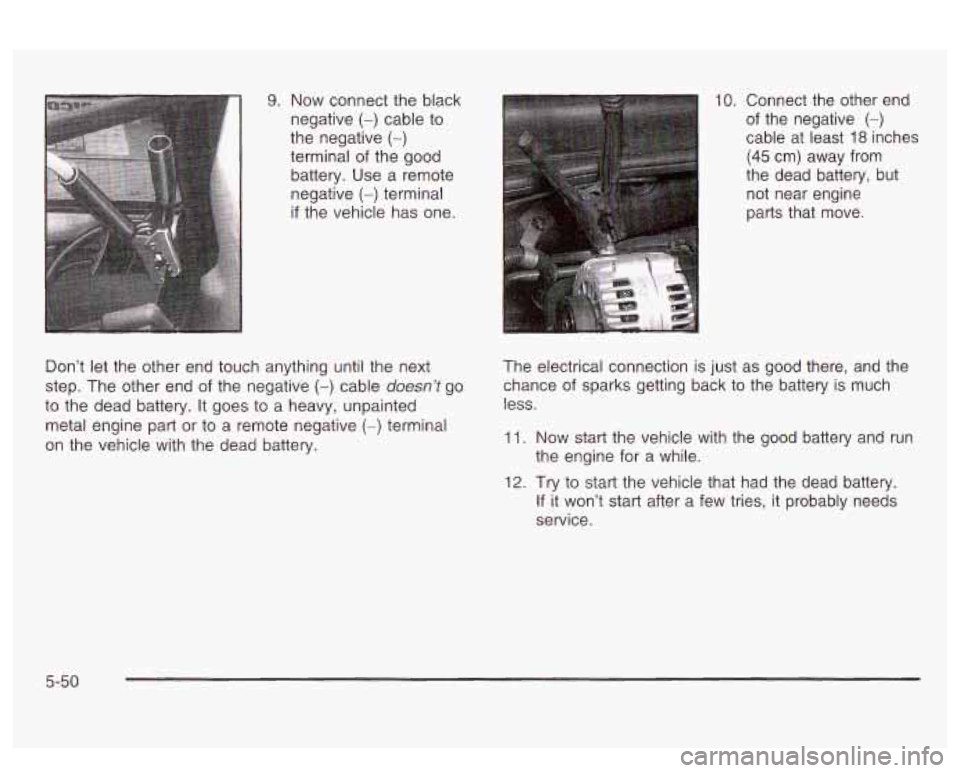
9. Now connect the black
negative
(-) cable to
the negative (-)
terminal of the good
battery. Use a remote
negative
(-) terminal
if the vehicle has one.
Don’t
let the other end touch anything until the next
step. The other end of the negative
(-) cable doesn’t go
to the dead battery. It goes to a heavy, unpainted
metal engine part or
to a remote negative (-) terminal
on the vehicle with the dead battery.
10. Connect the other end
of the negative
(-)
cable at least 18 inches
(45 cm) away from
the dead battery, but not near engine
parts that move.
The electrical connection is just as good there, and the
chance of sparks getting back
to the battery is much
less.
11.
12.
Now start the vehicle with the good battery and run
the engine for a while.
Try to start the vehicle that had the dead battery.
If it Won’t start after a few tries, it probably needs
service.
5-50