2003 PONTIAC BONNEVILLE service schedule
[x] Cancel search: service schedulePage 2 of 418
The 2003 Pontiac Bonneville Owner Manual
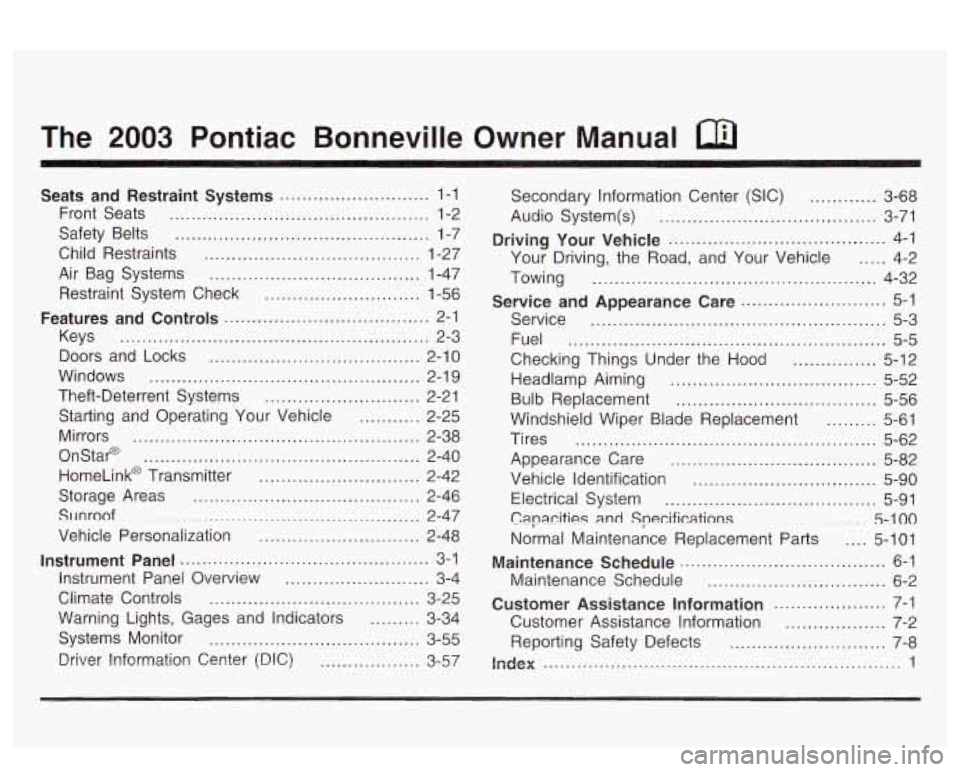
Seats and Restraint Systems ........................... 1-1
Front Seats
............................................... 1-2
Safety Belts
.............................................. 1-7
Child Restraints
....................................... 1-27
Air Bag Systems
...................................... 1-47
Restraint System Check
............................ 1-56
Features and Controls ..................................... 2-1
Keys
........................................................ 2-3
Doors and Locks
...................................... 2-10
Windows
................................................. 2-1 9
Theft-Deterrent Systems
............................ 2-21
Starting and Operating Your Vehicle
........... 2-25
Mirrors
.................................................... 2-38
OnStap
.................................................. 2-40
HomeLink@ Transmitter
............................. 2-42
Storage Areas
......................................... 2-46
SlJnroof
................................................. 2-47
Vehicle Personalization
............................. 2-48
Instrument Panel ............................................. 3-1
Instrument Panel Overview
.......................... 3-4
Climate Controls
...................................... 3-25
Warning Lights, Gages and Indicators
......... 3-34
Systems Monitor
...................................... 3-55
Driver Information Center (DIC)
.................. 3-57 Secondary
Information Center (SIC)
............ 3-68
Audio System(s)
....................................... 3-71
Driving Your Vehicle ....................................... 4-1
Your Driving, the Road, and Your Vehicle
..... 4-2
Towing
................................................... 4-32
Service
..................................................... 5-3
Fuel
......................................................... 5-5
Checking Things Under the Hood
............... 5-12
Headlamp Aiming
..................................... 5-52
Bulb Replacement
.................................... 5-56
Windshield Wiper Blade Replacement
......... 5-61
Tires
...................................................... 5-62
Appearance Care
..................................... 5-82
Vehicle Identification
................................. 5-90
Electrical System
...................................... 5-91
C8pa.citigs
and Specifications ......... 5-100
Normal Maintenance Replacement Parts .... 5-101
Maintenance Schedule
................................ 6-2
Customer Assistance Information .................... 7-1
Customer Assistance Information
.................. 7-2
Reporting Safety Defects
............................ 7-8
index ................................................................ 1
Service and Appearance Care .......................... 5-1
Maintenance Schedule ..................................... 6-1
Page 259 of 418
Maintenance When Trailer Towing
Your vehicle will need service more often when you’re
pulling a trailer. See the Maintenance Schedule for more
on this. Things that are especially important in trailer
operation are automatic transaxle fluid (don’t overfill),
engine oil, drive belt, cooling system and brake system.
Each of these is covered in this manual, and the
Index will help you find them quickly.
If you’re trailering,
it’s a good idea to review this information before you
start your trip.
Engine Cooling When Trailer Towing
Your cooling system may temporarily overheat during
severe operating conditions. See
Engine Overheating on
page 5-29.
Check periodically to see that all hitch nuts and bolts
are tight.
4-42
Page 279 of 418
When to Change Engine Oil (Vehicles
Without the
GM Oil Life SystemTM)
If any one of these is true for you, use the short trip/city
maintenance schedule:
e
e
e
e
Most trips are less than 5 miles (8 km). This is
particularly important when outside temperatures
are below freezing.
Most trips include extensive idling (such as frequent
driving in stop-and-go traffic).
You frequently tow a trailer or use a carrier
on top
of your vehicle.
The vehicle is used for delivery service, police, tax1
or other commercial application.
Driving under these conditions causes engine oil
to
break down sooner. If any one of these is true for your
vehicle, then you need to change your oil and filter
every
3,000 miles (5 000 km) or 3 months - whichever
occurs first.
If none of them is true, use the long trip/highway
maintenance schedule. Change the oil and filter every
7,500 miles (1 2 500 km) or 12 months - whichever
occurs first. Driving a vehicle with a fully warmed engine
under highway conditions will cause engine oil
to
break down slower.
When to Change Engine Oil (Vehicles
With the
GM Oil Life SystemrM)
If so equipped, your vehicle has a computer system that
lets you know when to change the engine oil and
filter. This is based on engine revolutions and engine
temperature and not on mileage. Based on driving
conditions, the mileage at which an oil change will be
indicated can vary considerably. For the oil life system to
work properly, you must reset the system every time
the oil is changed.
When the system has calculated that oil life has been
diminished, it will indicate that an oil change is
necessary. An ENGINE
OIL CHANGE SOON message
will come on. Change your oil as soon as possible
within the next two times you stop for fuel. It is possible
that,
if you are driving under the best conditions, the
oil life system may not indicate that an oil change
is necessary for over a year. However, your engine oil
and filter must be changed at least once a year and
at this time the system must be reset. It is also
important to check your oil regularly and keep it at the
proper level.
If the system is ever reset accidentally, you must
change your oil at
3,000 miles (5 000 km) since your
last oil change. Remember
to reset the oil life system
whenever the oil is changed.
5-20
Page 282 of 418
3. Pull out the filter. Check or replace the engine air
4. To reinstall the housing cover, make sure the filter
cover tabs position through the slots in the housing.
A notch on the sides of the filter cover will indicate
the correct engagement.
cleaner/filter.
5. Fasten the
two clips on the top of the housing when
you are finished.
Refer to the Maintenance Schedule to determine when
to replace the air filter.
See
Part A: Scheduled Maintenance Services on
page
6-4.
Operating : el ne with ? ai :leane r
off can cause you or others to be burned. The
air cleaner not only cleans the air, it stops
flame if the engine backfires. If
it isn’t there
and the engine backfires, you could be burned.
Don’t drive with
it off, and be careful working
on the engine with the air cleaner/filter
off.
I
Notice: If the air cleanedfilter is off, a backfire can
cause a damaging engine fire.
And, dirt can
easily get into your engine, which will damage
it.
Always have the air cleaner/filter in place when
you’re driving.
When to Check and Change
A good time to check your automatic transaxle fluid
level is when the engine oil is changed.
Change both the fluid and filter every
50,000 miles
(83 000 km) if the vehicle is mainly driven under one or
more of
these conditions:
In heavy city traffic where the outside temperature
regularly reaches 90°F (32°C) or higher.
9 In hilly or mountainous terrain.
0 When doing frequent trailer towing.
- I, - SUU~~I 2s IWUIIU ii7 Lam, pwm,c uI U~~lv~Iy 1-...--1 . A-.,: .--I:-- -” Afil;,,nm,
service.
If you do not use your vehicle under any of these
conditions, change the fluid and filter at
100,000 miles
(166 000 km).
See
Part A: Scheduled Maintenance Services on
page
6-4.
5-23
Page 324 of 418
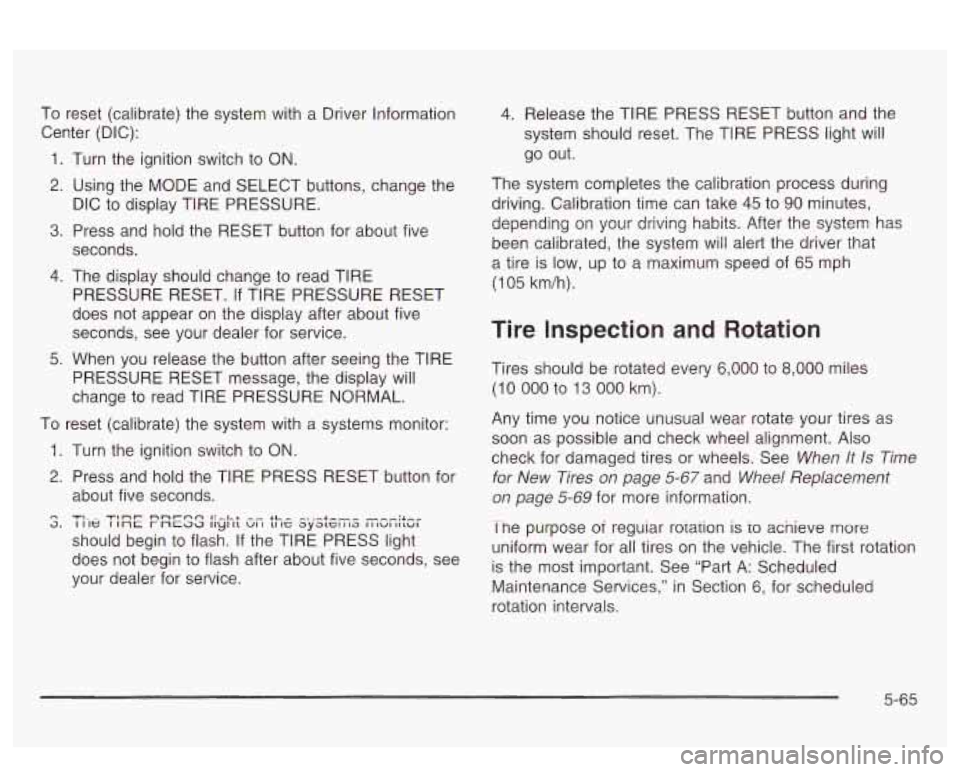
To reset (calibrate) the system with a Driver Information
Center (DIC):
1.
2.
3.
4.
5.
Turn the ignition switch to ON.
Using the MODE and SELECT buttons, change the The system Completes
the calibration process during
DIC to display TIRE PRESSURE. driving. Calibration time
can take
45 to 90 minutes, ..,
Press and hold the RESET button for about five
seconds.
The display should change to read TIRE
PRESSURE RESET. If TIRE PRESSURE RESET
does not appear on the display after about five
seconds, see your dealer for service.
When you release the button after seeing the TIRE
PRESSURE RESET message, the display will
change to read TIRE PRESSURE NORMAL.
1.
2.
4. Release the TIRE PRESS RESET button and the
system should reset. The TIRE PRESS light will
go out.
To reset (calibrate) the system with a systems monitor:
n 3.
Turn the ignition switch to ON.
Press and hold the TIRE PRESS RESET button for
about five seconds.
should begin to flash.
If the TIRE PRESS light
does not begin to flash after about five seconds, see
your dealer for service.
TIL- TI~T nnr-nn I:-.LL -- LL- -..-.I.--- I I le I 1nc r ncaa II~I 11 VI I 11 IC ayatcl I 13 I I IUI IILUI
depending on your driving habits. After the system has
been calibrated, the system will alert the driver that
a tire is low, up to a maximum speed of
65 mph
(1 05 km/h).
Tire Inspection and Rotation
Tires should be rotated every 6,000 to 8,000 miles
(10 000 to 13 000 km).
Any time you notice unusual wear rotate your tires as
soon as possible and check wheel alignment. Also
check for damaged tires or wheels. See
When It Is Time
for New Tires on page 5-67 and Wheel Replacement
on page 5-69 for more information.
Tne purpose
oi reguiar rorarion is io acnieve more
uniform wear for all tires on the vehicle. The first rotation
is the most important. See “Part A: Scheduled
Maintenance Services,” in Section
6, for scheduled
rotation intervals.
5-65
Page 328 of 418
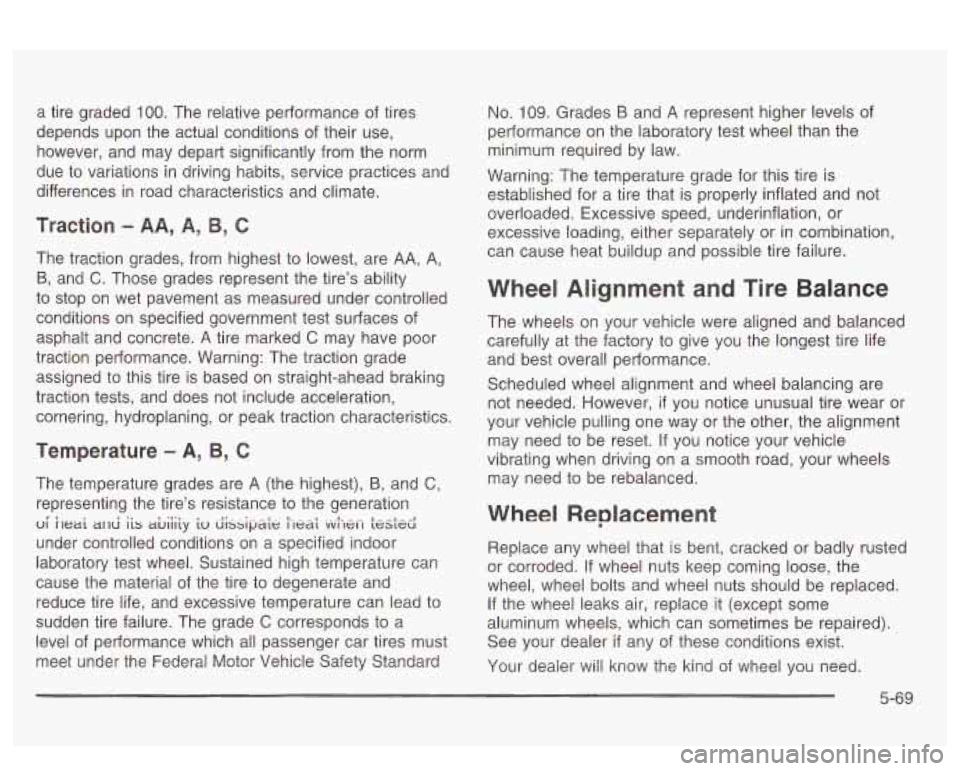
a tire graded 100. The relative performance of tires
depends upon the actual conditions of their use,
however, and may depart significantly from the norm
due to variations in driving habits, service practices and
differences in road characteristics and climate.
Traction - AA, A, B, C
The traction grades, from highest to lowest, are AA, A,
B, and C. Those grades represent the tire’s ability
to stop on wet pavement as measured under controlled
conditions on specified government test surfaces
of
asphalt and concrete. A tire marked C may have poor
traction performance. Warning: The traction grade
assigned to this tire is based on straight-ahead braking
traction tests, and does not include acceleration,
cornering, hydroplaning, or peak traction characteristics.
Temperature - A, B, C
The temperature grades are A (the highest), B, and C,
representing the tire’s resistance to the generation
under controlled conditions on a specified indoor
laboratory
test wheel. Sustained high temperature can
cause the material of the tire to degenerate and
reduce tire life, and excessive temperature can lead to
sudden tire failure. The grade
C corresponds to a
level of performance which all passenger car tires must
meet under the Federal Motor Vehicle Safety Standard
ui ireai ar~d iis aLiiiiy iu dissip& i-ledf vvi-Iei-1 t&&
No. 109. Grades B and A represent higher levels of
performance on the laboratory test wheel than the
minimum required by law.
Warning: The temperature grade for this tire
is
established for a tire that is properly inflated and not
overloaded. Excessive speed, underinflation, or
excessive loading, either separately or in combination,
can cause heat buildup and possible tire failure.
Wheel Alignment and Tire Balance
The wheels on your vehicle were aligned and balanced
carefully at the factory to give you the longest tire life
and best overall performance.
Scheduled wheel alignment and wheel balancing are
not needed. However,
if you notice unusual tire wear or
your vehicle pulling one way or the other, the alignment
may need to be reset. If you notice your vehicle
vibrating when driving on a smooth road, your wheels
may need
to be rebalanced.
Wheel Replacement
Replace any wheel that is bent, cracked or badly rusted
or corroded.
If wheel nuts keep coming loose, the
wheel, wheel bolts and wheel nuts should be replaced.
If the wheel leaks air, replace it (except some
aluminum wheels, which can sometimes be repaired).
See your dealer
if any of these conditions exist.
Your dealer will know the kind of wheel you need.
5-69
Page 362 of 418
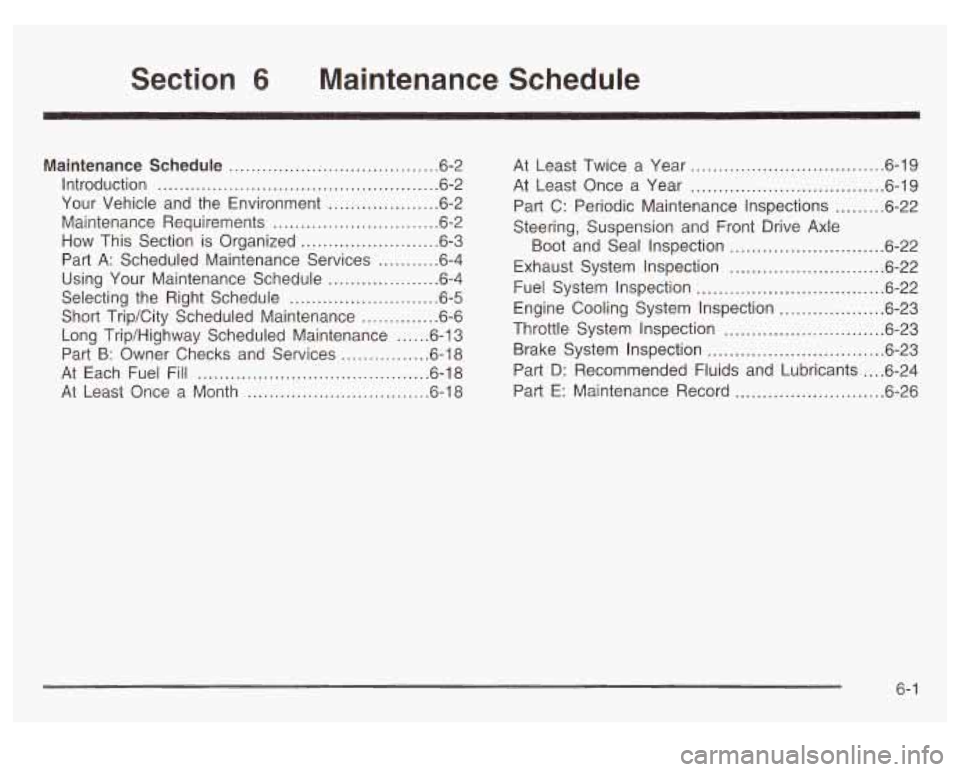
6 Maintenance Schedule
Maintenance Schedule ...................................... 6.2
Introduction
................................................... 6.2
Your Vehicle and the Environment
.................... 6-2
Maintenance Requirements
.......................... 6.2
How This Section is Organized
..................... 6-3
Selecting the Right Schedule
........................... 6-5
Part
A: Scheduled Maintenance Services
........... 6.4
Using Your Maintenance Schedule
.................... 6-4
Short Trip/City Scheduled Maintenance
.............. 6-6
Long Trip/Highway Scheduled Maintenance
...... 6-13
Part
B: Owner Checks and Services ................ 6-18
At Each Fuel Fill
.......................................... 6-18
At Least Once a Month 0- IO P 40 .................................
At Least Twice a Year ................................... 6.19
At Least Once a Year
................................... 6.19
Part C: Periodic Maintenance Inspections
......... 6.22
Steering, Suspension and Front Drive Axle
Boot and Seal Inspection
............................ 6-22
Exhaust System Inspection
........................... -6-22
Fuel System Inspection
.................................. 6-22
Engine Cooling System Inspection
................... 6-23
Throttle System Inspection
............................. 6-23
Brake System Inspection
................................ 6-23
Part
D: Recommended Fluids and Lubricants .... 6-24
Part
E: Maintenance Record ........................... 6-26
6- 1
Page 364 of 418
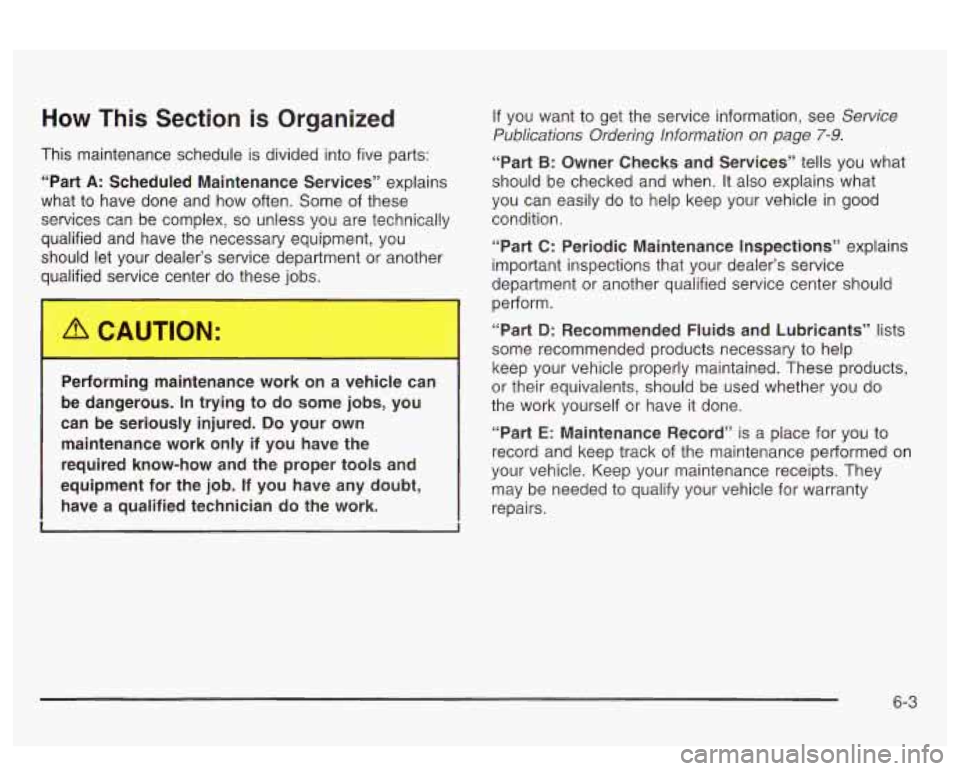
How This Section is Organized
This maintenance schedule is divided into five parts:
“Part
A: Scheduled Maintenance Services” explains
what to have done and how often. Some of these
services can be complex,
so unless you are technically
qualified and have the necessary equipment, you
should let your dealer’s service department or another
qualified service center do these jobs.
If you want to get the service information, see Service
Publications Ordering Information on page
7-9.
“Part B: Owner Checks and Services” tells you what
should be checked and when. It also explains what
you can easily do to help keep your vehicle in good
condition.
“Part C: Periodic Maintenance Inspections” explains
important inspections that your dealer’s service
department or another qualified service center should
petform.
Performing maintenance work on a vehicle can
be dangerous. In trying to do some jobs, you
can be seriously injured.
Do your own
maintenance work only if you have the
required know-how and the proper tools and
equipment for the job.
If you have any doubt,
have a qualified technician
do the work.
I
“Part D: Recommended Fluids and Lubricants” lists
some recommended products necessary
to help
keep your vehicle properly maintained. These products,
or their equivalents, should be used whether you do
the work yourself or have it done.
“Part E: Maintenance Record” is a place for you to
record and keep track of the maintenance performed on
your vehicle. Keep your maintenance receipts. They
may be needed to qualify your vehicle for warranty
repairs.
6-3