2003 NISSAN ALMERA N16 ecm
[x] Cancel search: ecmPage 1235 of 3189
SEC220B
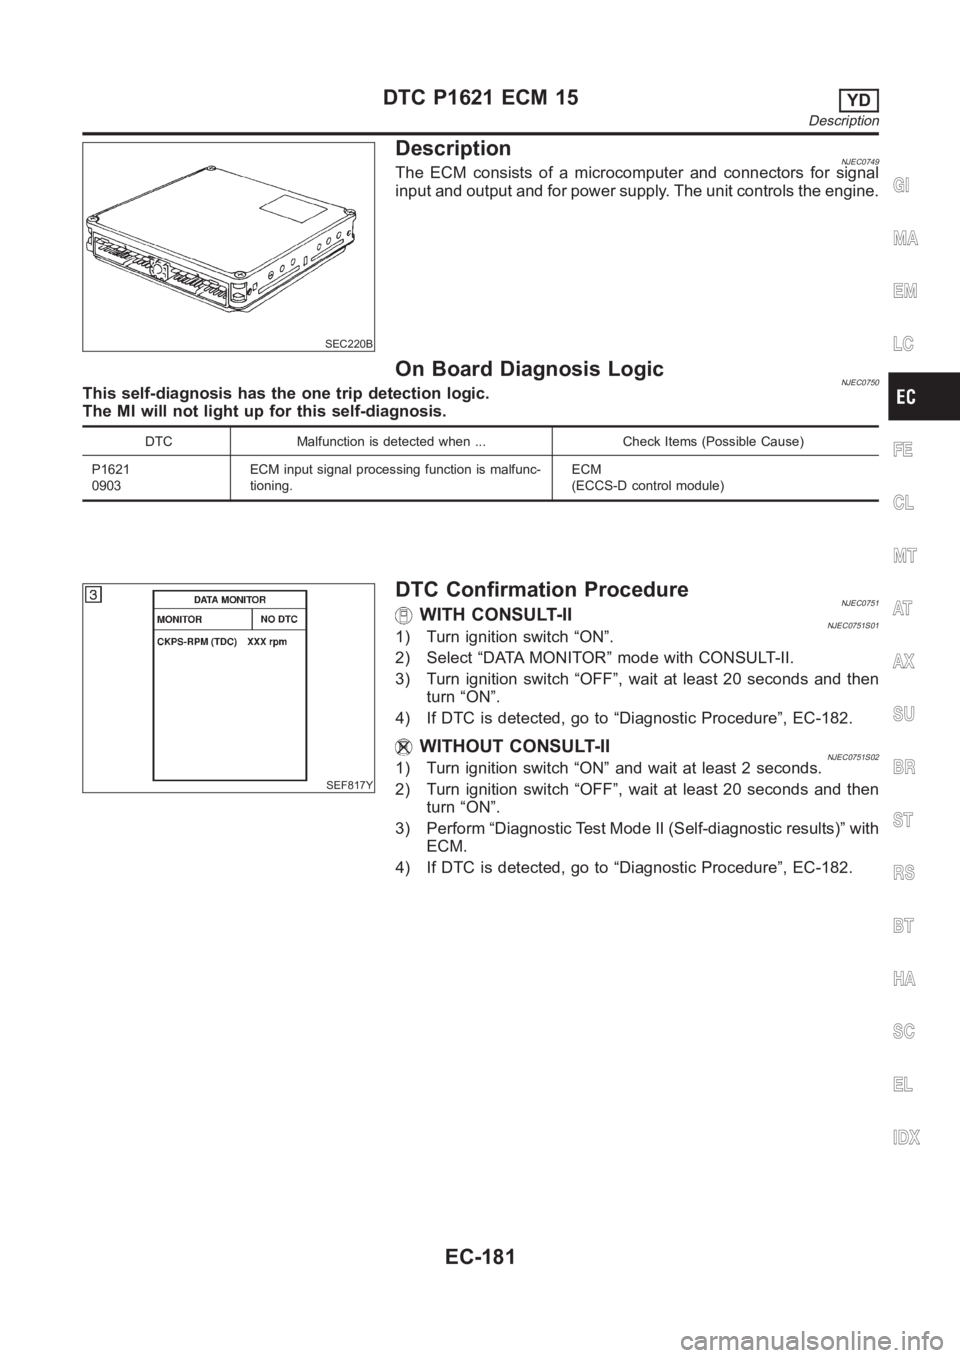
DescriptionNJEC0749The ECM consists of a microcomputer and connectors for signal
input and output and for power supply. The unit controls the engine.
On Board Diagnosis LogicNJEC0750This self-diagnosis has the one trip detection logic.
The MI will not light up for this self-diagnosis.
DTC Malfunction is detected when ... Check Items (Possible Cause)
P1621
0903ECM input signal processing function is malfunc-
tioning.ECM
(ECCS-D control module)
SEF817Y
DTC Confirmation ProcedureNJEC0751WITH CONSULT-IINJEC0751S011) Turn ignition switch “ON”.
2) Select “DATA MONITOR” mode with CONSULT-II.
3) Turn ignition switch “OFF”, wait at least 20 seconds and then
turn “ON”.
4) If DTC is detected, go to “Diagnostic Procedure”, EC-182.
WITHOUT CONSULT-IINJEC0751S021) Turn ignition switch “ON” and wait at least 2 seconds.
2) Turn ignition switch “OFF”, wait at least 20 seconds and then
turn “ON”.
3) Perform “Diagnostic Test Mode II (Self-diagnostic results)” with
ECM.
4) If DTC is detected, go to “Diagnostic Procedure”, EC-182.
GI
MA
EM
LC
FE
CL
MT
AT
AX
SU
BR
ST
RS
BT
HA
SC
EL
IDX
DTC P1621 ECM 15YD
Description
EC-181
Page 1236 of 3189
Diagnostic ProcedureNJEC0752
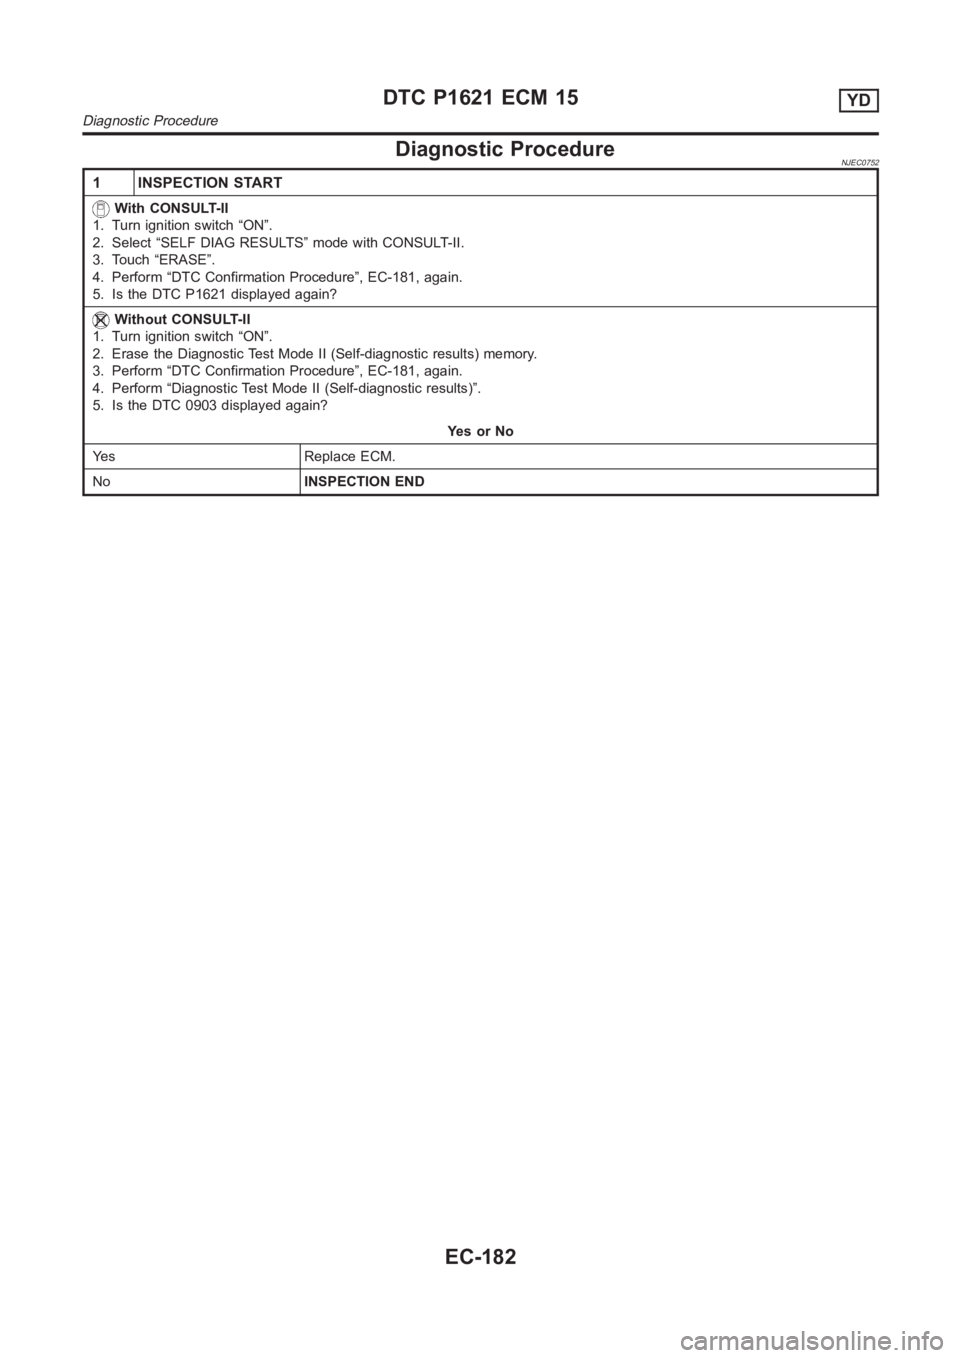
1 INSPECTION START
With CONSULT-II
1. Turn ignition switch “ON”.
2. Select “SELF DIAG RESULTS” mode with CONSULT-II.
3. Touch “ERASE”.
4. Perform “DTC Confirmation Procedure”, EC-181, again.
5. Is the DTC P1621 displayed again?
Without CONSULT-II
1. Turn ignition switch “ON”.
2. Erase the Diagnostic Test Mode II (Self-diagnostic results) memory.
3. Perform “DTC Confirmation Procedure”, EC-181, again.
4. Perform “Diagnostic Test Mode II (Self-diagnostic results)”.
5. Is the DTC 0903 displayed again?
YesorNo
Yes Replace ECM.
NoINSPECTION END
DTC P1621 ECM 15YD
Diagnostic Procedure
EC-182
Page 1237 of 3189
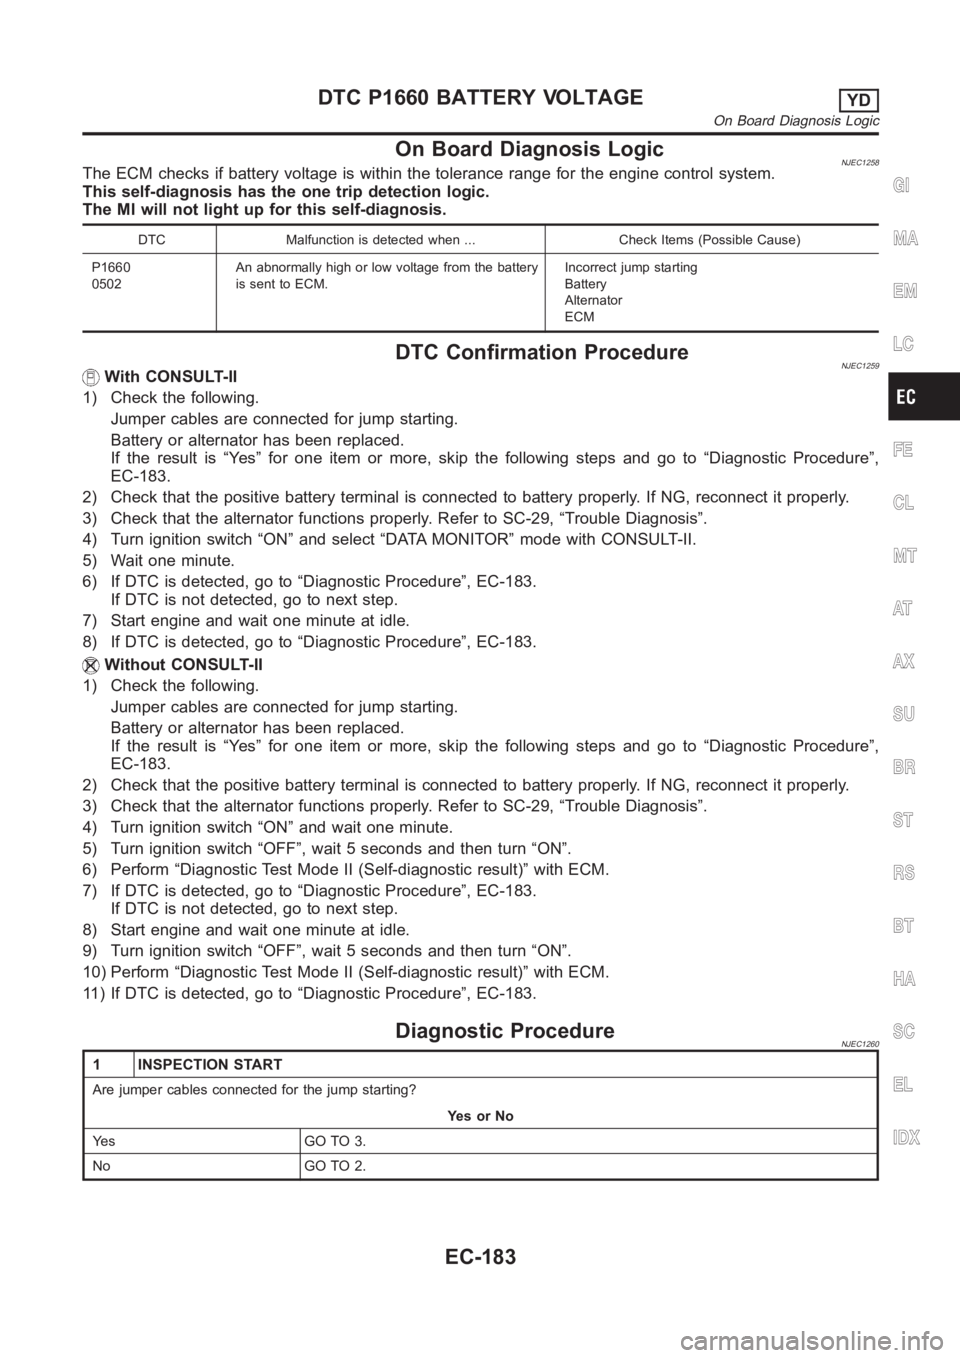
On Board Diagnosis LogicNJEC1258The ECM checks if battery voltage is within the tolerance range for the engine control system.
This self-diagnosis has the one trip detection logic.
The MI will not light up for this self-diagnosis.
DTC Malfunction is detected when ... Check Items (Possible Cause)
P1660
0502An abnormally high or low voltage from the battery
is sent to ECM.Incorrect jump starting
Battery
Alternator
ECM
DTC Confirmation ProcedureNJEC1259With CONSULT-II
1) Check the following.
Jumper cables are connected for jump starting.
Battery or alternator has been replaced.
If the result is “Yes” for one item or more, skip the following steps and go to“Diagnostic Procedure”,
EC-183.
2) Check that the positive battery terminal is connected to battery properly. If NG, reconnect it properly.
3) Check that the alternator functions properly. Refer to SC-29, “TroubleDiagnosis”.
4) Turn ignition switch “ON” and select “DATA MONITOR” mode with CONSULT-II.
5) Wait one minute.
6) If DTC is detected, go to “Diagnostic Procedure”, EC-183.
If DTC is not detected, go to next step.
7) Start engine and wait one minute at idle.
8) If DTC is detected, go to “Diagnostic Procedure”, EC-183.
Without CONSULT-II
1) Check the following.
Jumper cables are connected for jump starting.
Battery or alternator has been replaced.
If the result is “Yes” for one item or more, skip the following steps and go to“Diagnostic Procedure”,
EC-183.
2) Check that the positive battery terminal is connected to battery properly. If NG, reconnect it properly.
3) Check that the alternator functions properly. Refer to SC-29, “TroubleDiagnosis”.
4) Turn ignition switch “ON” and wait one minute.
5) Turn ignition switch “OFF”, wait 5 seconds and then turn “ON”.
6) Perform “Diagnostic Test Mode II (Self-diagnostic result)” with ECM.
7) If DTC is detected, go to “Diagnostic Procedure”, EC-183.
If DTC is not detected, go to next step.
8) Start engine and wait one minute at idle.
9) Turn ignition switch “OFF”, wait 5 seconds and then turn “ON”.
10) Perform “Diagnostic Test Mode II (Self-diagnostic result)” with ECM.
11) If DTC is detected, go to “Diagnostic Procedure”, EC-183.
Diagnostic ProcedureNJEC1260
1 INSPECTION START
Are jumper cables connected for the jump starting?
YesorNo
Ye s G O T O 3 .
No GO TO 2.
GI
MA
EM
LC
FE
CL
MT
AT
AX
SU
BR
ST
RS
BT
HA
SC
EL
IDX
DTC P1660 BATTERY VOLTAGEYD
On Board Diagnosis Logic
EC-183
Page 1238 of 3189
2 CHECK BATTERY AND ALTERNATOR
Check that the proper type of battery and alternator is installed.
Refer to SC-37, “Battery” and SC-38, “Alternator”.
OK or NG
OK GO TO 5.
NG Replace with a proper one.
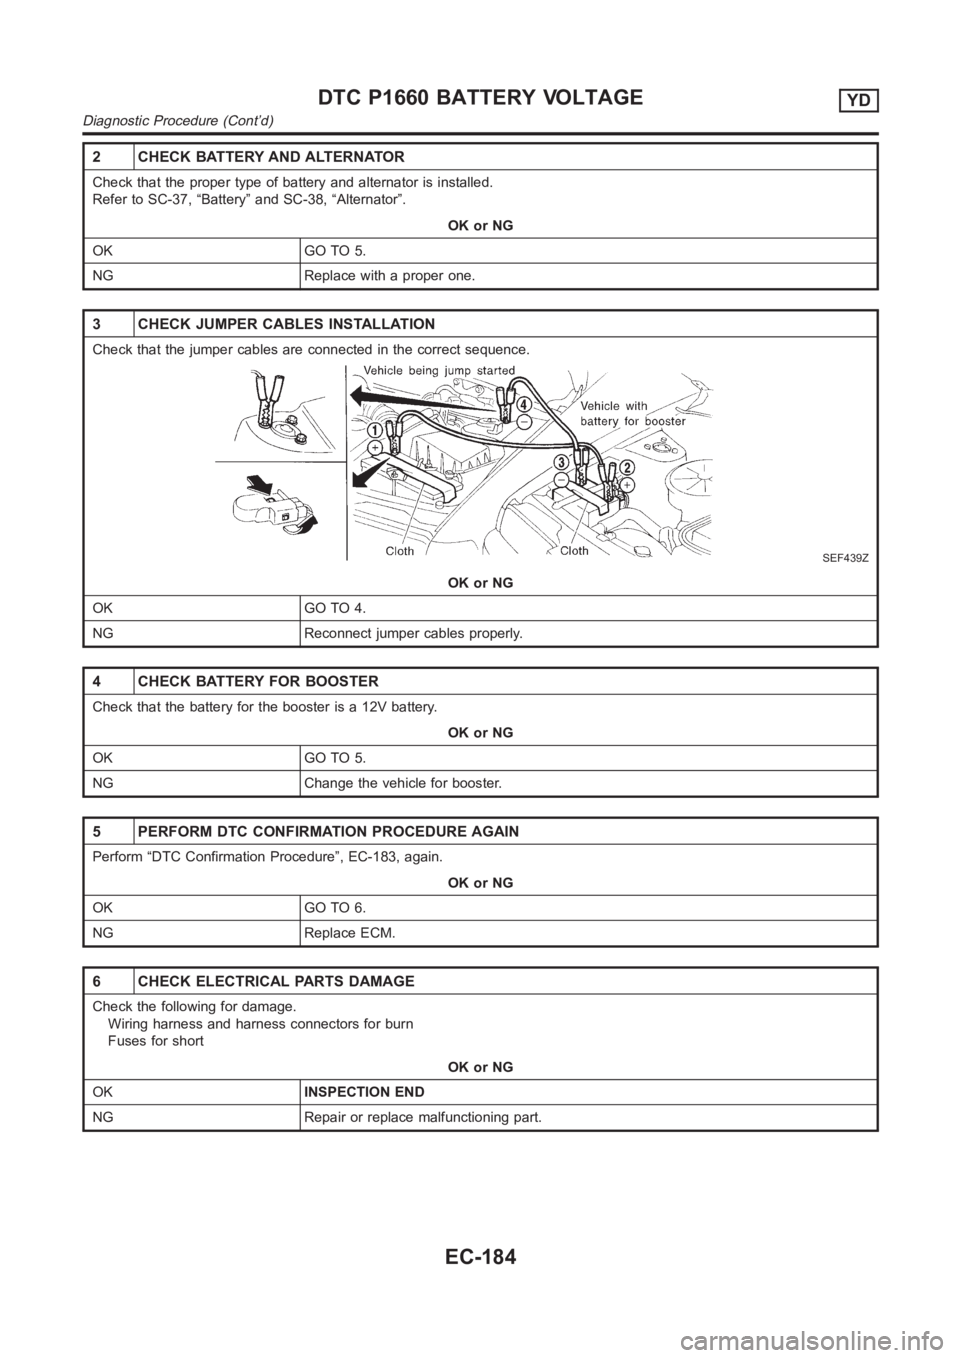
3 CHECK JUMPER CABLES INSTALLATION
Check that the jumper cables are connected in the correct sequence.
SEF439Z
OK or NG
OK GO TO 4.
NG Reconnect jumper cables properly.
4 CHECK BATTERY FOR BOOSTER
Check that the battery for the booster is a 12V battery.
OK or NG
OK GO TO 5.
NG Change the vehicle for booster.
5 PERFORM DTC CONFIRMATION PROCEDURE AGAIN
Perform “DTC Confirmation Procedure”, EC-183, again.
OK or NG
OK GO TO 6.
NG Replace ECM.
6 CHECK ELECTRICAL PARTS DAMAGE
Check the following for damage.
Wiring harness and harness connectors for burn
Fuses for short
OK or NG
OKINSPECTION END
NG Repair or replace malfunctioning part.
DTC P1660 BATTERY VOLTAGEYD
Diagnostic Procedure (Cont’d)
EC-184
Page 1239 of 3189
SEF437Y
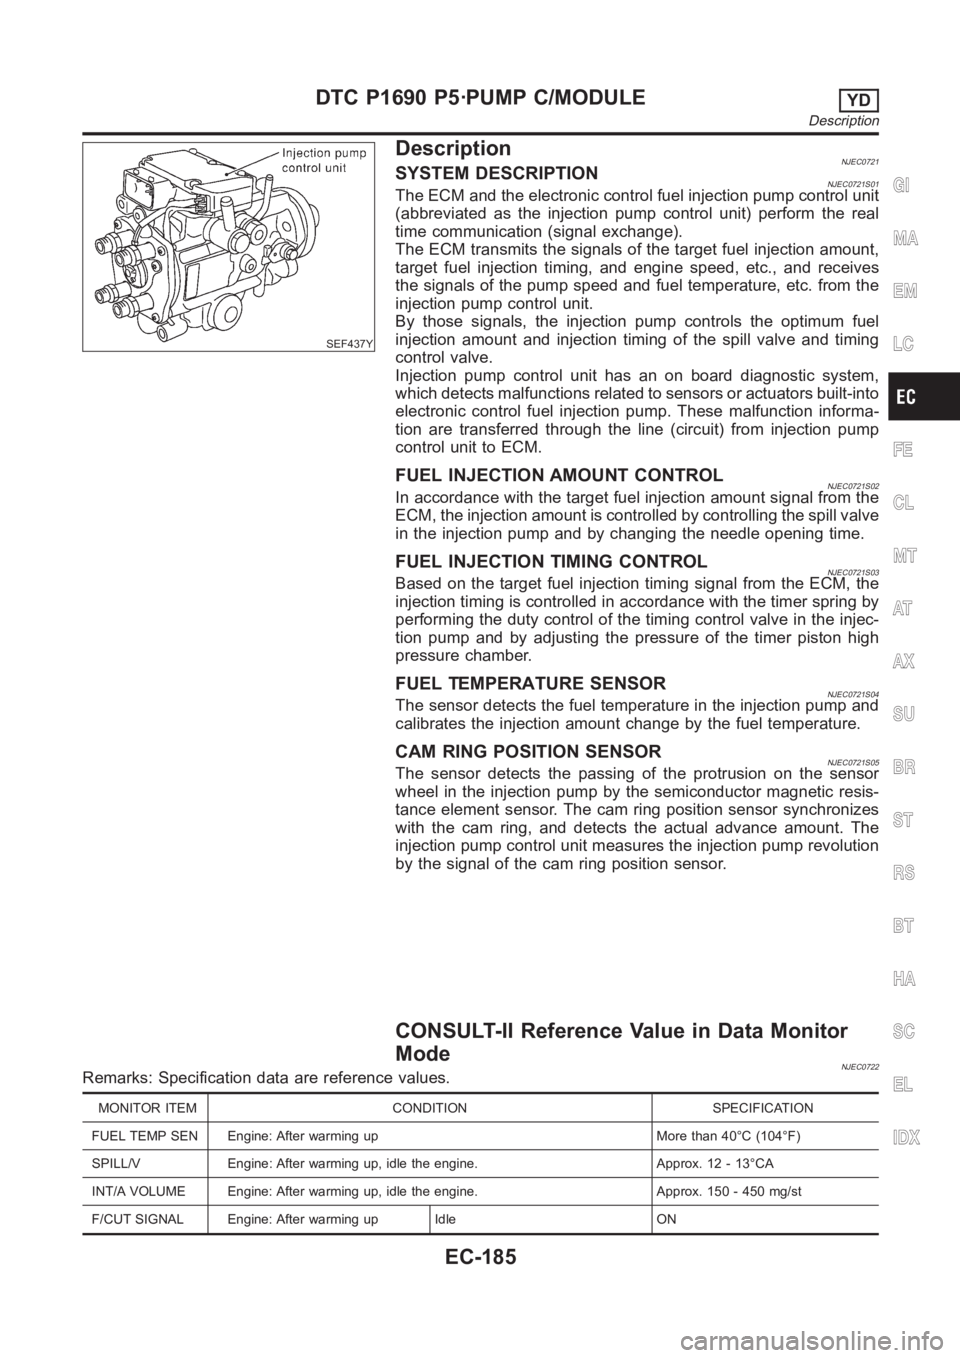
DescriptionNJEC0721SYSTEM DESCRIPTIONNJEC0721S01The ECM and the electronic control fuel injection pump control unit
(abbreviated as the injection pump control unit) perform the real
time communication (signal exchange).
The ECM transmits the signals of the target fuel injection amount,
target fuel injection timing, and engine speed, etc., and receives
the signals of the pump speed and fuel temperature, etc. from the
injection pump control unit.
By those signals, the injection pump controls the optimum fuel
injection amount and injection timing of the spill valve and timing
control valve.
Injection pump control unit has an on board diagnostic system,
which detects malfunctions related to sensors or actuators built-into
electronic control fuel injection pump. These malfunction informa-
tion are transferred through the line (circuit) from injection pump
control unit to ECM.
FUEL INJECTION AMOUNT CONTROLNJEC0721S02In accordance with the target fuel injection amount signal from the
ECM, the injection amount is controlled by controlling the spill valve
in the injection pump and by changing the needle opening time.
FUEL INJECTION TIMING CONTROLNJEC0721S03Based on the target fuel injection timing signal from the ECM, the
injection timing is controlled in accordance with the timer spring by
performing the duty control of the timing control valve in the injec-
tion pump and by adjusting the pressure of the timer piston high
pressure chamber.
FUEL TEMPERATURE SENSORNJEC0721S04The sensor detects the fuel temperature in the injection pump and
calibrates the injection amount change by the fuel temperature.
CAM RING POSITION SENSORNJEC0721S05The sensor detects the passing of the protrusion on the sensor
wheel in the injection pump by the semiconductor magnetic resis-
tance element sensor. The cam ring position sensor synchronizes
with the cam ring, and detects the actual advance amount. The
injection pump control unit measures the injection pump revolution
by the signal of the cam ring position sensor.
CONSULT-II Reference Value in Data Monitor
Mode
NJEC0722Remarks: Specification data are reference values.
MONITOR ITEM CONDITION SPECIFICATION
FUEL TEMP SEN Engine: After warming up More than 40°C (104°F)
SPILL/V Engine: After warming up, idle the engine. Approx. 12 - 13°CA
INT/A VOLUME Engine: After warming up, idle the engine. Approx. 150 - 450 mg/st
F/CUT SIGNAL Engine: After warming up Idle ON
GI
MA
EM
LC
FE
CL
MT
AT
AX
SU
BR
ST
RS
BT
HA
SC
EL
IDX
DTC P1690 P5·PUMP C/MODULEYD
Description
EC-185
Page 1240 of 3189
MONITOR ITEM CONDITION SPECIFICATION
BARO SEN Ignition switch: ONAltitude
Approx. 0 m (0 ft): Approx. 100.62
kPa (1.0062 bar, 1.026 kg/cm
2,
14.59 psi)
Approx. 1,000 m (3,218 ft): Approx.
88.95 kPa (0.8895 bar, 0.907
kg/cm
2, 12.90 psi)
Approx. 1,500 m (4,922 ft): Approx.
83.16 kPa (0.8316 bar, 0.848
kg/cm
2, 12.06 psi)
Approx. 2,000 m (6,562 ft): Approx.
78.36 kPa (0.7836 bar, 0.799
kg/cm
2, 11.36 psi)
ECM Terminals and Reference ValueNJEC0723Specification data are reference values and are measured between each terminal and ground.
CAUTION:
Do not use ECM ground terminals when measuring input/output voltage. Doing so may result in dam-
age to the ECM’s transistor. Use a ground other than ECM terminals, such as the ground.
TERMI-
NAL
NO.WIRE
COLORITEM CONDITION DATA (DC Voltage)
313 L/WElectronic control fuel
injection pump[Engine is running]
Warm-up condition
Idle speedApproximately 0.1V
314 L/RElectronic control fuel
injection pump[Engine is running]
Warm-up condition
Idle speedApproximately 0.4V
316 PUElectronic control fuel
injection pump[Engine is running]
Warm-up condition
Idle speedApproximately 2.5V
317 PElectronic control fuel
injection pump[Engine is running]
Warm-up condition
Idle speedApproximately 2.5V
On Board Diagnosis LogicNJEC0724
DTC Malfunction is detected when .... Check Items (Possible cause)
P1690
0705Injection pump control unit does not function
properly.Electronic control fuel injection pump
SEF817Y
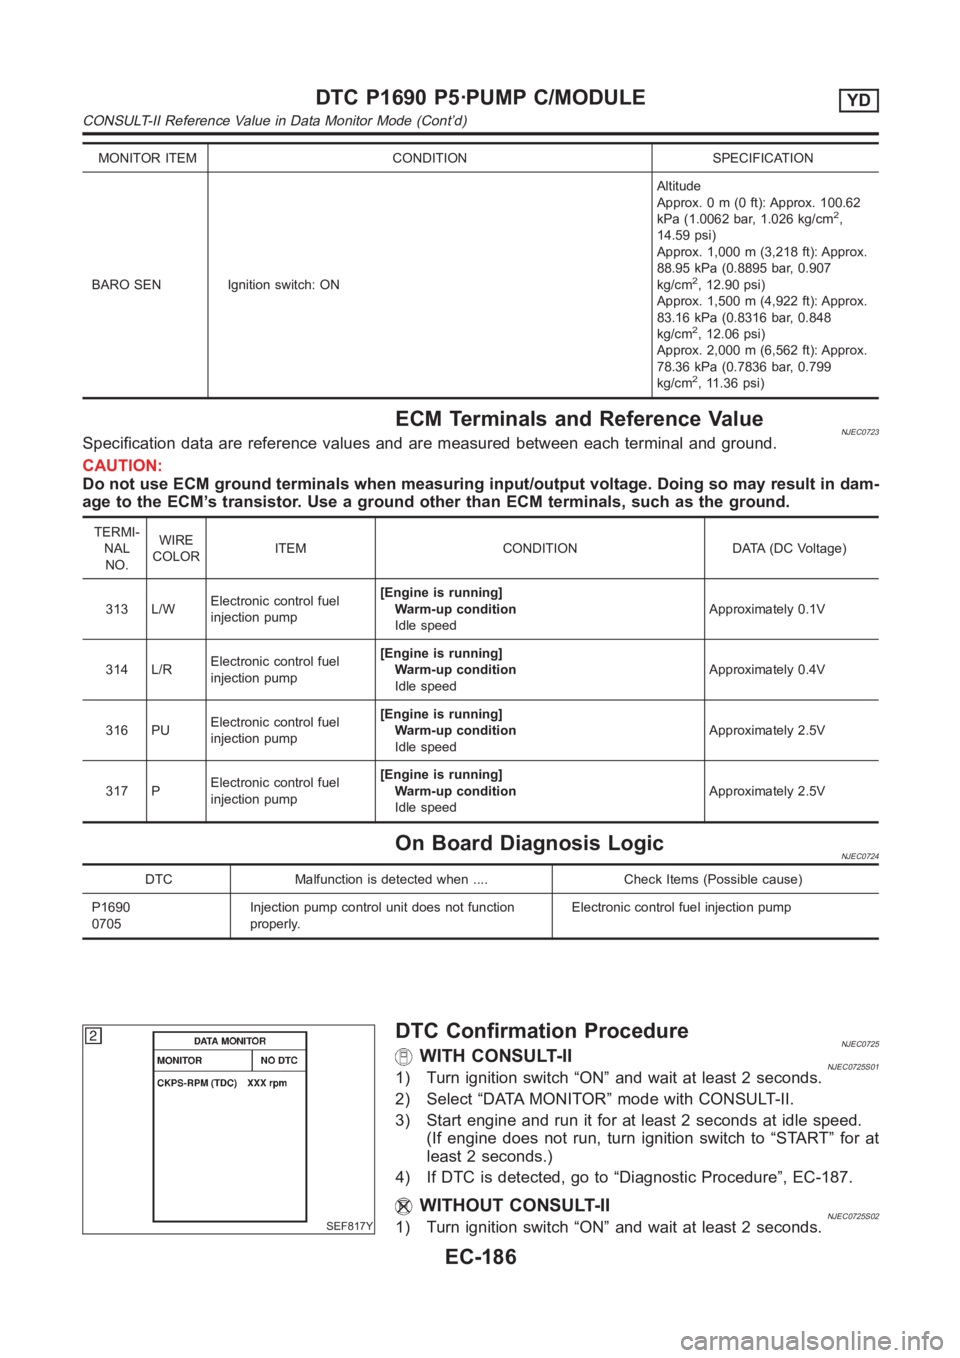
DTC Confirmation ProcedureNJEC0725WITH CONSULT-IINJEC0725S011) Turn ignition switch “ON” and wait at least 2 seconds.
2) Select “DATA MONITOR” mode with CONSULT-II.
3) Start engine and run it for at least 2 seconds at idle speed.
(If engine does not run, turn ignition switch to “START” for at
least 2 seconds.)
4) If DTC is detected, go to “Diagnostic Procedure”, EC-187.
WITHOUT CONSULT-IINJEC0725S021) Turn ignition switch “ON” and wait at least 2 seconds.
DTC P1690 P5·PUMP C/MODULEYD
CONSULT-II Reference Value in Data Monitor Mode (Cont’d)
EC-186
Page 1241 of 3189
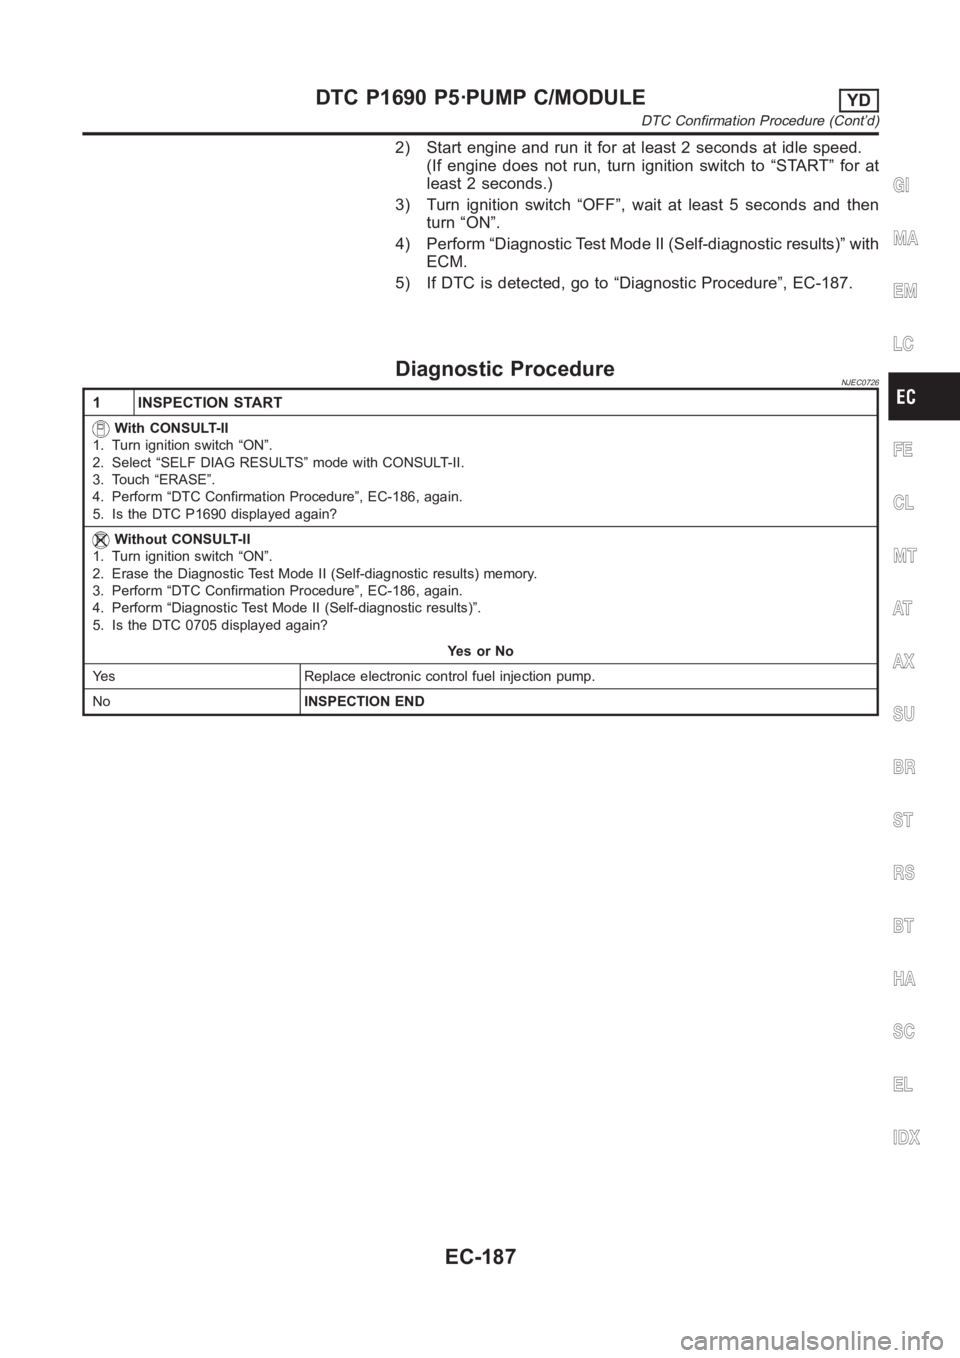
2) Start engine and run it for at least 2 seconds at idle speed.
(If engine does not run, turn ignition switch to “START” for at
least 2 seconds.)
3) Turn ignition switch “OFF”, wait at least 5 seconds and then
turn “ON”.
4) Perform “Diagnostic Test Mode II (Self-diagnostic results)” with
ECM.
5) If DTC is detected, go to “Diagnostic Procedure”, EC-187.
Diagnostic ProcedureNJEC0726
1 INSPECTION START
With CONSULT-II
1. Turn ignition switch “ON”.
2. Select “SELF DIAG RESULTS” mode with CONSULT-II.
3. Touch “ERASE”.
4. Perform “DTC Confirmation Procedure”, EC-186, again.
5. Is the DTC P1690 displayed again?
Without CONSULT-II
1. Turn ignition switch “ON”.
2. Erase the Diagnostic Test Mode II (Self-diagnostic results) memory.
3. Perform “DTC Confirmation Procedure”, EC-186, again.
4. Perform “Diagnostic Test Mode II (Self-diagnostic results)”.
5. Is the DTC 0705 displayed again?
YesorNo
Yes Replace electronic control fuel injection pump.
NoINSPECTION END
GI
MA
EM
LC
FE
CL
MT
AT
AX
SU
BR
ST
RS
BT
HA
SC
EL
IDX
DTC P1690 P5·PUMP C/MODULEYD
DTC Confirmation Procedure (Cont’d)
EC-187
Page 1242 of 3189
DescriptionNJEC0760SYSTEM DESCRIPTIONNJEC0760S01
Sensor Input Signal to ECMECM
Func-
tionActuator
Crankshaft position sensor
(TDC)Engine speed
Glow
controlGlow lamp,
Glow relay
"
Glow plugs Engine coolant tempera-
ture sensorEngine coolant tem-
perature
When engine coolant temperature is more than approximately
75°C (167°F), the glow relay turns off.
When coolant temperature is lower than approximately 75°C
(167°F):
Ignition switch ON
After ignition switch has turned to ON, the glow relay turns ON
for a certain period of time in relation to engine coolant
temperature, allowing current to flow through glow plug.
Cranking
The glow relay turns ON, allowing current to flow through glow
plug.
Starting
After engine has started, current continues to flow through
glow plug (after-glow mode) for a certain period in relation to
engine coolant temperature.
The glow indicator lamp turns ON for a certain period of time in
relation to engine cooalnt temperature at the time glow relay is
turned ON.
SEF376Y
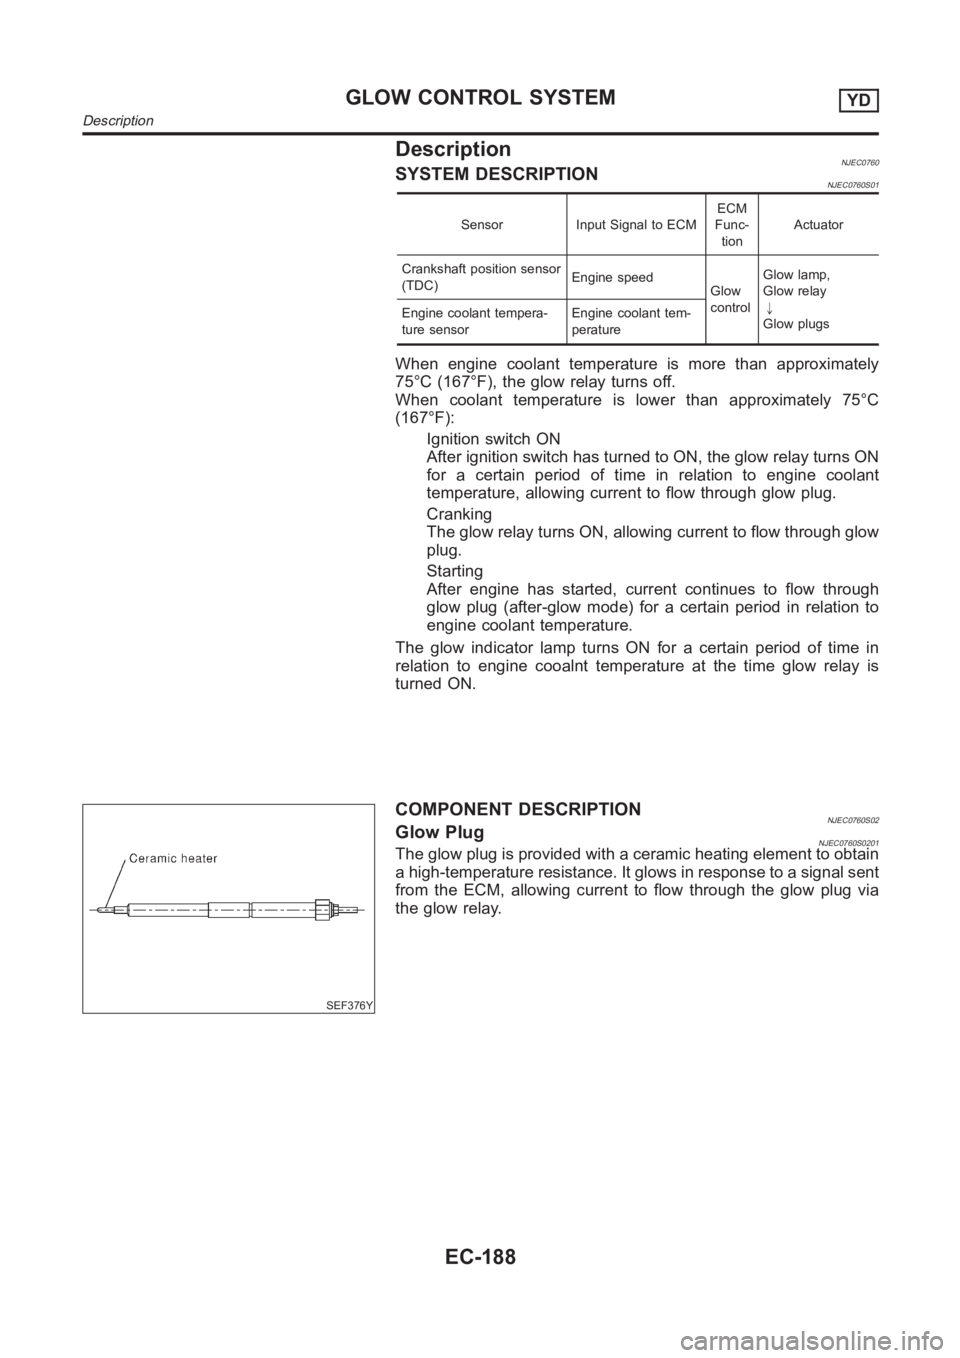
COMPONENT DESCRIPTIONNJEC0760S02Glow PlugNJEC0760S0201The glow plug is provided with a ceramic heating element to obtain
a high-temperature resistance. It glows in response to a signal sent
from the ECM, allowing current to flow through the glow plug via
the glow relay.
GLOW CONTROL SYSTEMYD
Description
EC-188