Page 157 of 4500
Standard:
DTC OUTPUT DESCRIPTION
B: REPAIR CIRCUIT INDICATED BY OUTPUT DTC
A: Go to next step
2.INSPECT SKID CONTROL ECU CONNECTOR (SEE REPLACEMENT
)
a. Check the ECU connector's connecting condition.
OK: Go to next step
The connector is securely connected.
NG: CONNECT CONNECTOR TO ECU CORRECTLY
OK: Go to next step
3.INSPECT BATTERY
a. Check the battery voltage.
Standard:
Voltage: 10 to 14 V
NG: INSPECT CHARGING SYSTEM (SEE ON
-VEHICLE INSPECTION )
OK: Go to next step
4.INSPECT SKID CONTROL ECU TERMINAL VOLTAGE (IG1 TERMINAL)
a. Connect the hand-held tester to the DLC3.
b. Start the engine.
c. Select the DATA LIST mode on the hand-held tester.
Fig. 117: Item Measurement Item /Range Normal Condition
Courtesy of TOYOTA MOTOR SALES, U.S.A., INC.
DTC is not outputA
DTC is outputB
Page 161 of 4500

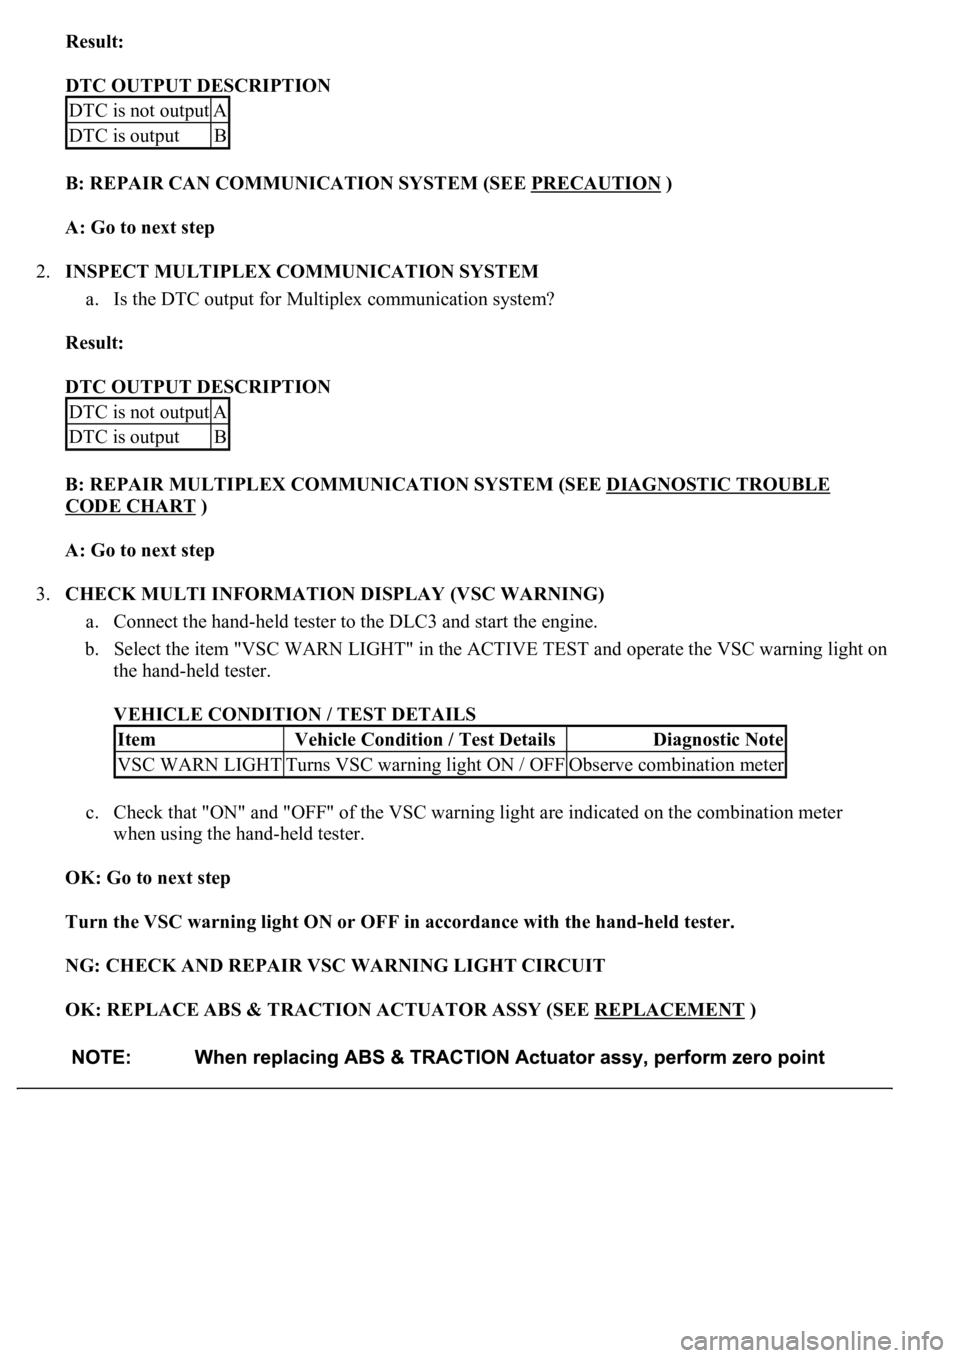
Result:
DTC OUTPUT DESCRIPTION
B: REPAIR CAN COMMUNICATION SYSTEM (SEE PRECAUTION
)
A: Go to next step
2.INSPECT MULTIPLEX COMMUNICATION SYSTEM
a. Is the DTC output for Multiplex communication system?
Result:
DTC OUTPUT DESCRIPTION
B: REPAIR MULTIPLEX COMMUNICATION SYSTEM (SEE DIAGNOSTIC TROUBLE
CODE CHART )
A: Go to next step
3.CHECK MULTI INFORMATION DISPLAY (VSC WARNING)
a. Connect the hand-held tester to the DLC3 and start the engine.
b. Select the item "VSC WARN LIGHT" in the ACTIVE TEST and operate the VSC warning light on
the hand-held tester.
VEHICLE CONDITION / TEST DETAILS
c. Check that "ON" and "OFF" of the VSC warning light are indicated on the combination meter
when using the hand-held tester.
OK: Go to next step
Turn the VSC warning light ON or OFF in accordance with the hand-held tester.
NG: CHECK AND REPAIR VSC WARNING LIGHT CIRCUIT
OK: REPLACE ABS & TRACTION ACTUATOR ASSY (SEE REPLACEMENT
)
DTC is not outputA
DTC is outputB
DTC is not outputA
DTC is outputB
ItemVehicle Condition / Test DetailsDiagnostic Note
VSC WARN LIGHTTurns VSC warning light ON / OFFObserve combination meter
Page 165 of 4500

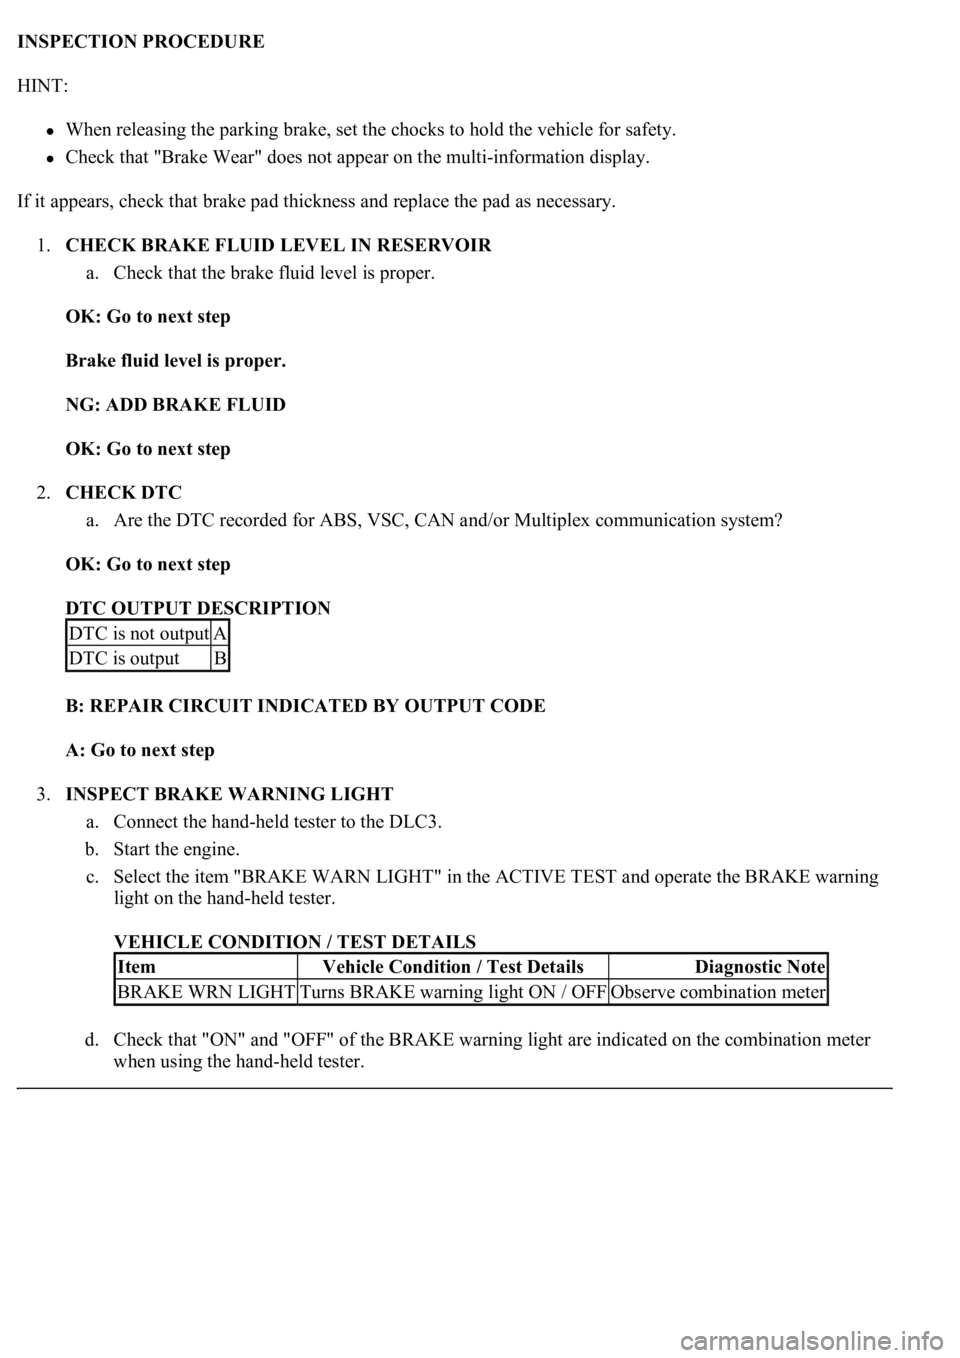
INSPECTION PROCEDURE
HINT:
When releasing the parking brake, set the chocks to hold the vehicle for safety.
Check that "Brake Wear" does not appear on the multi-information display.
If it appears, check that brake pad thickness and replace the pad as necessary.
1.CHECK BRAKE FLUID LEVEL IN RESERVOIR
a. Check that the brake fluid level is proper.
OK: Go to next step
Brake fluid level is proper.
NG: ADD BRAKE FLUID
OK: Go to next step
2.CHECK DTC
a. Are the DTC recorded for ABS, VSC, CAN and/or Multiplex communication system?
OK: Go to next step
DTC OUTPUT DESCRIPTION
B: REPAIR CIRCUIT INDICATED BY OUTPUT CODE
A: Go to next step
3.INSPECT BRAKE WARNING LIGHT
a. Connect the hand-held tester to the DLC3.
b. Start the engine.
c. Select the item "BRAKE WARN LIGHT" in the ACTIVE TEST and operate the BRAKE warning
light on the hand-held tester.
VEHICLE CONDITION / TEST DETAILS
d. Check that "ON" and "OFF" of the BRAKE warning light are indicated on the combination meter
when usin
g the hand-held tester.
DTC is not outputA
DTC is outputB
ItemVehicle Condition / Test DetailsDiagnostic Note
BRAKE WRN LIGHTTurns BRAKE warning light ON / OFFObserve combination meter
Page 176 of 4500

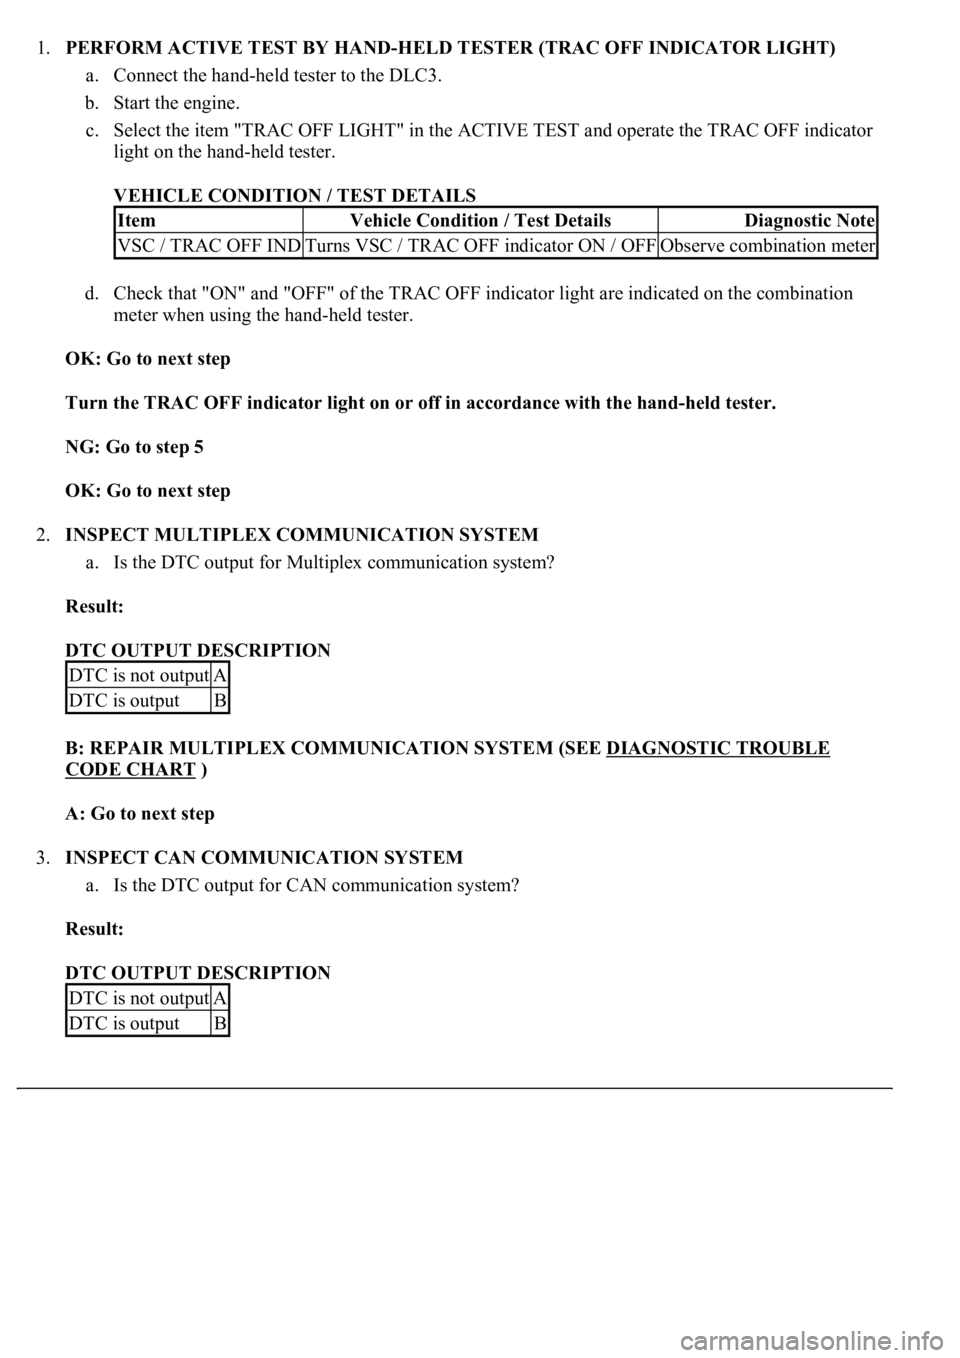
1.PERFORM ACTIVE TEST BY HAND-HELD TESTER (TRAC OFF INDICATOR LIGHT)
a. Connect the hand-held tester to the DLC3.
b. Start the engine.
c. Select the item "TRAC OFF LIGHT" in the ACTIVE TEST and operate the TRAC OFF indicator
light on the hand-held tester.
VEHICLE CONDITION / TEST DETAILS
d. Check that "ON" and "OFF" of the TRAC OFF indicator light are indicated on the combination
meter when using the hand-held tester.
OK: Go to next step
Turn the TRAC OFF indicator light on or off in accordance with the hand-held tester.
NG: Go to step 5
OK: Go to next step
2.INSPECT MULTIPLEX COMMUNICATION SYSTEM
a. Is the DTC output for Multiplex communication system?
Result:
DTC OUTPUT DESCRIPTION
B: REPAIR MULTIPLEX COMMUNICATION SYSTEM (SEE DIAGNOSTIC TROUBLE
CODE CHART )
A: Go to next step
3.INSPECT CAN COMMUNICATION SYSTEM
a. Is the DTC output for CAN communication system?
Result:
DTC OUTPUT DESCRIPTION
ItemVehicle Condition / Test DetailsDiagnostic Note
VSC / TRAC OFF INDTurns VSC / TRAC OFF indicator ON / OFFObserve combination meter
DTC is not outputA
DTC is outputB
DTC is not outputA
DTC is outputB
Page 183 of 4500

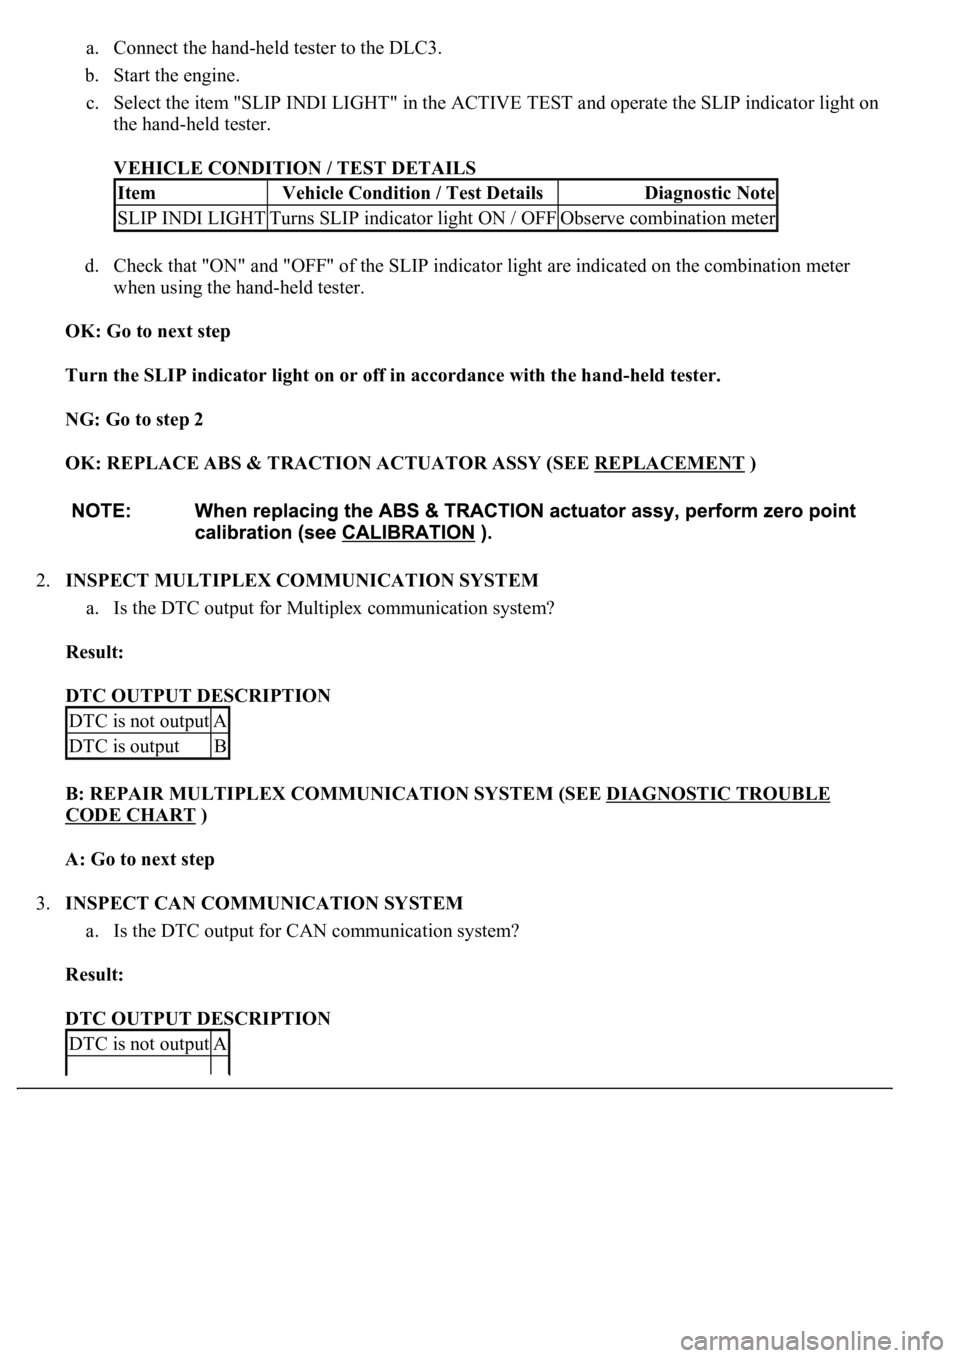
a. Connect the hand-held tester to the DLC3.
b. Start the engine.
c. Select the item "SLIP INDI LIGHT" in the ACTIVE TEST and operate the SLIP indicator light on
the hand-held tester.
VEHICLE CONDITION / TEST DETAILS
d. Check that "ON" and "OFF" of the SLIP indicator light are indicated on the combination meter
when using the hand-held tester.
OK: Go to next step
Turn the SLIP indicator light on or off in accordance with the hand-held tester.
NG: Go to step 2
OK: REPLACE ABS & TRACTION ACTUATOR ASSY (SEE REPLACEMENT
)
2.INSPECT MULTIPLEX COMMUNICATION SYSTEM
a. Is the DTC output for Multiplex communication system?
Result:
DTC OUTPUT DESCRIPTION
B: REPAIR MULTIPLEX COMMUNICATION SYSTEM (SEE DIAGNOSTIC TROUBLE
CODE CHART )
A: Go to next step
3.INSPECT CAN COMMUNICATION SYSTEM
a. Is the DTC output for CAN communication system?
Result:
DTC OUTPUT DESCRIPTION
ItemVehicle Condition / Test DetailsDiagnostic Note
SLIP INDI LIGHTTurns SLIP indicator light ON / OFFObserve combination meter
DTC is not outputA
DTC is outputB
DTC is not outputA
Page 185 of 4500
Fig. 131: Skid Control Buzzer Wiring Diagram
Courtesy of TOYOTA MOTOR SALES, U.S.A., INC.
INSPECTION PROCEDURE
HINT:
Start the inspection from step 1 when using the hand-held tester and start from step 2 when not using the hand-
held tester.
1.PERFORM ACTIVE TEST BY HAND-HELD TESTER (SKID CONTROL BUZZER)
a. Connect the hand-held tester to the DLC3.
b. Start the engine.
c. Select the item "VSC/BR WARN BUZ" in the ACTIVE TEST and operate the skid control buzzer
on the han
d-held tester.
Page 227 of 4500

ROOM TEMP
Room temperature sensor / min.: -
6.5°C (20.3°F) max.: 57.25°C
(126.95°F)
Actual room temperature is displayed-
AMBI TEMP
SENSAmbient temperature sensor /
min.: -23.3°C (-9.94°F) max.:
65.95°C (150.71°F)Actual ambient temperature is
displayed-
EVAP TEMP
Evaporator temperature sensor /
min.: -29.7°C (-21.46°F) max.:
59.55°C (139.19°F)Actual evaporator temperature is
displayed-
SOLAR SENS-DSolar sensor (Driver side) / min.:
0 max.: 255Increases as brightness increases-
SOLAR SENS-PSolar sensor (Passenger side) /
min.: 0 max.: 255decreases as brightness increases-
COOLANT
TEMPEngine coolant temperature /
min.: 1.3°C (34.34°F) max.:
90.55°C (194.99°F)Actual engine coolant temperature is
displayed while the engine is warmed
up
-
DUCT TEMP-D
Duct sensor (Driver side) / min.: -
12.7°C (9.14°F) max.: 76.55°C
(169.79°F)Actual duct temperature is displayed
(Driver side)-
DUST TEMP-P
Duct sensor (Passenger side) /
min.: -12.7°C (9.14°F) max.:
76.55°C (169.79°F)Actual duct temperature is displayed
(Passenger side)-
SET TEMP-DSet temperature (Driver side) /
min.: 0 max.: 255Actual set temperature is displayed
(Driver side)-
SET TEMP-PSet temperature (Passenger
side) /min.: 0 max.: 255Actual set temperature is displayed
(Passenger side)-
ESTIMATE
TEMP-DEstimated temperature (Driver
side) / min.: -358.4°C (-613.12°F)
max.: 358.4°C (677.12°F)Actual estimated temperature is
displayed (Driver side)-
ESTIMATE
TEMP-PEstimated temperature (Passenger
side) / min.: -358.4°C (-613.12°F)
max.: 358.4°C (677.12°F)Actual estimated temperature is
displayed (Passenger side)-
A/I DAMP POSAir inlet damper position / min.: -
14% max.: 113.5%RECIRCULATION: Approx. 0%
FRESH: Approx. 100%-
A/B DAMP POS-
DCool air bypass damper position
(Driver side) / min.: -14% max.:
113.5%OPEN: Approx. 0 % SHUT: Approx.
100%-
A/B DAMP POS-
PCool air bypass damper position
(Passenger side) / min.: -14%
max.: 113.5%OPEN: Approx. 0 % SHUT: Approx.
100%-
ItemMeasurement Item / Display
(Range)Normal ConditionDiagnostic
Note
A/I DAMP
TARGAir inlet damper target / min.: -
14% max.: 113.5%RECIRCULATION: Approx. 0%
FRESH: Approx. 100% HALF-
RECIRCULATION: 43 to 99.5 %
-
Page 229 of 4500

DATA LIST / ENGINE AND ECT / ALL:
DATA LIST / ENGINE AND ECT / ALL
2.ACTIVE TEST
HINT:
Performing the ACTIVE TEST
using the hand-held tester allows the relays, VSV, actuators and so on to
operate without parts removal. Performing the ACTIVE TEST
as the first STEP of troubleshooting is
one way to shorten labor time.
It is possible to display the DATA LIST on the hand-held tester during the ACTIVE TEST.
a. Connect the hand-held tester to the DLC3.
b. Turn the ignition switch to the ON position.
c. From the display on tester, perform the "ACTIVE TEST
".
ACTIVE TEST / AIR CONDITIONER:
ACTIVE TEST / AIR CONDITIONER
FOOT AIR
LEAKFoot air leak / ON, OFFCustomized value will be displayed-
DESTINATION
Destination / DOMEST, USA,
EUROPE, AUSTRAL,
MIDEAST, NO INFO
Changes with destinations-
REAR SOLAR
SENSRear solar sensor / min.: 0 max.:
255Changes depending on brightness-
NOX GAS SENSEmission gas Nox sensor / min.: 0
max.: 255Increases as the gas amount increases-
ItemMeasurement Item / Display
(Range)Normal ConditionDiagnostic
Note
REG PRESS
SENSRegulator pressure sensor / min.:
0 max.: 255Actual regulator pressure is displayed-
FILTER FLOW
VOLFilter flow volume / min.: 0 max.:
65535Actual filter flow volume is displayed-
REG CTRL
CURRNTRegulator control current / min.: 0
A max.: 255 A--
HUMIDITY
SENSHumidity sensor / min.: 0% max.:
100%Actual room humidity is displayed-
#CODESNumber of Trouble Codes / min.:
0 max.: 255Number of DTCs will be displayed-
ItemMeasurement Item/Display (Range)Normal ConditionDiagnostic Note
A/C SIGA/C signal/ ON or OFFA/C ON: ON-