Page 1067 of 4500
Fig. 99: Measuring Disc Thickness
Courtesy of TOYOTA MOTOR SALES, U.S.A., INC.
14.REMOVE PARKING BRAKE SHOE ADJUSTING HOLE PLUG
a. Remove the parking brake shoe adjusting hole plug from the rear disc.
15.REMOVE REAR DISC
a. Put matchmarks on the rear disc and the axle hub.
Page 1068 of 4500
Fig. 100: Identifying Matchmarks On Rear Disc And Axle Hub
Courtesy of TOYOTA MOTOR SALES, U.S.A., INC.
b. Release the parking brake, and remove the rear disc.
HINT:
If the disc cannot be removed easil
y, turn the shoe adjuster until the wheel turns freely.
Page 1069 of 4500
Fig. 101: Turning Shoe Adjuster
Courtesy of TOYOTA MOTOR SALES, U.S.A., INC.
16.INSTALL REAR DISC
a. Aligning the matchmarks, install the rear disc.
HINT:
When replacing the rear disc with a new one, select the installation position where the rear disc has the
minimum runout.
17.INSTALL PARKING BRAKE SHOE ADJUSTING HOLE PLUG
a. Install the parking brake shoe adjusting hole plug to the rear disc.
18.INSPECT DISC RUNOUT
a. Tighten the disc with the 3 hub nuts.
HINT:
Use SST 09330-00021 to hold the disc during measurement.
Torque: 103 N.m (1,050 kgf.cm, 76 ft.lbf)
Page 1071 of 4500
Fig. 103: Measuring Disc Runout 10 mm Inside (0.39 In.) Outer Edge Of Disc
Courtesy of TOYOTA MOTOR SALES, U.S.A., INC.
19.ADJUST PARKING BRAKE SHOE CLEARANCE (SEE OVERHAUL
)
20.TEMPORARILY TIGHTEN REAR DISC BRAKE BLEEDER PLUG
a. Temporarily install the rear disc brake bleeder plug to the disc brake cylinder assy rear.
21.INSTALL PISTON SEAL
a. Apply lithium soap base glycol grease to a new piston seal.
b. Install the piston seal to the disc brake cylinder assy rear.
22.INSTALL REAR DISC BRAKE PISTON
a. Apply lithium soap base glycol grease to the rear disc brake piston and a new cylinder boot.
b. Install the cylinder boot to the rear disc brake piston.
c. Install the rear disc brake piston to the disc brake cylinder assy rear.
23.INSTALL CYLINDER BOOT
a. Install the cylinder boot to the disc brake cylinder assy rear.
Page 1107 of 4500

SYSTEM INDEX
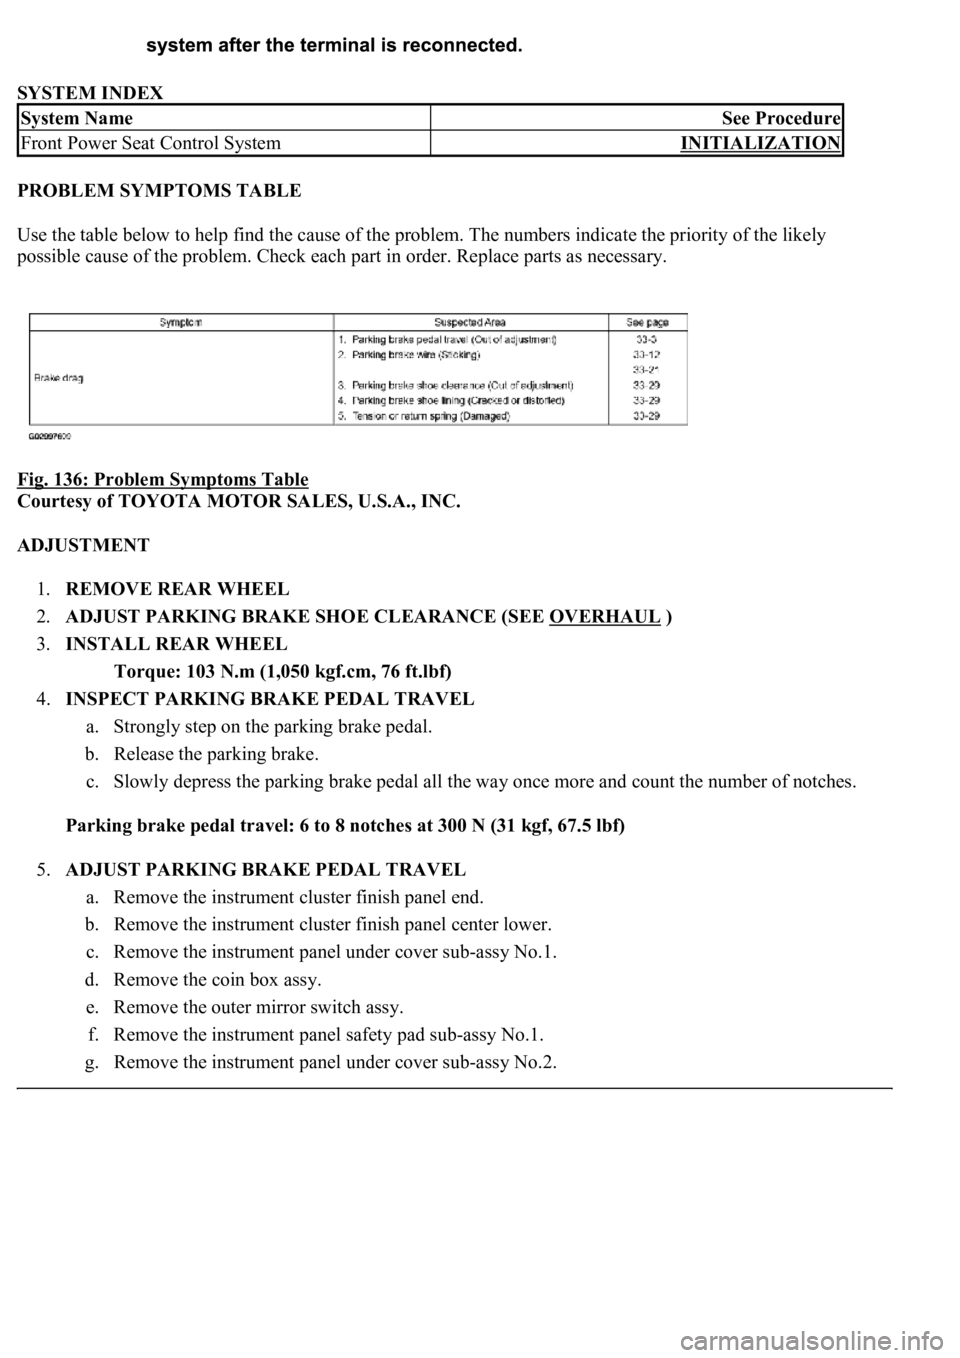
PROBLEM SYMPTOMS TABLE
<00380056004800030057004b00480003005700440045004f0048000300450048004f0052005a0003005700520003004b0048004f005300030049004c0051004700030057004b004800030046004400580056004800030052004900030057004b0048000300
53005500520045004f00480050001100030037004b00480003[numbers indicate the priority of the likely
possible cause of the problem. Check each part in order. Replace parts as necessary.
Fig. 136: Problem Symptoms Table
Courtesy of TOYOTA MOTOR SALES, U.S.A., INC.
ADJUSTMENT
1.REMOVE REAR WHEEL
2.ADJUST PARKING BRAKE SHOE CLEARANCE (SEE OVERHAUL
)
3.INSTALL REAR WHEEL
Torque: 103 N.m (1,050 kgf.cm, 76 ft.lbf)
4.INSPECT PARKING BRAKE PEDAL TRAVEL
a. Strongly step on the parking brake pedal.
b. Release the parking brake.
c. Slowly depress the parking brake pedal all the way once more and count the number of notches.
Parking brake pedal travel: 6 to 8 notches at 300 N (31 kgf, 67.5 lbf)
5.ADJUST PARKING BRAKE PEDAL TRAVEL
a. Remove the instrument cluster finish panel end.
b. Remove the instrument cluster finish panel center lower.
c. Remove the instrument panel under cover sub-assy No.1.
d. Remove the coin box assy.
e. Remove the outer mirror switch assy.
f. Remove the instrument panel safety pad sub-assy No.1.
g. Remove the instrument panel under cover sub-assy No.2.
System NameSee Procedure
Front Power Seat Control SystemINITIALIZATION
Page 1108 of 4500

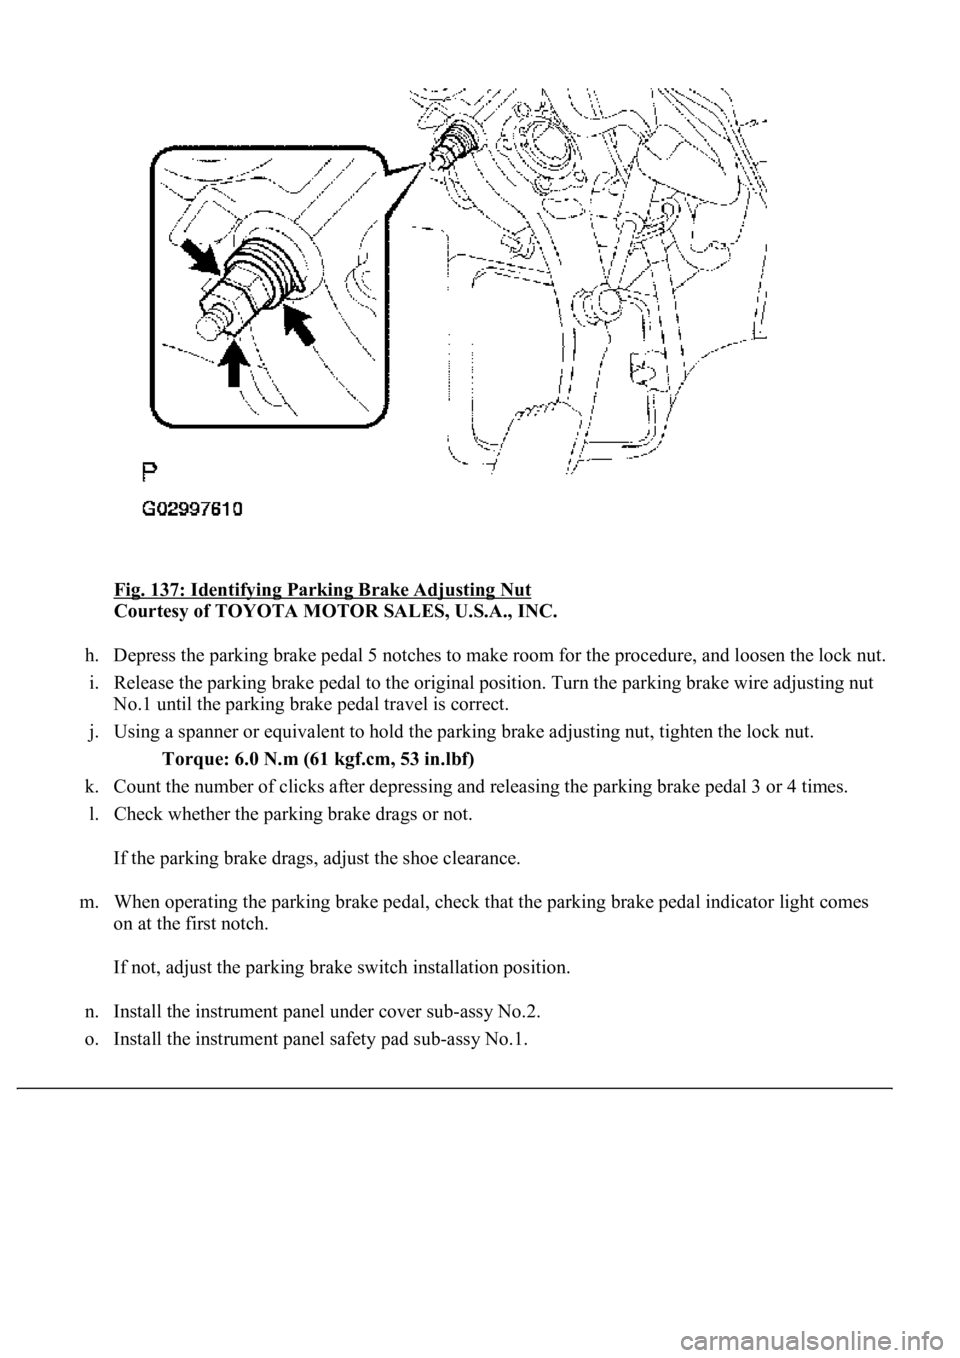
Fig. 137: Identifying Parking Brake Adjusting Nut
Courtesy of TOYOTA MOTOR SALES, U.S.A., INC.
h. Depress the parking brake pedal 5 notches to make room for the procedure, and loosen the lock nut.
i. Release the parking brake pedal to the original position. Turn the parking brake wire adjusting nut
<00310052001100140003005800510057004c004f00030057004b00480003005300440055004e004c0051004a0003004500550044004e004800030053004800470044004f000300570055004400590048004f0003004c005600030046005200550055004800
460057001100030003[
j. Using a spanner or equivalent to hold the parking brake adjusting nut, tighten the lock nut.
Torque: 6.0 N.m (61 kgf.cm, 53 in.lbf)
k. Count the number of clicks after depressing and releasing the parking brake pedal 3 or 4 times.
l. Check whether the parking brake drags or not.
If the parking brake drags, adjust the shoe clearance.
m. When operating the parking brake pedal, check that the parking brake pedal indicator light comes
on at the first notch.
If not, adjust the parking brake switch installation position.
n. Install the instrument panel under cover sub-assy No.2.
o. Install the instrument panel safet
y pad sub-assy No.1.
Page 1109 of 4500
p. Install the outer mirror switch assy.
q. Install the coin box assy.
r. Install the instrument panel under cover sub-assy No.1.
s. Install the instrument cluster finish panel center lower.
t. Install the instrument cluster finish panel end.
COMPONENTS
Fig. 138: Exploded View Of Parking Brake Control Pedal Assy (1 Of 2)
Courtesy of TOYOTA MOTOR SALES, U.S.A., INC.
Page 1110 of 4500
Fig. 139: Exploded View Of Parking Brake Control Pedal Assy (2 Of 2)
Courtesy of TOYOTA MOTOR SALES, U.S.A., INC.
OVERHAUL
1.DISCONNECT BATTERY NEGATIVE TERMINAL (SEE PRECAUTION
)
2.RELEASE PARKING BRAKE PEDAL
3.REMOVE INSTRUMENT CLUSTER FINISH PANEL CENTER LOWER (SEE
REPLACEMENT
)
4.REMOVE INSTRUMENT CLUSTER FINISH PANEL END (SEE REPLACEMENT
)
5.REMOVE INSTRUMENT PANEL UNDER COVER SUB-ASSY NO.1 (SEE REPLACEMENT
)
6.REMOVE COIN BOX ASSY
7.REMOVE INSTRUMENT PANEL SAFETY PAD SUB-ASSY NO.1 (SEE REPLACEMENT
)
8.REMOVE INSTRUMENT PANEL AIR BAG ASSY LOWER NO.1 (SEE REPLACEMENT
)
9.SEPARATE PARKING BRAKE CABLE ASSY NO.1
a. Remove the lock nut, parkin
g brake wire adjusting nut w/spring.