Page 4115 of 4500
pressure regulator.
i. Disconnect the hand-held tester from the DLC3.
j. Start the engine.
k. Measure the fuel pressure at idle.
Fuel pressure: 304 to 343 kPa (3.1 to 3.5 kgf/cm2, 44 to 50 psi)
l. Stop the engine.
m. Check that the fuel pressure remains as specified for 5 minutes after the engine has stopped.
Fuel pressure: 147 kPa (1.5 kgf/cm2, 21 psi) or more
If pressure is not as specified, check the fuel pump, pressure regulator and/or injectors.
n. After checking fuel pressure, disconnect the negative (-) terminal cable from the battery and
carefully remove the SST to prevent gasoline from spilling.
SST 09268-45014
o. Reinstall the fuel pressure pulsation damper to the RH delivery pipe (see REPLACEMENT
).
p. Reconnect the negative (-) terminal cable to the battery.
q. Check for fuel leaks.
3.INSPECT FUEL PUMP
Page 4130 of 4500
Fig. 30: Disconnecting Wire Clamps From Wire Clamp Bracket On RH Delivery Pipe
Courtesy of TOYOTA MOTOR SALES, U.S.A., INC.
a. Disconnect the 2 wire clamps from the wire clamp bracket on the RH delivery pipe.
12.REMOVE FUEL PRESSURE PULSATION DAMPER ASSY
a. Disconnect the fuel delivery pipe and fuel pipe by removing both right and left pulsation dampers.
b. Remove the gasket.
Fig. 31: Identifying Fuel Delivery Pipe
Courtesy of TOYOTA MOTOR SALES, U.S.A., INC.
13.REMOVE FUEL DELIVERY PIPE SUB-ASSY
a. Remove the installation bolts of the water by-pass pipe No. 1 and No. 2.
b. Disconnect the connector.
c. Remove the 2 bolts.
d. Remove the fuel delivery pipe No. 1 by pulling it straight upward holding both the ends.
14.REMOVE FUEL DELIVERY PIPE SUB-ASSY NO.2
a. Disconnect the connector.
Page 4132 of 4500

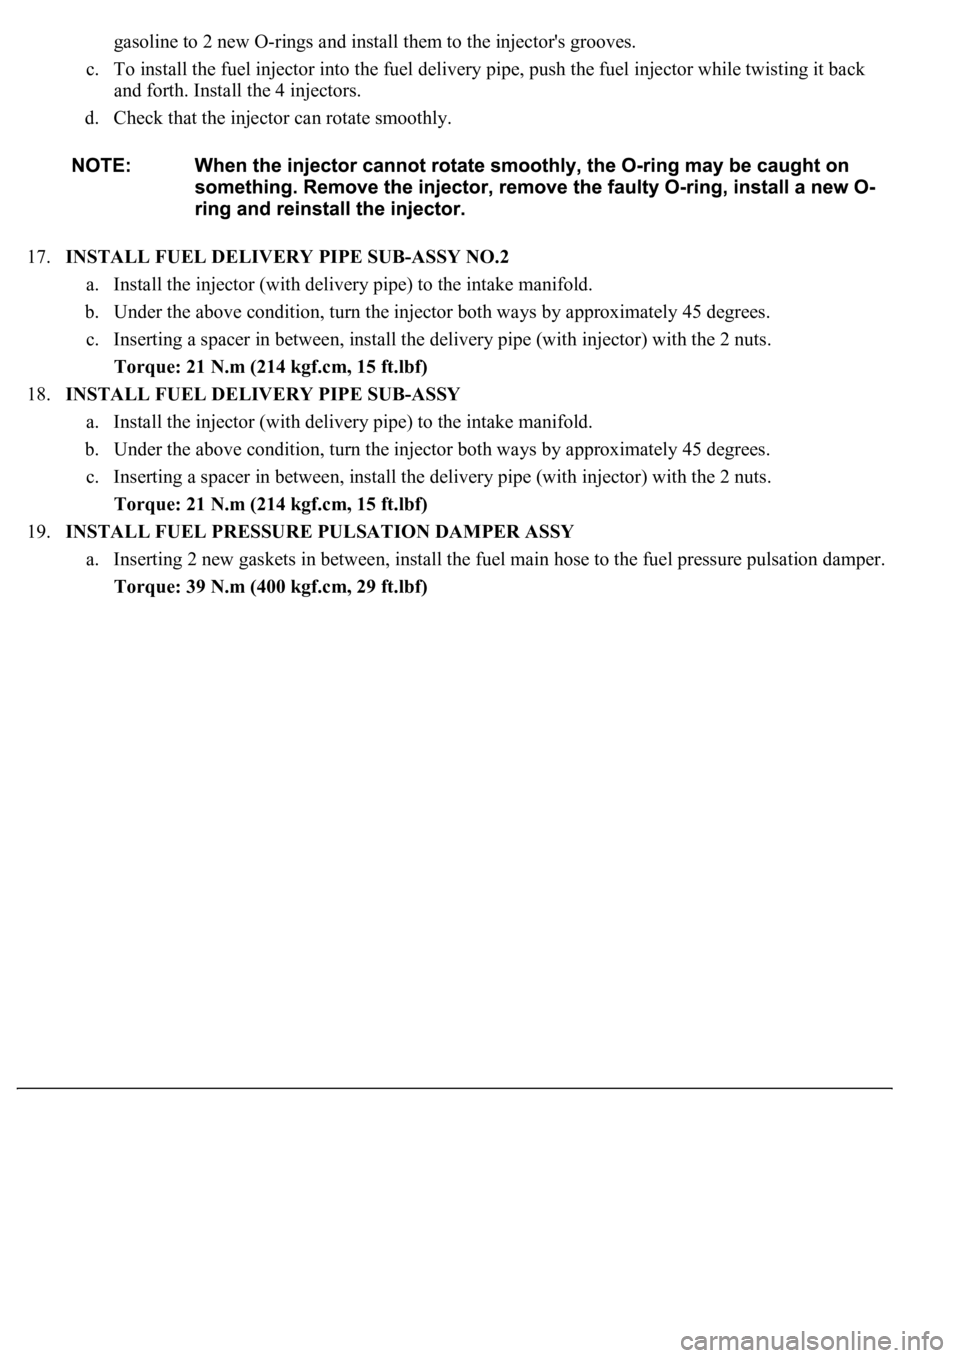
gasoline to 2 new O-rings and install them to the injector's grooves.
c. To install the fuel injector into the fuel delivery pipe, push the fuel injector while twisting it back
and forth. Install the 4 injectors.
d. Check that the injector can rotate smoothly.
17.INSTALL FUEL DELIVERY PIPE SUB-ASSY NO.2
a. Install the injector (with delivery pipe) to the intake manifold.
b. Under the above condition, turn the injector both ways by approximately 45 degrees.
c. Inserting a spacer in between, install the delivery pipe (with injector) with the 2 nuts.
Torque: 21 N.m (214 kgf.cm, 15 ft.lbf)
18.INSTALL FUEL DELIVERY PIPE SUB-ASSY
a. Install the injector (with delivery pipe) to the intake manifold.
b. Under the above condition, turn the injector both ways by approximately 45 degrees.
c. Inserting a spacer in between, install the delivery pipe (with injector) with the 2 nuts.
Torque: 21 N.m (214 kgf.cm, 15 ft.lbf)
19.INSTALL FUEL PRESSURE PULSATION DAMPER ASSY
a. Inserting 2 new gaskets in between, install the fuel main hose to the fuel pressure pulsation damper.
Torque: 39 N.m (400 kgf.cm, 29 ft.lbf)
Page 4141 of 4500
Fig. 40: Disconnecting Snap Claws From Claw Holes
Courtesy of TOYOTA MOTOR SALES, U.S.A., INC.
12.REMOVE FUEL PRESSURE W/JET PUMP REGULATOR ASSY
a. Disconnect the fuel return jet tube from the clamp of the fuel filter.
b. Pull out the fuel pressure regulator from the fuel filter, and remove the fuel pressure regulator and
fuel return jet tube.
c. Remove the O-rin
g from the fuel pressure regulator.
Page 4144 of 4500
a. Apply a light coat of gasoline to a new O-ring, and install it to the fuel port of the fuel suction plate.
b. Connect the fuel pump connector.
c. Push the fuel filter, and attach the 4 snap claws to the claw holes.
Fig. 43: Installing Snap Claws To Claw Holes
Courtesy of TOYOTA MOTOR SALES, U.S.A., INC.
19.INSTALL FUEL PRESSURE W/JET PUMP REGULATOR ASSY
a. Apply a light coat of gasoline to a new O-ring, and install it to the fuel pressure regulator.
b. Push in the fuel pressure regulator to the fuel filter.
c. Check that the fuel pressure regulator rotates smoothly.
If it does not rotates smoothly, the O-ring may be pinched. Remove the fuel pressure regulator and
perform steps (b) and (c) above.
d. Connect the fuel return
jet tube to the clamp of the fuel filter.
Page 4145 of 4500
Fig. 44: Installing Fuel Pressure Regulator
Courtesy of TOYOTA MOTOR SALES, U.S.A., INC.
20.INSTALL FUEL PUMP CUSHION RUBBER
21.INSTALL FUEL SUCTION SUPPORT NO.2
a. Push the fuel suction support, and attach the 3 snap claws to the claw holes.
Page 4176 of 4500

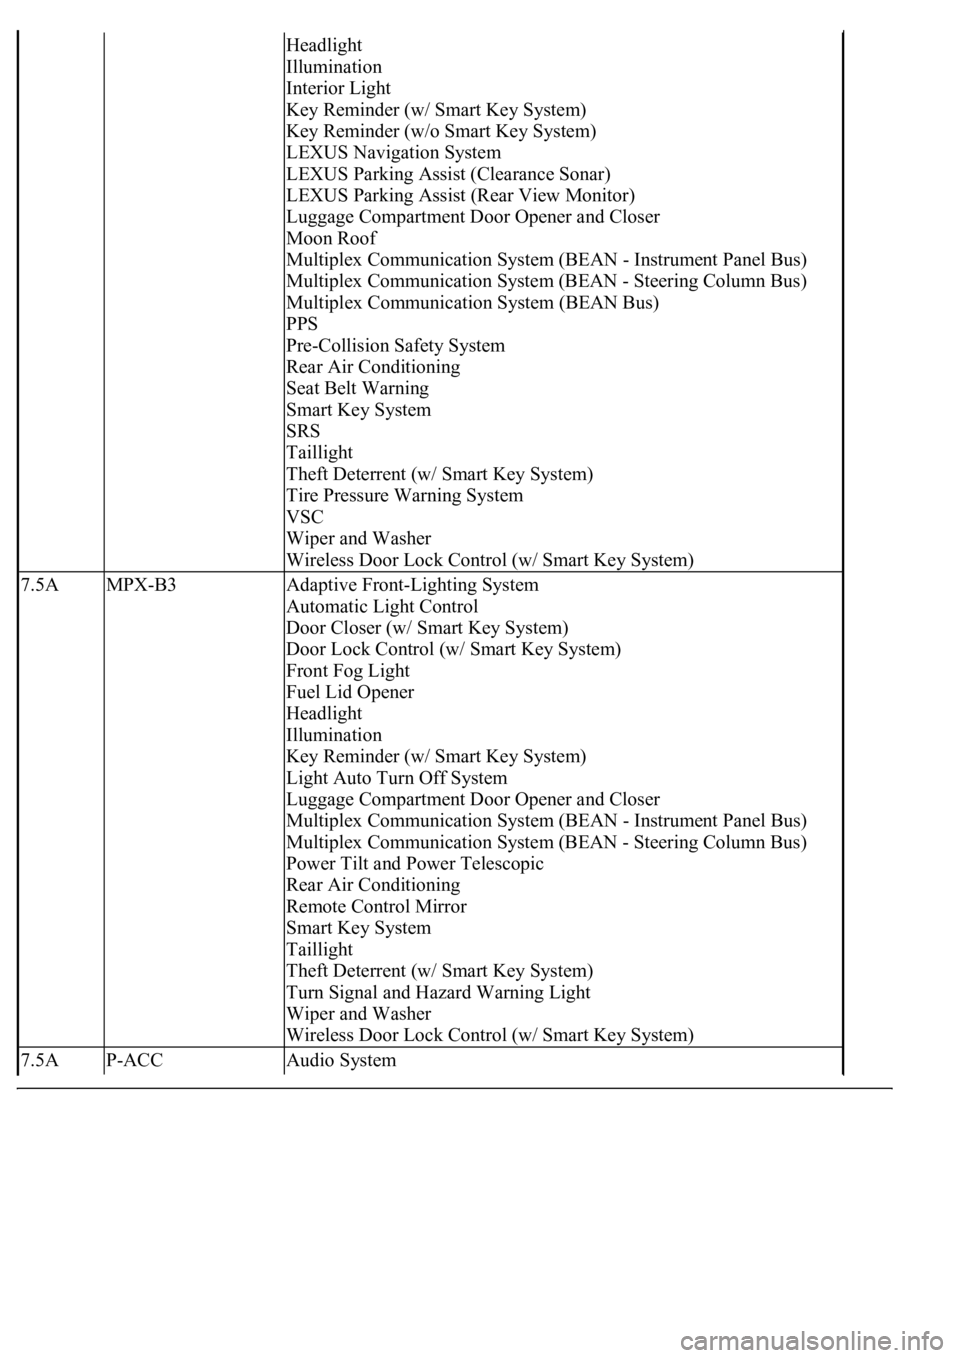
Headlight
Illumination
Interior Light
Key Reminder (w/ Smart Key System)
Key Reminder (w/o Smart Key System)
LEXUS Navigation System
LEXUS Parking Assist (Clearance Sonar)
LEXUS Parking Assist (Rear View Monitor)
Luggage Compartment Door Opener and Closer
Moon Roof
Multiplex Communication System (BEAN - Instrument Panel Bus)
Multiplex Communication System (BEAN - Steering Column Bus)
Multiplex Communication System (BEAN Bus)
PPS
Pre-Collision Safety System
Rear Air Conditioning
Seat Belt Warning
Smart Key System
SRS
Taillight
Theft Deterrent (w/ Smart Key System)
Tire Pressure Warning System
VSC
Wiper and Washer
Wireless Door Lock Control (w/ Smart Key System)
7.5AMPX-B3Adaptive Front-Lighting System
Automatic Light Control
Door Closer (w/ Smart Key System)
Door Lock Control (w/ Smart Key System)
Front Fog Light
Fuel Lid Opener
Headlight
Illumination
Key Reminder (w/ Smart Key System)
Light Auto Turn Off System
Luggage Compartment Door Opener and Closer
Multiplex Communication System (BEAN - Instrument Panel Bus)
Multiplex Communication System (BEAN - Steering Column Bus)
Power Tilt and Power Telescopic
Rear Air Conditioning
Remote Control Mirror
Smart Key System
Taillight
Theft Deterrent (w/ Smart Key System)
Turn Signal and Hazard Warning Light
Wiper and Washer
Wireless Door Lock Control (w/ Smart Key System)
7.5AP-ACCAudio System
Page 4195 of 4500
compressor burnout may occur. Necessary care should be taken to avoid this.
Fig. 3: Identifying Precaution Operating Compressor
Courtesy of TOYOTA MOTOR SALES, U.S.A., INC.
7.DO NOT OPEN HIGH PRESSURE MANIFOLD VALVE WHILE COMPRESSOR IS
OPERATING
If the high pressure valves are opened, refrigerant flows in the reverse direction and could cause the
charging cylinder to rupture. Open and close only the low pressure valve.
8.BE CAREFUL NOT TO OVERCHARGE SYSTEM WITH REFRIGERANT
If refrigerant is overcharged, it causes problems such as insufficient cooling, poor fuel economy, engine