Page 1850 of 4500

psi), and check that the pressure does not drop.
If the pressure drops, check the hoses, radiator and water pump for leaks. If no external leaks are found,
check the heater core, cylinder block and head.
2.CHECK ENGINE COOLANT LEVEL AT RESERVOIR
a. Check that the engine coolant level is between the LOW and FULL lines when the engine is cold.
If the engine coolant is low, check for leaks and add "TOYOTA Super Long Life Coolant" to the
FULL line.
If "TOYOTA Super Long Life Coolant" is not available, use a similar high quality ethylene glycol
based non-silicate, non-amino, non-nitrite and non-borate coolant with long-life hybrid organic acid
technology. Do not substitute plain water for engine coolant.
3.CHECK ENGINE COOLANT QUALITY
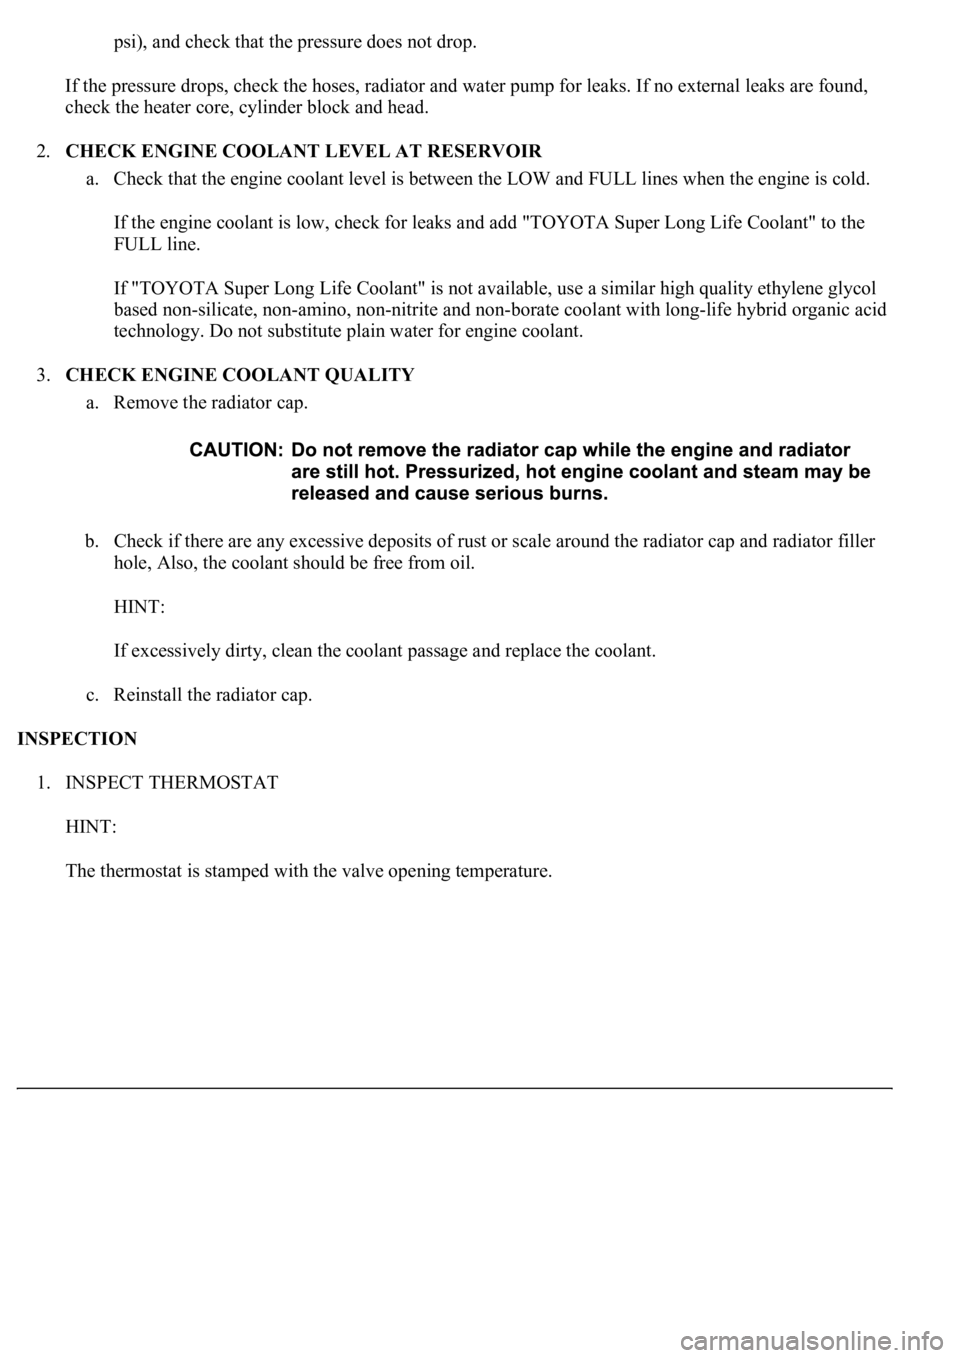
a. Remove the radiator cap.
b. Check if there are any excessive deposits of rust or scale around the radiator cap and radiator filler
hole, Also, the coolant should be free from oil.
HINT:
If excessively dirty, clean the coolant passage and replace the coolant.
c. Reinstall the radiator cap.
INSPECTION
1. INSPECT THERMOSTAT
HINT:
The thermostat is stamped with the valve openin
g temperature.
Page 1860 of 4500
Fig. 9: Measuring Voltage Between Terminals 1 And 3.
Courtesy of TOYOTA MOTOR SALES, U.S.A., INC.
INSPECTION
1.INSPECT RELAY (Marking: FAN)
a. Remove the FAN relay from the FL block
b. Measure the resistance of the relay.
STANDARD SPECIFICATION
If the result is not as specified, replace the rela
y.
Tester ConnectionSpecified Condition
3-510 kQ or higher
3-5Below 1 Q (when battery voltage is applied to terminals 1 and 2)
Page 1876 of 4500
Fig. 25: Installing Water Inlet With Nuts
Courtesy of TOYOTA MOTOR SALES, U.S.A., INC.
5.REFILL ENGINE COOLANT (See REPLACEMENT
)
6.CHECK FOR ENGINE COOLANT LEAKS (See ON
-VEHICLE INSPECTION )
7.INSTALL AIR CLEANER INLET NO.1 (See REPLACEMENT
)
ON-VEHICLE CLEANING
1.INSPECT FINS BLOCKAGE
a. Check that the radiator and condenser are not blocked with leaves, dirt, or insects. Clean the hose
connection.
If the fins are clo
gged, wash them with water or a steam cleaner and dry with compressed air.
Page 1877 of 4500
Fig. 26: Inspecting Fins Blockage
Courtesy of TOYOTA MOTOR SALES, U.S.A., INC.
STANDARD SPECIFICATION
If the fins are bent, straighten them with a screwdriver or pliers.
Never apply water directly onto the electronic components.
COMPONENTS
Injection DistanceInjection Pressure
300 mm(11.81 in.)2,942 to 4,903 kPa (30 to 50 kgf cm2 , 427 to 711 psi)
500 mm (19.69 in.)4,903 to 7,845 kPa (50to80kgf cm2 , 711 to 1,138 psi)
Page 1882 of 4500
Fig. 30: Installing Claw To Overhaul Handle
Courtesy of TOYOTA MOTOR SALES, U.S.A., INC.
Dimension B: 0.2 to 0.3 mm (0.008 to 0.012 in.)
5.UNCAULK LOCK PLATE
Using SST to release the caulking, grip the handle until stopped by the stopper bolt.
SST 09230-01010 (09231-01010, 09231-01030)
Page 1886 of 4500
Fig. 34: Installing New O-Rings To Oil Cooler
Courtesy of TOYOTA MOTOR SALES, U.S.A., INC.
9.INSPECT LOCK PLATE FOR DAMAGE
Inspect the lock plate for damage.
HINT:
If the sides of the lock plate groove are deformed, reassembly of the tank will be impossible.
Correct any deformations with pliers.
Water leakage will result if the bottom of the lock plate groove is damaged or dented. Repair or
replace if necessar
y.
Page 1887 of 4500
Fig. 35: Inspecting Lock Plate For Damage
Courtesy of TOYOTA MOTOR SALES, U.S.A., INC.
10.INSTALL RADIATOR TANK UPPER AND TANK LOWER
a. Check that there are no foreign objects in the lock plate groove, and install a new O-ring. Make
sure the O-ring is not twisted.
HINT:
When cleanin
g the lock plate groove, lightly rub it with sandpaper without scratching it.
Page 1888 of 4500
Fig. 36: Installing Radiator Tank Upper And Tank Lower
Courtesy of TOYOTA MOTOR SALES, U.S.A., INC.
b. Install the tank without damaging the O-ring.
c. Tap the lock plate with a plastic hammer so that there is no
gap between the lock plate and the tank.