2002 BMW 745LI SEDAN remove seats
[x] Cancel search: remove seatsPage 43 of 208

Opening and closing
42
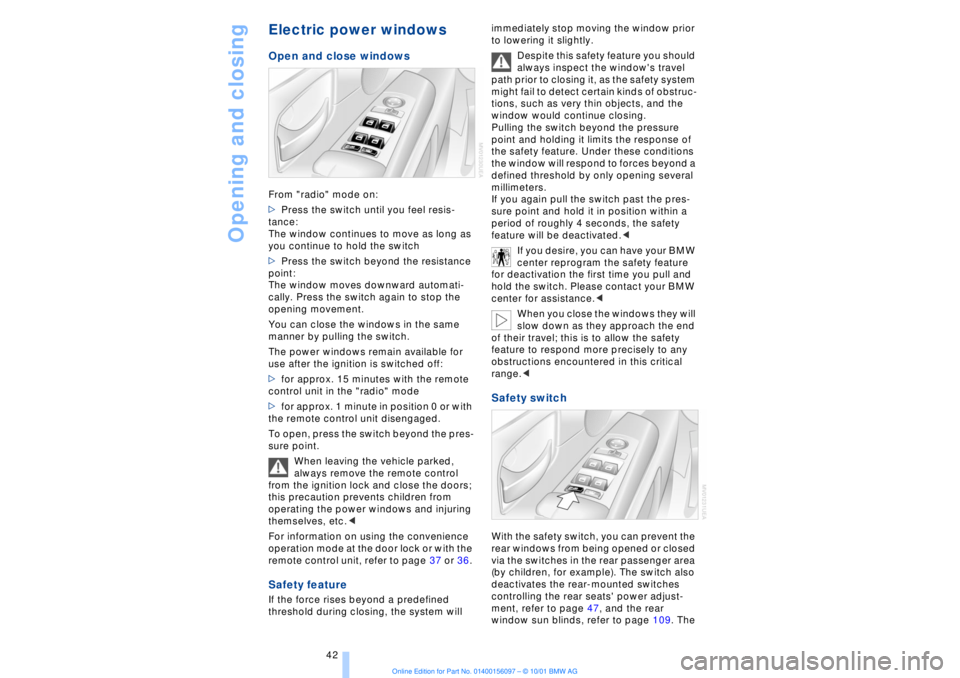
Electric power windows Open and close windowsFrom "radio" mode on:
>Press the switch until you feel resis-
tance:
The window continues to move as long as
you continue to hold the switch
>Press the switch beyond the resistance
point:
The window moves downward automati-
cally. Press the switch again to stop the
opening movement.
You can close the windows in the same
manner by pulling the switch.
The power windows remain available for
use after the ignition is switched off:
>for approx. 15 minutes with the remote
control unit in the "radio" mode
>for approx. 1 minute in position 0 or with
the remote control unit disengaged.
To open, press the switch beyond the pres-
sure point.
When leaving the vehicle parked,
always remove the remote control
from the ignition lock and close the doors;
this precaution prevents children from
operating the power windows and injuring
themselves, etc.<
For information on using the convenience
operation mode at the door lock or with the
remote control unit, refer to page 37 or 36. Safety featureIf the force rises beyond a predefined
threshold during closing, the system will immediately stop moving the window prior
to lowering it slightly.
Despite this safety feature you should
always inspect the window's travel
path prior to closing it, as the safety system
might fail to detect certain kinds of obstruc-
tions, such as very thin objects, and the
window would continue closing.
Pulling the switch beyond the pressure
point and holding it limits the response of
the safety feature. Under these conditions
the window will respond to forces beyond a
defined threshold by only opening several
millimeters.
If you again pull the switch past the pres-
sure point and hold it in position within a
period of roughly 4 seconds, the safety
feature will be deactivated.<
If you desire, you can have your BMW
center reprogram the safety feature
for deactivation the first time you pull and
hold the switch. Please contact your BMW
center for assistance.<
When you close the windows they will
slow down as they approach the end
of their travel; this is to allow the safety
feature to respond more precisely to any
obstructions encountered in this critical
range.<
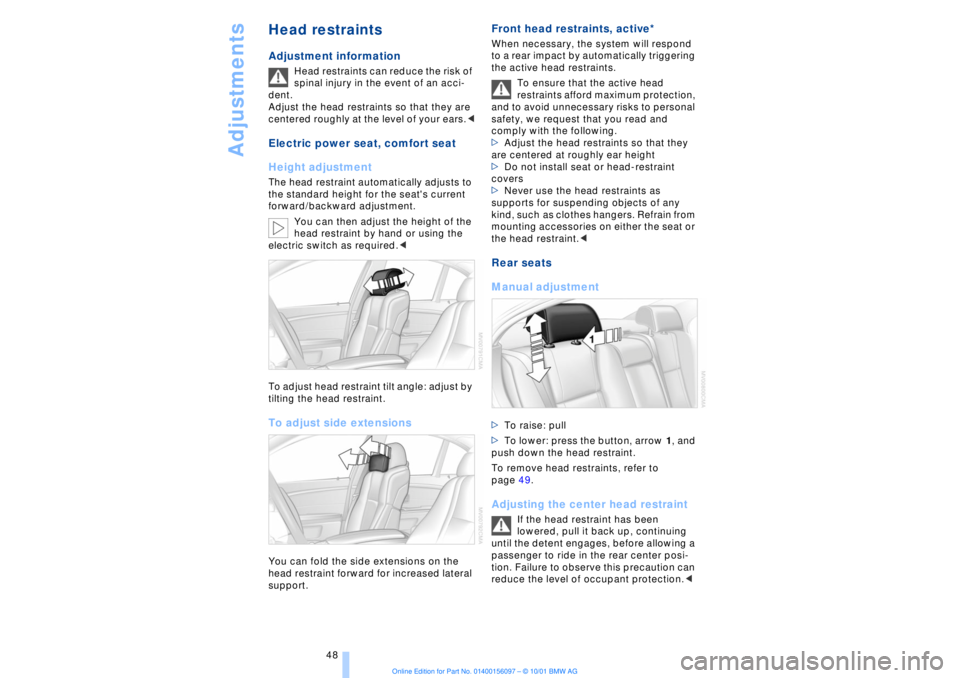
Safety switch With the safety switch, you can prevent the
rear windows from being opened or closed
via the switches in the rear passenger area
(by children, for example). The switch also
deactivates the rear-mounted switches
controlling the rear seats' power adjust-
ment, refer to page 47, and the rear
window sun blinds, refer to page 109. The
Page 49 of 208

Adjustments
48
Head restraints Adjustment information
Head restraints can reduce the risk of
spinal injury in the event of an acci-
dent.
Adjust the head restraints so that they are
centered roughly at the level of your ears.<
Electric power seat, comfort seat
Height adjustment The head restraint automatically adjusts to
the standard height for the seat's current
forward/backward adjustment.
You can then adjust the height of the
head restraint by hand or using the
electric switch as required.<
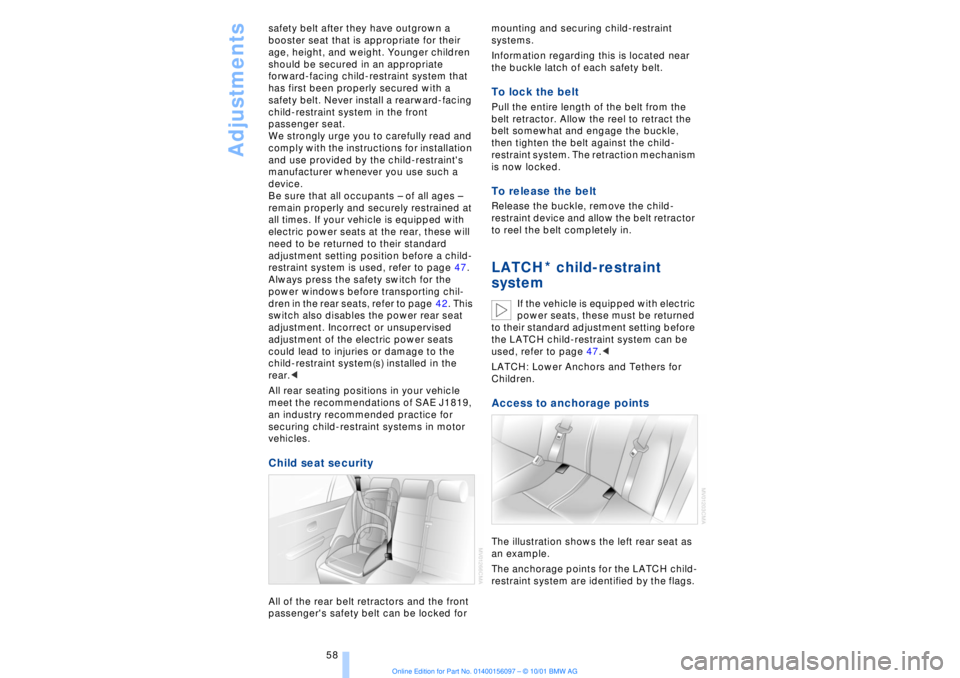
To adjust head restraint tilt angle: adjust by
tilting the head restraint. To adjust side extensionsYou can fold the side extensions on the
head restraint forward for increased lateral
support.
Front head restraints, active*
When necessary, the system will respond
to a rear impact by automatically triggering
the active head restraints.
To ensure that the active head
restraints afford maximum protection,
and to avoid unnecessary risks to personal
safety, we request that you read and
comply with the following.
>Adjust the head restraints so that they
are centered at roughly ear height
>Do not install seat or head-restraint
covers
>Never use the head restraints as
supports for suspending objects of any
kind, such as clothes hangers. Refrain from
mounting accessories on either the seat or
the head restraint.
>To lower: press the button, arrow 1, and
push down the head restraint.
To remove head restraints, refer to
page 49. Adjusting the center head restraint
If the head restraint has been
lowered, pull it back up, continuing
until the detent engages, before allowing a
passenger to ride in the rear center posi-
tion. Failure to observe this precaution can
reduce the level of occupant protection.<
Page 59 of 208

Adjustments
58 safety belt after they have outgrown a
booster seat that is appropriate for their
age, height, and weight. Younger children
should be secured in an appropriate
forward-facing child-restraint system that
has first been properly secured with a
safety belt. Never install a rearward-facing
child-restraint system in the front
passenger seat.
We strongly urge you to carefully read and
comply with the instructions for installation
and use provided by the child-restraint's
manufacturer whenever you use such a
device.
Be sure that all occupants Ð of all ages Ð
remain properly and securely restrained at
all times. If your vehicle is equipped with
electric power seats at the rear, these will
need to be returned to their standard
adjustment setting position before a child-
restraint system is used, refer to page 47.
Always press the safety switch for the
power windows before transporting chil-
dren in the rear seats, refer to page 42. This
switch also disables the power rear seat
adjustment. Incorrect or unsupervised
adjustment of the electric power seats
could lead to injuries or damage to the
child-restraint system(s) installed in the
rear.<
All rear seating positions in your vehicle
meet the recommendations of SAE J1819,
an industry recommended practice for
securing child-restraint systems in motor
vehicles.
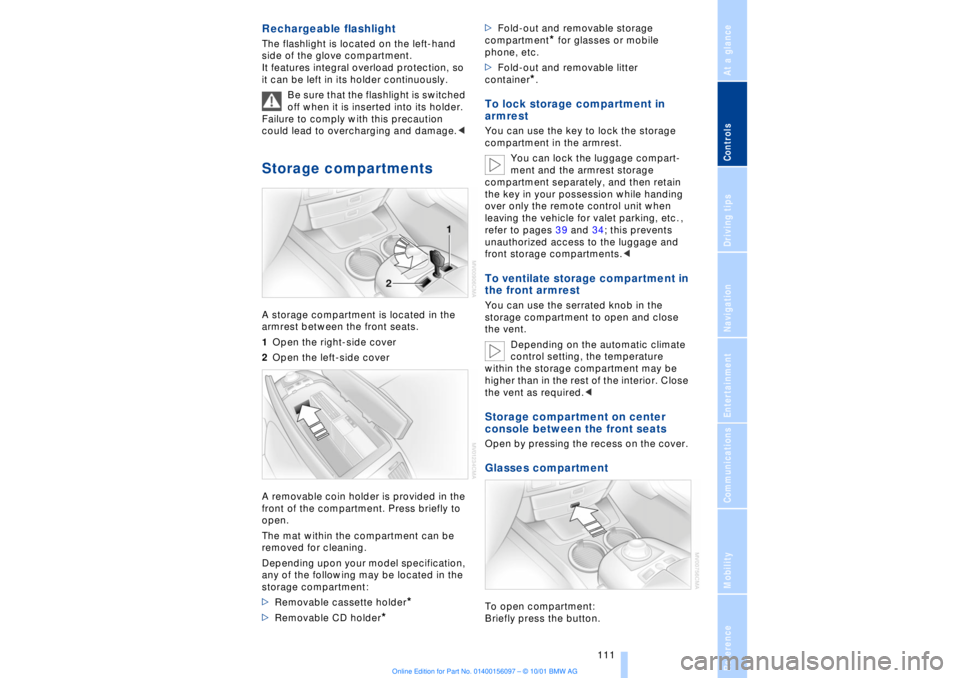
Child seat security All of the rear belt retractors and the front
passenger's safety belt can be locked for mounting and securing child-restraint
systems.
Information regarding this is located near
the buckle latch of each safety belt.
To lock the belt Pull the entire length of the belt from the
belt retractor. Allow the reel to retract the
belt somewhat and engage the buckle,
then tighten the belt against the child-
restraint system. The retraction mechanism
is now locked. To release the belt Release the buckle, remove the child-
restraint device and allow the belt retractor
to reel the belt completely in. LATCH child-restraint
system
If the vehicle is equipped with electric
power seats, these must be returned
to their standard adjustment setting before
the LATCH child-restraint system can be
used, refer to page 47.<
LATCH: Lower Anchors and Tethers for
Children.
Access to anchorage points The illustration shows the left rear seat as
an example.
The anchorage points for the LATCH child-
restraint system are identified by the flags.
*
Page 112 of 208

At a glanceControlsDriving tipsCommunicationsNavigationEntertainmentMobilityReference
111
Rechargeable flashlight The flashlight is located on the left-hand
side of the glove compartment.
It features integral overload protection, so
it can be left in its holder continuously.
Be sure that the flashlight is switched
off when it is inserted into its holder.
Failure to comply with this precaution
could lead to overcharging and damage.< Storage compartments A storage compartment is located in the
armrest between the front seats.
1Open the right-side cover
2Open the left-side cover
A removable coin holder is provided in the
front of the compartment. Press briefly to
open.
The mat within the compartment can be
removed for cleaning.
Depending upon your model specification,
any of the following may be located in the
storage compartment:
>Removable cassette holder
*
>Removable CD holder
* >Fold-out and removable storage
compartment
* for glasses or mobile
phone, etc.
>Fold-out and removable litter
container
*.
To lock storage compartment in
armrest You can use the key to lock the storage
compartment in the armrest.
You can lock the luggage compart-
ment and the armrest storage
compartment separately, and then retain
the key in your possession while handing
over only the remote control unit when
leaving the vehicle for valet parking, etc. ,
refer to pages 39 and 34; this prevents
unauthorized access to the luggage and
front storage compartments.< To ventilate storage compartment in
the front armrest You can use the serrated knob in the
storage compartment to open and close
the vent.
Depending on the automatic climate
control setting, the temperature
within the storage compartment may be
higher than in the rest of the interior. Close
the vent as required.< Storage compartment on center
console between the front seats Open by pressing the recess on the cover. Glasses compartment To open compartment:
Briefly press the button.