Page 2680 of 4323

EM±93
2672 Author�: Date�:
2005 SEQUOIA (RM1146U)
(f) Disconnect the engine wire from the engine wire bracket
and remov")
B07536
Disconnect
A08905
A08907
A08936
± ENGINE MECHANICALENGINE UNIT (4WD)
EM±93
2672 Author�: Date�:
2005 SEQUOIA (RM1146U)
(f) Disconnect the engine wire from the engine wire bracket
and remove the 2 nuts, bolt and bracket.
(g) Pull out the engine wire from the cowl panel.
14. DISCONNECT HOSES, WIRES, CONNECTORS,
CLAMPS, GROMMET AND CABLES
(a) Disconnect the 2 PS air hoses from hose clamp on the
No.3 RH timing belt cover.
(b) Disconnect the generator wire.
(c) Disconnect the generator connector.
(d) Disconnect the hose clamp for the PS air hose.
(e) Disconnect the PS air hose from the upper intake man-
ifold.
(f) Disconnect the 2 heater hoses.
(g) Disconnect the ground strap from the cowl panel.
(h) Disconnect the fuel inlet hose and clamps.
(i) Disconnect the fuel return hose and clamp.
(j) Disconnect the air inlet hose from the charcoal canister.
(k) Disconnect the EVAP hose from the charcoal canister.
(l) Disconnect the brake booster tube.
15. DISCONNECT A/C COMPRESSOR FROM ENGINE
(a) Disconnect the A/C compressor connector.
(b) Remove the 3 bolts, and disconnect the A/C compressor
from the engine.
HINT:
Suspend the A/C compressor securely.
16. DISCONNECT PS PUMP FROM ENGINE
Remove the 3 bolts, and disconnect the PS pump from the en-
gine.
HINT:
Suspend the PS pump securely.
17. REMOVE OIL COOLER PIPES FOR TRANSMISSION
(a) Remove the 3 bolts and 3 stays.
(b) Loosen the 2 union nuts, and remove the 2 oil cooler
pipes.
18. REMOVE ENGINE ASSEMBLY FROM VEHICLE
(a) Attach the engine chain hoist to the engine hangers.
(b) Remove the 4 bolts holding the engine mounting brackets
to the frame brackets.
Page 2683 of 4323

2675 Author�: Date�:
2005 SEQUOIA (RM1146U)
(d) Install the engine mounting brackets to the frame brack-
ets with the 2 nuts and 4 b")
A08936
A08907
A08905
EM±96
± ENGINE MECHANICALENGINE UNIT (4WD)
2675 Author�: Date�:
2005 SEQUOIA (RM1146U)
(d) Install the engine mounting brackets to the frame brack-
ets with the 2 nuts and 4 bolts.
Torque: 38 N´m (388 kgf´cm, 28 ft´lbf)
(e) Remove the engine chain hoist.
3. INSTALL PS PUMP
Install the PS pump with the 3 bolts.
Torque: 17 N´m (175 kgf´cm, 13 ft´lbf)
4. INSTALL A/C COMPRESSOR
(a) Install the A/C compressor with the 3 bolts.
Torque: 49 N´m (500 kgf´cm, 36 ft´lbf)
(b) Connect the A/C compressor connector.
5. CONNECT HOSES, WIRES, CONNECTORS, CLAMPS,
GROMMET AND CABLES
(a) Connect the 2 PS air hoses to hose clamp on the No.3 RH
timing belt cover.
(b) Connect the generator wire.
(c) Connect the generator connector.
(d) Connect the hose clamp for the PS air hose.
(e) Connect the PS air hose to the upper intake manifold.
(f) Connect the 2 heater hoses.
(g) Connect the ground strap to the cowl panel.
(h) Connect the fuel inlet hose and clamps.
(i) Connect the fuel return hose and clamp.
(j) Connect the air inlet hose to the charcoal canister.
(k) Connect the EVAP hose to the charcoal canister.
(l) Connect the brake booster tube.
6. CONNECT ENGINE WIRE TO CABIN
(a) Push into the engine wire through the cowl panel.
Page 2799 of 4323
SF1XR±01
S04947
Continuity
Ohmmeter
Ohmmeter
No Continuity 12
35
S04946
BatteryOhmmeter
Continuity 12
35
± SFIA/F SENSOR HEATER RELAY
SF±57
2791 Author�: Date�:
2005 SEQUOIA (RM1146U)
A/F SENSOR HEATER RELAY
INSPECTION
1. REMOVE RELAY BOX COVER
2. REMOVE A/F SENSOR HEATER RELAY (Marking: A/F
HTR)
3. INSPECT A/F SENSOR HEATER RELAY CONTINUITY
(a) Using an ohmmeter, check that there is continuity be-
tween terminals 1 and 2.
If there is no continuity, replace the relay.
(b) Check that there is no continuity between terminals 3 and
5.
If there is continuity, replace the relay.
4. INSPECT A/F SENSOR HEATER RELAY OPERATION
(a) Apply battery voltage across terminals 1 and 2.
(b) Using an ohmmeter, check that there is continuity be-
tween terminals 3 and 5.
If there is no continuity, replace the relay.
5. REINSTALL A/F SENSOR HEATER RELAY
6. REINSTALL RELAY BOX COVER
Page 2812 of 4323
 SENSOR
2804 Author�: Date�:
2005 SEQUOIA (RM1146U)
INSPECTION
1. INSPECT HEATER RESISTANCE OF")
SF1XW±01
B17505
+BHT
B17512
C2 C1
A2A±
A2A+
E1
B2 B3
B1 A1A+
A1A±
SF±70
± SFIAIR±FUEL RATIO (A/F) SENSOR
2804 Author�: Date�:
2005 SEQUOIA (RM1146U)
INSPECTION
1. INSPECT HEATER RESISTANCE OF AIR FUEL RATIO
SENSOR
(a) Disconnect the air fuel ratio sensor connector.
(b) Using an ohmmeter, measure the resistance between ter-
minals +B and HT.
Resistance 11 to 16 kW at 20°C (68°F)
If the resistance is not as specified, replace the sensor.
Torque: 44 N´m (450 kgf´cm, 32 ft´lbf)
(c) Reconnect the air fuel ratio sensor connector.
2. INSPECT OPERATION OF AIR FUEL RATIO SENSOR
(See page DI±88)
3. INSPECT AIR±FUEL RATIO COMPENSATION SYS-
TEM
(a) Measure the voltage between the terminals of the ECM
connectors.
Standard:
Tester ConnectionConditionSpecified Condition
B2±22 (A1A+)
± B1±1 (E1)Ignition switch ON3.3 V
B2±30 (A1A±)
± B1±1 (E1)Ignition switch ON2.9 V
B2±23 (A2A+)
± B1±1 (E1)Ignition switch ON3.3 V
B2±31 (A2A±)
± B1±1 (E1)Ignition switch ON2.9 V
NOTICE:
Connect test leads from the back side of the connector. The
connectors should not be disconnected from the ECM.
HINT:
The voltage between the terminals of the ECM is kept constant
regardless of the voltage of the A/F sensor.
Page 2815 of 4323
SF0YA±14
B17507
+BHT
± SFIHEATED OXYGEN SENSOR
SF±73
2807 Author�: Date�:
2005 SEQUOIA (RM1146U)
INSPECTION
1. INSPECT HEATER RESISTANCE OF HEATED OXY-
GEN SENSOR
(a) Disconnect the oxygen sensor connector.
(b) Using an ohmmeter, measure the resistance between ter-
minals +B and HT.
Resistance: 11 to 16 W at 20°C (68°F)
If the resistance is not as specified, replace the sensor.
Torque: 44 N´m (450 kgf´cm, 32 ft´lbf)
(c) Reconnect the oxygen sensor connector.
2. INSPECT OPERATION OF HEATED OXYGEN SEN-
SOR (See page DI±93)
Page 2822 of 4323
SF0Q0±14
B07642
ECM Connector
ECM and Bracket Assembly
Glove Compartment DoorLower No.2 Finish Panel
ECM Bracket
ECM Bracket
ECM
Heater to Register Duct
SF±80
± SFIENGINE CONTROL MODULE (ECM)
2814 Author�: Date�:
2005 SEQUOIA (RM1146U)
ENGINE CONTROL MODULE (ECM)
COMPONENTS
Page 2823 of 4323
SF0Q1±12
± SFIENGINE CONTROL MODULE (ECM)
SF±81
2815 Author�: Date�:
2005 SEQUOIA (RM1146U)
INSPECTION
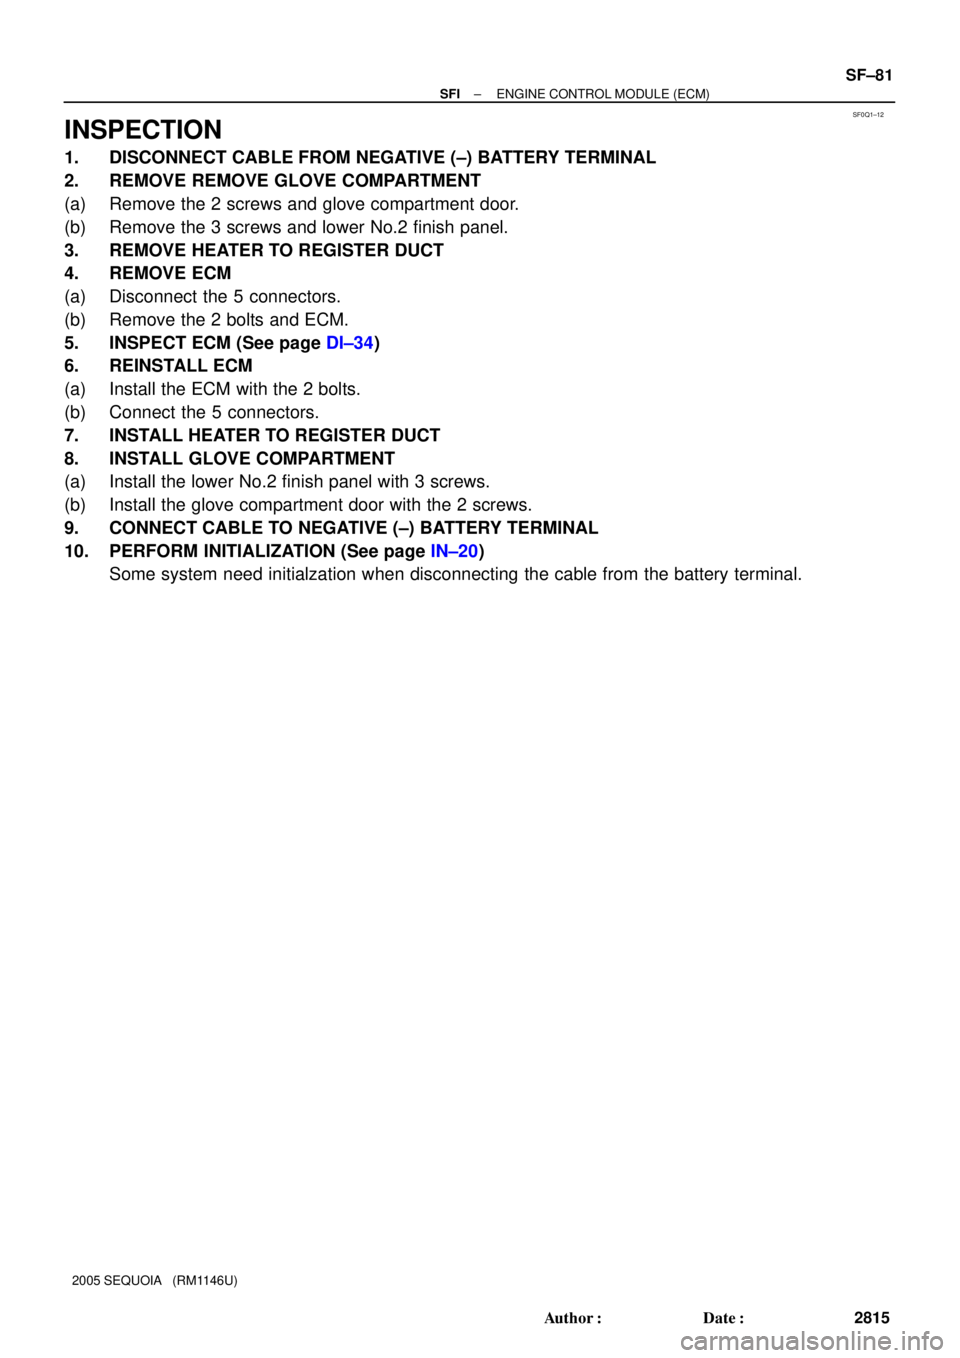
1. DISCONNECT CABLE FROM NEGATIVE (±) BATTERY TERMINAL
2. REMOVE REMOVE GLOVE COMPARTMENT
(a) Remove the 2 screws and glove compartment door.
(b) Remove the 3 screws and lower No.2 finish panel.
3. REMOVE HEATER TO REGISTER DUCT
4. REMOVE ECM
(a) Disconnect the 5 connectors.
(b) Remove the 2 bolts and ECM.
5. INSPECT ECM (See page DI±34)
6. REINSTALL ECM
(a) Install the ECM with the 2 bolts.
(b) Connect the 5 connectors.
7. INSTALL HEATER TO REGISTER DUCT
8. INSTALL GLOVE COMPARTMENT
(a) Install the lower No.2 finish panel with 3 screws.
(b) Install the glove compartment door with the 2 screws.
9. CONNECT CABLE TO NEGATIVE (±) BATTERY TERMINAL
10. PERFORM INITIALIZATION (See page IN±20)
Some system need initialzation when disconnecting the cable from the battery terminal.
Page 2826 of 4323

REPLACEMENT
CAUTION:
To avoid the danger of being burned, do not remove the ra-
di")
CO0IP±12
B05864Drain PlugDrain Plug Drain Plug
CO±2
± COOLINGCOOLANT
2818 Author�: Date�:
2005 SEQUOIA (RM1146U)
REPLACEMENT
CAUTION:
To avoid the danger of being burned, do not remove the ra-
diator cap while the engine and radiator are still hot, as fluid
and steam can be blown out under pressure.
1. REMOVE ENGINE UNDER COVER
2. DRAIN ENGINE COOLANT
(a) Remove the radiator cap.
(b) Remove the 3 drain plugs on the engine and radiator, and
drain the coolant.
(c) Close the 3 drain plugs.
Torque: 12.7 N´m (130 kgf´cm, 9 ft´lbf) for engine
3. REFILL WITH ENGINE COOLANT
(a) Slowly fill the system with coolant.
Capacity: 11.6 liters (12.3 US qts, 10.2 Imp. qts)
NOTICE:
Do not use plain water alone.
HINT:
�Use of improper coolants may damage the engine cooling
system.
�Use ºToyota Super Long Life Coolantº or similar high qual-
ity ethylene glycol based non±silicate, non±amine, non±
nitrite, and non±borate coolant with long±life hybrid or-
ganic acid technology.
�New Toyota vehicles are filled with Toyota Super Long
Life Coolant (color is pink, premixed ethylene glycol con-
centration is approximately 50 % and freezing tempera-
ture is ±35°C (±31°F)). When replacing the coolant, Toyo-
ta Super long Life Coolant is recommended.
�Observe the coolant level inside the radiator by pressing
the inlet and outlet radiator hoses several times by hand.
if the coolant level goes down, add the coolant.
(b) Install the radiator cap.
(c) Bleed the cooling system.
(1) Start the engine, and open the heater water valve.
(2) Maintain the engine speed at 2,000 ± 2,500 rpm,
and warm up the engine.
(d) Stop the engine, and wait until the engine coolant cools
down.
(e) Refill coolant into the reservoir until it is ºFULLº.
4. CHECK FOR ENGINE COOLANT LEAKS
5. CHECK ENGINE COOLANT SPECIFIC GRAVITY COR-
RECTLY
6. REINSTALL ENGINE UNDER COVER


2814")