Page 3030 of 3051

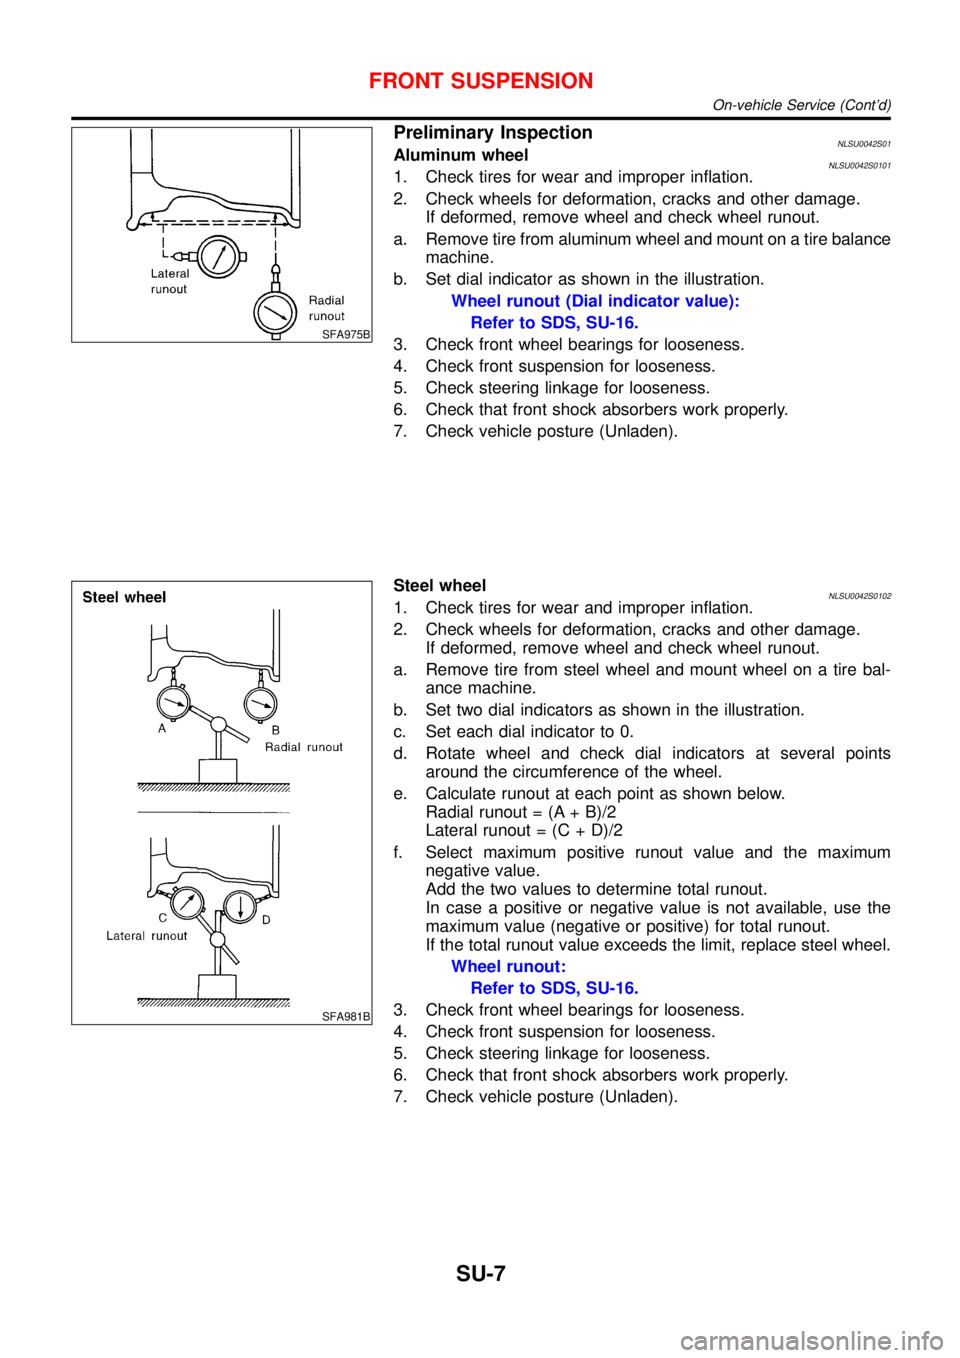
SFA975B
Preliminary InspectionNLSU0042S01Aluminum wheelNLSU0042S01011. Check tires for wear and improper inflation.
2. Check wheels for deformation, cracks and other damage.
If deformed, remove wheel and check wheel runout.
a. Remove tire from aluminum wheel and mount on a tire balance
machine.
b. Set dial indicator as shown in the illustration.
Wheel runout (Dial indicator value):
Refer to SDS, SU-16.
3. Check front wheel bearings for looseness.
4. Check front suspension for looseness.
5. Check steering linkage for looseness.
6. Check that front shock absorbers work properly.
7. Check vehicle posture (Unladen).
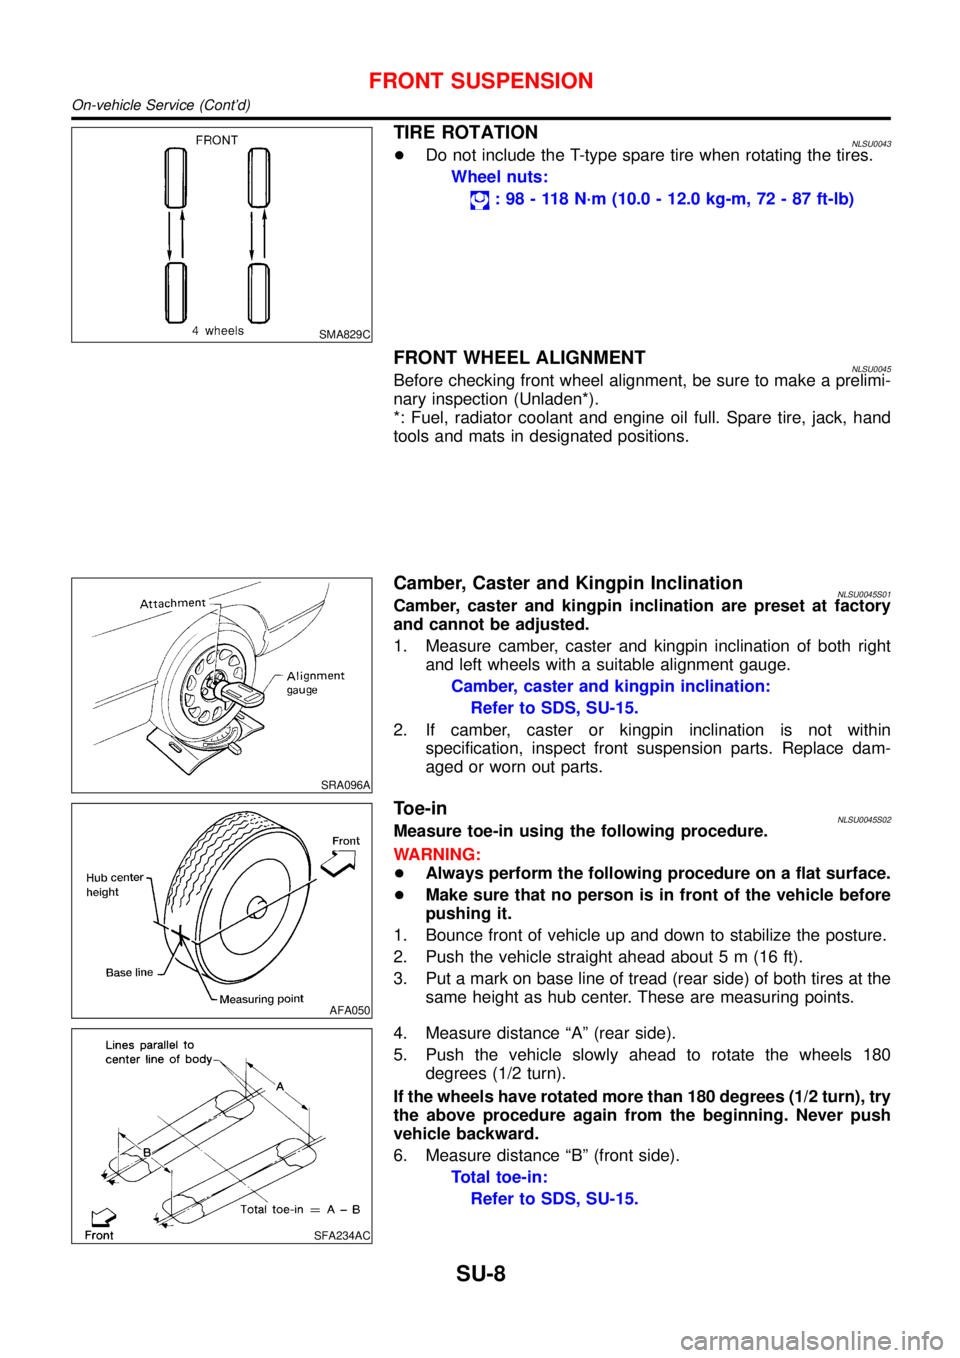
SFA981B
Steel wheelNLSU0042S01021. Check tires for wear and improper inflation.
2. Check wheels for deformation, cracks and other damage.
If deformed, remove wheel and check wheel runout.
a. Remove tire from steel wheel and mount wheel on a tire bal-
ance machine.
b. Set two dial indicators as shown in the illustration.
c. Set each dial indicator to 0.
d. Rotate wheel and check dial indicators at several points
around the circumference of the wheel.
e. Calculate runout at each point as shown below.
Radial runout = (A + B)/2
Lateral runout = (C + D)/2
f. Select maximum positive runout value and the maximum
negative value.
Add the two values to determine total runout.
In case a positive or negative value is not available, use the
maximum value (negative or positive) for total runout.
If the total runout value exceeds the limit, replace steel wheel.
Wheel runout:
Refer to SDS, SU-16.
3. Check front wheel bearings for looseness.
4. Check front suspension for looseness.
5. Check steering linkage for looseness.
6. Check that front shock absorbers work properly.
7. Check vehicle posture (Unladen).
FRONT SUSPENSION
On-vehicle Service (Cont’d)
SU-7
Page 3031 of 3051

SMA829C
TIRE ROTATIONNLSU0043+Do not include the T-type spare tire when rotating the tires.
Wheel nuts:
:98-118N·m (10.0 - 12.0 kg-m, 72 - 87 ft-lb)
FRONT WHEEL ALIGNMENTNLSU0045Before checking front wheel alignment, be sure to make a prelimi-
nary inspection (Unladen*).
*: Fuel, radiator coolant and engine oil full. Spare tire, jack, hand
tools and mats in designated positions.
SRA096A
Camber, Caster and Kingpin InclinationNLSU0045S01Camber, caster and kingpin inclination are preset at factory
and cannot be adjusted.
1. Measure camber, caster and kingpin inclination of both right
and left wheels with a suitable alignment gauge.
Camber, caster and kingpin inclination:
Refer to SDS, SU-15.
2. If camber, caster or kingpin inclination is not within
specification, inspect front suspension parts. Replace dam-
aged or worn out parts.
AFA050
Toe-inNLSU0045S02Measure toe-in using the following procedure.
WARNING:
+Always perform the following procedure on a flat surface.
+Make sure that no person is in front of the vehicle before
pushing it.
1. Bounce front of vehicle up and down to stabilize the posture.
2. Push the vehicle straight ahead about 5 m (16 ft).
3. Put a mark on base line of tread (rear side) of both tires at the
same height as hub center. These are measuring points.
SFA234AC
4. Measure distance“A”(rear side).
5. Push the vehicle slowly ahead to rotate the wheels 180
degrees (1/2 turn).
If the wheels have rotated more than 180 degrees (1/2 turn), try
the above procedure again from the beginning. Never push
vehicle backward.
6. Measure distance“B”(front side).
Total toe-in:
Refer to SDS, SU-15.
FRONT SUSPENSION
On-vehicle Service (Cont’d)
SU-8
Page 3032 of 3051
SFA486A
7. Adjust toe-in by varying the length of steering tie-rods.
a. Loosen lock nuts.
b. Adjust toe-in by screwing tie-rods in and out.
Standard length“L”:
Refer to ST-28,“SDS”.
c. Tighten lock nuts to specified torque.
Lock nut tightening torque:
Refer to ST-16,“POWER STEERING GEAR AND
LINKAGE”.
SFA439BA
Front Wheel Turning AngleNLSU0045S031. Set wheels in straight-ahead position. Then move vehicle for-
ward until front wheels rest on turning radius gauge properly.
2. Rotate steering wheel all the way right and left; measure turn-
ing angle.
Do not hold the steering wheel on full lock for more than
15 seconds.
Wheel turning angle (Full turn):
Refer to SDS, SU-15.
FRONT SUSPENSION
On-vehicle Service (Cont’d)
SU-9
Page 3036 of 3051

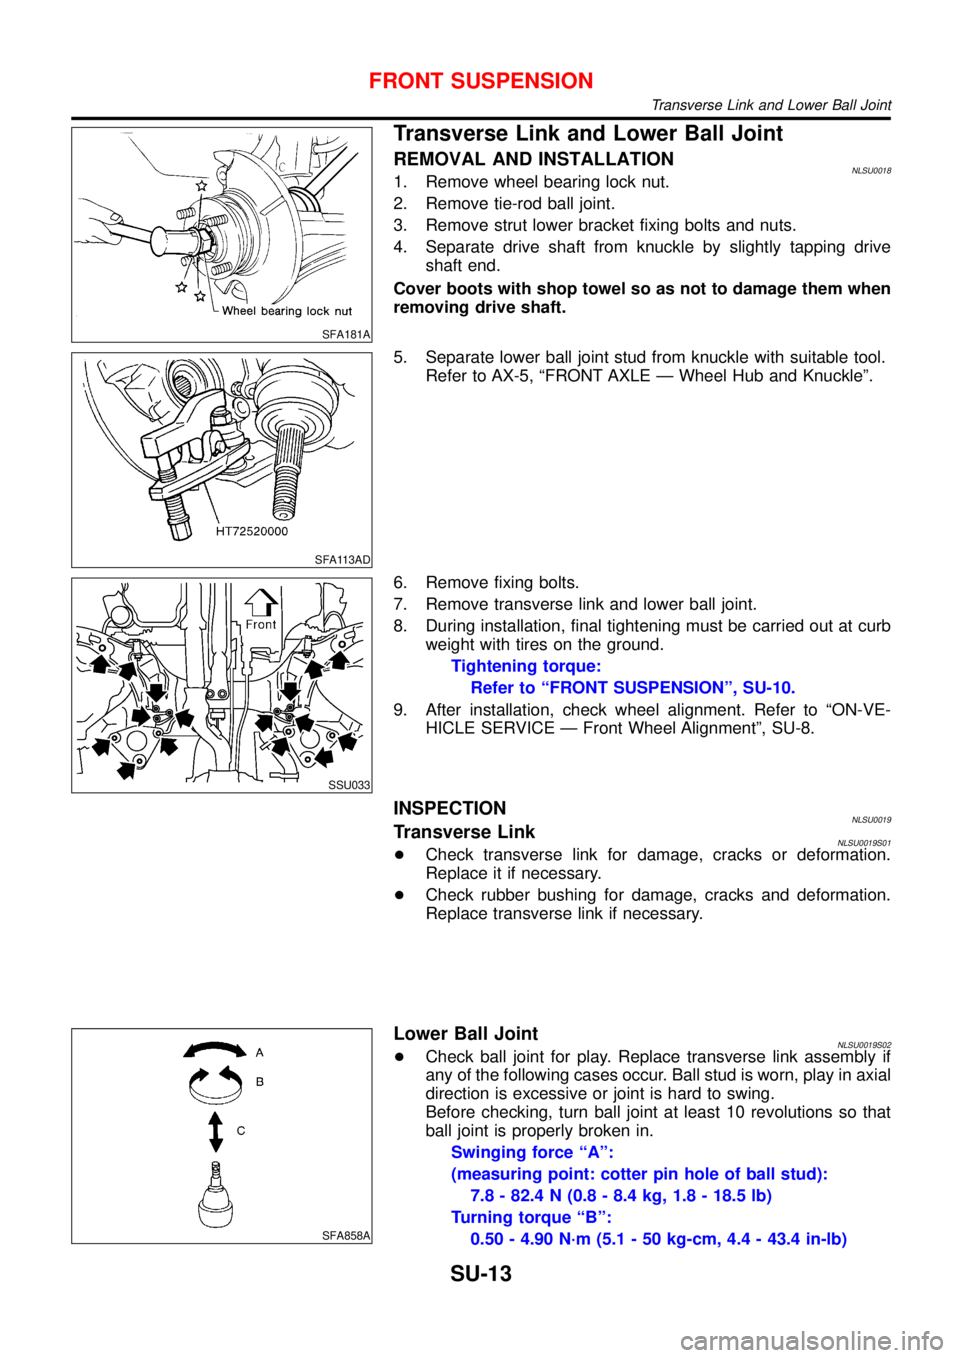
SFA181A
Transverse Link and Lower Ball Joint
REMOVAL AND INSTALLATIONNLSU00181. Remove wheel bearing lock nut.
2. Remove tie-rod ball joint.
3. Remove strut lower bracket fixing bolts and nuts.
4. Separate drive shaft from knuckle by slightly tapping drive
shaft end.
Cover boots with shop towel so as not to damage them when
removing drive shaft.
SFA113AD
5. Separate lower ball joint stud from knuckle with suitable tool.
Refer to AX-5,“FRONT AXLE—Wheel Hub and Knuckle”.
SSU033
6. Remove fixing bolts.
7. Remove transverse link and lower ball joint.
8. During installation, final tightening must be carried out at curb
weight with tires on the ground.
Tightening torque:
Refer to“FRONT SUSPENSION”, SU-10.
9. After installation, check wheel alignment. Refer to“ON-VE-
HICLE SERVICE—Front Wheel Alignment”, SU-8.
INSPECTIONNLSU0019Transverse LinkNLSU0019S01+Check transverse link for damage, cracks or deformation.
Replace it if necessary.
+Check rubber bushing for damage, cracks and deformation.
Replace transverse link if necessary.
SFA858A
Lower Ball JointNLSU0019S02+Check ball joint for play. Replace transverse link assembly if
any of the following cases occur. Ball stud is worn, play in axial
direction is excessive or joint is hard to swing.
Before checking, turn ball joint at least 10 revolutions so that
ball joint is properly broken in.
Swinging force“A”:
(measuring point: cotter pin hole of ball stud):
7.8 - 82.4 N (0.8 - 8.4 kg, 1.8 - 18.5 lb)
Turning torque“B”:
0.50 - 4.90 N·m (5.1 - 50 kg-cm, 4.4 - 43.4 in-lb)
FRONT SUSPENSION
Transverse Link and Lower Ball Joint
SU-13
Page 3038 of 3051

Service Data and Specifications (SDS)
GENERAL SPECIFICATIONS (FRONT)=NLSU0020
Suspension type Independent MacPherson strut
Shock absorber type Double-acting hydraulic
Stabilizer barStandard equipment
FRONT WHEEL ALIGNMENT (UNLADEN*1)NLSU0021
QG/SR engine YD engine
Camber
Degree minute (Decimal degree)Minimum �1°05′(�1.08°)
Nominal �0°20′(�0.33°)
Maximum 0°25′(0.42°)
Left and right difference 45′(0.75°)
Caster
Degree minute (Decimal degree)Minimum 2°04′(2.07°) 2°01′(2.02°)
Nominal 2°49′(2.82°) 2°46′(2.77°)
Maximum 3°34′(3.57°) 3°31′(3.52°)
Left and right difference 45′(0.75°)
Kingpin inclination
Degree minute (Decimal degree)Minimum 13°40′(13.67°)
Nominal 14°25′(14.42°)
Maximum 15°10′(°15.17)
Total toe-inDistance (A � B)
mm (in)Minimum 1 (0.04)
Nominal 2 (0.08)
Maximum 3 (0.12)
Angle (left plus right)
Degree minute (Decimal degree)Minimum 0°01′(0.02°)
Nominal 0°04′(0.07°)
Maximum 0°07′(0.12°)
Wheel turning angle
Full turn*2Inside
Degree minute (Decimal degree)Minimum 34°30′(34.50°)
Nominal 38°00′(38.00°)
Maximum 39°00′(39.00°)
Outside
Degree minute (Decimal degree)Nominal 31°00′(31.00°)
*1: Fuel, radiator coolant and engine oil full. Spare tire, jack, hand tools and mats in designated positions.
*2: On power steering models, wheel turning force (at circumference of steering wheel) of 98 to 147 N (10 to 15 kg, 22 to 33 lb) with
engine idle.
*3: “Ground clearance up” model
LOWER BALL JOINTNLSU0022
Swinging force “A”
(Measuring point: cotter pin hole of ball stud) N (kg, lb)7.8 - 82.4 (0.8 - 8.4, 1.8 - 18.5)
Turning torque “B” N·m (kg-cm, in-lb) 0.50 - 4.90 (5.1 - 50.0, 4.4 - 43.4)
Vertical end play “C” mm (in)0 (0)
FRONT SUSPENSION
Service Data and Specifications (SDS)
SU-15
Page 3039 of 3051
WHEELARCH HEIGHT (UNLADEN*1)NLSU0041
SFA818A
195/65R15 205/55R16
QG18 SR20 YD22 QG18 SR20 YD22
FR RR FR RR FR RR FR RR FR RR FR RR
702
(27.64)672
(26.46)700
(27.56)672
(26.46)699
(27.52)672
(26.46)702
(27.64)671
(26.42)701
(27.60)672
(26.46)699
(27.52)671
(26.42)
*1: Fuel, radiator coolant and engine oil full. Spare tire, jack, hand tools and mats in designated positions.
*2:“Ground clearance up”model
WHEEL RUNOUTNLSU0023
Wheel typeAluminum Steel wheel
Radial runout limit mm (in) 0.3 (0.012) 0.5 (0.020)
Lateral runout limit mm (in) 0.3 (0.012) 0.8 (0.031)
WHEEL BALANCENLSU0044
Maximum allowable unbalanceDynamic (At rim flange) g (oz) 10 (0.35) (one side)
Static g (oz) 20 (0.71)
FRONT SUSPENSION
Service Data and Specifications (SDS) (Cont’d)
SU-16
Page 3040 of 3051

SBR686C
Precautions
PRECAUTIONSNLSU0024+When installing each rubber part, final tightening must be
carried out under unladen condition* with tires on ground.
Oil will shorten the life of rubber bushes. Be sure to wipe
off any spilled oil.
*: Fuel, radiator coolant and engine oil full. Spare tire, jack,
hand tools and mats in designated positions.
+Use flare nut wrench when removing or installing brake
tubes.
+After installing removed suspension parts, check wheel
alignment.
+Do not jack up at the trailing arm and lateral link.
+Always torque brake lines when installing.
+Lock nuts are unreusable parts; always use new ones.
When replacing, do not wipe the oil off of the new lock nut
before tightening.
Preparation
COMMERCIAL SERVICE TOOLSNLSU0026
Tool name Description
Equivalent to
1 Flare nut crowfoot
2 Torque wrench
NT360
Removing and installing brake piping
a: 10 mm (0.39 in)
Spring compressor
NT717
Removing and installing coil spring
Noise, Vibration and Harshness (NVH)
Troubleshooting
NLSU0027Refer to“Noise, Vibration and Harshness (NVH) Troubleshooting”,
“FRONT SUSPENSION”, SU-4.
REAR SUSPENSION
Precautions
SU-17
Page 3042 of 3051

SMA525A
On-vehicle Service
REAR SUSPENSION PARTSNLSU0029Check axle and suspension parts for excessive play, wear or dam-
age.
+Shake each rear wheel to check for excessive play.
SSU036
+Retighten all nuts and bolts to the specified torque.
Tightening torque:
Refer to“REAR SUSPENSION”, SU-18.
SMA113
+Check shock absorber for oil leakage or other damage.
+Check wheelarch height. Refer to“On-vehicle Service”,
“FRONT SUSPENSION PARTS”, SU-6.
REAR WHEEL ALIGNMENTNLSU0030Before checking rear wheel alignment, be sure to make a prelimi-
nary inspection (Unladen*).
*: Fuel, radiator coolant and engine oil full. Spare tire, jack, hand
tools and mats in designated positions.
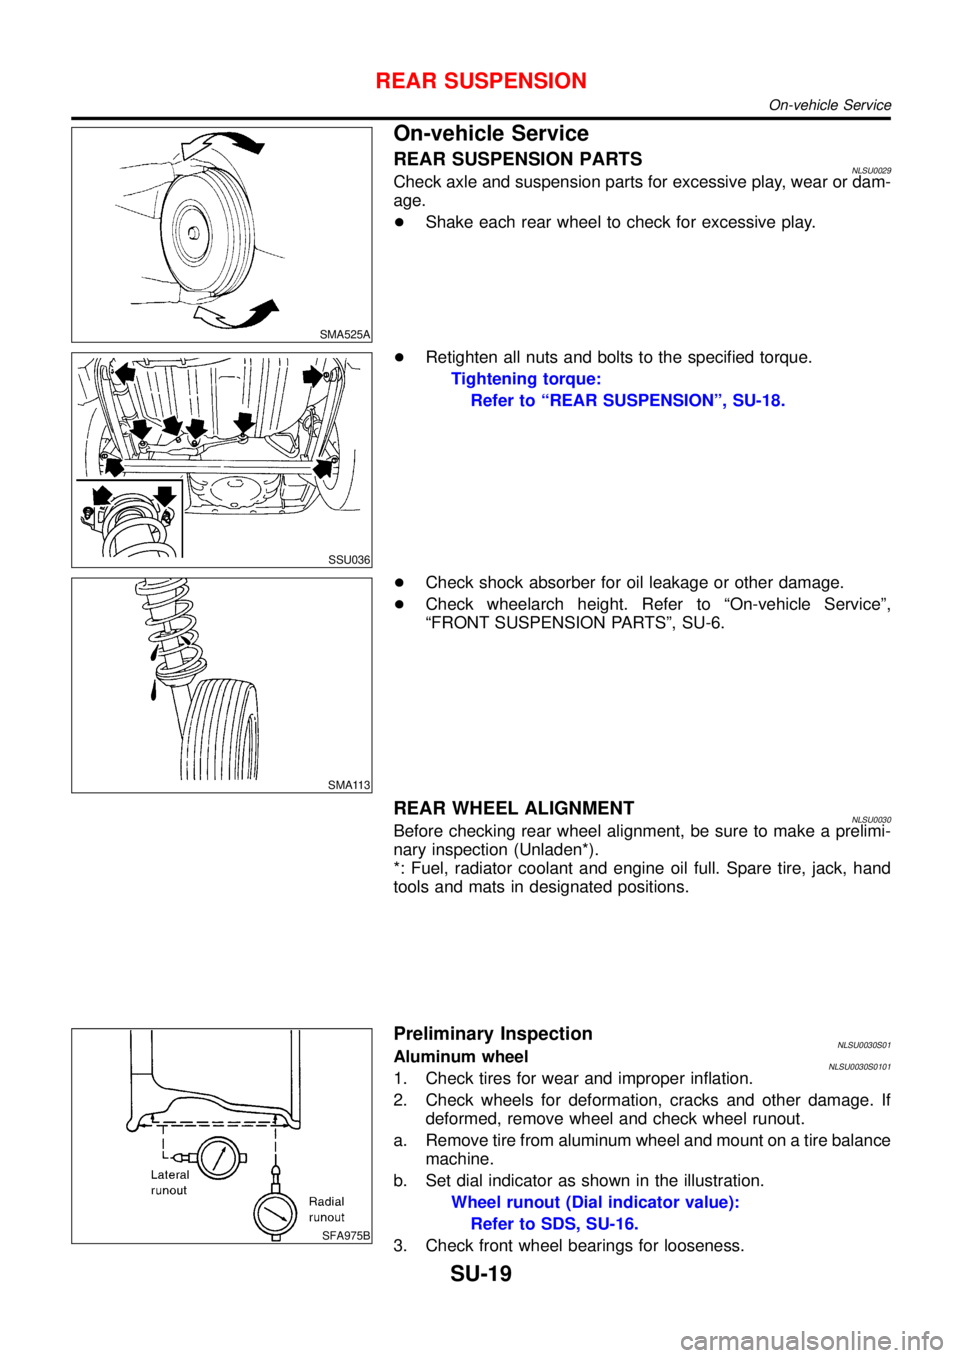
SFA975B
Preliminary InspectionNLSU0030S01Aluminum wheelNLSU0030S01011. Check tires for wear and improper inflation.
2. Check wheels for deformation, cracks and other damage. If
deformed, remove wheel and check wheel runout.
a. Remove tire from aluminum wheel and mount on a tire balance
machine.
b. Set dial indicator as shown in the illustration.
Wheel runout (Dial indicator value):
Refer to SDS, SU-16.
3. Check front wheel bearings for looseness.
REAR SUSPENSION
On-vehicle Service
SU-19