Page 1485 of 2493
6 DETECT MALFUNCTIONING ITEM
1. Remove control valve assembly. Refer to ªON-VEHICLE SERVICEº, AT-343.
2. Check the following items:
+Valves to control line pressure (Pressure regulator valve, pressure modifier valve, pilot valve and pilot filter)
+Line pressure solenoid valve (AT-174: Except for Euro-OBD/AT-237: Euro-OBD)
3. Disassemble A/T.
4. Check the following items:
+Oil pump assembly
+Torque converter
+Reverse clutch assembly
+High clutch assembly
+Low & reverse brake assembly
+Low one-way clutch
OK or NG
OK©GO TO 5.
NG©Repair or replace damaged parts.
TROUBLE DIAGNOSES FOR SYMPTOMS
6. Vehicle Does Not Creep Backward In ªRº Position (Cont'd)
AT-299
Page 1488 of 2493
6 DETECT MALFUNCTIONING ITEM
1. Remove control valve assembly. Refer to AT-343.
2. Check the following items:
+Valves to control line pressure (Pressure regulator valve, pressure modifier valve, pilot valve and pilot filter)
+Line pressure solenoid valve (AT-174: Except for Euro-OBD/AT-237: Euro-OBD)
3. Disassemble A/T.
4. Check the following items:
+Oil pump assembly
+Forward clutch assembly
+Forward one-way clutch
+Low one-way clutch
+Low & reverse brake assembly
+Torque converter
OK or NG
OK©GO TO 5.
NG©Repair or replace damaged parts.
TROUBLE DIAGNOSES FOR SYMPTOMS
7. Vehicle Does Not Creep Forward In ªDº, ª2º Or ª1º Position (Cont'd)
AT-302
Page 1491 of 2493

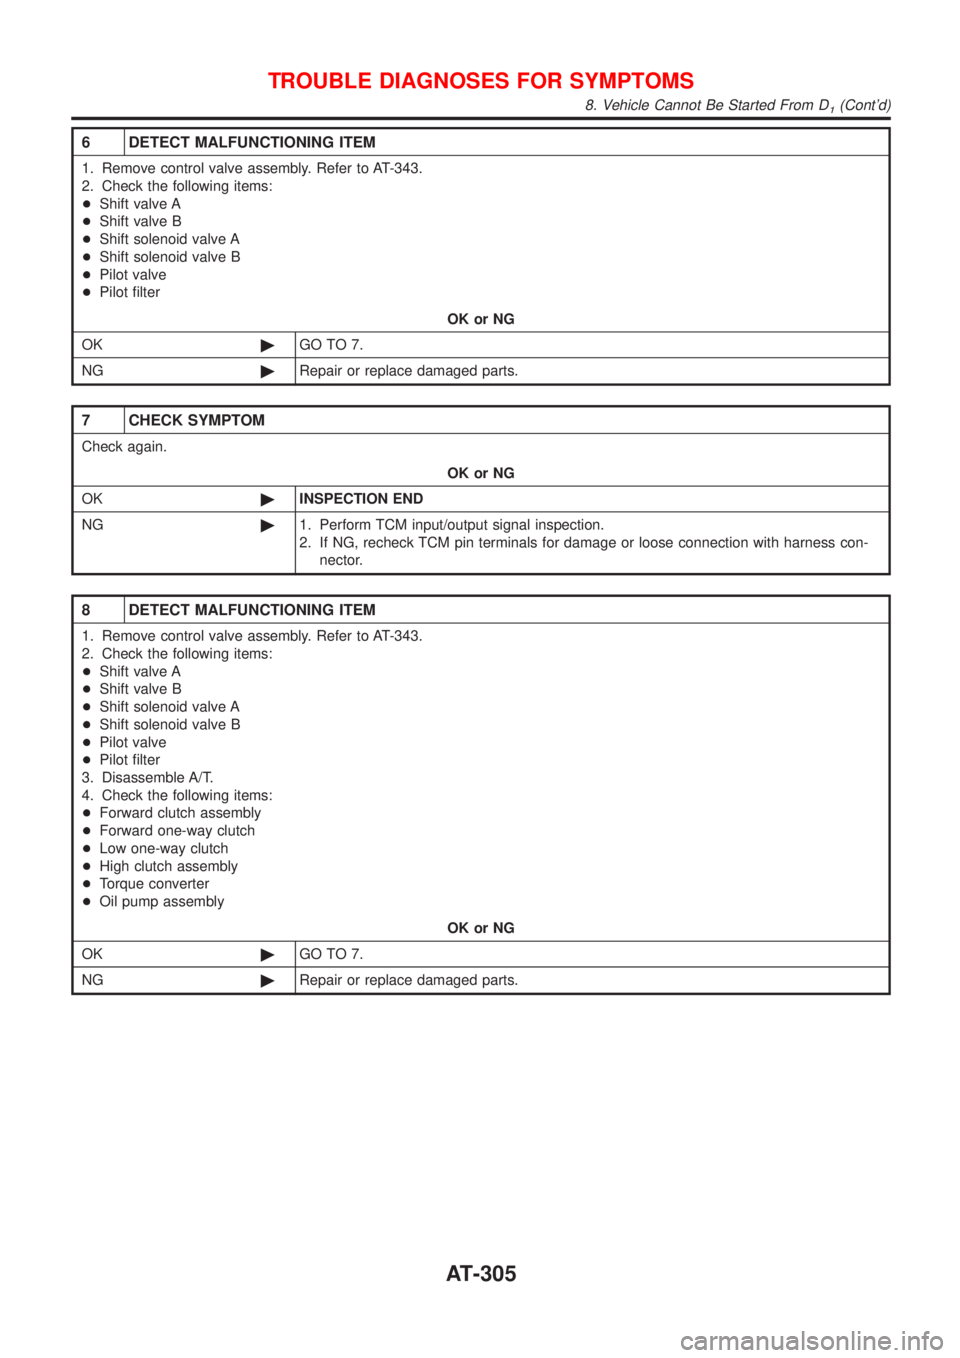
6 DETECT MALFUNCTIONING ITEM
1. Remove control valve assembly. Refer to AT-343.
2. Check the following items:
+Shift valve A
+Shift valve B
+Shift solenoid valve A
+Shift solenoid valve B
+Pilot valve
+Pilot filter
OK or NG
OK©GO TO 7.
NG©Repair or replace damaged parts.
7 CHECK SYMPTOM
Check again.
OK or NG
OK©INSPECTION END
NG©1. Perform TCM input/output signal inspection.
2. If NG, recheck TCM pin terminals for damage or loose connection with harness con-
nector.
8 DETECT MALFUNCTIONING ITEM
1. Remove control valve assembly. Refer to AT-343.
2. Check the following items:
+Shift valve A
+Shift valve B
+Shift solenoid valve A
+Shift solenoid valve B
+Pilot valve
+Pilot filter
3. Disassemble A/T.
4. Check the following items:
+Forward clutch assembly
+Forward one-way clutch
+Low one-way clutch
+High clutch assembly
+Torque converter
+Oil pump assembly
OK or NG
OK©GO TO 7.
NG©Repair or replace damaged parts.
TROUBLE DIAGNOSES FOR SYMPTOMS
8. Vehicle Cannot Be Started From D1(Cont'd)
AT-305
Page 1500 of 2493
6 CHECK SYMPTOM
Check again.
OK or NG
OK©INSPECTION END
NG©1. Perform TCM input/output signal inspection.
2. If NG, recheck TCM pin terminals for damage or loose connection with harness con-
nector.
7 DETECT MALFUNCTIONING ITEM
1. Remove control valve assembly. Refer to AT-343.
2. Check the following items:
+Shift valve B
+Overrun clutch control valve
+Shift solenoid valve B
+Pilot valve
+Pilot filter
3. Disassemble A/T.
4. Check the following items:
+Servo piston assembly
+Brake band
+Torque converter
+Oil pump assembly
OK or NG
OK©GO TO 6.
NG©Repair or replace damaged parts.
TROUBLE DIAGNOSES FOR SYMPTOMS
11. A/T Does Not Shift: D3®D4(Cont'd)
AT-314
Page 1501 of 2493
12. A/T Does Not Perform Lock-up=NJAT0342SYMPTOM:
A/T does not perform lock-up at the specified speed.
1 CHECK SELF-DIAGNOSTIC RESULTS
Does self-diagnosis show damage to torque converter clutch solenoid valve circuit after cruise test?
SAT346H
YesorNo
Ye s©Check torque converter clutch solenoid valve circuit. Refer to AT-157 (Except for Euro-
OBD)/AT-231 (Euro-OBD).
No©GO TO 2.
2 CHECK THROTTLE POSITION SENSOR
Check throttle position sensor. Refer to EC-168, ªDTC P0120 THROTTLE POSITION SENSORº.
SAT004K
OK or NG
OK©GO TO 3.
NG©Repair or replace throttle position sensor.
3 DETECT MALFUNCTIONING ITEM
1. Remove control valve. Refer to AT-343.
2. Check following items:
+Torque converter clutch control valve
+Torque converter relief valve
+Torque converter clutch solenoid valve
+Pilot valve
+Pilot filter
OK or NG
OK©GO TO 4.
NG©Repair or replace damaged parts.
TROUBLE DIAGNOSES FOR SYMPTOMS
12. A/T Does Not Perform Lock-up
AT-315
Page 1503 of 2493
13. A/T Does Not Hold Lock-up Condition=NJAT0343SYMPTOM:
A/T does not hold lock-up condition for more than 30 seconds.
1 CHECK DIAGNOSTIC RESULTS
Does self-diagnosis show damage to engine speed signal circuit after cruise test?
SAT347H
YesorNo
Ye s©Check engine speed signal circuit. Refer to AT-170 (Except for Euro-OBD)/AT-198 (Euro-
OBD).
No©GO TO 2.
2 CHECK A/T FLUID CONDITION
1. Remove oil pan.
2. Check A/T fluid condition.
SAT171B
OK or NG
OK©GO TO 3.
NG©GO TO 5.
3 DETECT MALFUNCTIONING ITEM
1. Remove control valve assembly. Refer to AT-343.
2. Check the following items:
+Torque converter clutch control valve
+Pilot valve
+Pilot filter
OK or NG
OK©GO TO 4.
NG©Repair or replace damaged parts.
TROUBLE DIAGNOSES FOR SYMPTOMS
13. A/T Does Not Hold Lock-up Condition
AT-317
Page 1504 of 2493
4 CHECK SYMPTOM
Check again.
OK or NG
OK©INSPECTION END
NG©1. Perform TCM input/output signal inspection.
2. If NG, recheck TCM pin terminals for damage or loose connection with harness con-
nector.
5 DETECT MALFUNCTIONING ITEM
1. Remove control valve assembly. Refer to AT-343.
2. Check the following items:
+Torque converter clutch control valve
+Pilot valve
+Pilot filter
3. Disassemble A/T.
4. Check torque converter and oil pump assembly.
OK or NG
OK©GO TO 4.
NG©Repair or replace damaged parts.
TROUBLE DIAGNOSES FOR SYMPTOMS
13. A/T Does Not Hold Lock-up Condition (Cont'd)
AT-318
Page 1532 of 2493

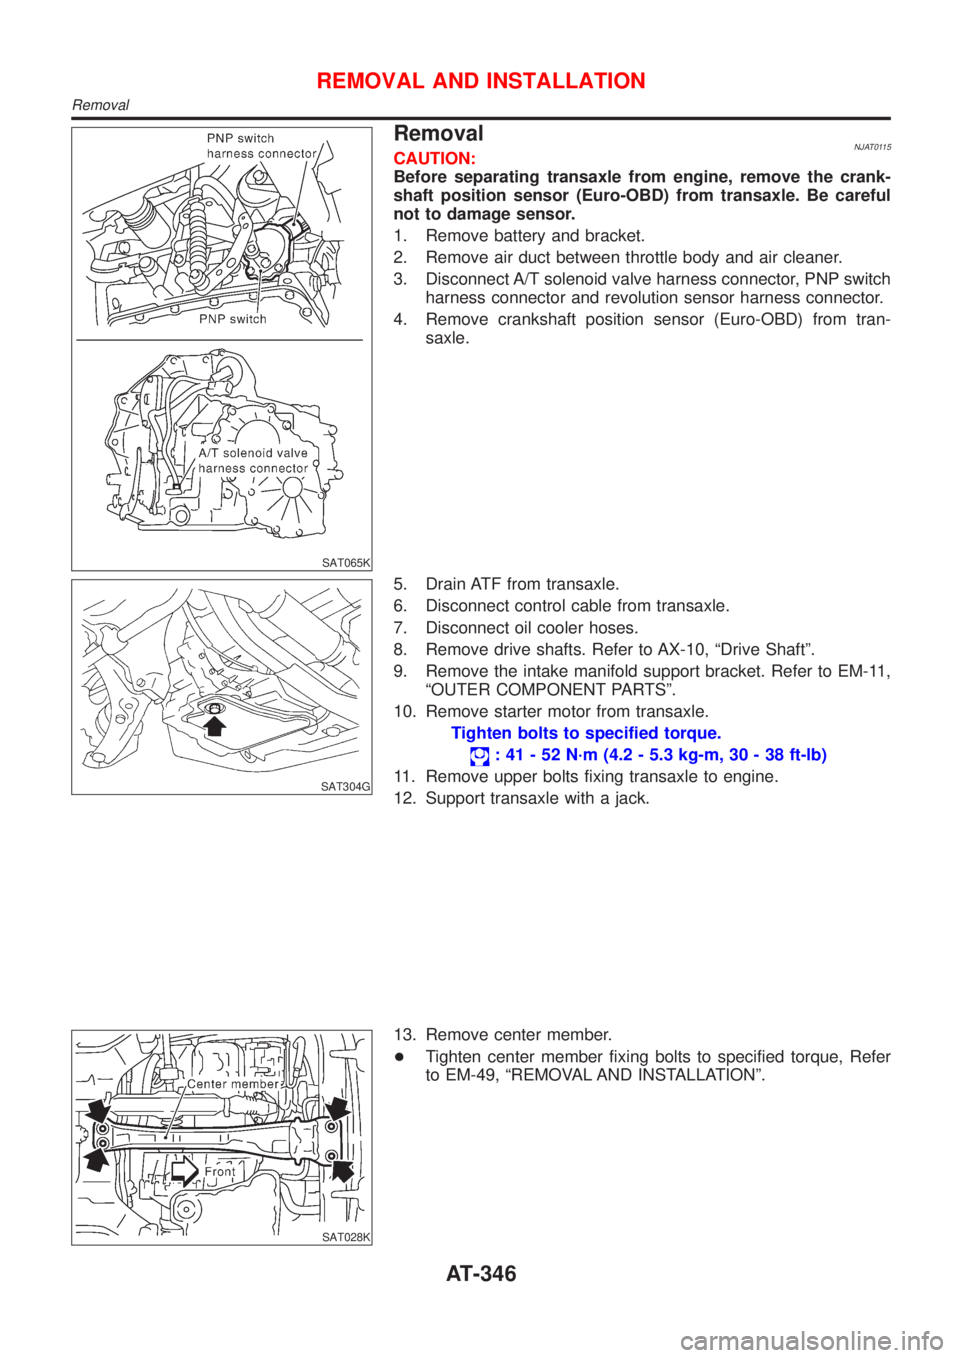
SAT065K
RemovalNJAT0115CAUTION:
Before separating transaxle from engine, remove the crank-
shaft position sensor (Euro-OBD) from transaxle. Be careful
not to damage sensor.
1. Remove battery and bracket.
2. Remove air duct between throttle body and air cleaner.
3. Disconnect A/T solenoid valve harness connector, PNP switch
harness connector and revolution sensor harness connector.
4. Remove crankshaft position sensor (Euro-OBD) from tran-
saxle.
SAT304G
5. Drain ATF from transaxle.
6. Disconnect control cable from transaxle.
7. Disconnect oil cooler hoses.
8. Remove drive shafts. Refer to AX-10, ªDrive Shaftº.
9. Remove the intake manifold support bracket. Refer to EM-11,
ªOUTER COMPONENT PARTSº.
10. Remove starter motor from transaxle.
Tighten bolts to specified torque.
: 41 - 52 N´m (4.2 - 5.3 kg-m, 30 - 38 ft-lb)
11. Remove upper bolts fixing transaxle to engine.
12. Support transaxle with a jack.
SAT028K
13. Remove center member.
+Tighten center member fixing bolts to specified torque, Refer
to EM-49, ªREMOVAL AND INSTALLATIONº.
REMOVAL AND INSTALLATION
Removal
AT-346