Page 1395 of 1807
S00394
P02273
A02562
P11528
A02563
EM-16
- ENGINE MECHANICAL (2JZ-GTE)TIMING BELT
1121 Author�: Date�:
1997 SUPRA (RM502U)
8. SET NO.1 CYLINDER TO TDC/COMPRESSION
(a) Turn the crankshaft pulley, and align its groove with timing
mark º0º of the No.1 timing belt cover.
NOTICE:
Always turn the crankshaft clockwise.
(b) Check that the timing marks of the camshaft timing pul-
leys are aligned with the timing marks of the No.4 timing
belt cover.
If not, turn the crankshaft 1 revolution (360°).
9. REMOVE TIMING BELT FROM CAMSHAFT TIMING
PULLEYS
HINT:
(Re-using timing belt):
Place matchmarks on the timing belt and camshaft timing pul-
leys as shown in the illustration.
(a) Alternately loosen the 2 bolts, and remove them, the ten-
sioner and dust boot.
(b) Disconnect the timing belt from the camshaft timing pul-
leys.
Page 1396 of 1807
A02560
SST
Z16729
A/T
S00267
SST
S00404
SST
A02564
- ENGINE MECHANICAL (2JZ-GTE)TIMING BELT
EM-17
1122 Author�: Date�:
1997 SUPRA (RM502U)
10. REMOVE CAMSHAFT TIMING PULLEYS
Using SST, remove the pulley bolt. Remove the 2 timing pul-
leys.
SST 09960-10010 (09962-01000, 09963-01000)
11. A/T:
DISCONNECT OIL COOLER TUBES
Remove the 2 bolts and hose clamps, and disconnect oil cooler
tubes.
12. REMOVE CRANKSHAFT PULLEY
(a) Using SST, loosen the pulley bolt.
SST 09213-70010, 09330-00021
(b) Remove the pulley bolt.
(c) Using SST, remove the pulley.
SST 09950-50010 (09951-05010, 09952-05010,
09953-05010, 09953-05020, 09954-05030)
13. REMOVE NO.1 TIMING BELT COVER
Remove the 5 bolts, timing belt cover and gasket.
14. REMOVE TIMING BELT GUIDE
Page 1397 of 1807
S00262
S0058310 mm Hexagon Wrench
P18867
Z16748
SST EM-18
- ENGINE MECHANICAL (2JZ-GTE)TIMING BELT
1123 Author�: Date�:
1997 SUPRA (RM502U)
15. REMOVE TIMING BELT
HINT:
(When re-using timing belt):
Draw an arrow on the timing belt in the direction of engine revo-
lution, and place matchmarks on the timing belt and crankshaft
timing pulley.
16. REMOVE IDLER PULLEY
Using a 10 mm hexagon wrench, remove the pivot bolt, plate
washer and idler pulley.
17. REMOVE CRANKSHAFT TIMING PULLEY
(a) Remove the bolt and timing belt plate.
(b) Remove the crankshaft timing pulley.
If the pulley cannot be removed by hand, use SST to remove
the crankshaft timing pulley.
SST 09950-50010 (09951-05010, 09952-05010,
09953-05010, 09953-05020, 09954-05010)
NOTICE:
Do not scratch the sensor part the crankshaft timing pulley.
Page 1400 of 1807
P12646
Z16792
IAC Valve Pipe Clamp
PCV Valve Cruise
Control
Actuator
Cable
Bracket
No.2
No.1
P04466
A02174
- ENGINE MECHANICAL (2JZ-GTE)CYLINDER HEAD
EM-31
1136 Author�: Date�:
1997 SUPRA (RM502U)
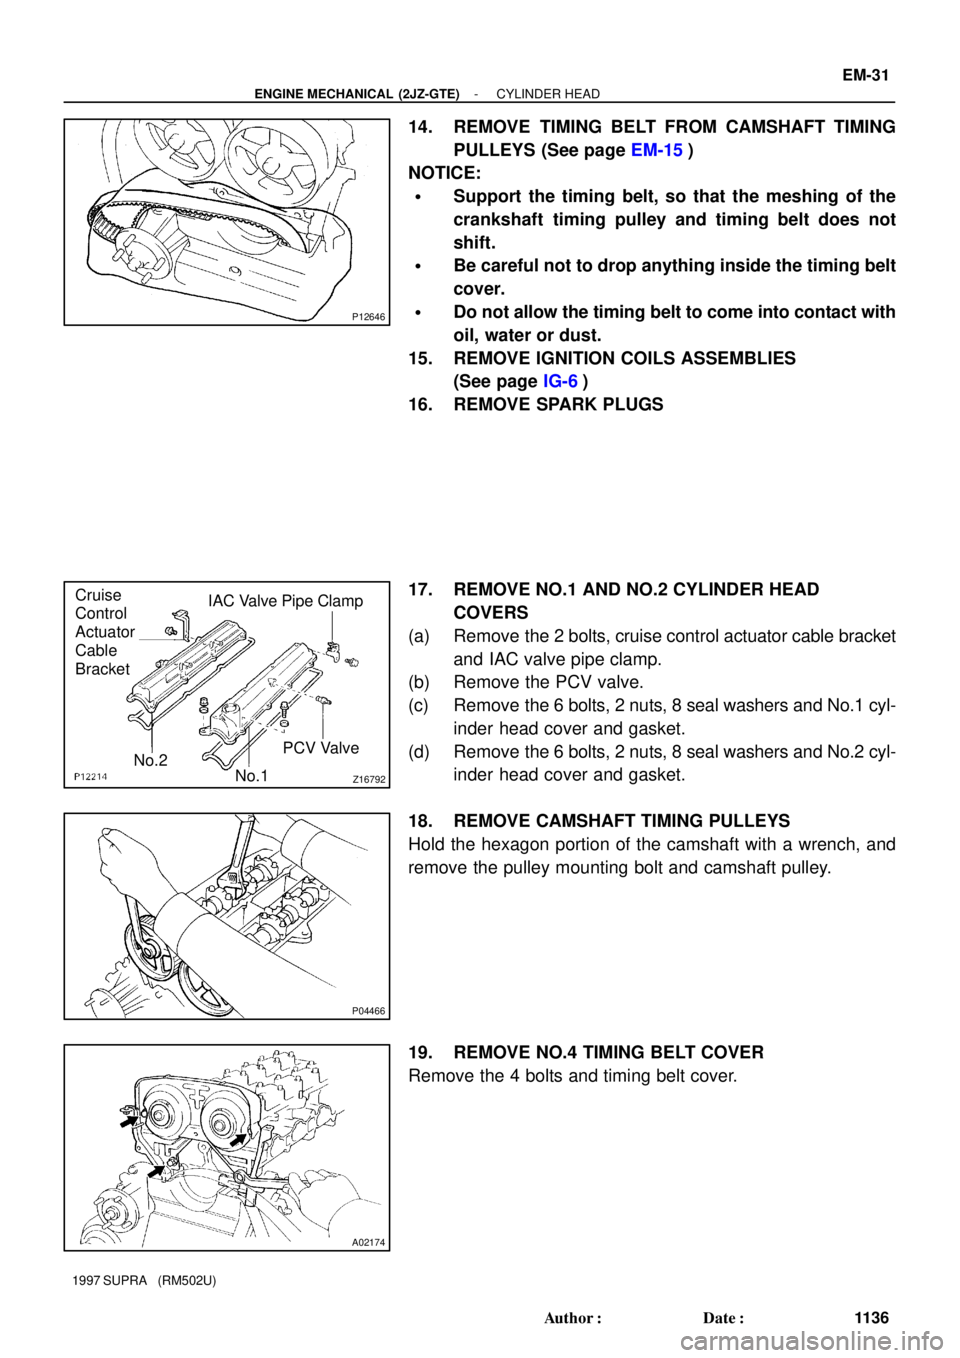
14. REMOVE TIMING BELT FROM CAMSHAFT TIMING
PULLEYS (See page EM-15)
NOTICE:
�Support the timing belt, so that the meshing of the
crankshaft timing pulley and timing belt does not
shift.
�Be careful not to drop anything inside the timing belt
cover.
�Do not allow the timing belt to come into contact with
oil, water or dust.
15. REMOVE IGNITION COILS ASSEMBLIES
(See page IG-6)
16. REMOVE SPARK PLUGS
17. REMOVE NO.1 AND NO.2 CYLINDER HEAD
COVERS
(a) Remove the 2 bolts, cruise control actuator cable bracket
and IAC valve pipe clamp.
(b) Remove the PCV valve.
(c) Remove the 6 bolts, 2 nuts, 8 seal washers and No.1 cyl-
inder head cover and gasket.
(d) Remove the 6 bolts, 2 nuts, 8 seal washers and No.2 cyl-
inder head cover and gasket.
18. REMOVE CAMSHAFT TIMING PULLEYS
Hold the hexagon portion of the camshaft with a wrench, and
remove the pulley mounting bolt and camshaft pulley.
19. REMOVE NO.4 TIMING BELT COVER
Remove the 4 bolts and timing belt cover.
Page 1409 of 1807

IG0152
P11795
Ohmmeter
P12177
Ohmmeter
- IGNITION (2JZ-GTE)IGNITION SYSTEM
IG-3
1497 Author�: Date�:
1997 SUPRA (RM502U)
(f) Clean the spark plugs.
If the electrode has traces of wet carbon, allow it to dry and then
clean with a spark plug cleaner.
Air pressure: Below 588 kPa (6 kgf/cm
2, 85 psi)
Duration: 20 seconds or less
HINT:
If there are traces of oil, remove it with gasoline before using the
spark plug cleaner.
(g) Using a 16 mm plug wrench, reinstall the 6 spark plugs.
Torque: 18 N´m (180 kgf´cm, 13 ft´lbf)
(h) Reinstall the ignition coils assemblies.
(See page IG-7)
3. INSPECT IGNITION COILS
(a) Remove the No.3 timing belt cover.
(b) Disconnect the ignition coil connectors.
(c) Using an ohmmeter, measure the resistance between the
terminals.
Primary coil resistance:
Cold0.54 - 0.84 W
Hot0.68 - 0.98 W
If the resistance is not as specified, replace the ignition coil.
(d) Reconnect the ignition coil connectors.
(e) Reinstall the No.3 timing belt cover.
4. INSPECT CAMSHAFT POSITION SENSORS
(a) Disconnect the camshaft position sensor connectors.
(b) Using an ohmmeter, measure the resistance between ter-
minals.
Resistance:
Cold835 - 1,400 W
Hot1,060 - 1,645 W
If the resistance is not as specified, replace the camshaft posi-
tion sensor.
Page 1411 of 1807
IG04Y-01
P18699
Ignition Coil
Bracket
BootNo.3 Timing Belt Cover
Oil Filler Cap
PCV Hose
- IGNITION (2JZ-GTE)IGNITION COIL
IG-5
1499 Author�: Date�:
1997 SUPRA (RM502U)
IGNITION COIL
COMPONENTS
Page 1412 of 1807
IG04Z-02
P11575
P12362
IG-6
- IGNITION (2JZ-GTE)IGNITION COIL
1500 Author�: Date�:
1997 SUPRA (RM502U)
REMOVAL
1. REMOVE NO.3 TIMING BELT COVER
2. REMOVE PCV HOSES
3. DISCONNECT IGNITION COIL CONNECTORS
4. REMOVE BRACKET AND IGNITION COILS
ASSEMBLIES
Remove the 2 bolts and 2 ignition coils assembly.
Torque: 8.8 N´m (90 kgf´cm, 78 in.´lbf)
5. REMOVE IGNITION COILS FROM BRACKET
(a) Remove the rubber boot from the ignition coil.
(b) Remove the 2 screws and ignition coil.
Page 1427 of 1807
MA0688
MA01G-01
- MAINTENANCEENGINE
MA-5
42 Author�: Date�:
1997 SUPRA (RM502U)
ENGINE
INSPECTION
1. REPLACE TIMING BELT
(2JZ-GE: See page EM-17)
(2JZ-GTE: See page EM-19)
2. INSPECT DRIVE BELT
(See page CH-2)
3. REPLACE SPARK PLUGS
(2JZ-GE: See page IG-1)
(2JZ-GTE: See page IG-1)
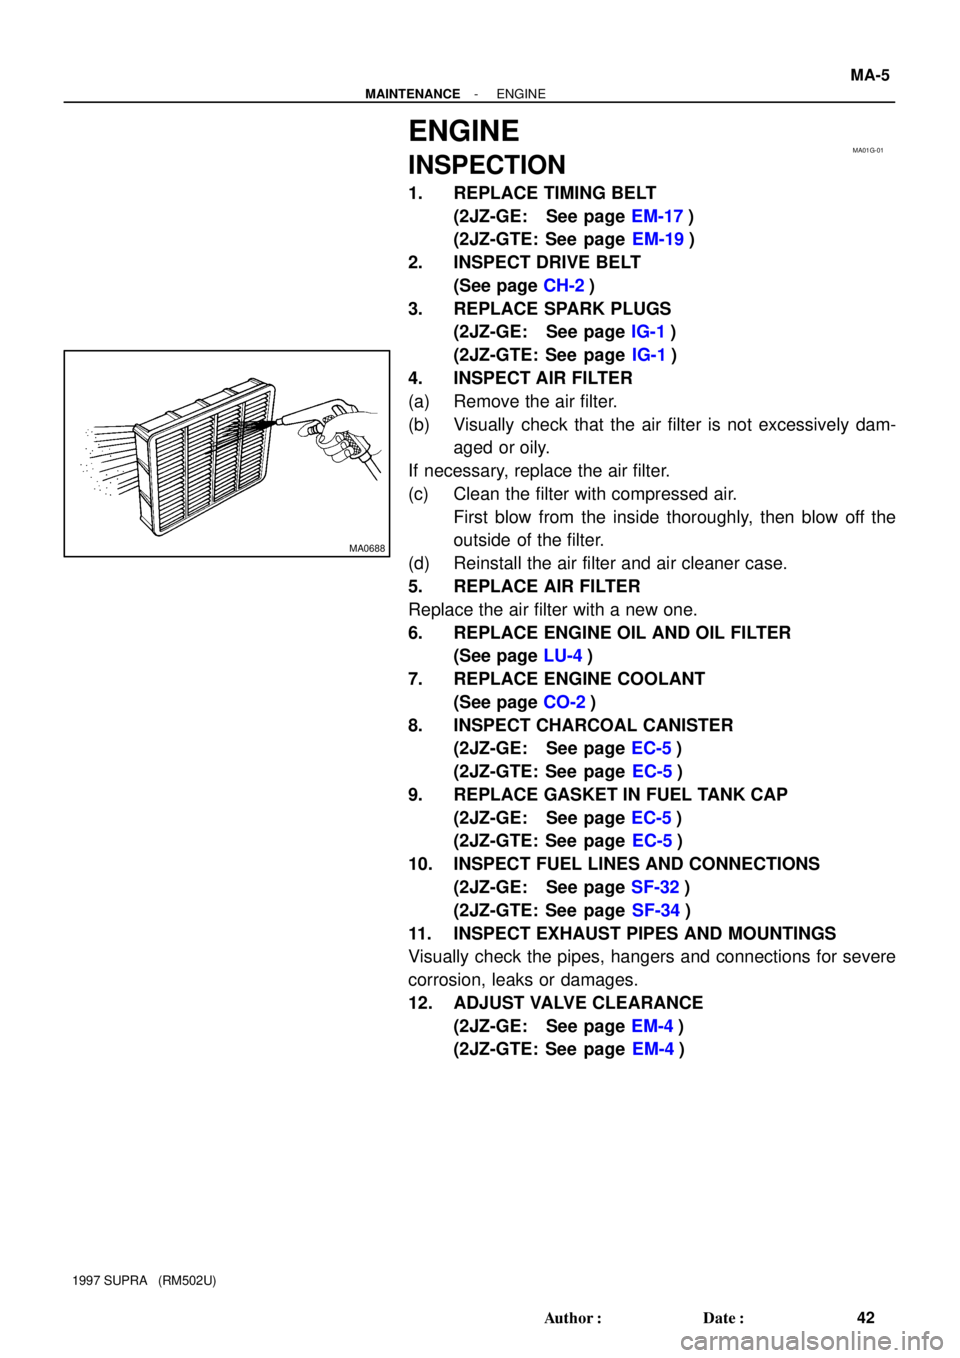
4. INSPECT AIR FILTER
(a) Remove the air filter.
(b) Visually check that the air filter is not excessively dam-
aged or oily.
If necessary, replace the air filter.
(c) Clean the filter with compressed air.
First blow from the inside thoroughly, then blow off the
outside of the filter.
(d) Reinstall the air filter and air cleaner case.
5. REPLACE AIR FILTER
Replace the air filter with a new one.
6. REPLACE ENGINE OIL AND OIL FILTER
(See page LU-4)
7. REPLACE ENGINE COOLANT
(See page CO-2)
8. INSPECT CHARCOAL CANISTER
(2JZ-GE: See page EC-5)
(2JZ-GTE: See page EC-5)
9. REPLACE GASKET IN FUEL TANK CAP
(2JZ-GE: See page EC-5)
(2JZ-GTE: See page EC-5)
10. INSPECT FUEL LINES AND CONNECTIONS
(2JZ-GE: See page SF-32)
(2JZ-GTE: See page SF-34)
11. INSPECT EXHAUST PIPES AND MOUNTINGS
Visually check the pipes, hangers and connections for severe
corrosion, leaks or damages.
12. ADJUST VALVE CLEARANCE
(2JZ-GE: See page EM-4)
(2JZ-GTE: See page EM-4)