Page 1974 of 2890
OBD0145A
10Z2CONNECT SUBARU SELECT MONITOR
AND READ DATA.
1) Turn ignition switch to OFF.
2) Connect Subaru Select Monitor to the data link connec-
tor.
3) Turn ignition switch to ON and turn Subaru Select Moni-
tor switch to ON.
B2M0759
4) Read data on Subaru Select Monitor.
Designate mode use function key.
Function mode: F42
NOTE:
F42: Maximum and minimum EGR system pressure value
are indicated at the same time.
5) Print out the displayed data on paper.
G3M0152
6) Clear memory on Subaru Select Monitor.
Designate mode use function key.
Press [F], [C], [0], [ENT] in that order.
OBD0008C
7) Start engine, and drive the vehicle more than 10 min-
utes.
: Is the MIL coming on or blinking?
: Go to step10Z3.
: Go to next.
206
2-7ON-BOARD DIAGNOSTICS II SYSTEM
10. Diagnostics Chart with Trouble Code
Page 1976 of 2890

G3M0152
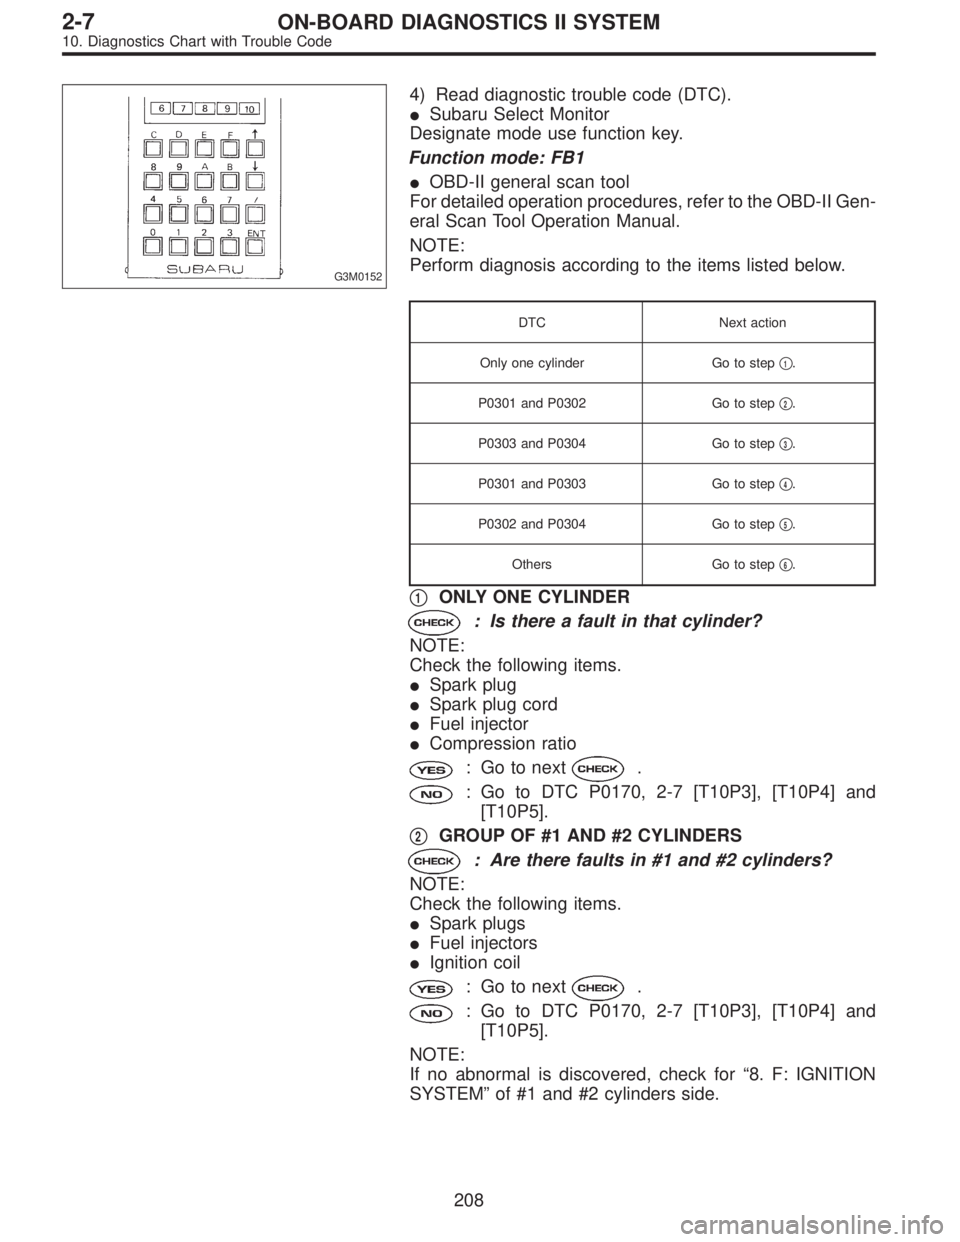
4) Read diagnostic trouble code (DTC).
�Subaru Select Monitor
Designate mode use function key.
Function mode: FB1
�OBD-II general scan tool
For detailed operation procedures, refer to the OBD-II Gen-
eral Scan Tool Operation Manual.
NOTE:
Perform diagnosis according to the items listed below.
DTC Next action
Only one cylinder Go to step�
1.
P0301 and P0302 Go to step�
2.
P0303 and P0304 Go to step�
3.
P0301 and P0303 Go to step�
4.
P0302 and P0304 Go to step�
5.
Others Go to step�
6.
�1ONLY ONE CYLINDER
: Is there a fault in that cylinder?
NOTE:
Check the following items.
�Spark plug
�Spark plug cord
�Fuel injector
�Compression ratio
: Go to next.
: Go to DTC P0170, 2-7 [T10P3], [T10P4] and
[T10P5].
�
2GROUP OF #1 AND #2 CYLINDERS
: Are there faults in #1 and #2 cylinders?
NOTE:
Check the following items.
�Spark plugs
�Fuel injectors
�Ignition coil
: Go to next.
: Go to DTC P0170, 2-7 [T10P3], [T10P4] and
[T10P5].
NOTE:
If no abnormal is discovered, check for“8. F: IGNITION
SYSTEM”of #1 and #2 cylinders side.
208
2-7ON-BOARD DIAGNOSTICS II SYSTEM
10. Diagnostics Chart with Trouble Code
Page 1994 of 2890
OBD0145A
CONFIRMATION OF ACTUAL DRIVING
PATTERN.
1) Conduct CLEAR MEMORY and INSPECTION MODES.
2) Connect Subaru select monitor to its data link connec-
tor.
3) Start and warm-up the engine until the radiator fan
makes one complete rotation. (All accessory switches are
OFF.)
4) Turn Subaru select monitor switch to ON.
G3M0152
5) Designate mode using function key.
Function mode: FA4
B2M0564
6) Drive at 88±5 km/h (55±3 MPH) until the LED No. 2
comes on.
NOTE:
Keep the throttle valve opening at the same degree, since
diagnosis will be interrupted when the opening varies.
Diagnosis starts in 190 seconds after starting engine and
takes 4 seconds.
Put the gear to“D”range for the diagnosis.
H2M1206
7) Designate mode using function key.
Function mode: FB0
8) Confirm the“No trouble”indication on Subaru select
monitor.
226
2-7ON-BOARD DIAGNOSTICS II SYSTEM
10. Diagnostics Chart with Trouble Code
Page 2026 of 2890

OBD0145A
10AK1CONNECT SUBARU SELECT MONITOR
OR THE OBD-II GENERAL SCAN TOOL,
AND READ DATA.
1) Turn ignition switch to OFF.
2) Remove fuel filler cap.
3) Install fuel filler cap.
4) Connect Subaru Select Monitor or the OBD-II general
scan tool to data link connector.
5) Turn ignition switch to ON and Subaru Select Monitor or
the OBD-II general scan tool switch to ON.
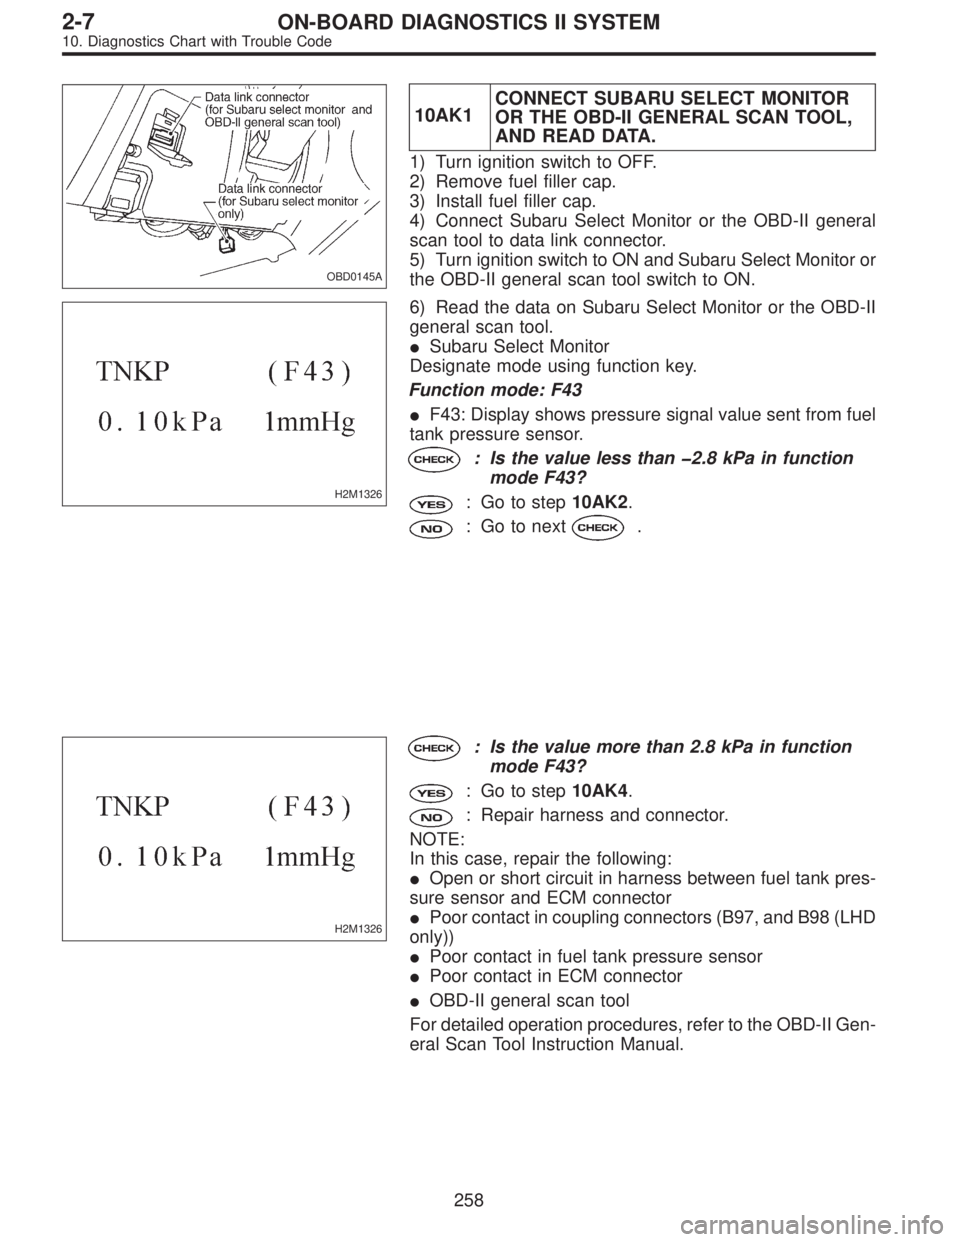
H2M1326
6) Read the data on Subaru Select Monitor or the OBD-II
general scan tool.
�Subaru Select Monitor
Designate mode using function key.
Function mode: F43
�F43: Display shows pressure signal value sent from fuel
tank pressure sensor.
: Is the value less than�2.8 kPa in function
mode F43?
: Go to step10AK2.
: Go to next.
H2M1326
: Is the value more than 2.8 kPa in function
mode F43?
: Go to step10AK4.
: Repair harness and connector.
NOTE:
In this case, repair the following:
�Open or short circuit in harness between fuel tank pres-
sure sensor and ECM connector
�Poor contact in coupling connectors (B97, and B98 (LHD
only))
�Poor contact in fuel tank pressure sensor
�Poor contact in ECM connector
�OBD-II general scan tool
For detailed operation procedures, refer to the OBD-II Gen-
eral Scan Tool Instruction Manual.
258
2-7ON-BOARD DIAGNOSTICS II SYSTEM
10. Diagnostics Chart with Trouble Code
Page 2027 of 2890
B2M0535A
10AK2CHECK INPUT SIGNAL FOR ECM.
(USING VOLTAGE METER AND SUBARU
SELECT MONITOR.)
1) Measure voltage between ECM connector and chassis
ground.
: Connector & terminal
(B84) No. 21 (+)—Chassis ground (�):
Is the voltage more than 4.5 V?
: Go to next step 2).
: Go to next.
B2M0535A
: Does the voltage change more than 4.5 V by
shaking harness and connector of ECM
while monitoring the value with voltage
meter?
: Repair poor contact in ECM connector.
: Replace ECM.
H2M1374B
2) Measure voltage between ECM and chassis ground.
: Connector & terminal
(B84) No. 4 (+)—Chassis ground (�):
Is the voltage less than 0.2 V?
: Go to step10AK3.
: Go to next step 3).
H2M1326
3) Read data on Subaru Select Monitor.
�Subaru Select Monitor
Designate mode using function key.
Function mode: F43
�F43: Display shows pressure signal value sent from fuel
tank pressure sensor.
259
2-7ON-BOARD DIAGNOSTICS II SYSTEM
10. Diagnostics Chart with Trouble Code
Page 2031 of 2890
H2M1326
5) Disconnect connector from fuel tank pressure sensor.
6) Remove fuel filler cap.
7) Install fuel filler cap.
8) Turn ignition switch to ON and Subaru Select Monitor or
the OBD-II general scan tool switch to ON.
9) Read data on Subaru select monitor or the OBD-II gen-
eral scan tool.
�Subaru Select Monitor
Designate mode using function key.
Function mode: F43
: Is the value more than 2.8 kPa in function
mode F43?
: Repair short circuit in harness between ECM and
fuel tank pressure sensor connector.
: Replace fuel tank pressure sensor.
�OBD-II general scan tool
For detailed operation procedures, refer to the OBD-II Gen-
eral Scan Tool Instruction Manual.
263
2-7ON-BOARD DIAGNOSTICS II SYSTEM
10. Diagnostics Chart with Trouble Code
Page 2078 of 2890

OBD0145A
10BG3
CHECK GEAR POSITION.
1) Turn ignition switch to OFF.
2) Connect the Subaru select monitor to data link connec-
tor.
3) Lift-up or raise the vehicle and support with safety
stands.
CAUTION:
On AWD models, raise all wheels off ground.
4) Start and warm-up the engine and transmission.
H2M1150
5) Subaru select monitor switch to ON.
6) Select AT mode using function key.
Press the function key [/], and change to AT mode.
7) Press the function key [0].
G3M0152
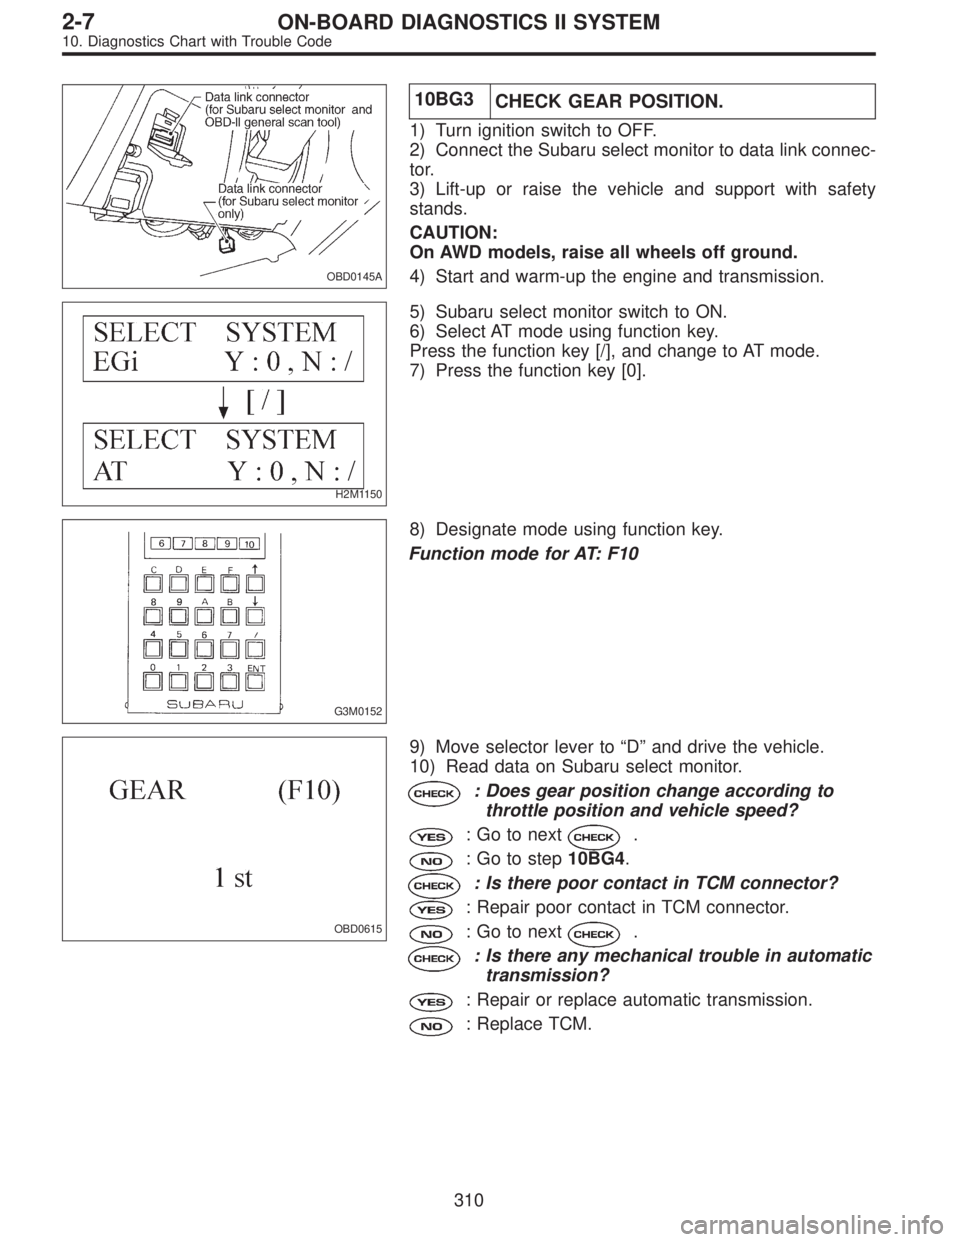
8) Designate mode using function key.
Function mode for AT: F10
OBD0615
9) Move selector lever to“D”and drive the vehicle.
10) Read data on Subaru select monitor.
: Does gear position change according to
throttle position and vehicle speed?
: Go to next.
: Go to step10BG4.
: Is there poor contact in TCM connector?
: Repair poor contact in TCM connector.
: Go to next.
: Is there any mechanical trouble in automatic
transmission?
: Repair or replace automatic transmission.
: Replace TCM.
310
2-7ON-BOARD DIAGNOSTICS II SYSTEM
10. Diagnostics Chart with Trouble Code
Page 2111 of 2890

H2M1327
: Does the value change less than 0.12 V by
shaking harness and connector of ECM
while monitoring the value with Subaru
Select Monitor?
�Subaru Select Monitor
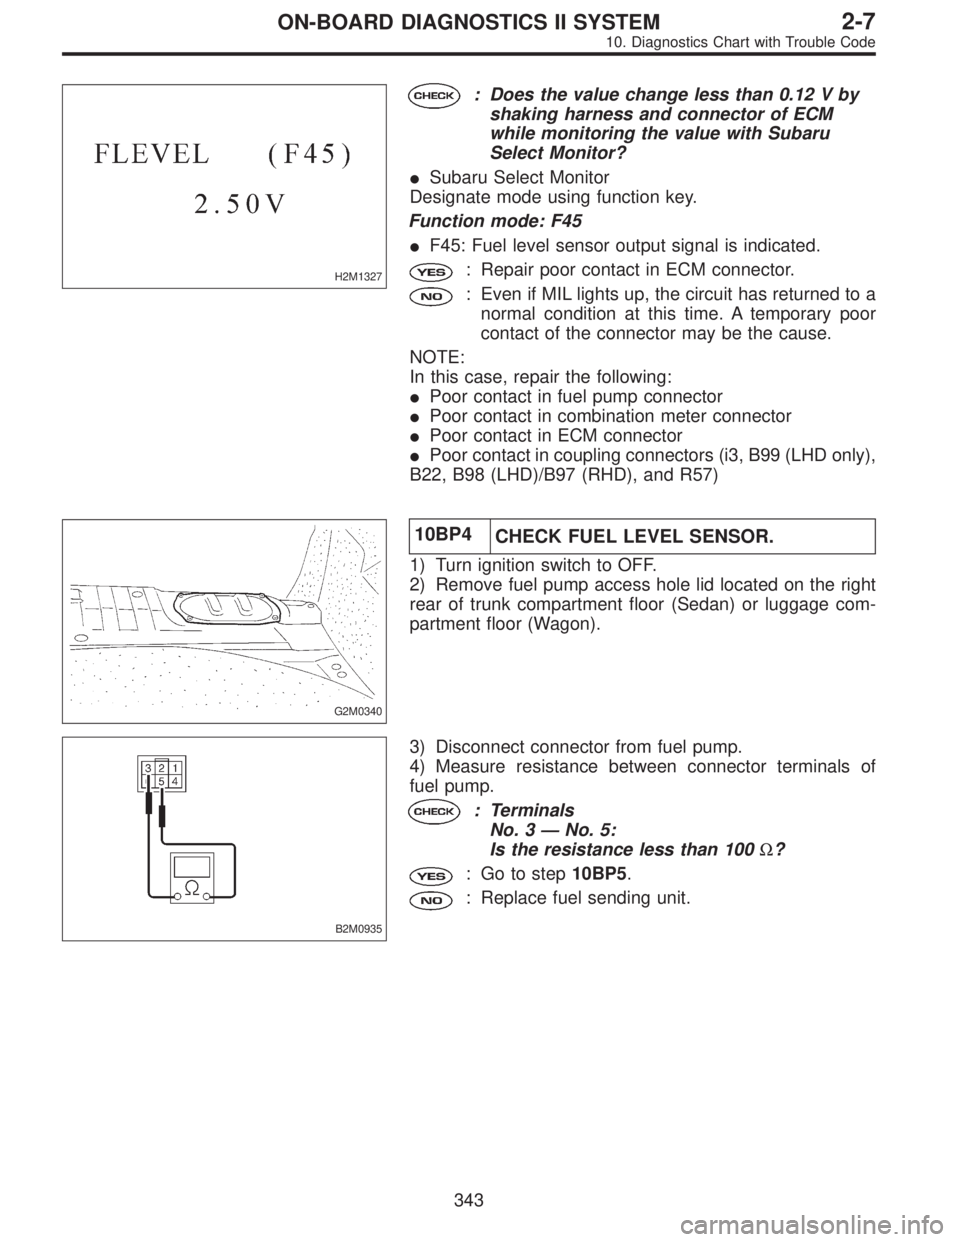
Designate mode using function key.
Function mode: F45
�F45: Fuel level sensor output signal is indicated.
: Repair poor contact in ECM connector.
: Even if MIL lights up, the circuit has returned to a
normal condition at this time. A temporary poor
contact of the connector may be the cause.
NOTE:
In this case, repair the following:
�Poor contact in fuel pump connector
�Poor contact in combination meter connector
�Poor contact in ECM connector
�Poor contact in coupling connectors (i3, B99 (LHD only),
B22, B98 (LHD)/B97 (RHD), and R57)
G2M0340
10BP4
CHECK FUEL LEVEL SENSOR.
1) Turn ignition switch to OFF.
2) Remove fuel pump access hole lid located on the right
rear of trunk compartment floor (Sedan) or luggage com-
partment floor (Wagon).
B2M0935
3) Disconnect connector from fuel pump.
4) Measure resistance between connector terminals of
fuel pump.
: Terminals
No. 3—No. 5:
Is the resistance less than 100Ω?
: Go to step10BP5.
: Replace fuel sending unit.
343
2-7ON-BOARD DIAGNOSTICS II SYSTEM
10. Diagnostics Chart with Trouble Code