1995 GMC SIERRA tow
[x] Cancel search: towPage 93 of 488
Parking Your Vehicle (Manual Transmission
Models Only)
Before you get out of your vehicle, put your manual transmission in
REVERSE (R), turn off the engine, and firmly apply the parking brake.
If you have four-wheel drive, be sure your transfer case is in a drive gear.
Your vehicle could roll if it isn't.
If you are parking on
a hill, or if your pulling a trailer, see "Parking on
Hills" or '"Towing a Trailer" in the Index.
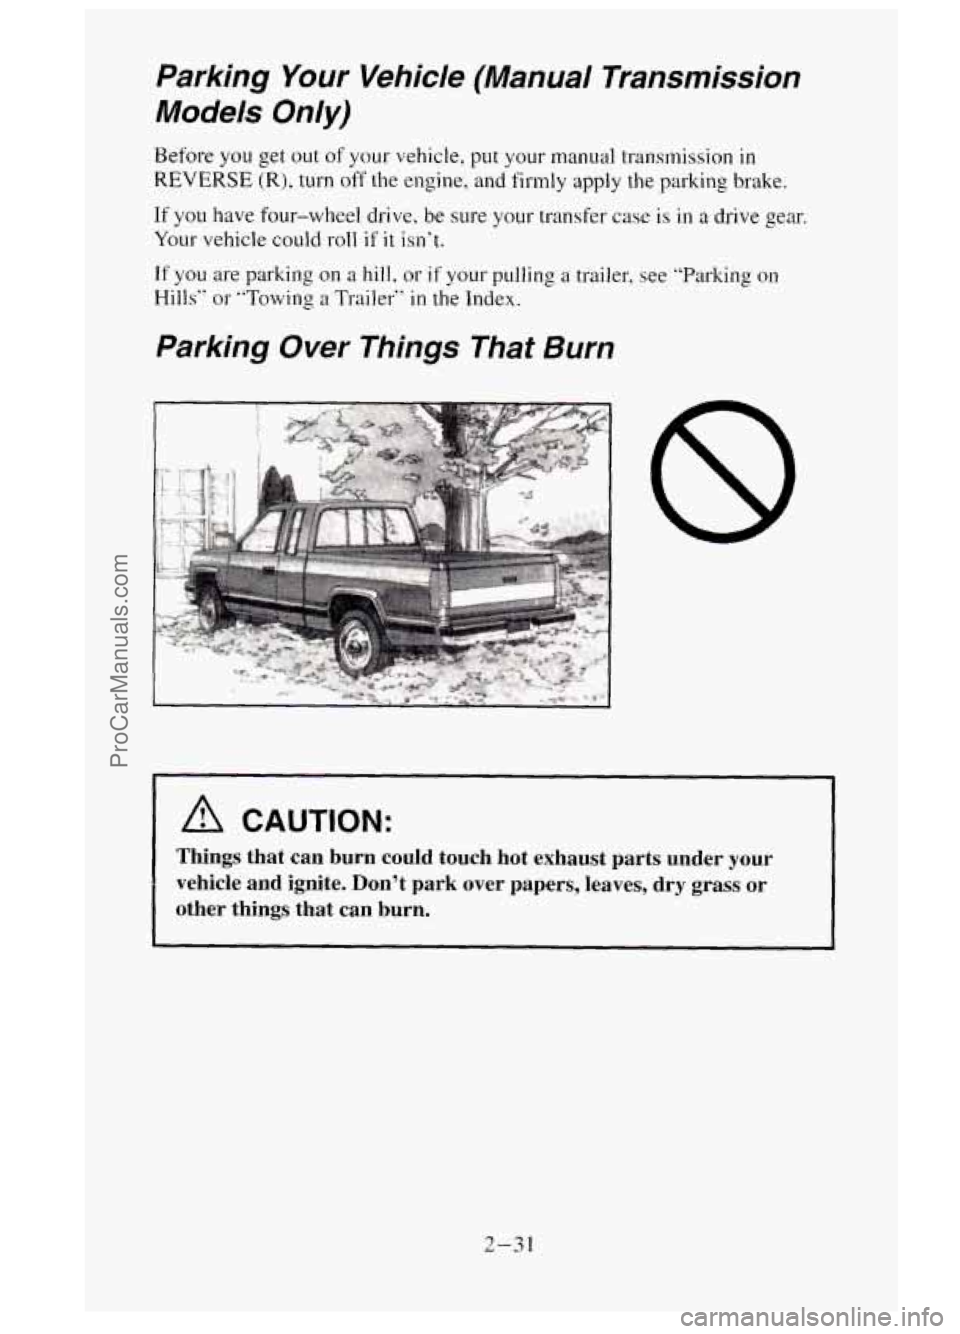
Parking Over Things That Burn
1 A CAUTION:
Things that can burn could touch hot exhaust parts under your \
vehicle and ignite. Don't park over papers, leaves, dry grass
or
other things that can burn.
2-31
ProCarManuals.com
Page 95 of 488
A CAUTION:
Idling the engine with the air system control off could allow
dangerous exhaust into your vehicle (see the earlier Caution
under “Engine Exhaust”).
Also, idling in a closed-in place can let deadly carbon monoxide
~ (CO) into your vehicle even if the fan switch is at the highest
setting. One place this can happen is a garage. Exhaust
- with
CO - can come in easily. NEVER park in a garage with the
engine running.
Another closed-in place can be
a blizzard. (See “Blizzard” in the
Index.)
A CAUTION:
It can be dangerous to get out of your vehicle if the shift lever is
not fully in PARK
(P) with the parking brake firmly set. Your
vehicle can roll. Don’t leave your vehicle when the engine
is
running unless you have to. If you’ve left the engine running, the
vehicle can move suddenly. You or others could be injured.
To be
sure your vehicle won’t move, even when you’re on fairly level
ground, always set your parking brake and move the shift lever
to PARK
(P).
If you have four-wheel drive and your transfer case is in NEUTRAL (N),
your vehicle
will be free to roll, even if your shift lever is in PARK (P). So,
be sure the transfer case is in a drive gear - not in NEUTRAL (N). Always
set your parking brake. Follow the proper steps to be sure your vehicle
won’t move. See “Shifting Into PARK
(P)“ in the Index.
If you’re pulling a trailer. see ”Towing a Trailer“ in the Index.
Four- Wheel Drive
If your vehicle has four-wheel drive, you can send your engine‘s driving
power
to all four wheels for extra traction. To get the most satisfaction out
of four-wheel drive, you must be familiar with it’s operation. Read the part
that follows before using four-wheel drive.
You should use 2-WHEEL
HIGH (2H) for most normal driving conditions.
2-33
ProCarManuals.com
Page 97 of 488
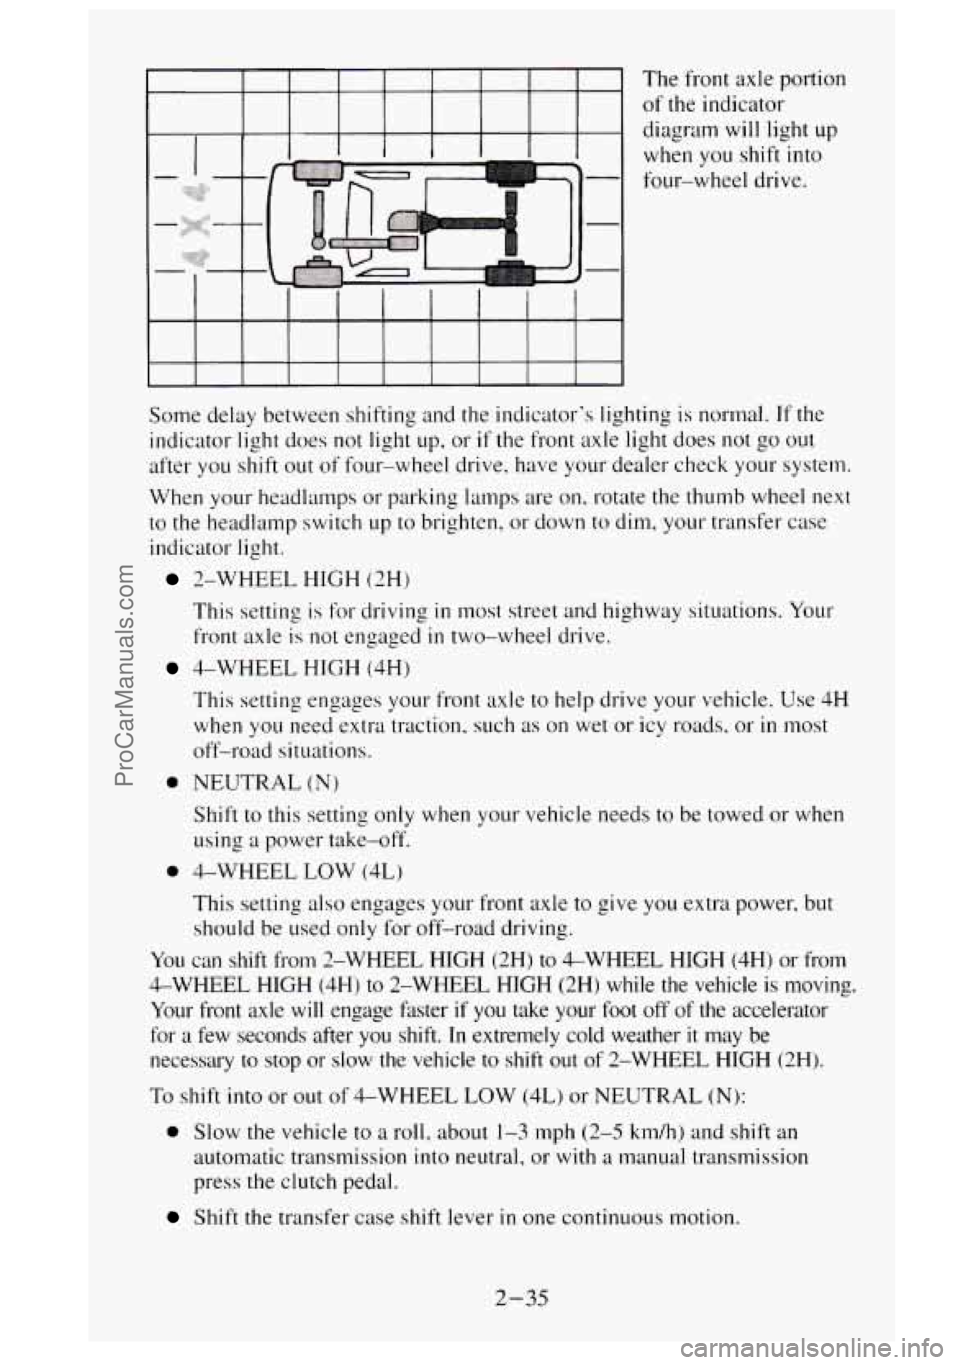
The from axle portion
of the indicator
diagram will light
up
when you shift into
four-wheel drive.
Some delay between shifting and the indicator's lighting is normal.
If the
indicator light does not light
up, or if the front axle light does not go out
after you shift out of four-wheel drive. have your dealer check your system.
When your headlamps or parking lamps are
on, rotate the thumb wheel next
to the headlamp switch up to brighten, or down to dim, your transfer case
indicator light.
2-WHEEL HIGH (2H)
This setting is for driving
in most street and highway situations. Your
front axle is not engaged
in two-wheel drive.
4-WHEEL HIGH (4H)
This setting engages your front axle to help drive your vehicle. Use
4H
when you need extra traction, such as on wet or icy roads. or in most
off-road situations.
0 NEUTRAL (N)
Shift to this setting only when your vehicle needs to be towed or when
using
a power take-off.
0 4-WHEEL LOW (4L)
This setting also engages your front axle to give you extra power, but
should be used only for off-road driving.
You can shift from 2-WHEEL HIGH (2H)
to &WHEEL HIGH (4H) or from
4-WHEEL HIGH (4H) to 2-WHEEL HIGH (2Hj while the vehicle is moving.
Your front axle
will engage faster if you take your foot off of the accelerator
for a few seconds after you shift.
In extremely cold weather it may be
necessary
to stop or slow the vehicle to shift out of 2-WHEEL HIGH (2H).
To shift
into or out of 4-WHEEL LOW (4L) or NEUTRAL (N):
0 Slow the vehicle to a roll. about 1-3 mph (2-5 km/h) and shift an
automatic transmission into neutral,
or with a manual transmission
press the clutch pedal.
Shift the transfer case shift lever in one continuous motion.
2-35
ProCarManuals.com
Page 99 of 488
The driver’s window switch also has an “express down” feature that allows
the window to lower without holding the switch. Press and hold the side
of
the window switch marked AUTO for one second to activate the \
express
down mode. The express down mode can be cancelled at any time by
pressing the opposite side of the switch. To open the window part way,
lightly tap the switch until the window is at the desired pos\
ition.
If you have a Crew Cab and power windows, the power window switch has a
lock-ut feature.
This feature prevents the rear windows from operating when
the front drivers-side switch is in the lock-out position. When the switch is
moved out of the lock-out position, the rear power windows will operate again.
Sliding Rear Window (Option)
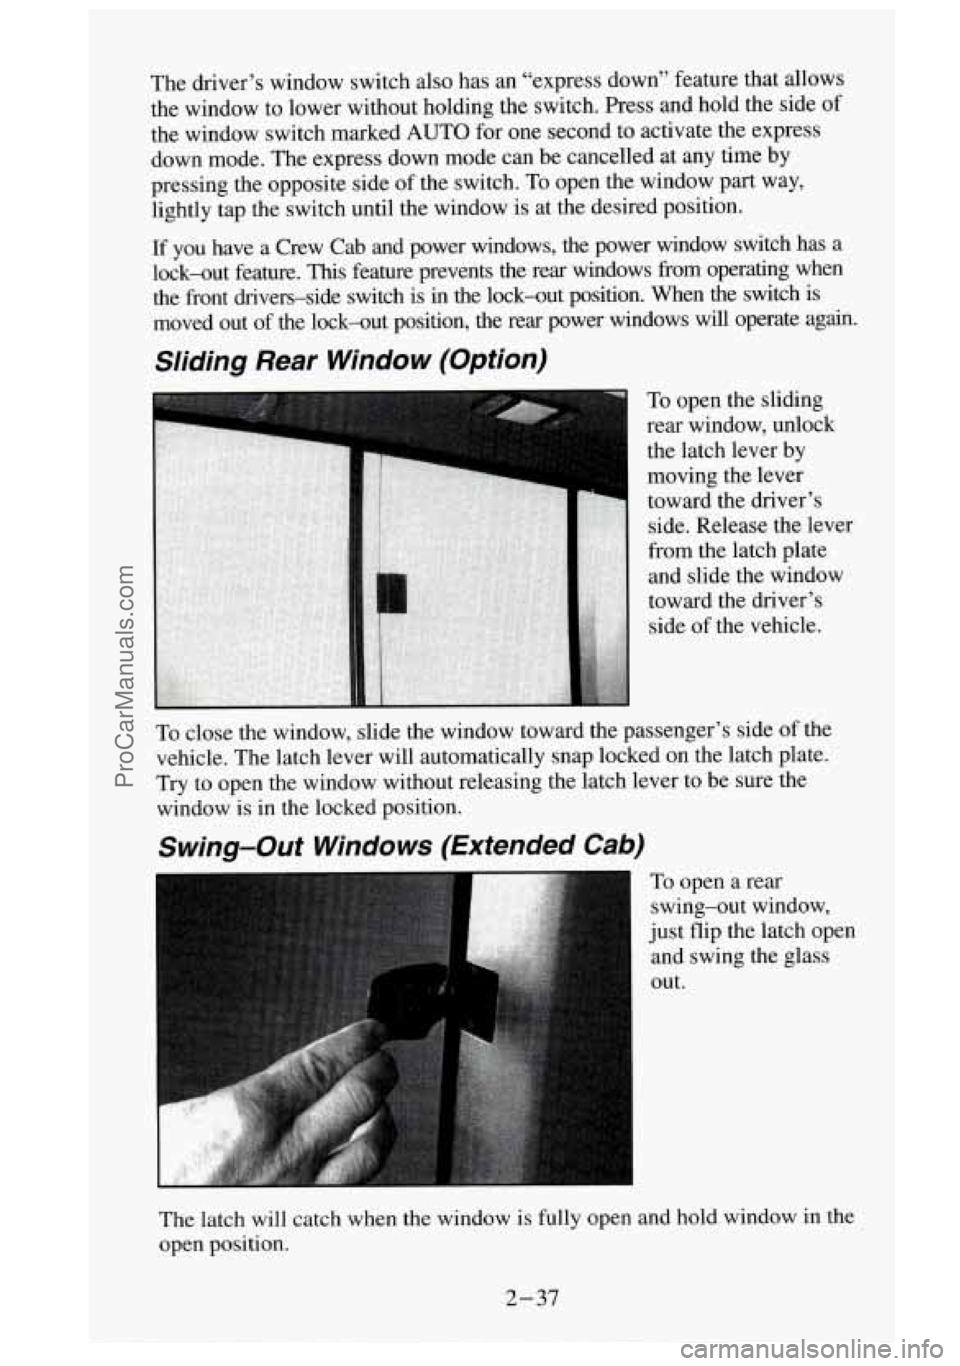
To open the sliding
rear window, unlock
the latch lever by
moving the lever
toward the driver’s side. Release the lever
from the latch plate
and slide the window
toward the driver’s
side of the vehicle.
To close the window, slide the window toward the passenger’s side of the
vehicle. The latch lever will automatically snap locked on the latch plate. \
Try to open the window without releasing the latch lever to be su\
re the
window is in the locked position.
Swing-Out Windows (Extended Cab)
To open a rear
swing-out window,
just flip the latch open
and swing the glass
out.
The latch will catch when the window is fully open and hold window in the
open position.
2-37
ProCarManuals.com
Page 102 of 488
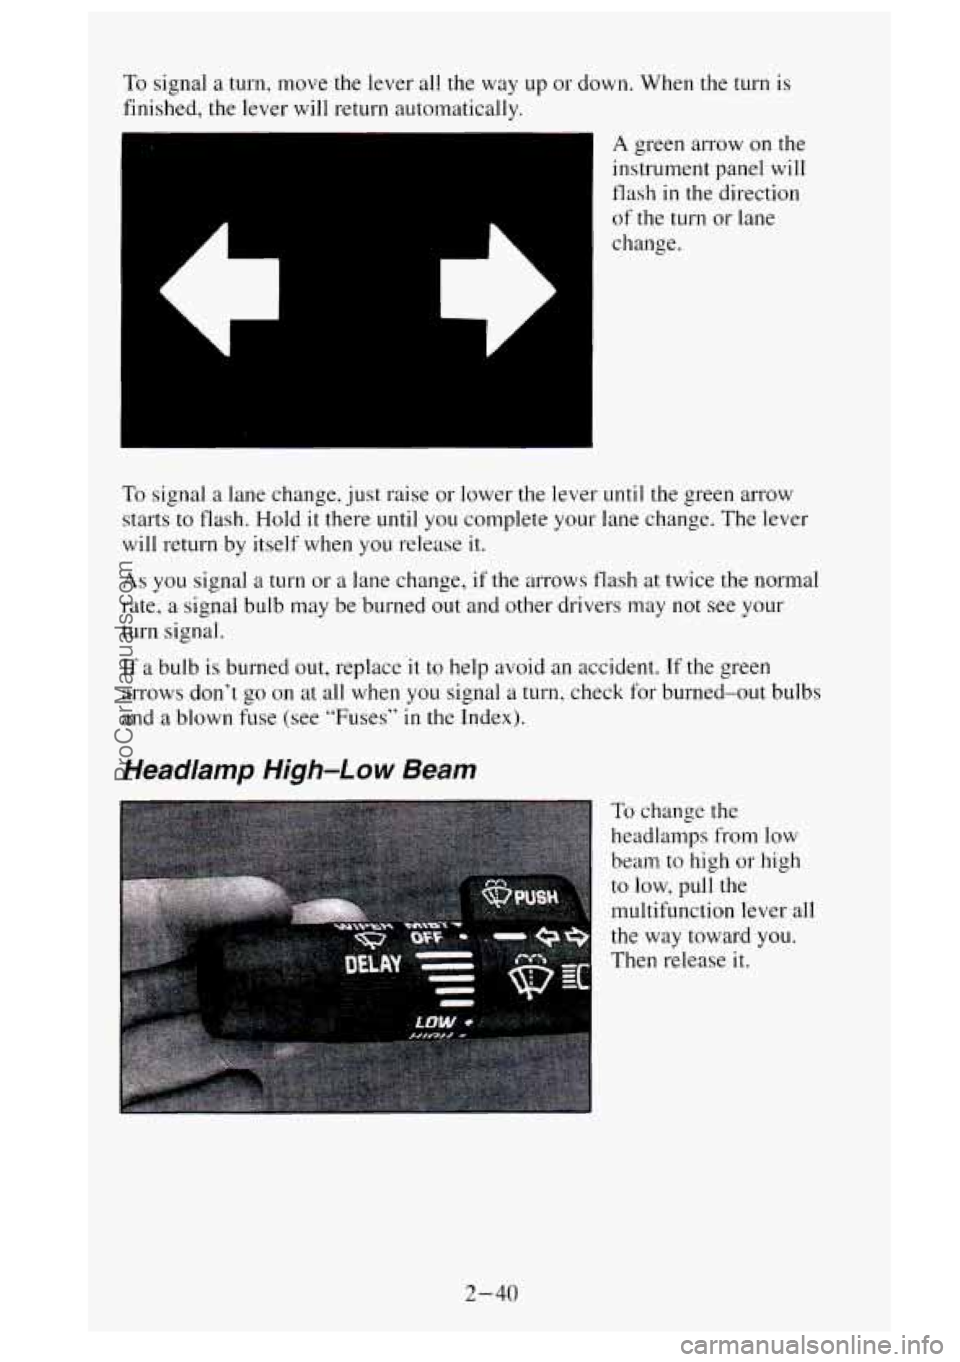
To signal a turn, move the lever all the way up or down. When the turn is
finished, the lever will return auto~natically.
A green arrow on the
instrument panel will
flash in the direction
of the turn or lane
change.
To signal a lane change, just raise or lower the lever until the green arrow
starts to flash. Hold
it there until you complete your lane change. The lever
will return by itself when you release it.
As you signal a turn or a lane change, if the arrows flash at twice the normal
rate,
a signal bulb may be burned out and other drivers may not see your
turn signal.
If a bulb is burned out, replace it to help avoid an accident. If the green
arrows don’t go on at all when
you signal a turn, check for burned-out bulbs
and
a blown fuse (see “Fuses” in the Index).
Headlamp High-Low Beam
To change the
headlamps from low
beam to high or high
to low, pull the
multifunction lever all
the way toward
you.
Then release it.
2-40
ProCarManuals.com
Page 116 of 488
Electrochromic Inside Rearview Mirror with Compass (Option)
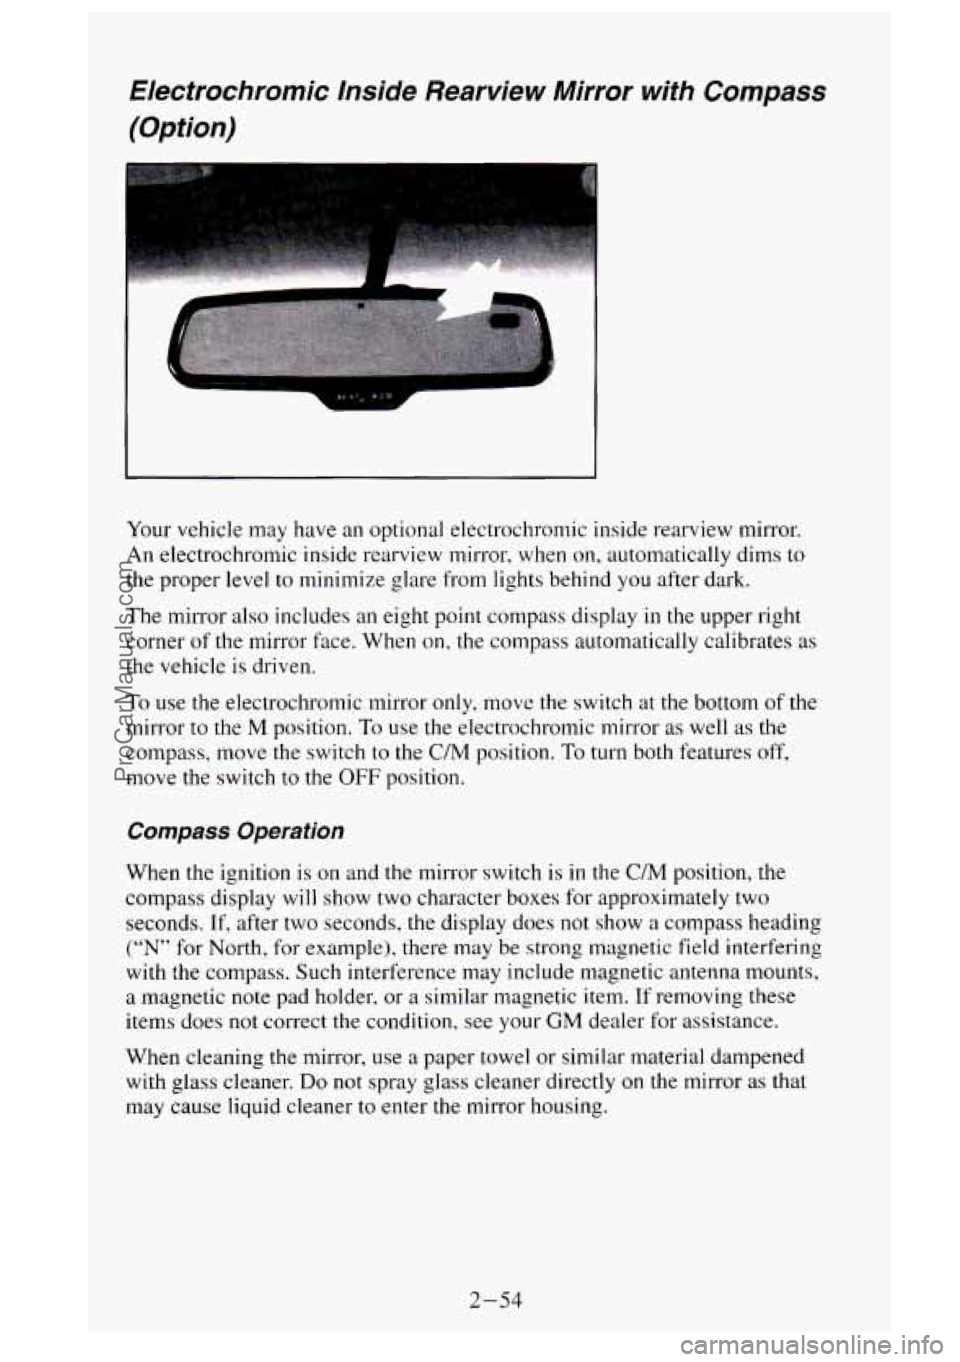
Your vehicle may have an optional electrochromic inside rearview mirror.
An electrochromic inside rearview mirror, when
on, automatically dims to
the proper level to minimize glare from lights behind you after dark.
The mirror also includes an eight point compass display in the upper right
corner
of the mirror face. When on, the compass automatically calibrates as
the vehicle is driven.
To use the electrochromic mirror only, move the switch at the bottom of the
mirror to the
M position. To use the electrochromic mirror as well as the
compass, move the switch to the
C/M position. To turn both features off,
move the switch to the OFF position.
Compass Operation
When the ignition is on and the mirror switch is in the C/M position, the
compass display
will show two character boxes for approximately two
seconds.
If, after two seconds, the display does not show a compass heading
(“N” for North, for example), there may be strong magnetic field interfering
with the compass. Such interference may include magnetic antenna mounts,
a magnetic note pad holder, or a similar magnetic item. If removing these
items does not correct the condition, see your
GM dealer for assistance.
When cleaning
the mirror, use a paper towel or similar material dampened
with glass cleaner.
Do not spray glass cleaner directly on the mirror as that
may cause liquid cleaner to enter the mirror housing.
2-54
ProCarManuals.com
Page 122 of 488
Glove Box
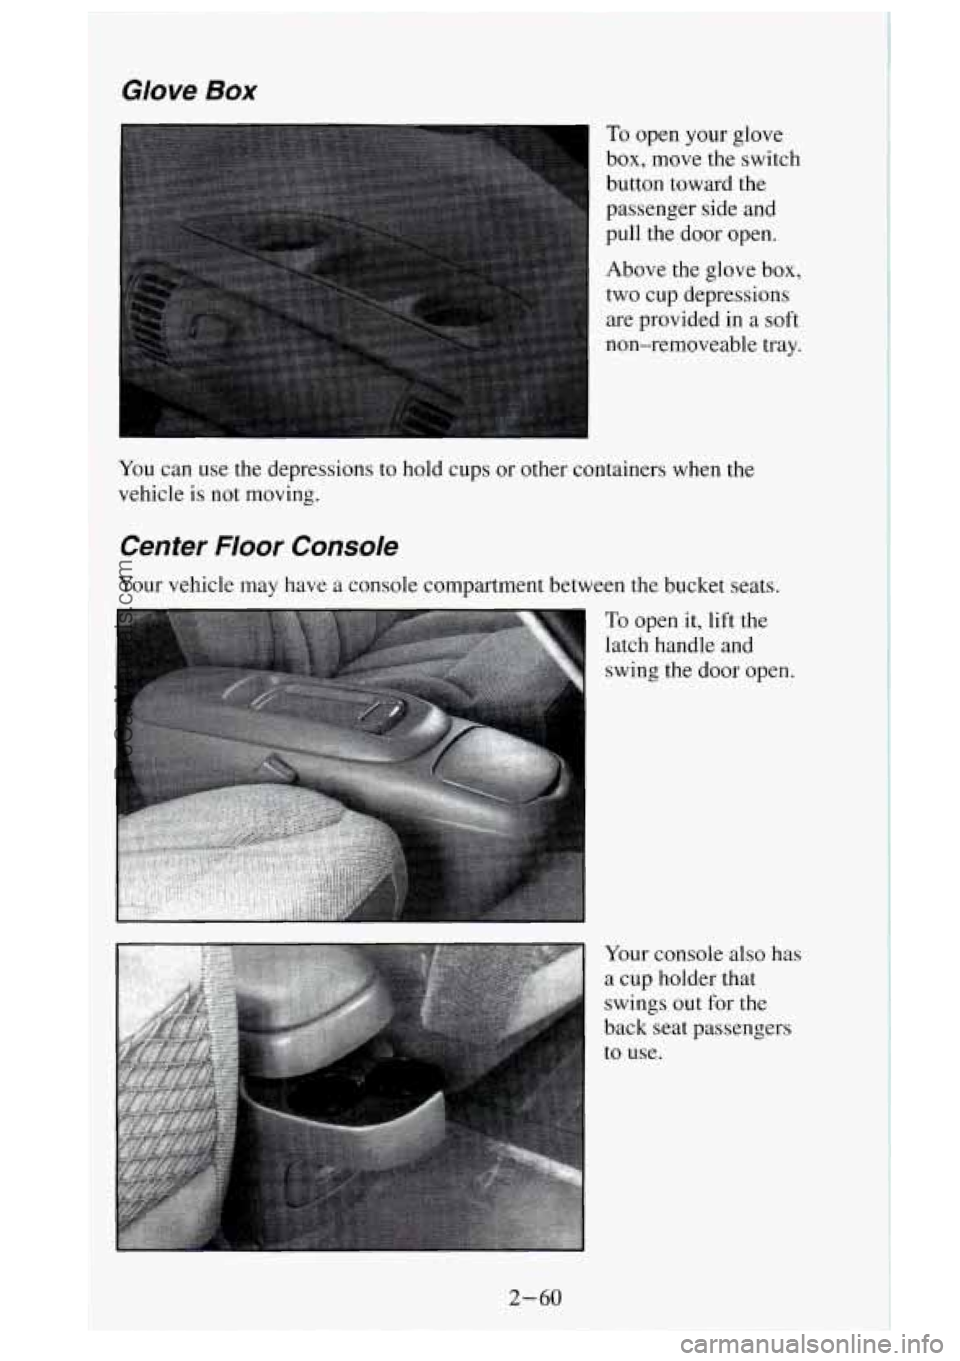
To open your glove
box, move the switch
button toward the
passenger side and
pull the door open.
Above the glove box,
two cup depressions
are provided in a soft
non-removeable tray.
You can use the depressions to hold cups or other containers when the
vehicle
is not moving.
Center Floor Console
Your vehicle may have a console compartment between the bucket seats.
To open it, lift the
latch handle and
swing the door open.
Your console also has
a cup holder that
swings out for the
back seat passengers
to use.
2-60
ProCarManuals.com
Page 134 of 488
You will see this light flash for a few seconds when you turn your ignition
to
RUN or START. Then the light should go out. This means the system is
ready.
If the air bag readiness light doesn’t come on when you start your vehicle,
or stays on, or comes on when you are driving, your air bag system may not
work properly. Have your vehicle serviced right away.
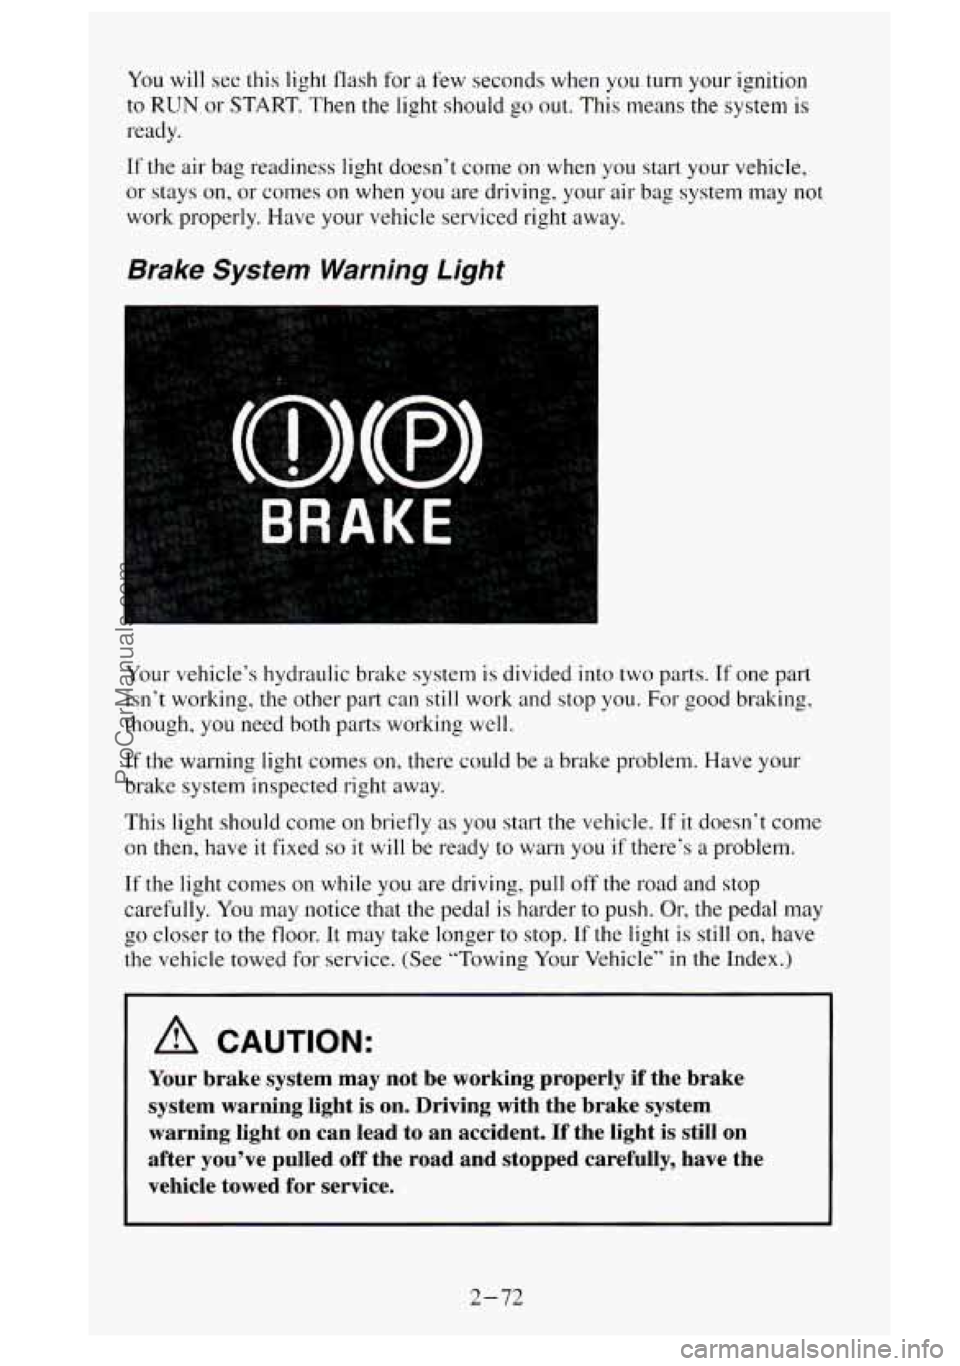
Brake System Warning Light
Your vehicle‘s hydraulic brake system is divided into two parts. If one part
isn’t working, the other part can still work and stop you.
For good braking,
though, you need both parts working well.
If the warning light comes on, there could be a brake problem. Have your
brake system inspected right away.
This light should come
on briefly as you start the vehicle. If it doesn‘t come
on
then, have it fixed so it will be ready to warn you if there’s a problem.
If the light comes on while you are driving, pull off the road and stop
carefully. You may notice that the pedal is harder to push.
Or, the pedal may
the vehicle towed for service. (See “Towing
Your Vehicle’’ in the Index.)
b 00 closer to the floor. It may take longer to stop. If the light is still on, have
A CAUTION:
Your brake system may not be working properly if the brake
system warning light is on. Driving with the brake system
warning light on can lead to an accident. If the light is st\
ill on
after you’ve pulled off the road and stopped carefully, have\
the
vehicle towed for service.
2-72
ProCarManuals.com