1995 GMC SIERRA check transmission fluid
[x] Cancel search: check transmission fluidPage 203 of 488
What can you do about highway hypnosis? First, be aware that it can
happen.
Then here are some tips:
0 Make sure your vehicle is well ventilated, with a comfortably cool
Keep your eyes moving. Scan the road ahead and to the sides. Check
interior.
your mirrors and your instruments frequently.
If you get sleepy, pull off the road into a rest, service, or parking area
and take a nap, get some exercise, or both. For safety, treat drowsiness
on the highway as an emergency.
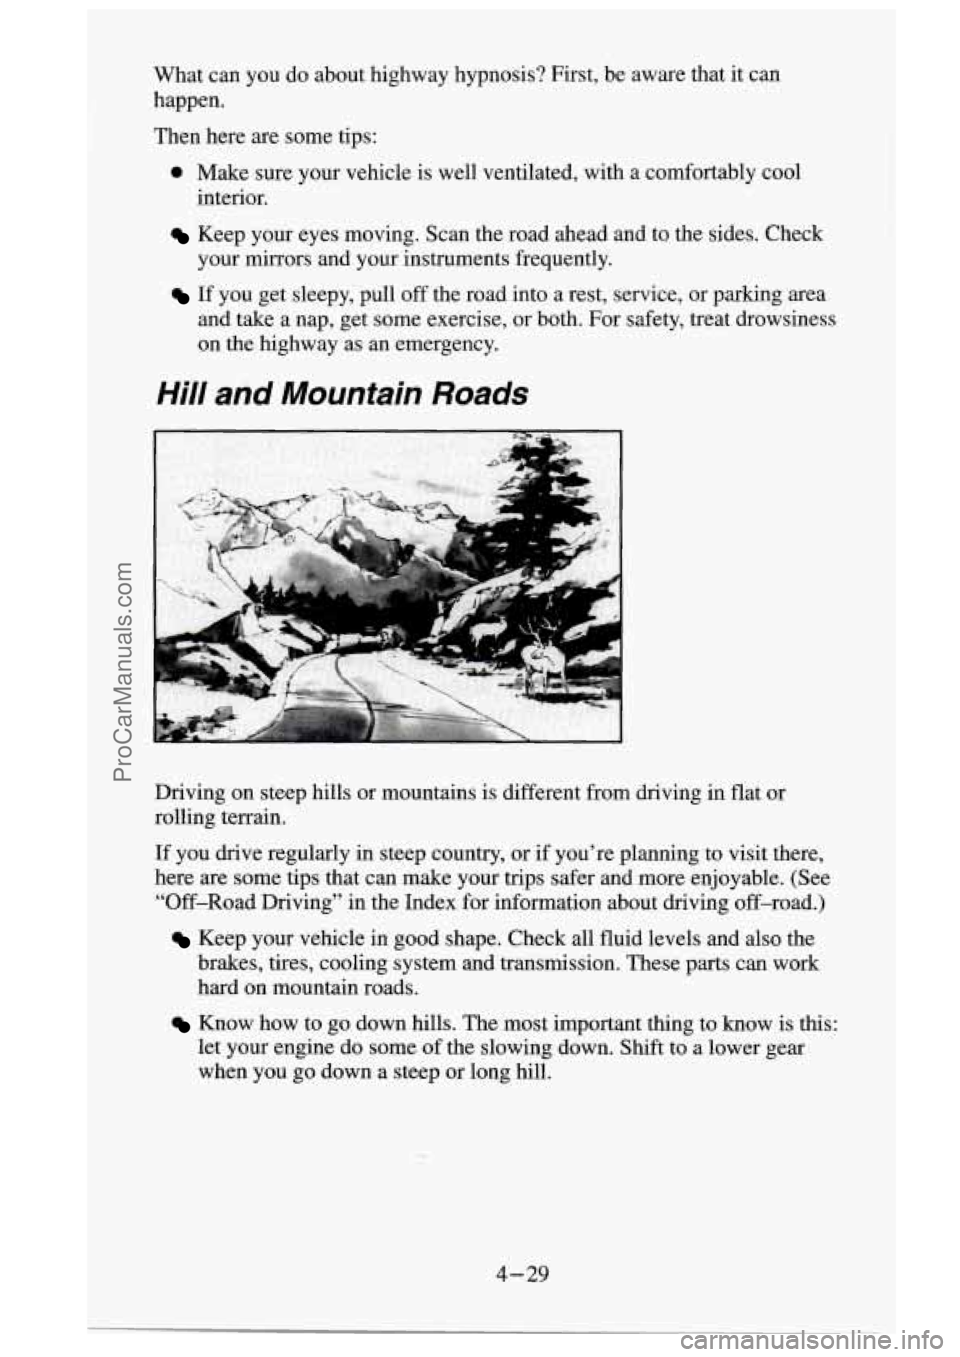
Hill and Mountain Roads
I
Driving on steep hills or mountains is different from driving in flat or
rolling terrain.
If you drive regularly in steep country, or
if you’re planning to visit there,
here are some tips that can make your trips safer and more enjoyable. (See
“Off-Road Driving” in the Index for information about driving off-road.)
Keep your vehicle in good shape. Check all fluid levels and also the
brakes, tires, cooling system and transmission. These parts can \
work
hard on mountain roads.
Know how to go down hills. The most important thing to know is this:
let your engine do some of the slowing down. Shift to a lower gear
when you go down a steep or long hill.
4-29
ProCarManuals.com
Page 223 of 488
When You Are Ready to Leave After Parking on a Hill
1. Apply your regular brakes and hold the pedal down while you:
Start your engine:
Shift into a gear; and
Release the parking brake.
2. Let up on the brake pedal.
3. Drive slowly until the trailer is clear of the chocks.
4. Stop and have someone pick up and store the chocks.
Maintenance When Trailer Towing
Your vehicle will need service more often when you’re pulling a trailer. See
the Maintenance Schedule
for more on this. Things that are especially
important
in trailer operation are automatic transmission fluid (don’t
overfill), engine oil, axle lubricant, belt, cooling system, and brake
adjustment. Each of these is covered
in this manual, and the Index will help
you find them quickly. If you’re trailering, it’s
a good idea to review these
sections before you start your trip.
Check periodically to see that all hitch
nuts and bolts are tight.
Trailer Lighting Systems Wiring
See “Trailer Wiring Harness” in the Index.
4-49
ProCarManuals.com
Page 228 of 488
You could be injured if the vehicles roll. Set the parking brake firmly
on each vehicle. Put an automatic transmission in PARK (P) or a
manual transmission in NEUTRAL (N). If you have a
four-wheel-drive vehicle, be sure the transfer case is not in NEUTRAL
(N).
3. Turn off the ignition on both vehicles. Turn off all lights that aren’t
needed, and radios. This
will avoid sparks and help save both batteries.
And it could save your radio!
NOTICE:
If you leave your radio on, it could be badly damaged. The
repairs wouldn’t be covered by your warranty.
4. Open the hoods and locate the batteries. Find the positive (+) and
negative
(-) terminals on each battery.
A CAUTION:
Using a match near a battery can cause battery gas to explode.
People have been hurt doing this, and some have been blinded.
Use
a flashlight if you need more light.
Be sure the batteries have enough
water. You don’t need to add
water to the Delco Freedom@ battery (or batteries) installed in
every new
GM vehicle. But if a battery has filler caps, be sure
the right amount of fluid is there.
If it is low, add water to take
care
of that first. If you don’t, explosive gas could be present.
Battery fluid contains acid that can burn you. Don’t get
it on
you.
ff you accidentally get it in your eyes or on your skin, flush
the place with water and get medical help immediately.
5. Check that the jumper cables don’t have loose or missing insulation. If
they do,
you could get a shock. The vehicles could be damaged, too.
Before you connect the cables, here are some basic things you should
know. Positive
(+) will go to positive (+) and negative (-) will go to
negative
(-) or a metal engine part. Don’t connect (+) to (-) or you’ll
get
a short that would damage the battery and maybe other parts, too.
5-4
ProCarManuals.com
Page 293 of 488
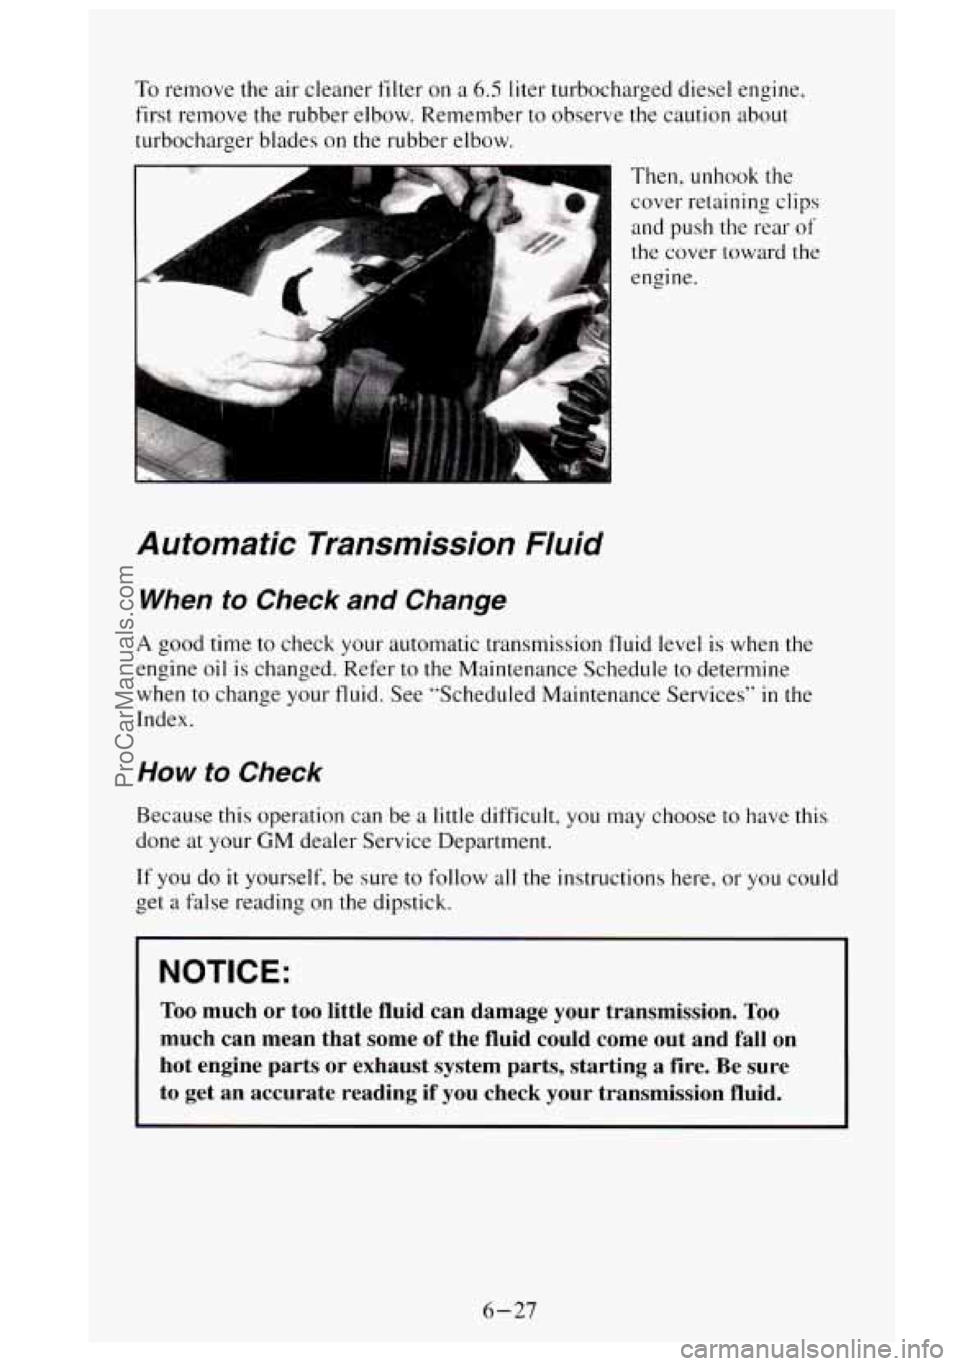
To remove the air cleaner filter on a 6.5 liter turbocharged diesel engine,
first remove the rubber elbow. Remember to observe the caution about
turbocharger blades on the rubber elbow.
Then, unhook the
cover retaining clips
and push the rear
of
the cover toward the
engine.
Automatic Transmission Fluid
When to Check and Change
A good time to check your automatic transmission fluid level is when the
engine
oil is changed. Refer to the Maintenance Schedule to determine
when to change your fluid. See "Scheduled Maintenance Services''
in the
Index.
How to Check
Because this operation can be a little difficult, you may choose to have this
done at your
GM dealer Service Department.
If you do
it yourself, be sure to follow all the instructions here, or you could
get
a false reading on the dipstick.
NOTICE:
Too much or too little fluid can damage your transmission. Too
much can mean that some of the fluid could come out and fall on
hot engine parts or exhaust system parts, starting a fire. Be \
sure
to get an accurate reading if you check your transmission fluid.
6-27
ProCarManuals.com
Page 294 of 488
Wait at least 30 minutes before checking the transmission fluid level if you
have been driving:
When outside temperatures are above 90°F (32°C).
At high speed for quite a while.
In heavy traffic - especially in hot weather.
While pulling a trailer.
To get the right reading. the fluid should be at normal operating
temperature, which is 180°F to 200°F
(82°C to 93°C).
To check transmission fluid hot: Get the vehicle warmed up by driving
about
15 miles (24 km) when outside temperatures are above 50°F (10°C).
If it's colder than 50°F (lO"C), drive the vehicle in DRIVE (3) until the
engine temperature gage moves and then remains steady for ten minutes.
Then follow the hot check procedures.
To check transmission fluid cold: A cold check is made after the vehicle
has been sitting for eight hours or more
with the engine off and is used only
as a reference. Let the engine run at idle for five minutes if outside
temperatures are 50°F
(10°C) or more. If it's colder than 50°F (IOOC), you
may have to idle the engine longer. Should the fluid level be low during a
cold check, you
must perform a hot check before adding fluid. This will
give you a more accurate reading of the fluid level.
To check the fluid hot or cold
Park your vehicle on a level place. Keep the engine running.
With the parking brake applied, place the shift lever in PARK (P).
With your foot on the brake pedal, move the shift lever through each
gear range, pausing for about three seconds
in each range. Then,
position the shift lever
in PARK (P).
Let the engine run at idle for three minutes or more.
6-28
ProCarManuals.com
Page 296 of 488
How to Add Fluid
Refer to the Maintenance Schedule to determine what kind of transmission
fluid
to use. See “Recommended Fluids and Lubricants” in the Index.
Add fluid only after checking the transmission fluid
HOT. (A COLD check
is used
only as a reference.) If the fluid level is low, add only enough of the
proper fluid to bring the level up
to the HOT area for a hot check. It doesn’t
take much fluid, generally less than a
int. Don ’t overfill. We recommend
you use only fluid labeled DEXRON
-111, because fluid with that label is
made especially for your automatic transmission. Damage caused by fluid
other than DEXRON@-I11 is not covered by your
new vehicle warranty.
8
0 After adding fluid, recheck the fluid level as described under “How to
Check.”
0 When the correct fluid level is obtained, push the dipstick back in all
the way; then flip the handle down
to lock the dipstick in place.
Manual Transmission Fluid
When to Check
A good time to have it checked is when the engine oil is changed. However,
the fluid
in your manual transmission doesn’t require changing.
How to Check
Because this operation can be a little difficult, you may choose to have this.
done at your
GM dealer Service Department.
If you do it yourself, be sure to follow all the instructions here, or you could
get a false reading.
NOTICE:
Too much or too little fluid can damage your transmission. Too
much can mean that some of the fluid could come out and fall on
hot engine parts or exhaust system parts, starting a fire.
Be sure
to get an accurate reading if you check your transmission fluid.
Check the fluid level only when your engine is off, the vehicle is parked on
a level place and the transmission is cool enough for you to rest your fingers
on the transmission case.
6-30
ProCarManuals.com
Page 368 of 488
Every 50,000 Miles (83 000 km)
Automatic Transmission Service
Every 60,000 Miles (100 000 km)
Crankcase Depression Regulator Valve (CDRV) System Inspection
Engine Accessory Drive Belt Inspection
Exhaust Gas Recirculation (EGR) System Inspection
(if equipped)
Exhaust Pressure Regulator Valve Inspection
Maintenance Schedule I - Gasoline Engines With
Light
Duty Emissions
The services shown in this schedule up to 60,000 miles (1 00 000 km) should
be performed after
60,000 miles (100 000 km) at the same intervals.
Footnotes
3 The California Air Resources Board has determined that the failure to
perform this maintenance item will not nullify the emission warranty or
limit recall liability prior to the completion of vehicle useful life. We,
however, urge that all recommended maintenance services be performed at
the indicated intervals and the maintenance be recorded.
:$* Drive axle service:
Locking Differential - Drain fluid and refill at first engine oil change.
At subsequent oil changes, check fluid level and add fluid
as needed. If
driving in dusty areas or towing a trailer, drain fluid and refill every
15,000 miles (25 000 km).
0 Standard Differential - Check fluid level and add fluid as needed at
every oil change.
If driving in dusty areas or towing a trailer, drain
fluid and refill every 15,000 miles (25 000 km).
More frequent lubrication may be required for heavy-duty or off-road
use.
3500 HD Models with applications requiring extreme overload/trailer
towing conditions and high speed (above
45 mph or 72 kmh)
conditions for extended periods of time must have the drive axle fluid
changed every
3,000 miles (5 000 km) or 3 months, whichever occurs
first, or must use
75W-140 synthetic fluid meeting GM specifications.
See “Recommended Fluids and Lubricants”
in this section.
7-12
ProCarManuals.com
Page 369 of 488
Maintenance Schedule I - Gasoline Engines With
Light Duty Emissions
3,000 Miles (5 000 km)
[7 Change engine oil and filter (or every 3 months, whichever occurs
first).
An Emission Control Sen7ic.e.
0 Lubricate the front suspension, king pin bushings, steering linkage,
transmission shift linkage. transfer case shift linkage, parking brake
cable guides, rear driveline center splines. front axle propshaft splines.
brake pedal springs and clutch pedal springs. Ball joints and king pin
bushings should not be lubricated unless their temperature is
10" F
(-1 2" C), or higher. When weather is cold, let the ball -joints and king
pin bushings warm up before lubrication or they could be damaged.
Perform each of the listed lubrication service items at this mileage
interval (or every
6 months, whichever occurs first).
C Check rear/front axle fluid level and add -fluid as needed. Check
constant velocity joints and
axle seals for leaking. *'*
DATE SERVICED BY: ACTUAL MILEAGE I
6,000 Miles (10 000 km)
iI Change engine oil and filter (or every 3 months, whichever occurs
first).
AI? Emission Confro1 Ser\lic.e.
Lubricate the front suspension, king pin bushings, steering linkage,
transmission shift linkage, transfer case shift linkage, parking brake
cable guides, rear driveline center splines, front axle propshaft splines.
brake pedal springs and clutch pedal springs. Ball joints and king pin
bushings should not be lubricated unless their temperature
is 10" E
(,-12" C), or higher. When weather is cold, let the ball joints and king
pin bushings warm up before lubrication
or they could be damaged.
Perform each of the listed lubrication service items at this mileage
interval (or every
6 months, whichever occurs first).
0 Check readfront axle fluid level and add fluid as needed. Check
constant velocity joints and axle seals for leaking.
*'$
(Contiwed)
7-13
ProCarManuals.com