1994 CHEVROLET CORVETTE ignition
[x] Cancel search: ignitionPage 92 of 274

Downloaded from www.Manualslib.com manuals search engine SERVICE
SOON
0
Malfunction Indicator Lamp (Service Engine Soon Light)
A computer monitors operation of your
fuel, ignition and emission control
systems. This light should come on when
the ignition is on,
but the engine is not
running, as a check to show you it is
working. If it does not come on at all,
have it fixed right away. If it stays on, or
it comes on while you are driving, the
computer is indicating that you have a
problem.
You should take your vehicle in
for service soon.
NOTICE:
If you keep driving your vehicle
with this light on, after a while the
emission controls won’t work as
well, your fuel economy won’t be as
good and your engine may not
run as
smoothly. This could lead to costly
repairs not covered by your warranty.
W
OIL
PRESS
PSI
. .,
Engine Oil Pressure Gauge
This gauge tells you if there could be a
problem with your engine oil pressure.
The engine oil pressure gauge shows the
engine oil pressure
in psi (pounds per
square inch) or kPa (kilopascals) when
the engine is running. Oil pressure
should be
20 to 80 psi (140 to 550 kPa).
It may
vary with engine speed, outside
temperature and oil viscosity, but readings
above the shaded area show the normal
operating range. Readings in the shaded
area tell you that the engine
is low on oil,
or that you might have some other oil
problem. See “Engine Oil” in the Index.
91 ...
Page 95 of 274

Downloaded from www.Manualslib.com manuals search engine Features and Controls
Zharging System Light
rhis light will come on when you turn on
he ignition, but the engine is not running
LS a check to show you it is working. It
ihould go out when the engine starts. If
t stays on or comes on while you are
Iriving, you may have a problem with
he electrical charging system. It could
ndicate that you have a loose or broken
lrive belt or another electrical problem.
3ave it checked right away. Driving whil
his light is
on could drain your battery.
:f you must drive a short distance with thl
ight on, be certain to turn
off all your
tccessories, such as the radio and air
:onditioner.
loor Ajar Light
’his light comes on when you open one
If the doors with the ignition on. It stays
In until you fully close the door. Have
‘our vehicle serviced if the light comes
In and stays on even when the doors are
ully closed.
-1
E
1
a
a
ti
1
e
i:
l-
4
4
E
1
t
E
GI
1
Sngine Oil Life Monitor
?he “CHANGE OIL” light comes on for
, few seconds when you turn the ignition
In. It will come on and stay on when it’s
ime to change your oil.
:he monitor uses oil temperature and
rngine revolutions to decide when the oil
s nearly worn out. The light is only a
eminder, though. You should change
‘our oil at the intervals recommended in
‘our Maintenance Schedule, even if the
‘CHANGE
OIL” light hasn’t come on.
3e sure to reset the monitor when your oil
s changed, even if the “CHANGE OIL”
ight didn’t come on. If you don’t reset
he monitor, it won’t work correctly.
Tollow these steps:
... 94
Page 96 of 274

Downloaded from www.Manualslib.com manuals search engine 1. Turn the key to “Run,” but don’t start
2. Press “ENG MET” on the Trip the engine.
Monitor. Then, within five seconds,
press it again.
3. Within five seconds, press and hold
“GAUGES” on the Trip Monitor. The
“CHANGE
OIL” light should flash.
4. Hold the “GAUGES” button until the
“CHANGE
OIL” light stops flashing
and goes out. This should take about
ten seconds.
When the light goes out, the monitor is
reset. If the monitor doesn’t reset, turn the
ignition
off, then try again.
SERVICE
RIDE
CONTROL
Service Ride Control Light
This light should come on for a few
seconds when you start your vehicle. If
the light stays on or comes on while
you’re driving, there may be a problem
with your Selective Ride Control system.
You can still drive, but you should see
your dealer soon.
The Selective Ride Control system is
designed to sense vehicle speed in the
first minute after the vehicle is started.
If the vehicle is not moved
in that first
minute, the system records a fault. The
“SERVICE RIDE CONTROL” light
comes on after three faults are recorded.
If the light comes on for this reason, movc
your Corvette and the light should go out.
PASSIVE
KEYLESS
ENTRY
’assive Keyless Entry Light
’his light will come on for about two
econds when you turn the ignition
on,
Inless your keyless entry system is off.
:he light also comes on and flashes when
‘ou are programming transmitters. See
‘Passive Keyless Entry System” in the
ndex.
95 ...
Page 97 of 274
Downloaded from www.Manualslib.com manuals search engine Features and Controls
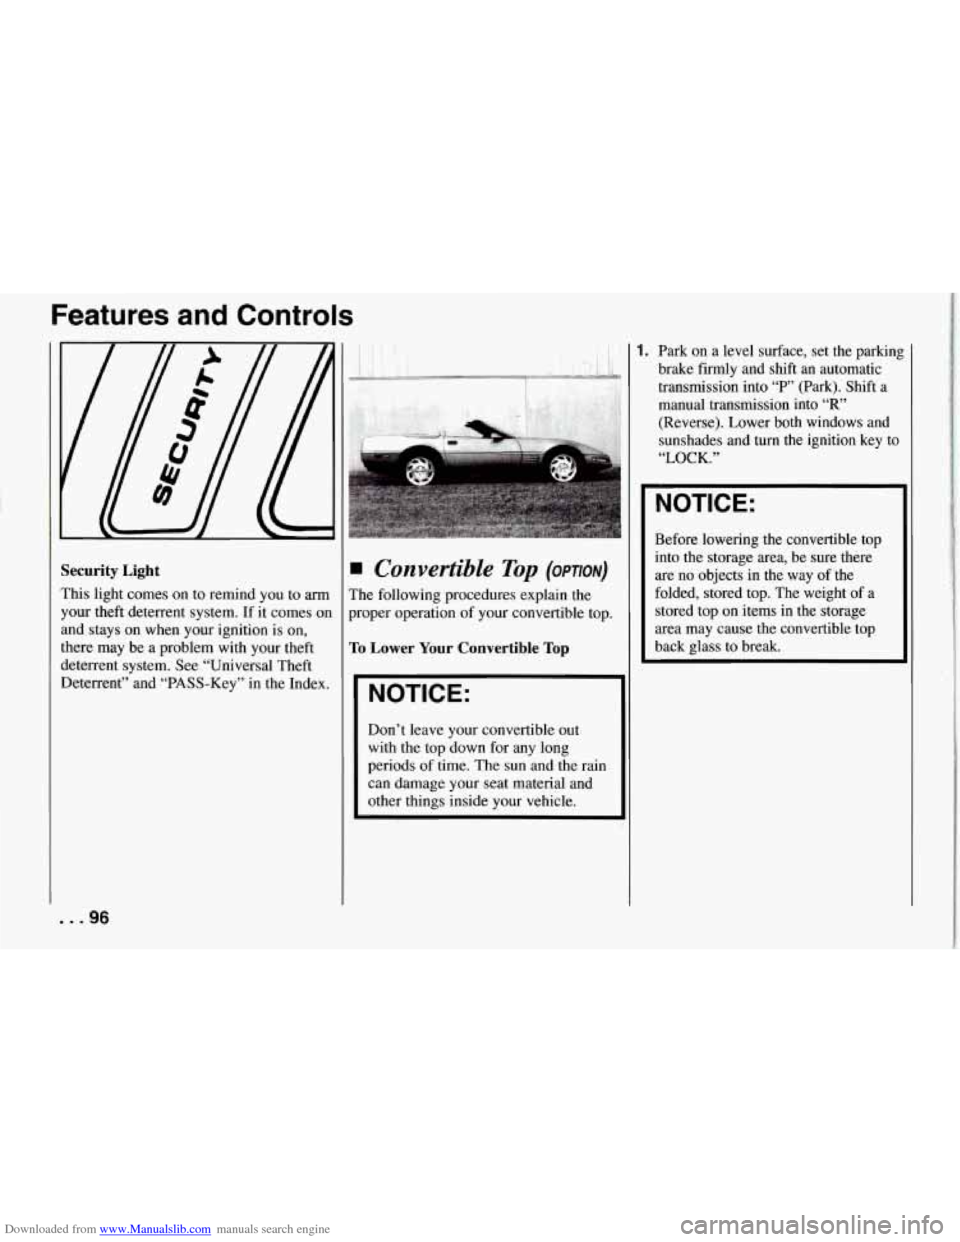
Security Light
This light comes on to remind you to arm
your theft deterrent system. If it comes on
and stays on when your ignition is on,
there may be a problem with your theft
deterrent system. See “Universal Theft
Deterrent” and “PASS-Key” in the Index.
Convertible Top (OPTION)
The following procedures explain the
proper operation of your convertible top.
To Lower Your Convertible Top
NOTICE:
~~
Don’t leave your convertible out
with the top down for any long
periods
of time. The sun and the rain
can damage your seat material and
other things inside your vehicle.
1. Park on a level surface, set the parkin8
brake firmly and shift an automatic
transmission into
“P’ (Park). Shift a
manual transmission into
“R”
(Reverse). Lower both windows and
sunshades and
turn the ignition key to
“LOCK.”
NOTICE:
Before lowering the convertible top
into the storage area, be sure there
are
no objects in the way of the
folded, stored top. The weight of a
stored top
on items in the storage
area may cause the convertible top
back glass to break.
... 96
Page 100 of 274
Downloaded from www.Manualslib.com manuals search engine To Raise Your Convertible Top
1. Park on a level surface, set the parking
brake firmly and shift an automatic
transmission into
“P” (Park). Shift a
manual transmission into
“R’
(Reverse). Lower both windows and
sunshades and turn the ignition key to
“LOCK.”
2. Press either the storage compartment lid release button behind the driver’s
seat or in the center console.
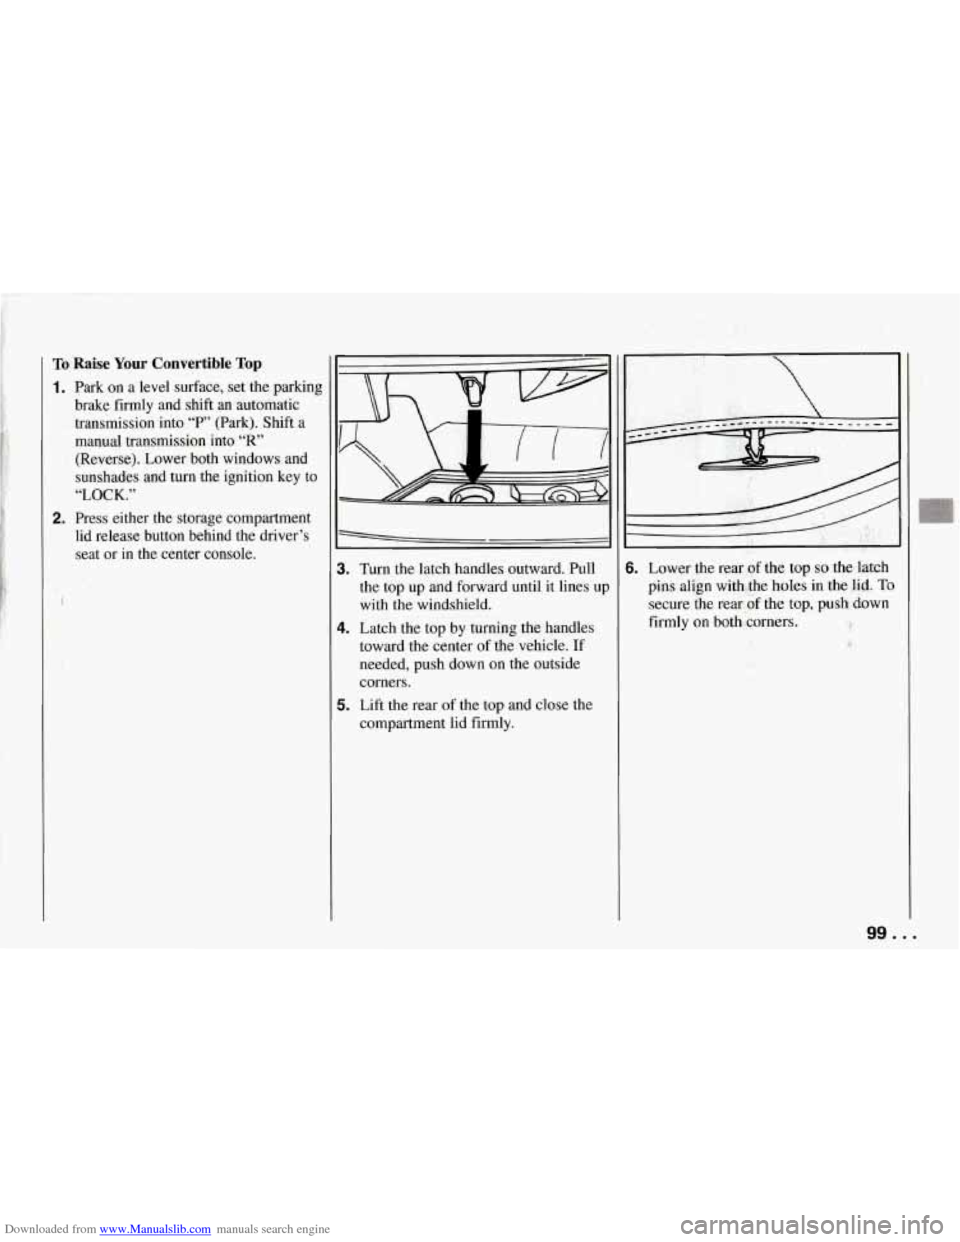
3. Turn the latch handles outward. Pull
the top up and forward until it lines
UI
with the windshield.
4. Latch the top by turning the handles
toward the center of the vehicle.
If
needed, push down on the outside
corners.
5. Lift the rear of the top and close the
compartment lid firmly.
I I
6. Lower the rear of the top so the latch
pins align with the holes in the lid.
To
secure the rear of the top, push down
firmly on both corners.
99 ...
Page 101 of 274
Downloaded from www.Manualslib.com manuals search engine Fe’atures and Controls
1
pm;.
I
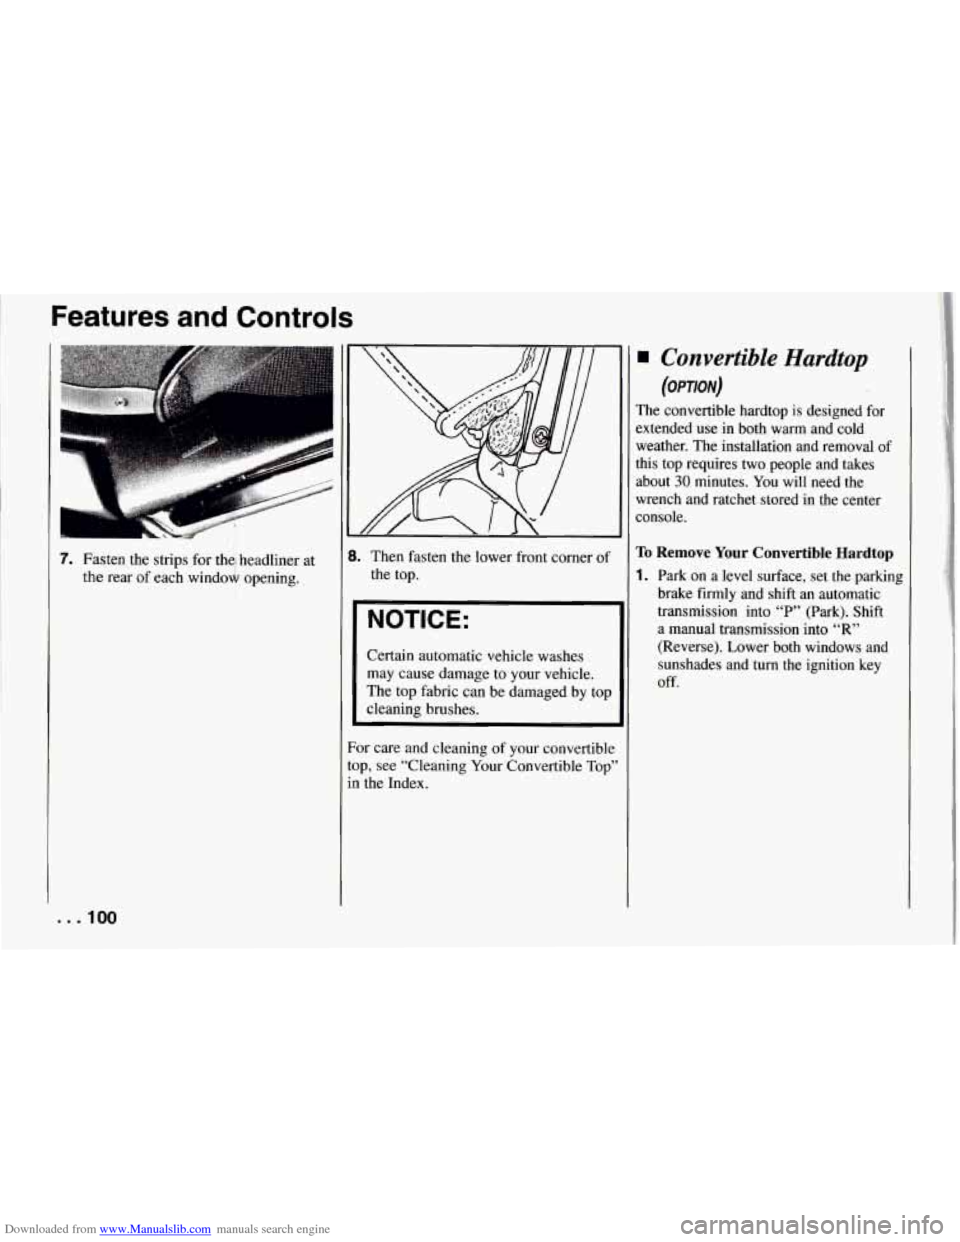
7. Fasten the strips for the, headliner at
the rear of each window opening.
I
1 [
t
8. Then fasten the lower front corner of
the top.
NOTICE:
Certain automatic vehicle washes
may cause damage to your vehicle.
The top fabric can be damaged by top
cleaning brushes.
?or care and cleaning
of your convertible
:op, see “Cleaning Your Convertible Top”
in the Index.
Convertible Hardtop
(OPTION)
The convertible hardtop is designed for
extended use in both warm and cold
weather. The installation and removal
of
this top requires two people and takes about
30 minutes. You will need the
wrench and ratchet stored in the center
console.
To Remove Your Convertible Hardtop
1. Park on a level surface, set the parking
brake firmly and shift an automatic transmission into
“P” (Park). Shift
a manual transmission into “R”
(Reverse). Lower both windows and
sunshades and turn the ignition key
Off.
Page 104 of 274
Downloaded from www.Manualslib.com manuals search engine TO Install Your Convertible Hardtop
1. Park on a level surface, set the parkinl
brake firmly and shift an automatic
transmission into
“F’” (Park). Shift
a manual transmission into
“R’
(Reverse). Lower both windows and
sunshades.
Turn off the radio to lower
the power antenna and turn the
ignition key to
“LOCK.”
electrical connectors behind the lock
pillar.
3. Lower the convertible top. Refer to
“Convertible Top” in the Index.
4. With one person on each side,
carefully position the hardtop over
the vehicle. Lower the hardtop slowly. aligning the rear bolt spacers onto the
bezels, and front conical nuts into the
2. Disconnect both rear window defogger
tapered receivers. Realign the hardtop
if necessary.
NOTICE:
To help avoid damage, don’t force
the rear of the hardtop down. The
hardtop may rest slightly above the
$forage compartment lid until the
release lever
is pulled. See step 8 in
this procedure.
\Q
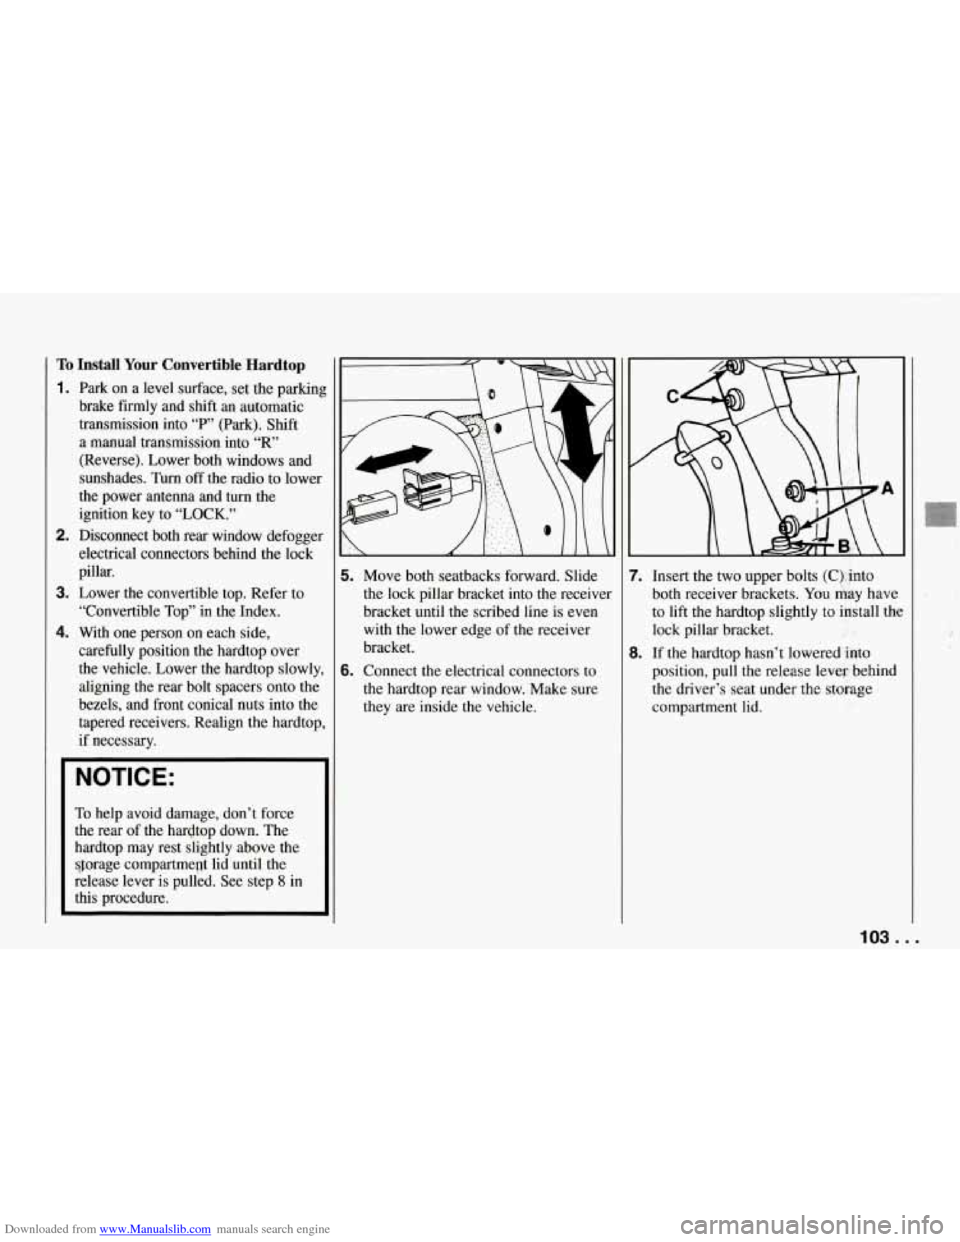
i. Move both seatbacks forward. Slide
the lock pillar bracket into the receiver
bracket until
the scribed line is even
with the lower edge of the receiver
bracket.
i. Connect the electrical connectors to
the hardtop rear window. Make sure
they are inside the vehicle. 7.
Insert the two upper bolts
(C), into
both receiver brackets. You kay have
to lift the hardtop slightly to install the
lock pillar bracket.
8. If the hardtop hasn’t lowered into
position, pull the release lever- behind
the driver’s seat under the storage
compartment lid.
103 ...
Page 111 of 274
Downloaded from www.Manualslib.com manuals search engine Comfort Controls and Audio Systems
except ‘j and-; and at all
temperatures above freezing.
3. Press the arrows on the fan speed
switch if you don’t like the automatic
setting. In
“AUTO # ” on hot days,
the fan speed will be low at fist to
help get rid of the hot inside air..
When the air conditioner is on,
you may
notice slight changes
in your vehicle’s
engine speed and power. This is normal
because the system is designed to cycle
the compressor on and off to keep the
desired temperature and help fuel
economy.
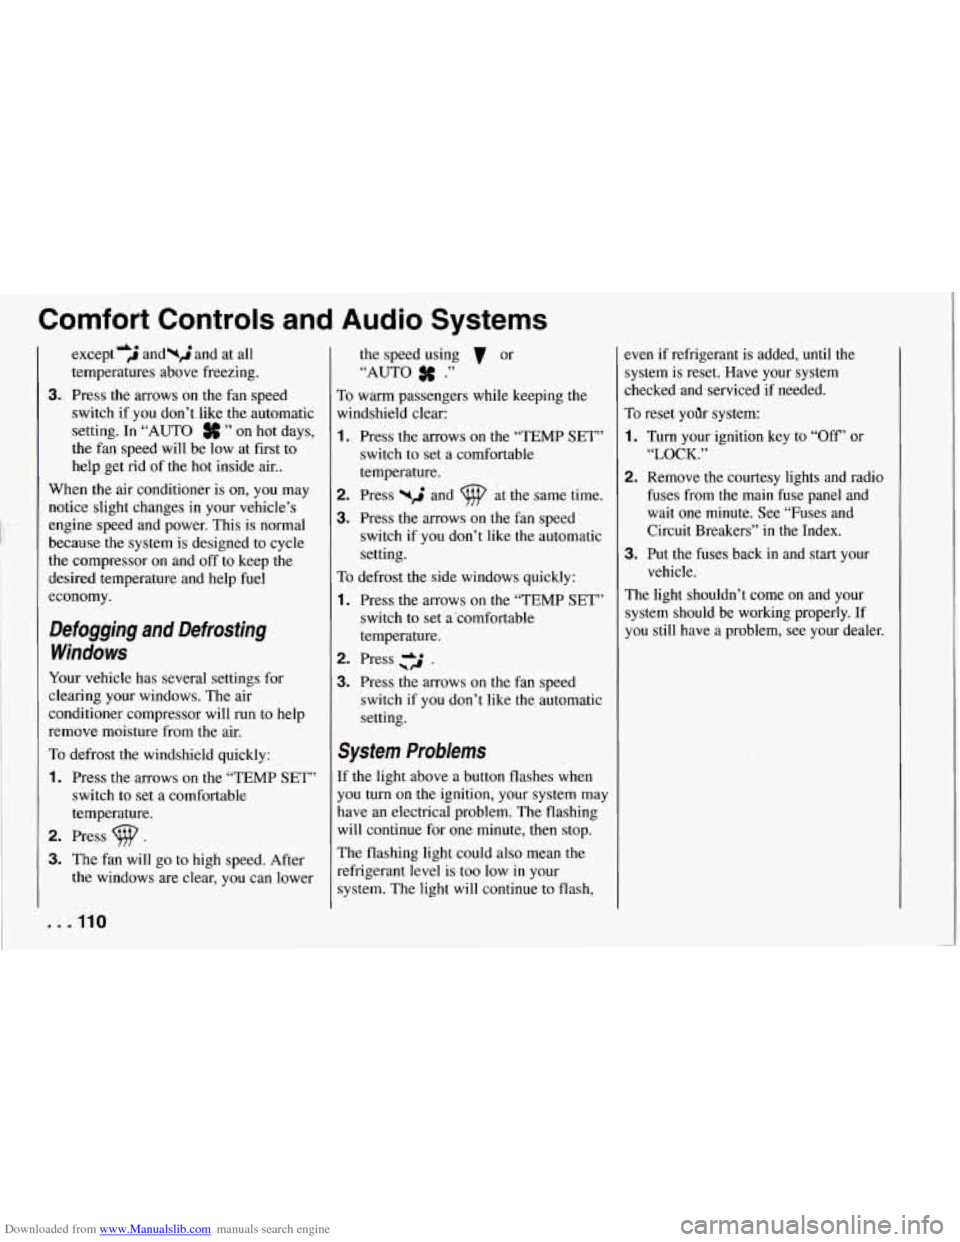
Defogging and Defrosting
Windows
Your vehicle has several settings for
clearing your windows. The air
conditioner compressor will run to help
remove moisture from the air.
To defrost the windshield quickly:
1. Press the arrows on the “TEMP SET”
switch to set
a comfortable
temperature.
2. Press .
3. The fan will go to high speed. After
the windows are clear, you can lower
. . .I10
the speed using 7 or
“AUTO .”
To warm passengers while keeping the
windshield clear:
1. Press the arrows on the “TEMP SET”
switch
to set a comfortable
temperature.
2. Press -2 and at the same time.
3. Press the arrows on the fan speed
switch if you don’t like the automatic
setting.
To defrost
the side windows quickly:
1. Press the arrows on the “TEMP SET”
switch to set a‘comfortable
temperature.
2. Press c2 .
3. Press the arrows on the fan speed
switch if you don’t like the automatic
setting.
System Problems
If ,the light above a button flashes when
you turn on the ignition, your system may
have an electrical problem. The flashing
will continue for one minute, then stop.
The flashing light could also mean the
refrigerant level
is too low in your
system. The light will continue to flash, even
if refrigerant
is added, until the
system is reset. Have your system
checked and serviced
if needed.
To reset yoilr system:
1. Turn your ignition key to “Off’ or
2. Remove the courtesy lights and radio
fuses from the main fuse panel and
wait one minute. See “Fuses and
Circuit Breakers” in the Index.
3. Put the fuses back in and start your
The light shouldn’t come on and your
system should be working properly. If
you still have a problem, see your dealer.
“LOCK.”
vehicle.