1994 CHEVROLET CORVETTE brake
[x] Cancel search: brakePage 139 of 274
Downloaded from www.Manualslib.com manuals search engine Your Driving and the Road
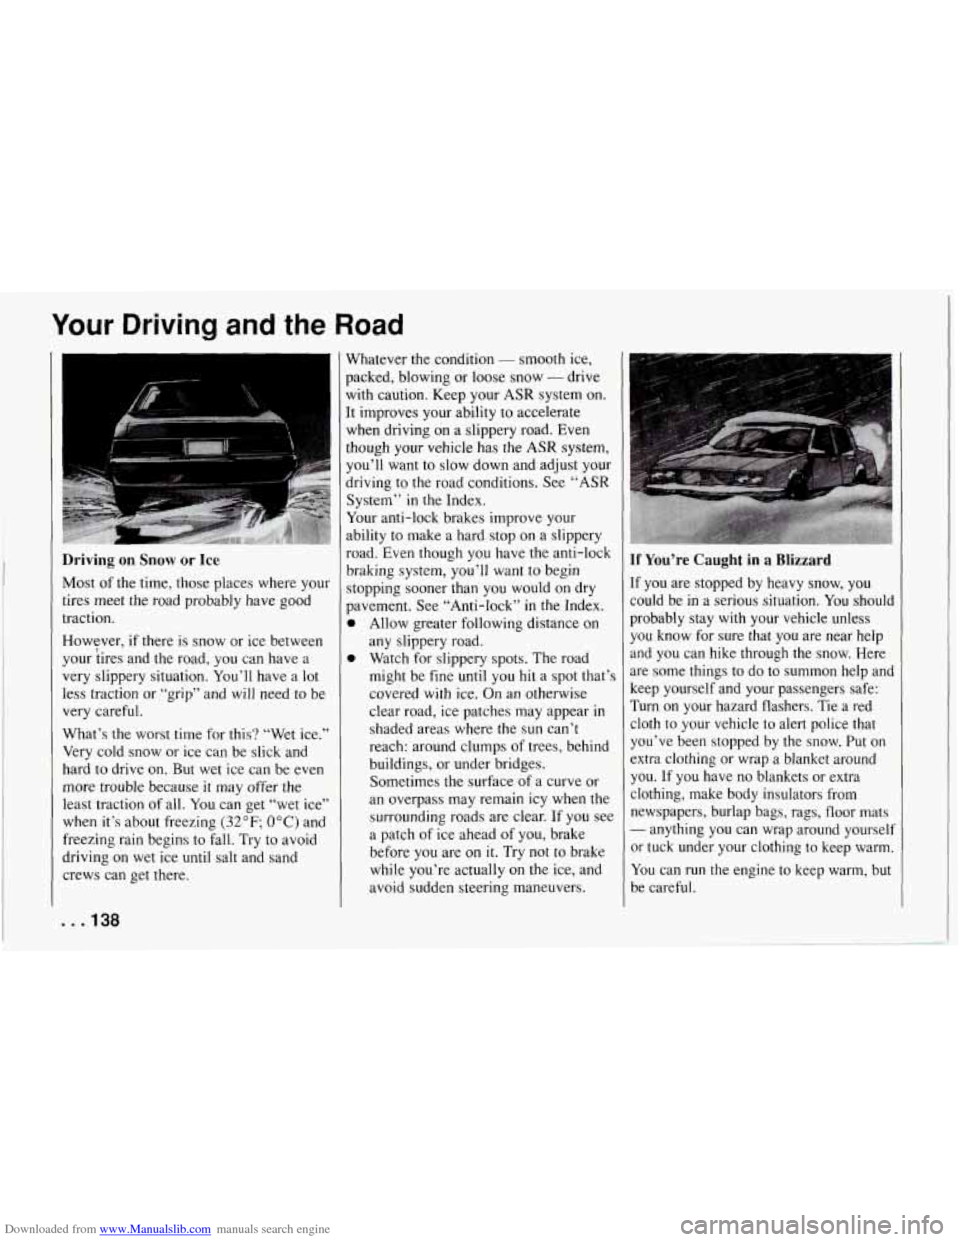
Driving on Snow or Ice
Most of the time, those places where you1
tires meet the road probably have good
traction.
However,
if there is snow or ice between
your iires and the road, you can have a
very slippery situation. You’ll have
a lot
less traction or “grip” and
will need to be
very careful.
What’s the worst time for this? “Wet ice.”
Very cold snow or ice can be slick and
hard to drive on. But wet ice can be even
more trouble because it may offer
the
least traction of all. You can get “wet ice”
when it’s about freezing (32°F; OOC) and
freezing rain begins to fall. Try to avoid
driving on wet ice until salt and sand
crews can get there. Whatever the condition
- smooth ice,
packed, blowing or loose snow
- drive
with caution. Keep your
ASR system on.
It improves your ability to accelerate
when driving
on a slippery road. Even
though your vehicle has the ASR system, you’ll want to slow down and adjust your
driving to the road conditions. See “ASR
System” in the Index.
Your anti-lock brakes improve your
ability to make a hard stop on a slippery
road. Even though you have the anti-lock
braking system, you’ll want to begin
stopping sooner than you would on dry
pavement. See “Anti-lock”
in the Index.
0
0
Allow greater following distance on
any slippery road.
Watch for slippery spots. The road
might be fine
until you hit a spot that’s
covered
with ice. On an otherwise
clear road, ice patches may appear
in
shaded areas where the sun can’t
reach: around clumps of trees, behind
buildings, or under bridges.
Sometimes the surface of a curve or
an overpass may remain icy when the
surrounding roads are clear. If you see
a patch of ice ahead of you, brake
before you are on it. Try not to brake
while you’re actually on the ice, and
avoid sudden steering maneuvers.
If You’re Caught in a Blizzard
If you are stopped by heavy snow, you
could be in a serious situation. You should
probably stay with your vehicle unless you know for sure that you are near help
and you can hike through the snow. Here
are some things to do to summon help and
keep yourself and your passengers safe:
Turn on your hazard flashers. Tie
a red
cloth to your vehicle to alert police that
you’ve been stopped by the snow. Put
on
extra clothing or wrap a blanket around
you. If you have no blankets or extra
clothing, make body insulators from newspapers, burlap bags, rags, floor mats
- anything you can wrap around yourself
or tuck under your clothing to keep warm.
You can run the engine to keep warm, but
be careful.
. . .13%
Page 148 of 274
Downloaded from www.Manualslib.com manuals search engine IC
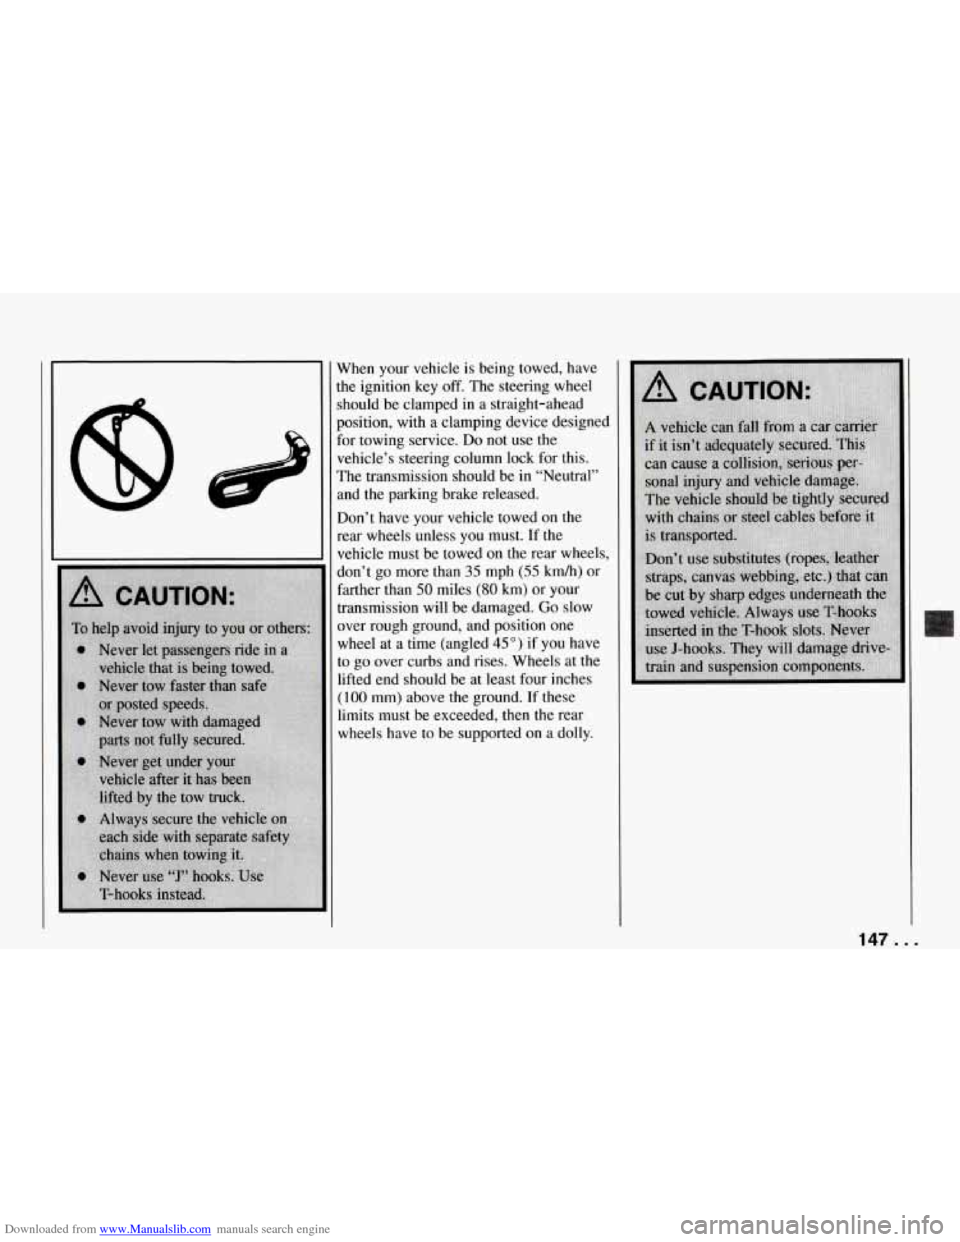
When your vehicle is being towed, have
he ignition key
off. The steering wheel
should be clamped in a straight-ahead
position, with a clamping device designed
For towing service.
Do not use the
vehicle’s steering column lock for this.
The transmission should be in “Neutral”
and the parking brake released.
Don’t have your vehicle towed
on the
rear wheels unless you must. If the
vehicle must be towed on the rear wheels,
don’t go more than
35 mph (55 kmh) or
farther than
50 miles (80 km) or your
transmission will be damaged.
Go slow
mer rough ground, and position one
wheel at a time (angled
45”) if you have
to go over curbs and rises. Wheels at the
lifted end should be at least four inches
(1 00 mm) above the ground. If these
limits must be exceeded, then the rear
wheels have to be supported
on a dolly.
14f ...
Page 160 of 274

Downloaded from www.Manualslib.com manuals search engine 8. Shut the engine off and replace the
pressure cap. At any time during this
procedure if coolant begins
to flow
out
of the filler neck, reinstall the
pressure cap. Be sure the arrows on
the cap line up like this.
If a Tire Goes Flat
It’s unusual for a tire to “blow out” while
you’re driving, especially if you maintain
your tires properly. If air goes out of a
tire, it’s much more likely
to’ leak out
slowly. But
if you should ever have a
”blowout,” here are a few tips about
what to expect and what to do:
If a front tire fails, the flat tire will create
a drag that pulls the vehicle toward that
side. Take your foot off the accelerator
pedal and grip the steering wheel firmly.
Steer
to maintain lane position, then
gently brake to a stop well out of the
traffic lane.
A rear blowout, particularly on a curve,
acts much like a skid and may require the
same correction you’d use in a skid. In
any rear blowout, remove your foot from
the accelerator pedal. Get the vehicle
under control by steering the way you
want the vehicle to go.
It may be very
bumpy and noisy, but you can still steer.
Gently brake to a stop, well qff the road
if possible.
If a tire goes flat, the next section shows
how to use your jacking equipment to
change a flat tire safely. If your vehicle
has Extended Mobility Tires (tires with
“EMT” molded on the sidewalls), see
“Extended Mobility Tires” in the Index.
Changing a Flat Tire
If a tire goes flat, avoid further tire
damage by driving slowly to a level place.
Turn on your hazard warning flashers.
159 ...
Page 172 of 274

Downloaded from www.Manualslib.com manuals search engine Here you will find information
about the care of your Corvette
.
This part begins with service
and fuel information. and then it
shows how
to check important
fluid and lubricant levels
. There
is also technical information
about your vehicle. and a section devoted
to its
appearance care
.
Part 6
Service & Appearance Care
Service ........................................................
Fuel ..........................................................
Checking Things under the Hood ...................................
HoodRelease .................................................
Engineoil .................................................
Aircleaner ........................... ...................
Automatic Transmission Fluid ..................................
Manual Transmission Fluid ......................................
Hydraulic Clutch ...............................................
RearAxle ....................................................
Enginecoolant ................................................
Power Steering Fluid ...........................................
Windshield Washer Fluid ........................................
Brake Master Cylinder ..........................................
Battery ......................................................
Bulb Replacement ...............................................
Windshield Wiper Blades ..........................................
Tires ..........................................................
Appearancecare ................................................
Appearance Care Materials Chart ...................................
Vehicle Identification Number (VIN) ................................
Service Parts Identification Label ...................................
Add-on Electrical Equipment ......................................
Fuses and Circuit Breakers ........................................
Replacement Bulbs ..............................................
Capacities and Specifications ...................................
LoadingYourVehicle ............................................
172
173
175
175
178
182 184
186
187
188
188
191
192
193
195
195
202
202
204
210
217
218
218
218
219
223
224
171 ..
Page 177 of 274
Downloaded from www.Manualslib.com manuals search engine Service and Appearance Care
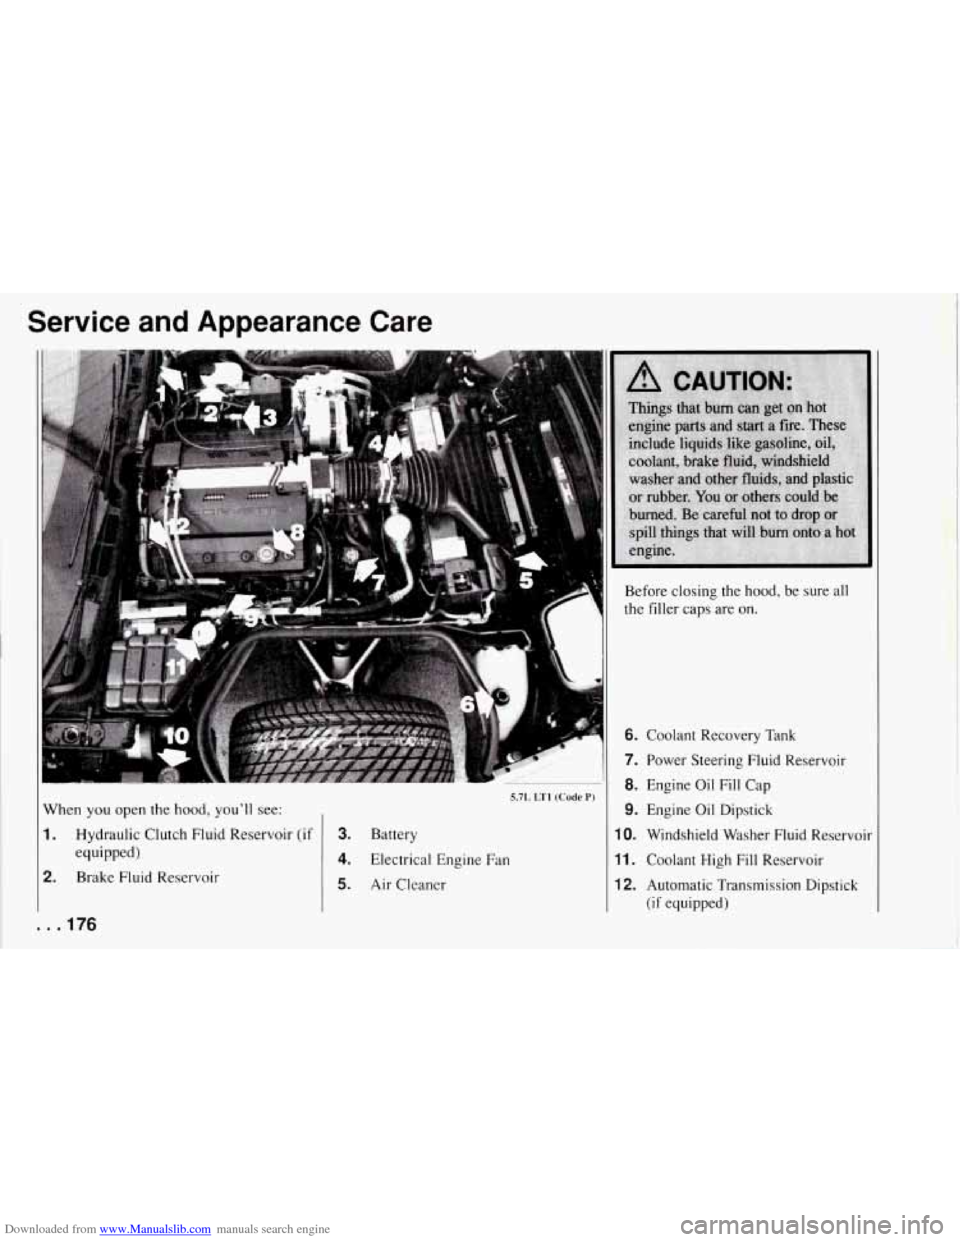
When you open the hood, you'll see:
1. Hydraulic Clutch Fluid Reservoir (if
2. Brake Fluid Reservoir
equipped)
. . .I76
1
Before closing the hood, be sure all
the filler caps are on.
'*?-
5.7L LTI (Code P)
3. Battery
4. Electrical Engine Fan
5. Air Cleaner
6. Coolant Recovery Tank
7. Power Steering Fluid Reservoir
8. Engine Oil Fill Cap
9. Engine Oil Dipstick
10. Windshield Washer Fluid Reservoir
11. Coolant High Fill Reservoir
12. Automatic Transmission Dipstick
(if equipped)
I
Page 178 of 274
Downloaded from www.Manualslib.com manuals search engine r
k
"1
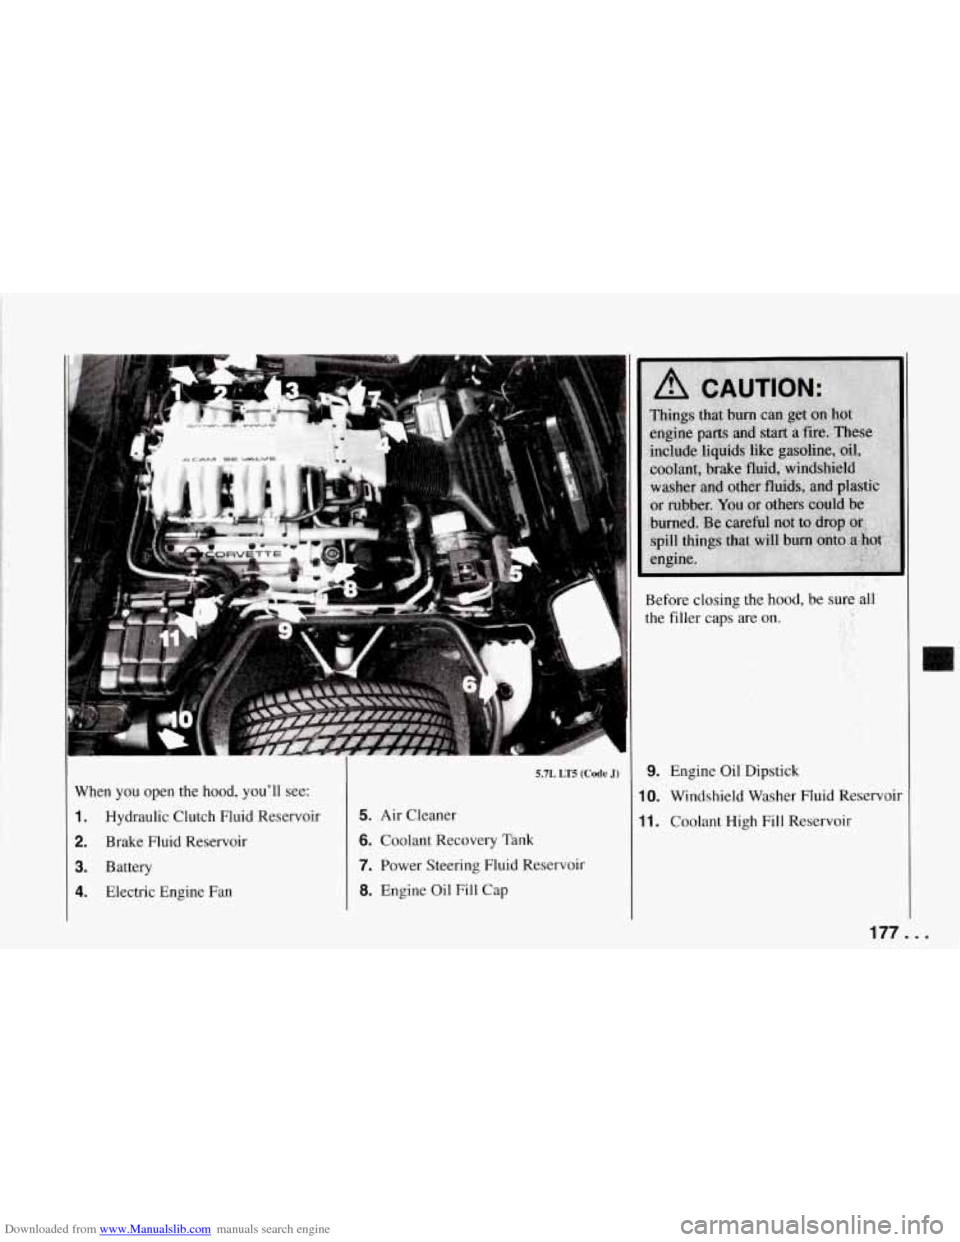
5.7L LT5 (Code J)
When you open the hood, you'll see:
1. Hydraulic Clutch Fluid Reservoir 5. Air Cleaner
2. Brake Fluid Reservoir 6. Coolant Recovery Tank
3. Battery 7. Power Steering Fluid Reservoir
4. Electric Engine Fan 8. Engine Oil Fill Cap Before closing
the hood, be
sureall
the filler caps are on. . ..
'., , ,.
9. Engine Oil Dipstick
10. Windshield Washer Fluid Reservoir
11. Coolant High Fill Reservoir
177..
Page 186 of 274
Downloaded from www.Manualslib.com manuals search engine cold check, you must perform a hot check
before adding fluid. This will give you a
more accurate reading
of the fluid level.
To check the fluid hot or cold
0
Park your vehicle on a level place.
With the parking brake applied, place
the shift lever in “P” (Park).
With your foot
on the brake pedal,
move the shift lever through each gear
range, pausing for about three seconds
in each range. Then, position the shift
lever
in “P’ (Park).
Let the engine run at idle for three
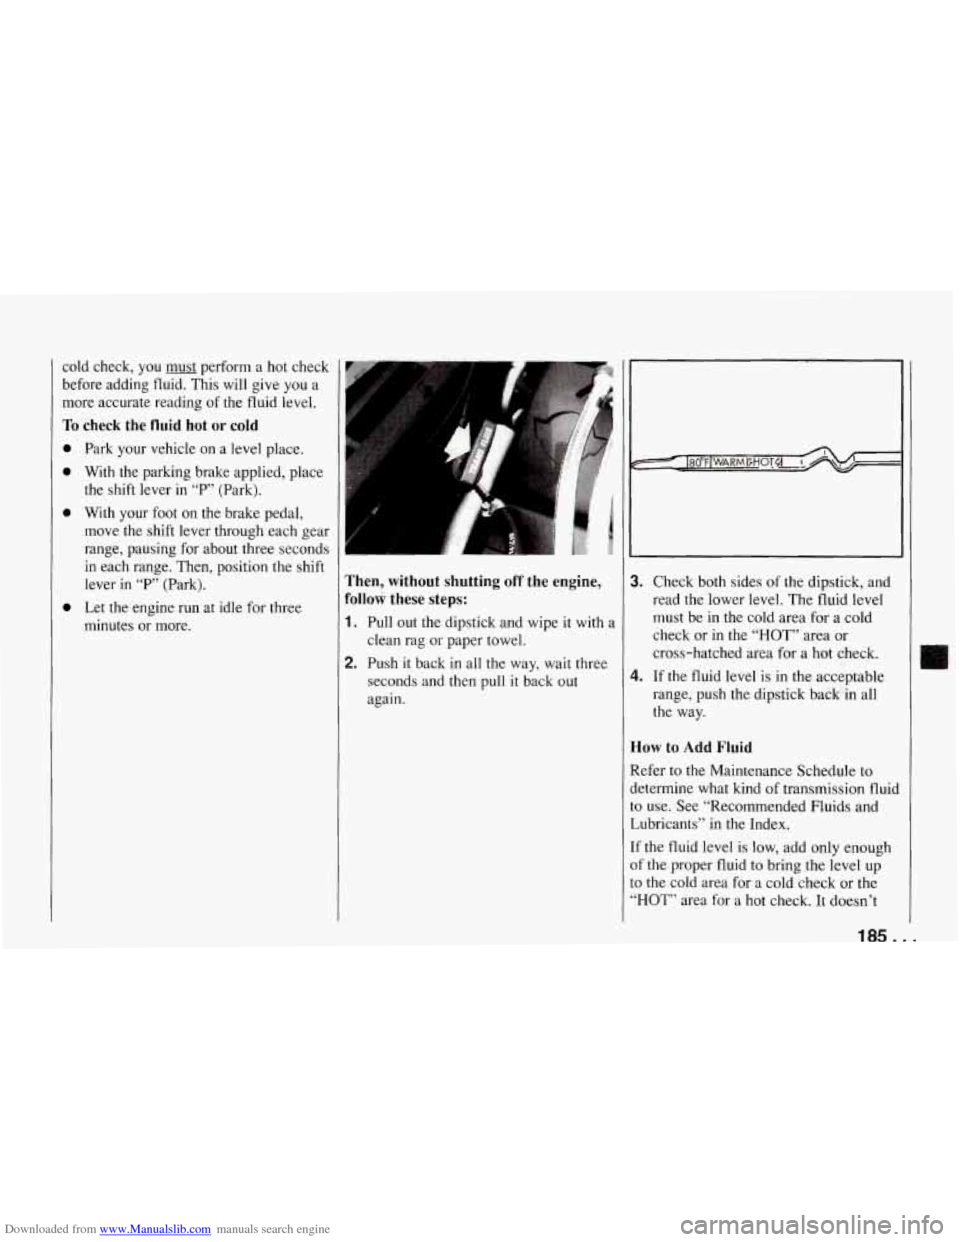
minutes or more. Then, without shutting off the engine,
Follow these steps:
1. Pull out the dipstick and wipe it with a
clean rag or paper towel.
2. Push it back in all the way, wait three
seconds and then pull
it back out
again.
3. Check both sides of the dipstick, and
read the lower level. The fluid level
must be in the cold area for a cold
check or in the
“HOT” area or
cross-hatched area for a hot check.
range, push the dipstick back in all
the way.
4. If the fluid level is in the acceptable
How to Add Fluid
Refer to the Maintenance Schedule to
determine what kind of transmission fluid to use. See “Recommended Fluids and
Lubricants” in the Index.
If the fluid level
is low, add only enough
of the proper fluid to bring the level up
to the cold area for a cold check or the
“HOT” area for a hot check. It doesn’t
Page 194 of 274
Downloaded from www.Manualslib.com manuals search engine Brake Master Cylinder
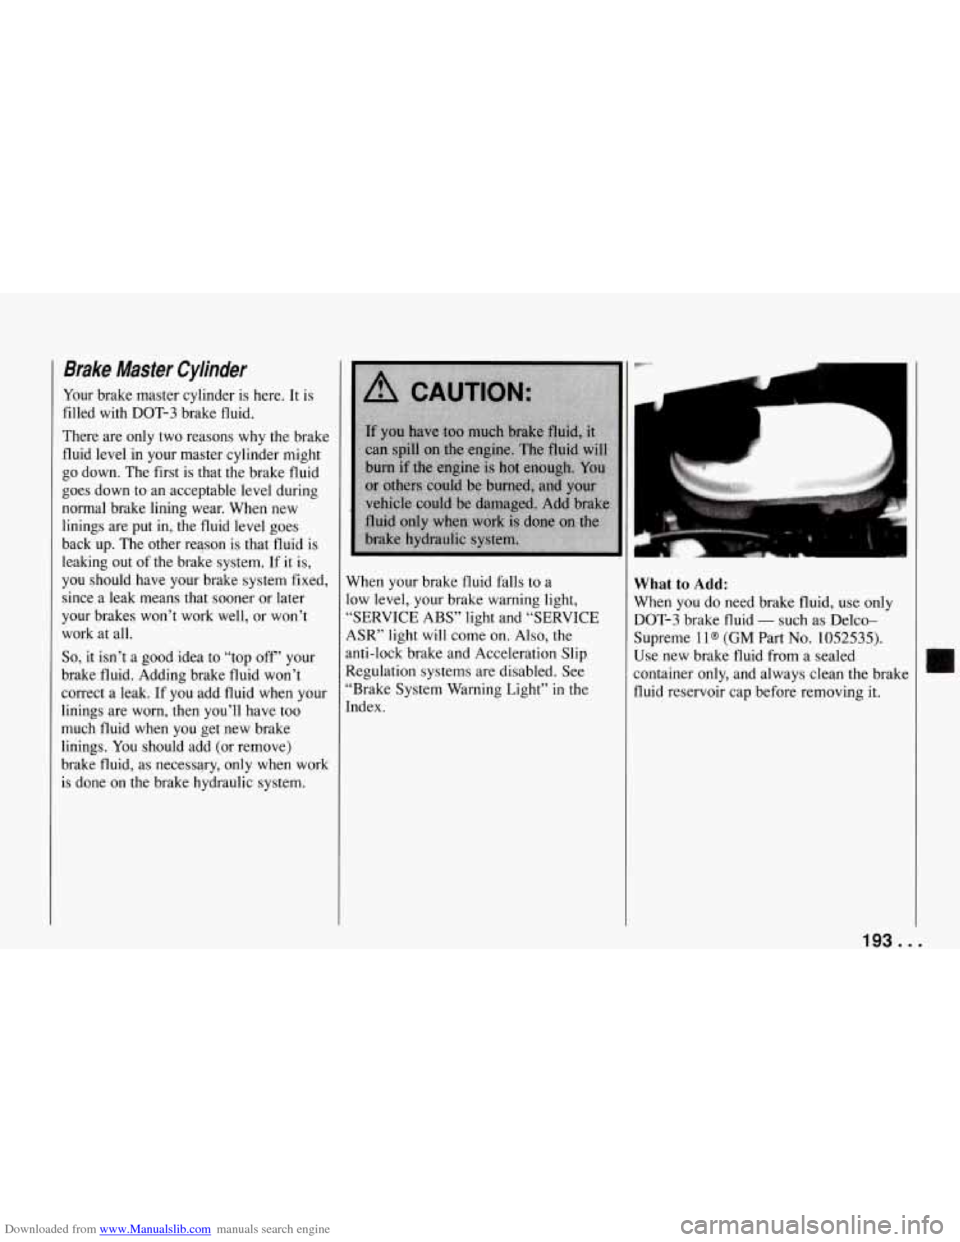
Your brake master cylinder is here. It is
filled with DOT-3 brake fluid.
There are only two reasons why the brake
fluid level in your master cylinder might
go down. The first is that the brake fluid
goes down to an acceptable level during
normal brake lining wear. When new
linings are put in, the fluid level goes
back up. The other reason is that fluid is
leaking out of the brake system.
If it is,
you should have your brake system fixed,
since a leak means that sooner or later
your brakes won’t work well, or won’t work at all.
So, it isn’t a good idea to “top off’ your
brake fluid. Adding brake fluid won’t
correct a leak. If you add fluid when your
linings are worn, then you’ll have too
much fluid when you get new brake
linings. You should add (or remove)
brake fluid, as necessary, only when work
is done on the brake hydraulic system. When your brake fluid falls to a
low level, your brake warning light,
“SERVICE ABS” light and “SERVICE
ASR” light will come on. Also, the
anti-lock brake and Acceleration Slip
Regulation systems are disabled. See
“Brake System Warning Light” in the
Index.
What to Add:
When you do need brake fluid, use only
DOT-3 brake fluid
- such as Delco-
Supreme
1 l@ (GM Part No. 1052535).
Use new brake fluid from a sealed
container only, and always clean the brak
fluid reservoir cap before removing it.
193 ...