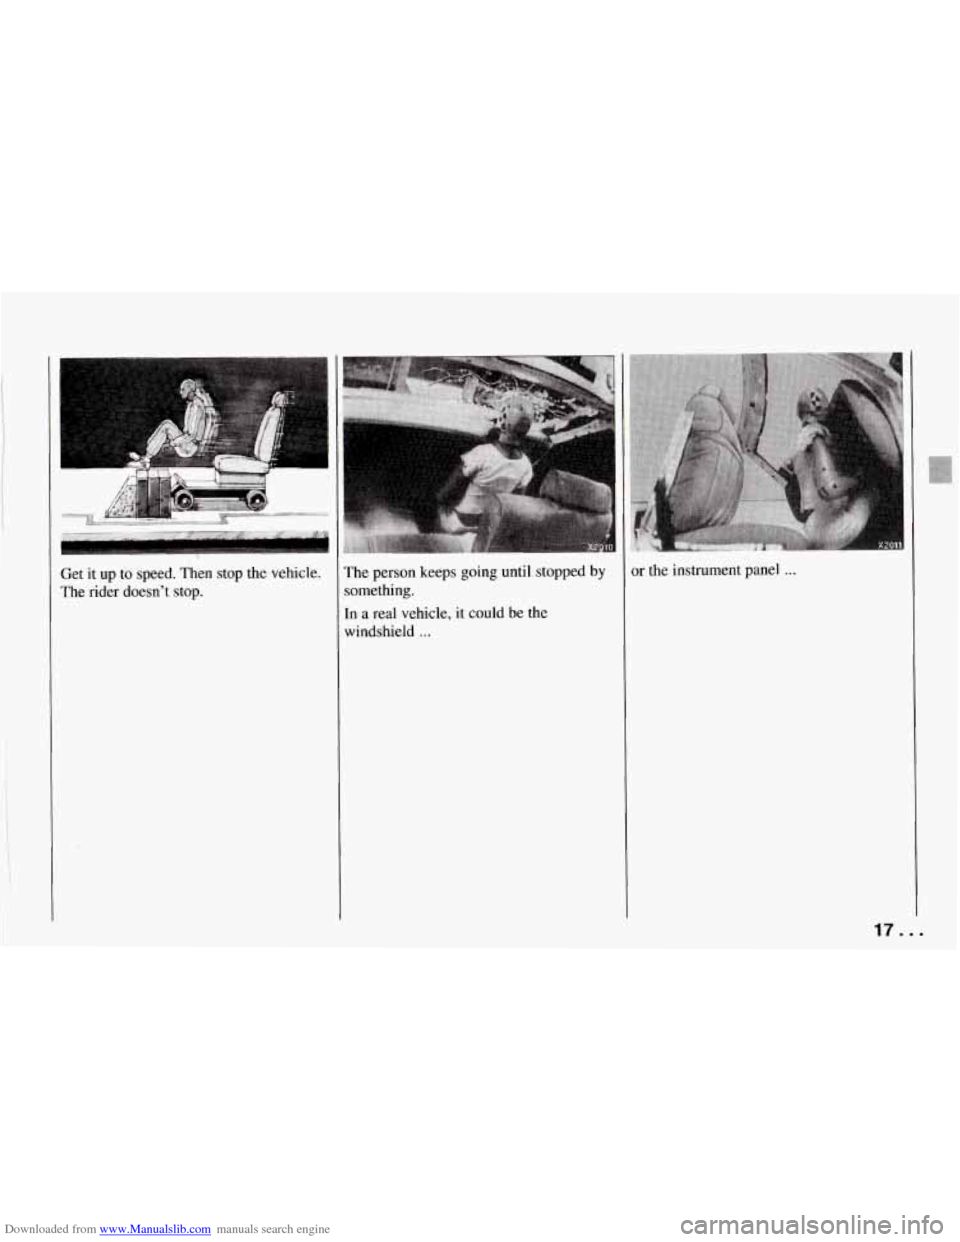
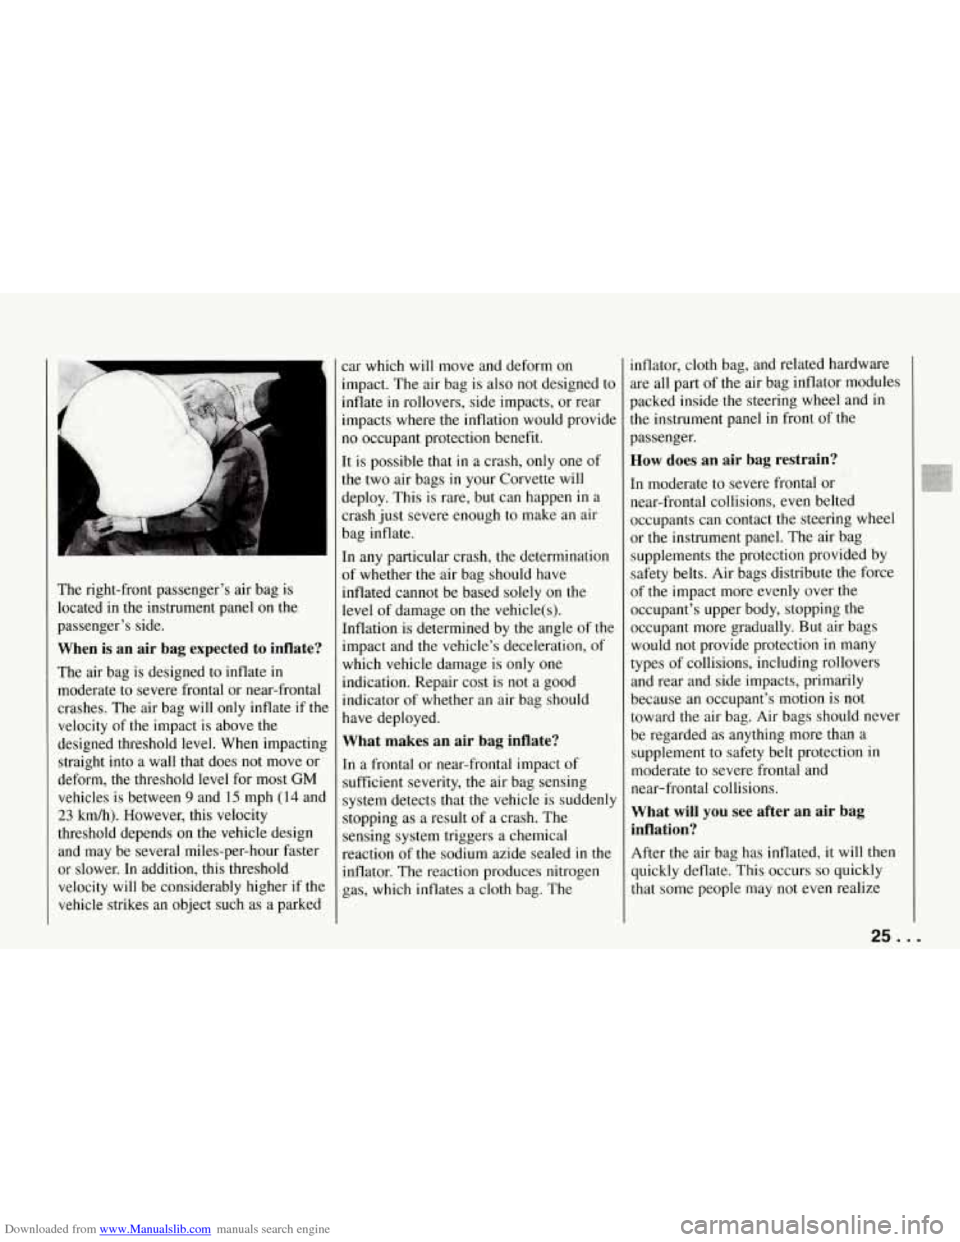
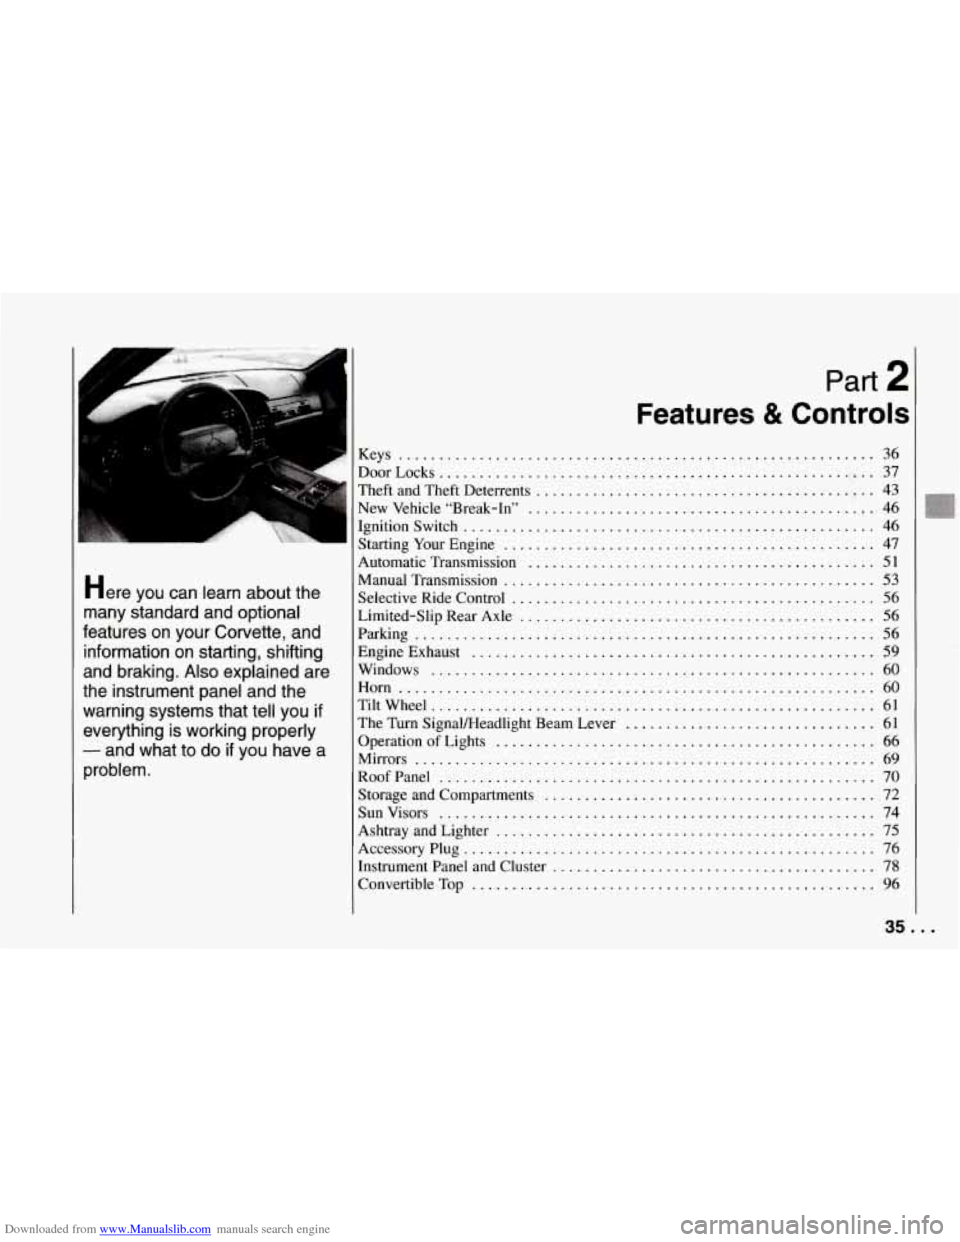
1994 CHEVROLET CORVETTE instrument panel
[x] Cancel search: instrument panelPage 18 of 274

Downloaded from www.Manualslib.com manuals search engine Get it up to speed. Then stop the vehicle.
The rider doesn’t stop. The
person keeps going until stopped by
iomething.
:n
a real vehicle, it could be the
windshield
...
or the instrument panel ...
Page 25 of 274

Downloaded from www.Manualslib.com manuals search engine Seats and Restraint Systems
... 24
AIR
BAG
Air Bag Readiness Light
There is an air bag readiness light on the
instrument panel, which shows
“AIR BAG.” The system checks for
electrical malfunctions, and the light tell!
you if there is a problem.
You
will see this light flash for a few
seconds when you turn your ignition to
“Run” or “Start.” Then the light should
2
out, which means the system is ready.
Remember,
if the air bag readiness light
doesn’t come
on when you start your
vehicle, or stays on, or comes
on when
you are driving, your air bag system mal
not work properly. Have your vehicle
serviced right away.
Iow the Air Bag System Works
Yhere is the air bag?
.’he driver’s air bag is in the middle of the
;teering wheel.
Page 26 of 274

Downloaded from www.Manualslib.com manuals search engine The right-front passenger’s air bag is
located in the instrument panel on the
passenger’s side.
When is an air bag expected to inflate?
The air bag is designed to inflate in
moderate to severe frontal or near-frontal
crashes. The air bag will only inflate
if the
velocity of
the impact is above the
designed threshold level. When impacting straight into a wall that does not move or
deform, the threshold level for most
GM
vehicles is between 9 and 15 mph (14 and
23 kdh). However, this velocity
threshold depends on the vehicle design
and may be several miles-per-hour faster
or slower. In addition,
this threshold
velocity
will be considerably higher if the
vehicle strikes an object such as a parked car which will move and deform
on
impact. The air bag is also not designed to
inflate in rollovers, side impacts, or rear
impacts where the inflation would provide
no occupant protection benefit.
It is possible that
in a crash, only one of
the two air bags in your Corvette will
deploy. This is rare, but can happen
in a
crash just severe enough to make an air
bag inflate.
In any particular crash, the determination
of whether the air bag should have
inflated cannot be based solely on the level of damage on the vehicle(s).
Inflation is determined by
the angle of the
impact and the vehicle’s deceleration, of
which vehicle damage is only one
indication. Repair cost is not a good
indicator of whether an air bag should
have deployed.
What makes an air bag inflate?
In a frontal or near-frontal impact of
sufficient severity, the air bag sensing
system detects that
the vehicle is suddenly
stopping as a result
of a crash. The
sensing system triggers a chemical
reaction of
the sodium azide sealed in the
inflator. The reaction produces nitrogen
gas, which inflates a cloth bag. The inflator,
cloth bag, and related hardware
are all part of the air bag inflator modules
packed inside the steering wheel and
in
the instrument panel in front of the
passenger.
How does an air bag restrain?
In moderate to severe frontal or
near-frontal collisions, even belted
occupants can contact the steering
wheel
or the instrument panel. The air bag
supplements the protection provided by
safety belts.
Air bags distribute the force
of the impact more evenly over the
occupant’s upper body, stopping the
occupant more gradually. But air bags
would not provide protection in many
types of collisions, including rollovers
and rear and side impacts, primarily
because an occupant’s motion is not
toward the air bag. Air bags should never
be regarded as anything more than a
supplement to safety belt protection in
moderate to severe frontal and
near-frontal collisions.
What will you see after an air bag
inflation?
After the air bag has inflated, it will then
quickly deflate. This occurs
so quickly
that some people
may not even realize
25 . ,
Page 27 of 274

Downloaded from www.Manualslib.com manuals search engine Seats and Restraint Systems
that the air bag inflated. Some
components of the air bag module
in the
steering wheel hub for the driver’s air bag
or the instrument panel for the
passenger’s bag may be hot for a short
time, but the portion of the bag that comes
into contact with you will not be hot to
the touch. There will be small amounts of
smoke and dust coming from vents in the
deflated air bags. The air bag will
not
impede the driver’s vision or ability to
steer the vehicle, nor will it hinder
‘the
occupants from exiting the vehicle.
In many crashes severe enough to inflate
an air bag, windshields are broken by
vehicle deformation. Additional
windshield breakage may occur in
vehicles with passenger air bags because
the windshield acts as a reaction surface
for the inflating air bag.
The air bags are designed to inflate
only once. After they inflate, you’ll
need some new parts for your air bag
system. If you don’t get them,
the air
bag system won’t be there to help
protect you in another crash. A new
system will include air bag modules
and possibly other parts. The service
... 26
manual has information about the
need to replace other parts.
Your vehicle is equipped with a
diagnostic module, which records
information about the air bag system
if the air bag deploys in a crash. The
module records information about the
readiness of the system, which sensors
activated the deployment, and whether
the driver’s safety belt was in use.
Let only qualified technicians work on
your air bag system. Improper service
can mean that your air bag system
won’t work properly. See your dealer
for service.
NOTICE:
If you damage the cover for the
driver’s or the right-front passenger’s
air bag, they may not work properly.
You may have to replace the air bag
on the steering
wheel or both the air
bag and the instrument panel for the
passenger’s air bag.
Do not open or
break the air bag covers.
Is the smoke from an air bag inflation
harmful?
The particles emitted during air bag
inflation are not harmful to most people.
Some people with respiratory ailments may experience difficulty breathing
if
they stay in the vehicle with the windows
closed after air bag inflation.
So, if your
air bag inflates, you and any passengers
should exit the vehicle
if and when it is
safe to do
so. If you or your passengers
can’t get out of the vehicle, try to get
fresh air by opening a window, turning on
the fan, or opening a door.
Servicing Your Air Bag-Equipped
Corvette
Air bags affect how your Corvette should
be serviced. There are parts of the air bag
system in several places around your
vehicle. You don’t want
the system to
inflate while someone is working on your
vehicle. Your Chevrolet dealer and the 1994 Corvette Service Manual have
information about servicing your vehicle
and
the air bag system. The air bag
system does not need regular
maintenance.
Page 36 of 274

Downloaded from www.Manualslib.com manuals search engine A
Part 2
Features & Controls
Keys ........................................................... 36
DoorLocks
...................................................... 37
Theft and Theft Deterrents
.......................................... 43
New Vehicle “Break-In”
........................................... 46
IIgnitionSwitch
................................................... 46
Starting Your Engine
.............................................. 47
Automatic Transmission
........................................... 51
Manual Transmission
.............................................. 53
many standard and optional Limited-Slip Rear Axle ............................................ 56
Parking 56
Here You can learn d3out the Selective Ride Control ............................................. 56
features on your Corvette. and .........................................................
information on starting. shifting Engine Exhaust .................................................. 59
and braking . Also explained are Windows ....................................................... 60
........................................................... the instrument panel and the Horn 60
warning systems that tell you if Tiltwheel 61
everything is working properly The Turn SignaVHeadlight Beam Lever 61
- and what to do if you have a OperationofLights 66
Mirrors
......................................................... 69 problem . RoofPanel ...................................................... 70
Sunvisors
...................................................... 74
.......................................................
...............................
...............................................
Storage and Compartments ......................................... 72
Ashtray and Lighter
............................................... 75
Accessory Plug
................................................... 76
Instrument Panel and Cluster
........................................ 78
ConvertibleTop
.................................................. 96
35 ...
Page 47 of 274

Downloaded from www.Manualslib.com manuals search engine Features and Controls
NOTICE:
Your modern Corvette doesn’t need
an elaborate “break-in.” But it will
perform better in the long run if you
follow these guidelines:
0 Keep your speed at 55 mph
(88 km/h) or less for the first
500 miles (804 km).
Don’t drive at any one speed
- fast or slow - for the
fist
500 miles (804 km).
Don’t make full-throttle
starts.
Avoid malung hard stops for
the first
200 miles (322 km)
or so. During this time your
new brake linings
aren’t yet
broken in.
Hard stops with
new linings can mean
premature wear and earlier
replacement. Follow this
“breaking-in” guideline
every time you get new
brake linings.
I
Ignition Switch
With the ignition key in the ignition
switch, you can turn the switch to five
positions:
Acc (A): Position in which you can
operate your electrical power accessories.
Press in the ignition switch as you turn
the top of it toward you.
Lock (B): The only position in which
you can remove the key. This locks your
steering wheel, ignition and automatic
transmission.
If you have an automatic transmission, tht
ignition switch can’t be turned to “Lock”
unless the shift lever
is in the “P” (Park)
position.
... 46
Off (C): Unlocks the steering wheel,
ignition and automatic transmission, but
does not send electrical power to any
accessories. Use
this position if your
vehicle must be pushed
or towed.
Run (D): Position to which the switch
returns after you start your engine and
release the switch. The switch stays in
the “Run” position when the engine is
running. But even when the engine is not
running, you can use “Run” to operate
your electrical power accessories and to
display some instrument panel warning
and indicator lights.
Start (E): Starts the engine. When the
engine
starts, release the key. The ignition
switch will return to “Run” for normal
driving.
When the engine is not running, “Acc”
and “Run” allow you to operate your
slectrical accessories, such as the radio.
A warning tone will sound if you open
the driver’s door when the ignition is in
“Off,’’ “Lock” or “Acc” and the key is in
the ignition.
Page 63 of 274

Downloaded from www.Manualslib.com manuals search engine Features and Controls
L L
c
L
A green arrow on the instrument panel
will flash in the direction of the
turn or
lane change.
To signal a lane change, just raise or
lower the lever until the green arrow start
to flash. Hold it there until you complete
your lane change. The lever will return b!
itself when you release
it.
As you signal a turn or a lane change, if
the arrows don’t flash but just stay on, a
signal bulb may be burned out and other
drivers won’t see your
turn signal.
If a bulb is burned out, replace it to help
avoid an accident.
If the green arrows
don’t go on at all when you signal a
turn,
check the fuse (see “Fuses” in the Index)
and for burned-out bulbs.
Headlight High/..ow Beam
To change the headlights from low beam
to high or high to low, pull the turn signal
lever all the way toward you. Then
release it. When the high beams are on,
this blue light on the instrument panel
also will be on.
Windshield Wipers
You control the windshield wipers by
turning the band with the wiper symbol
on it.
For a single wiping cycle,
turn the band
to “MIST.” Hold it there until the wipers
start, then let go. The wipers will stop
after one cycle. If you want more cycles,
hold the band on “MIST” longer.
You can set the wiper speed for a long or
short delay between wipes. This can be
very useful in light rain or snow. Turn the
band to choose the delay time. The closer
to
“LO,” the shorter the delay.
... 62
Page 68 of 274

Downloaded from www.Manualslib.com manuals search engine Ieadlights
?he headlight knob controls these lights:
b Headlights
1 Taillights
1 Parking lights
1 Sidemarker lights
hm the knob to $R to turn on your
leadlights and other operating lights.
rurn the knob to:OO:to turn on your
mking and other operating lights without
‘our headlights.
rurn the knob to “OFF’ to turn off the
ights.
(our digital display will dim at dusk to
emind you to turn on your headlights. To
read your odometer and fuel level with
the ignition
off, turn on your parking
lights.
Lights On Reminder
If you turn the ignition “Off” and leave
the lights on, you will hear a chime.
Brightness Control
The “DIMMER’ switch controls the
brightness of your instrument panel lights
when your headlights or parking lights are
on. Move the switch up or down to
brighten or dim the lights. If you turn the
switch all the way up, your courtesy,
reading, map and cargo area lights will
some on. Be sure to turn off the lights
when you leave your vehicle.
Headlight Doors
The headlight doors are designed to open
when you
turn the headlights on and close
when you turn the headlights and parking
lights
off. If you turn the headlights on,
then turn
the headlight switch back to the
parking lights setting, the headlight doors
will stay open.
You can open the doors manually using
the knob next to the headlight assembly.
Turn the knob counterclockwise until the
doors are open.
The headlight doors should be open when
driving in icy or snowy conditions to
prevent the doors from freezing closed
and when washing the vehicle to help
clean the headlights.
67. .