1994 CHEVROLET CORVETTE instrument panel
[x] Cancel search: instrument panelPage 69 of 274

Downloaded from www.Manualslib.com manuals search engine Features and Controls
Daytime Running Lights (Canada)
The Canadian Federal Government has
decided that “Daytime Running Lights”
(DE) are a useful feature, in that DIU
can make your vehicle more visible to
pedestrians and other drivers during
daylight hours. DIU are required on new
vehicles sold
in Canada.
Your
DRL, work with a light sensor on top
of the instrument panel. Don’t cover it up.
The front turn signal lights will come on
in daylight when:
0 The ignition is on
0 The headlight switch is off, and
0 The parking brake is released.
At dusk, the exterior lights will come on
automatically and the front turn signal
lights will go out. At dawn, the exterior
lights will go out and the front turn signal
lights will come on (if the headlight
switch is
off).
Of course, you may still turn on the
headlights any time
you need to.
To idle your vehicle with the DRL off, set
the parking brake while the ignition is
in
the “Off” or “LOCK” position. Then start
the vehicle. The DRL will stay
off until
you release the parking brake.
... 68
$.
Fog Lights
Use your fog lights for better vision in
Foggy or misty conditions. Your parking
lights or low beam headlights must be
on
or your fog lights won’t work.
To turn the fog lights on, push the button.
Push the button again to turn the fog
lights
off. A light above the button will
come on when the fog lights are on.
Interior Lights
Courtesy Lights
When any door is opened, the interior
lights will go on (unless it’s bright
outside). The lights will stay on for about
30 seconds or until you turn on the
ignition.
Front Map Lights
Your inside rearview mirror includes two
map lights. The lights will go on when a
door is opened. When the doors are
closed and the ignition is on, press the
switch to turn on the lights.
Page 80 of 274

Downloaded from www.Manualslib.com manuals search engine Instrument Panel
1. Acceleration Slip Regulation Switch
2. Side Window Defogger Vent
3. Side Air Vent
4. Turn Signaweadlight Beam Lever
5. Tilt Lever
6. Instrument Cluster
7. Ignition Switch
8. Trip Monitor Controls
9. Solar Sensor
IO. Center Air Vent
11. Driver Information Center
12. Comfort Controls
13. Fuse Panel
14. Audio System
15. Ashtray/Lighter/Cupholder
16. Selective Ride Control (if equipped)
17. Power Seat Control (if equipped)
18. Shift Lever
19. Horn
20. Main Light Control
21. Fog Lamp Switch
79 ...
Page 88 of 274

Downloaded from www.Manualslib.com manuals search engine ASR
ACTIVE
ASR Active Light
When your ASR system is limiting wheel
spin, the “ASR ACTIVE’ light will come
on. Slippery road conditions may exist if
this light comes
on, so adjust your driving
accordingly. The light will stay on for a
few seconds after the ASR system stops
limiting wheel spin. The “ASR ACTIVE’
light also comes
on briefly, as a bulb
check, when the engine is started.
Low Tire Pressure Warning Light
(Option)
The LTPWS has a sensor on each road
wheel that transmits to a receiver
on the
instrument panel. The system operates on
a radio frequency subject to Federal
Communications Commission (FCC)
Rules.
This device complies with Part
15 of the
FCC Rules. Operation
is subject to the
following two conditions:
1. This device may not cause harmful
2. This device must accept any
interference,
and
interference received, including
interference that may cause undesired
operation.
Changes or modifications to this system
by other than an authorized service
facility could void authorization to use
this equipment.
LOWIFLAT
TIRE
..
The Low Tire Pressure Warning System
(LTPWS) monitors air pressure in each
road tire while you’re driving your
Corvette. The “LOW/FLAT TIRE” light
will come
on whenever tire pressure in
any road tire goes below
25 psi (175 kPa)
and it will stay
on until you turn off the
ignition. The light may come on if any
LTPWS parts aren’t working properly.
..
8
87 ...
Page 107 of 274
Downloaded from www.Manualslib.com manuals search engine Comfort Controls and Audio Systems
0 00
0 0 0 0 0 0 0 a
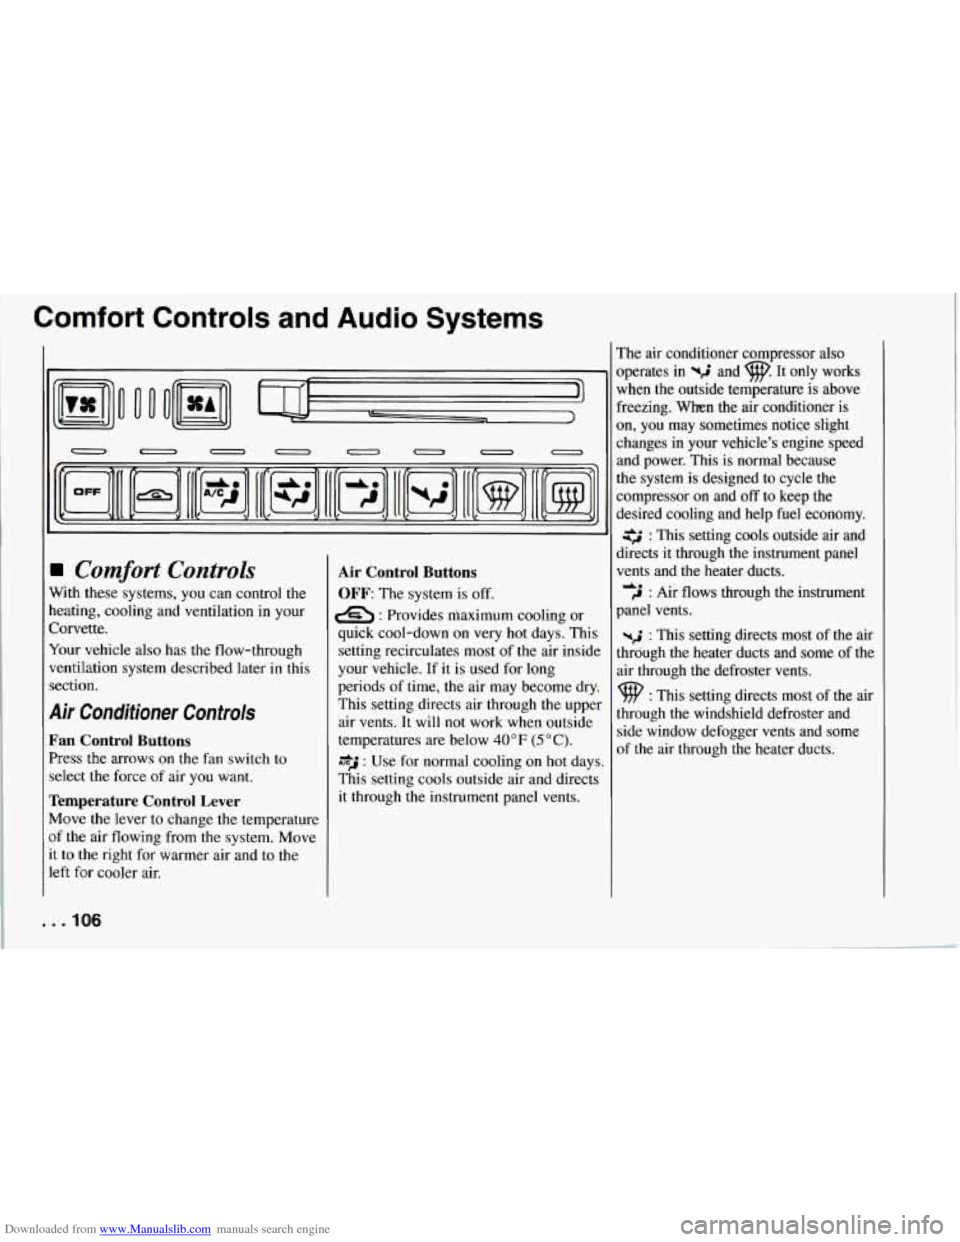
Comfort Controls
With these systems, you can control the
heating, cooling and ventilation in your
Corvette.
Your vehicle also has
the flow-through
ventilation system described later in this
section.
Air Conditioner Controls
Fan Control Buttons
Press the arrows on the fan switch to
select the force of air you want.
Temperature Control Lever
Move the lever to change the temperature
of the air flowing from
the system. Move
it to the right for warmer air and to the
left for cooler air.
Air Control Buttons
OFF: The system is off.
e : Provides maximum cooling or
quick cool-down on very hot days. This
setting recirculates most of the air inside
your vehicle. If it is used for long
periods of time,
the air may become dry.
This setting directs air through the upper
air vents. It will not work when outside
temperatures are below
40 OF (5 O C).
*J : Use for normal cooling on hot days.
This setting cools outside air and directs
it through the instrument panel vents. The air conditioner compressor also
operates in
%$ and w. It only works
when the outside temperature is above
freezing. When the air conditioner is
on, you may sometimes notice slight
changes
in your vehicle’s engine speed
and power. This is normal because
the system is designed to cycle the
compressor on and
off to keep the
desired cooling and help fuel economy.
: This setting cools outside air and
directs it through the instrument panel
vents and the heater ducts.
,J : Air flows through the instrument
panel vents.
-2 : This setting directs most of the air
through the heater ducts and some of the
air through the defroster vents.
9 : This setting directs most of the air
through the windshield defroster and
side window defogger vents and some
of the air through the heater ducts.
de
. . .IO6
Page 108 of 274
Downloaded from www.Manualslib.com manuals search engine Heating
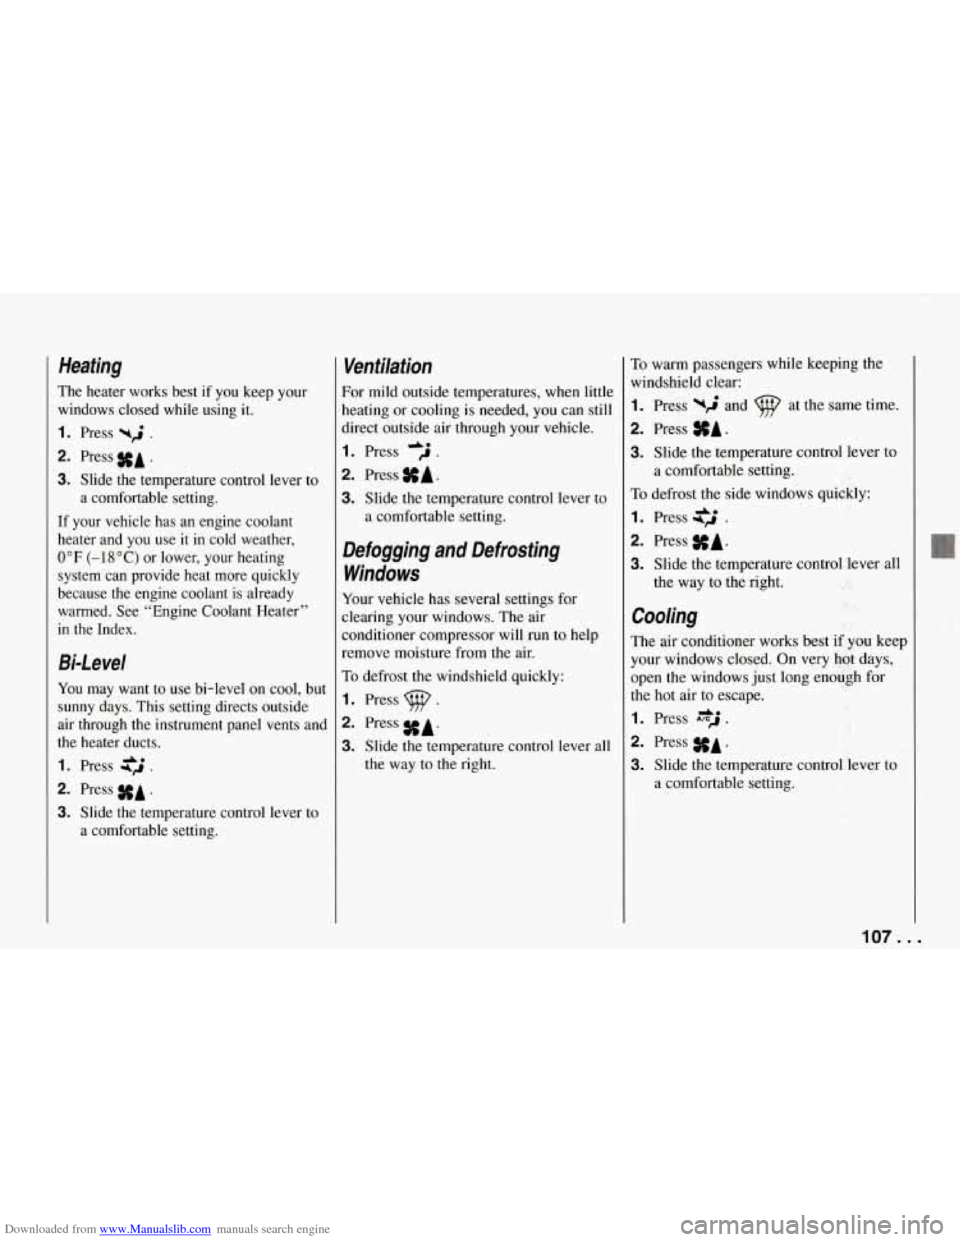
The heater works best if you keep your
windows closed while using it.
1. Press yri .
2. Press #A .
3. Slide the temperature control lever to
If your vehicle has an engine coolant
heater and you use it in cold weather,
0°F (-18°C) or lower, your heating
system can provide heat more quickly
because the engine coolant is already
warmed. See “Engine Coolant Heater”
in the Index. a comfortable setting.
Bi-Level
You may want
to use bi-level on cool, but
sunny days. This setting directs outside
air through the instrument panel vents and
the heater ducts.
1. Press $2 .
2. Press #A .
3. Slide the temperature control lever to
a comfortable setting.
Ventilation
For mild outside temperatures, when little
heating or cooling is needed, you can still
direct outside air through your vehicle.
I. Press .
2. Press SA.
3. Slide the temperature control lever to
a comfortable setting.
Defogging and Defrosting
Windows
Your vehicle has several settings for
Aearing your windows. The air
Zonditioner compressor will
run to help
remove moisture from the air.
To defrost the windshield quickly:
I. Press p .
2. Press SA.
3. Slide the temperature control lever all
the way to the right.
To warm passengers while keeping the
windshield clear:
1. Press wd and at the same time.
2. Press SA.
3. Slide the temperature control lever to
To defrost the side windows quickly:
I. Press .
2. Press SA.
3. Slide the temperature control lever all
a
comfortable setting.
the way to the right.
Cooling
The air conditioner works best if you keep
your windows closed. On very hot days,
,pen the windows just long enou,gh for
:he hot air to escape.
I. Press A*J .
2. Press SA.
3. Slide the temperature control lever to
a comfortable setting.
107. I
Page 109 of 274
Downloaded from www.Manualslib.com manuals search engine Comfort Controls and Audio Systems
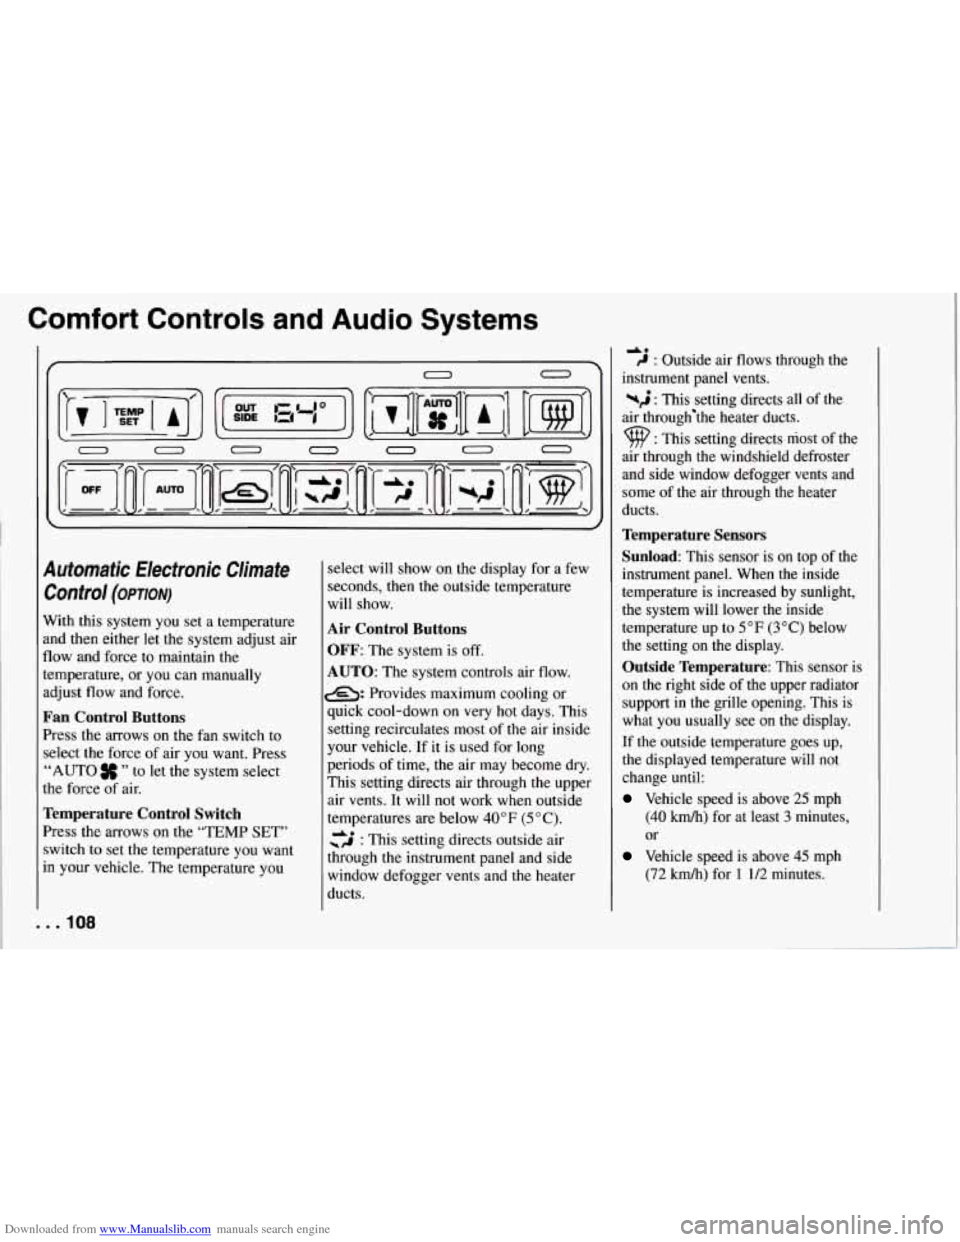
Automatic Electronic Climate Control
(OP~ON)
With this system you set a temperature
and then either let the system adjust air
flow and force to maintain
the
temperature, or you can manually
adjust flow and force.
Fan Control Buttons
Press the arrows on the fan switch to
select the force of air you want. Press
“AUTO
” to let the system select
the force of air.
Temperature Control Switch
Press the arrows on the “TEMP SET’’
switch to set the temperature you want
in your vehicle. The temperature you
. . .IO8
select will show on the display for a few
seconds, then the outside temperature
will show.
Air Control Buttons
OFF:
The system is off.
AUTO: The system controls air flow.
e: Provides maximum cooling or
quick cool-down on
very hot days. This
setting recirculates most of the air inside
your vehicle. If it is used for long
periods of time, the air may become dry.
This setting directs air through the upper
air vents. It will not work when outside
temperatures are below
40°F (5 “C).
cs : This setting directs outside air
through the instrument panel and side
window defogger vents and the heater
ducts.
40 C : Outside air flows through the
instrument panel vents.
%$ : This setting directs all of the
air through‘the heater ducts.
9 : This setting directs most of the
air through
the windshield defroster
and side window defogger vents and
some of the air through the heater
ducts.
Temperature Sensors
Sunload:
This sensor is on top of the
instrument panel. When the inside
temperature is increased by sunlight,
the system will lower the inside
temperature up to
5°F (3°C) below
the setting on the display.
Outside Temperature: This sensor is
on the right side of the upper radiator
support in the grille opening. This is
what you usually see on the display.
If the outside temperature goes up,
the displayed temperature will not
change until:
Vehicle speed is above 25 mph
(40 kmh) for at least 3 minutes,
or
Vehicle speed is above 45 mph
(72
km/h) for 1 1/2 minutes.
Page 126 of 274
Downloaded from www.Manualslib.com manuals search engine This is a mistake. Your brakes may not
have time to cool between hard stops.
Your brakes will wear out much faster if
you do a lot
of heavy braking. If you keep
pace with the traffic and allow realistic
following distances, you will eliminate a
lot of unnecessary braking. That means
better braking and longer brake life.
If your engine ever stops while you’re
driving, brake normally but don’t pump
your brakes. If you do, the pedal may get
harder to push down. If your engine stops,
you will still have some power brake
assist. But you will use it
when you brake.
Once the power assist is used up, it may
take longer to stop and the brake pedal
will be harder to push.
SERVICE
I
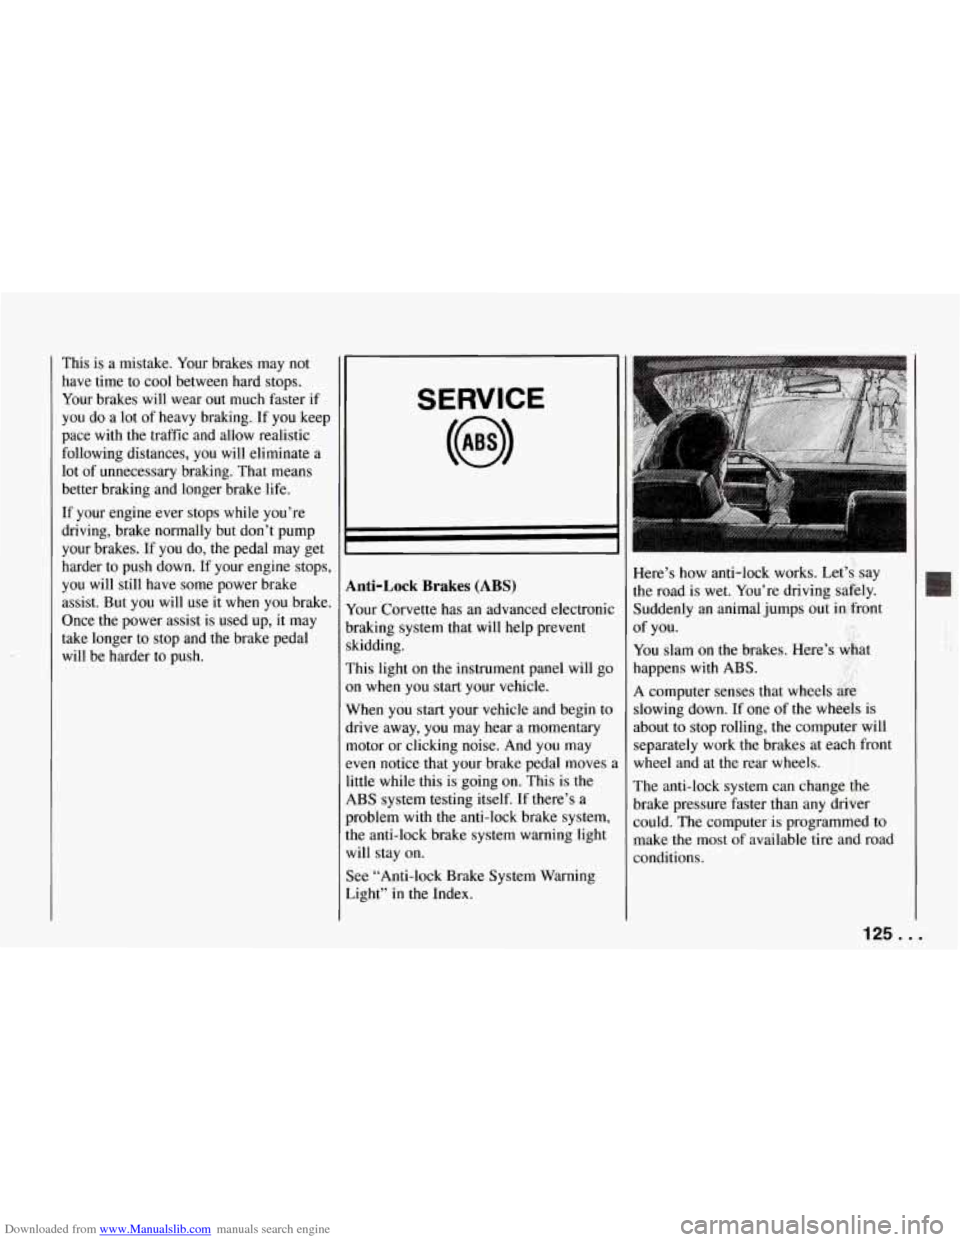
Anti-Lock Brakes (ABS)
Your Corvette has an advanced electronic
braking system that will help prevent
skidding.
This light on the instrument panel will go
on when you start your vehicle.
When you start your vehicle and begin to
drive away, you may hear a momentary
motor or clicking noise. And you may
even notice that your brake pedal moves
,
little while this is going on. This is the
ABS system testing itself. If there’s a
problem with the anti-lock brake system,
the anti-lock brake system warning light
will stay on.
See “Anti-lock Brake System Warning
Light” in the Index. Here’s how anti-lock works. Let’s, say
the road
is wet. You’re driving safely.
Suddenly an animal jumps out in front
You slam on the brakes. Here’s &at
happens with
ABS. ..
A computer senses that wheels &g,
slowing down. If one of the wheels is
about to stop rolling, the computer will
separately work the brakes at each front
wheel and at the rear wheels.
The anti-lock system can change
the
brake pressure faster than any driver
could. The computer is programmed to
make the most of available tire and road
conditions. of
you.
125..,
Page 213 of 274
Downloaded from www.Manualslib.com manuals search engine Service and Appearance Care
Non-greasy stains: Such as catsup,
coffee (black), egg, fruit, fruit juice, milk,
soft drinks, wine, vomit, urine and blood.
Carefully scrape off excess stain, then
sponge the soiled area with cool water.
0 If a stain remains, follow the
foam-type instructions described
earlier.
0 If an odor lingers after cleaning
vomit or urine, treat the area
with
a waterbaking soda solution:
1 teaspoon (5 ml) of baking soda to
1 cup (250 ml) of lukewarm water.
solvent-type cleaner.
0 If needed, clean lightly with
Combination stains: Such as candy,
ice cream, mayonnaise, chili sauce and
unknown stains.
0 Carefully scrape off excess stain, then
clean with cool water and allow to dry.
0 If a stain remains, clean it with
solvent-type cleaner.
Cleaning Vinyl
Use warm water and a clean cloth.
0 Rub with a clean, damp cloth to
remove dirt.
You may have to do it
more than once.
. . .212
0 Things like tar, asphalt and shoe
polish will stain if you don’t get them
off quickly. Use a clean cloth and
solvent-type vinyl cleaner.
Cleaning Leather
Use a soft cloth with lukewarm water and
a mild soap or saddle soap.
For stubborn stains, use a mild
solution of
10% isopropyl alcohol
(rubbing alchohol) and
90% water.
Never use oils, varnishes,
solvent-based or abrasive cleaners,
furniture polish or shoe polish on
leather.
Soiled leather should be cleaned
immediately. If dirt is allowed to work
into finish, it can harm the leather.
Cleaning Soft-Touch Surfaces
Use only mild soap and water to clean the
Soft-Touch paint surfaces in your
Corvette. For protection, use ArmorAll8
or equivalent.
Cleaning the Top of the Instrument
Panel
Use only mild soap and water to clean the
top surfaces of the instrument panel. Sprays containing silicones or waxes
may
cause annoying reflections in the
windshield and even make it difficult to
see through the windshield under certain conditions.
Cleaning Speaker Covers
Vacuum around a speaker cover gently,
so that the speaker won’t be damaged. If
something gets on one of them, follow the
steps under “Using Solvent-Type Cleaner
on Fabric.” Use as little solvent as you
can.
Care of Safety Belts
Keep belts clean and dry.