1994 CHEVROLET CORVETTE ECU
[x] Cancel search: ECUPage 21 of 274
Downloaded from www.Manualslib.com manuals search engine Seats and Restraint Systems
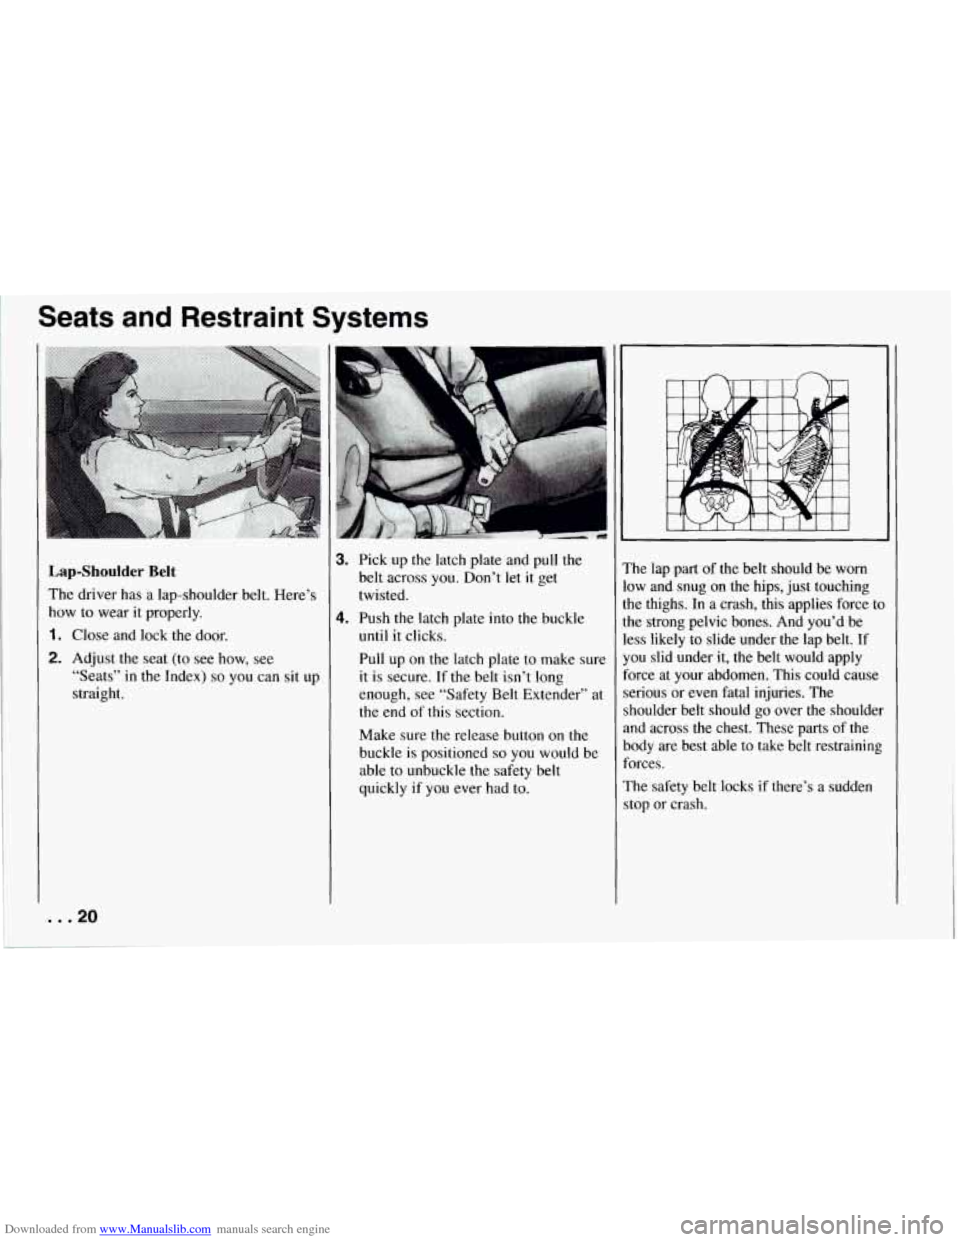
Lap-Shoulder Belt
The driver has a lap-shoulder belt. Here’s
how to wear it properly.
1. Close and lock the door.
2. Adjust the seat (to see how, see
“Seats” in
the Index) so you can sit up
straight.
... 20
3. Pick up the latch plate and pull the
belt across you. Don’t let it get
twisted.
4. Push the latch plate into the buckle
until it clicks.
Pull up on the latch plate to make sure
it is secure. If the belt isn’t long
enough, see “Safety Belt Extender” at
the end of this section.
Make sure the release button on the
buckle is positioned
so you would be
able to unbuckle the safety belt
quickly if you ever had to. ’he
lap part of
the belt should be worn
3w and snug on the hips, just touching
he thighs. In a crash, this applies force to
he strong pelvic bones. And you’d be
ess likely to slide under the lap belt. If
[ou slid under it, the belt would apply
orce at your abdomen. This could cause
;erious or
even fatal injuries. The
‘houlder belt should go over the shoulder
md across the chest. These parts of the
pody are best able to take belt restraining
orces.
The safety belt locks if there’s a sudden
top or crash.
Page 30 of 274
Downloaded from www.Manualslib.com manuals search engine Child Restraints
Be sure to follow the instructions for the
restraint. You may find these instructions
on the restraint itself or in a booklet, or
both. These restraints use
the belt system
in your vehicle, but the child also has to
be secured within the restraint to help
reduce the chance of personal injury.
restraint will show you how to do that.
The child restraint must be secured
properly in the passenger seat.
Keep in mind that an unsecured child
restraint can move around in a collision
or sudden stop and injure people in the
vehicle. Be sure to properly secure any
child restraint in your vehicle
- even
when no child is in it.
I The instructions that come with the child 1
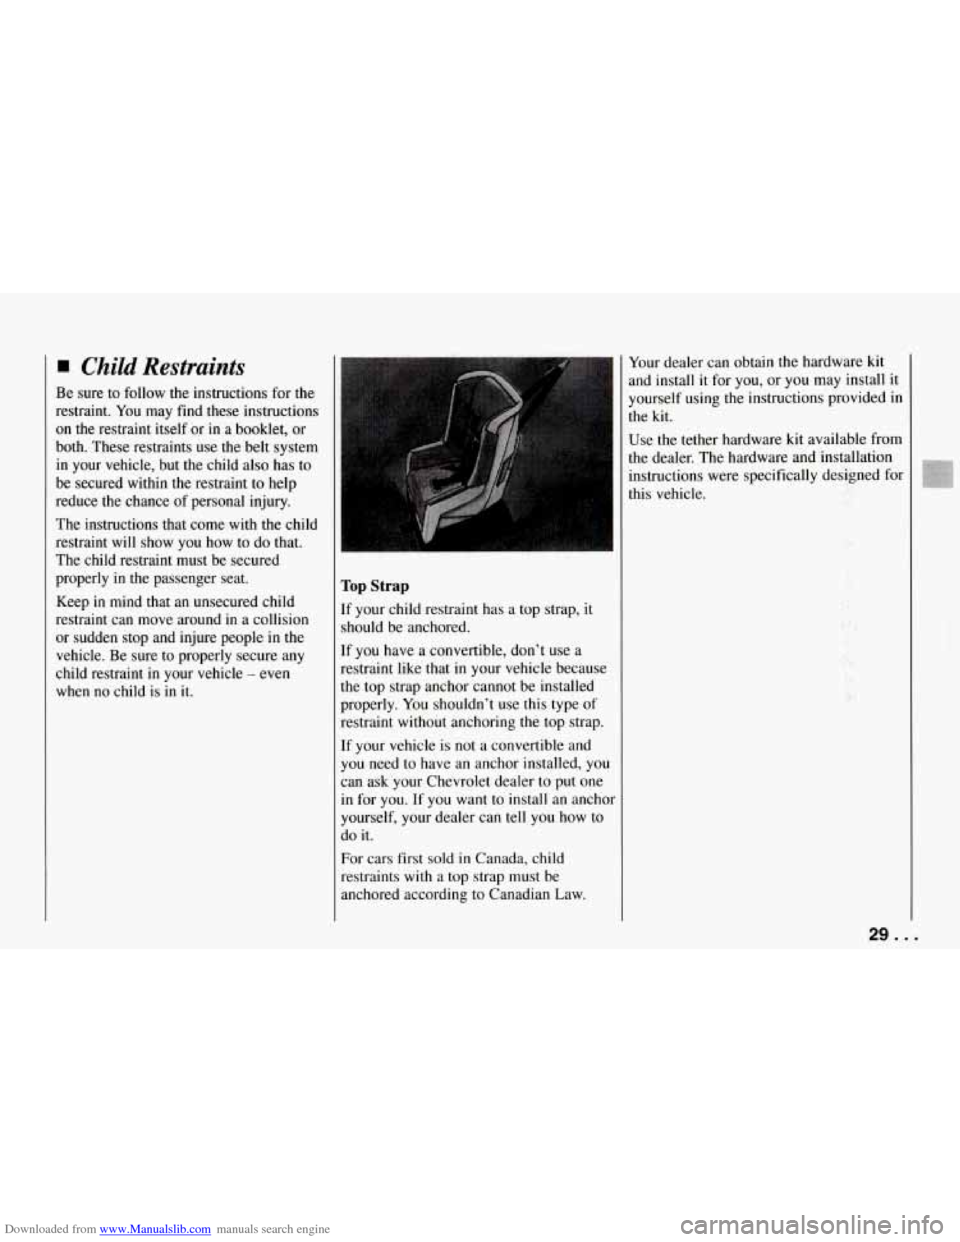
Top Strap
If your child restraint has a top strap, it
should be anchored.
If you have a convertible, don't use a
restraint like that in your vehicle because
the top strap anchor cannot be installed
properly. You shouldn't use this type of
restraint without anchoring the top strap.
If your vehicle is not a convertible and
you need to have an anchor installed,
yo^
can ask your Chevrolet dealer to put one
in for you. If you want to install an anchc
yourself, your dealer can tell you how to
do
it.
For cars first sold in Canada, child
restraints with
a top strap must be
anchored according to Canadian Law. Your
dealer can obtain the hardware kit
and install it for you, or you may install it
yourself using the instructions provided in
the kit.
Use the tether hardware kit available from
the dealer. The hardware and 'installation
instructions were specifically designed for
this vehicle.
29 . I I.
Page 31 of 274
Downloaded from www.Manualslib.com manuals search engine Seats and Restraint Systems
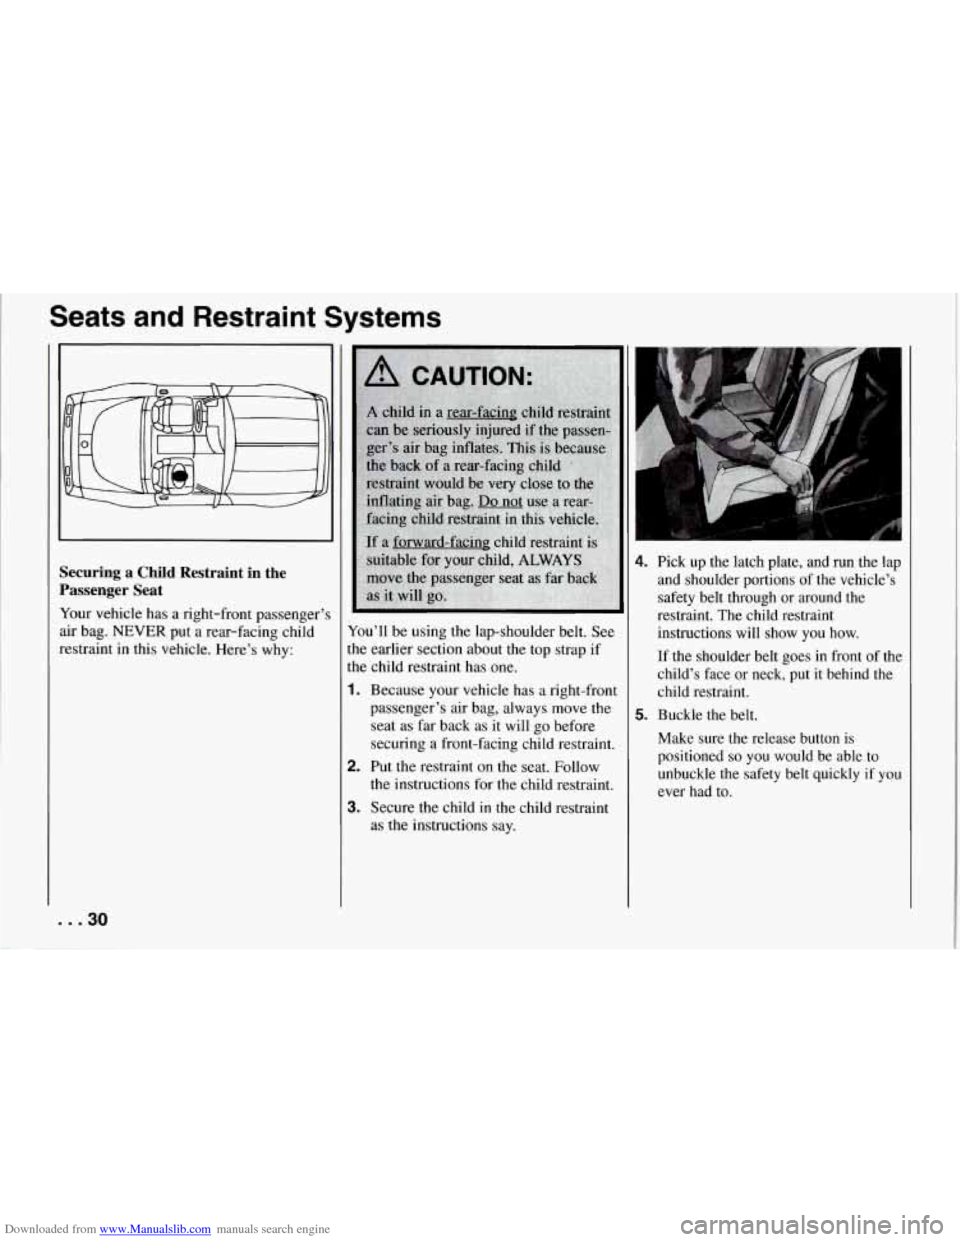
Securing a Child Restraint in the
Passenger Seat
Your vehicle has a right-front passenger’s
air bag.
NEVER put a rear-facing child
restraint in this vehicle. Here’s why:
... 30
You’ll be using the lap-shoulder belt. See
the earlier section about the top strap if
the child restraint has one.
1. Because your vehicle has a right-front
passenger’s air bag, always move the
seat as far back as it will go before
securing a front-facing child restraint.
2. Put the restraint on the seat. Follow
the instructions for the child restraint.
3. Secure the child in the child restraint
as the instructions say.
4. Pick up the latch plate, and run the lap
and shoulder portions of the vehicle’s
safety belt through or around the
restraint. The child restraint instructions will show you how.
If the shoulder belt goes in front of the
child’s face or neck, put it behind the
child restraint.
5. Buckle the belt.
Make sure the release button is
positioned
so you would be able to
unbuckle the safety belt quickly if you
ever had to.
Page 32 of 274
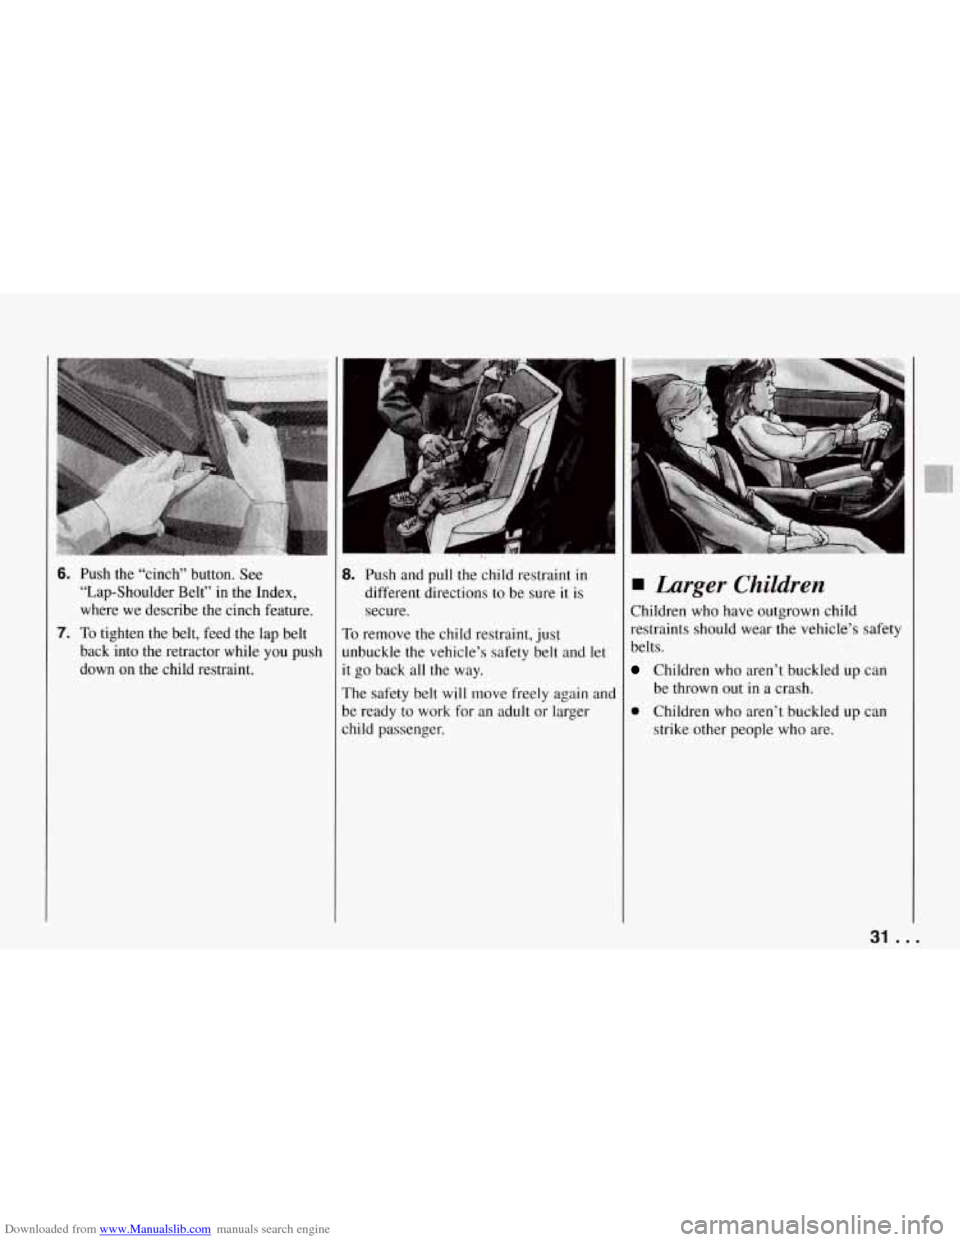
Downloaded from www.Manualslib.com manuals search engine 6. Push the “cinch” button. See
“Lap-Shoulder Belt” in the Index,
where we describe the cinch feature.
7. To tighten the belt, feed the lap belt
back into the retractor while you push down on the child restraint.
8. Push and pull the child restraint in
different directions to be sure
it is
secure.
To remove the child restraint, just
unbuckle the vehicle’s safety belt and let
it go back all the way.
The safety belt
will move freely again and
be ready to work for an adult or larger
child passenger.
Larger Children
Children who have outgrown child
restraints should wear the vehicle’s safety
belts.
Children who aren’t buckled up can
0 Children who aren’t buckled up can
be thrown
out
in a crash.
strike other people who are.
31 ...
Page 43 of 274

Downloaded from www.Manualslib.com manuals search engine Features and Controls
If you have a coupe, this switch is on the
rear of the driver’s door. It works with the
door open and the transmission in any
gear. Push it down to release the hatch.
The PKE transmitter will also release the
hatch. See “Passive Keyless Entry
System” in the Index.
... 42
If you don’t have battery power, use the
manual release cable
to open the-hatch.
The cable is near the security shade
handle, between the carpet and the shade.
Page 45 of 274

Downloaded from www.Manualslib.com manuals search engine Features and Controls
I Universal Theft
Deterrent
‘our Corvette has a theft deterrent
larm system. With this system, the
SECURITY” light will flash as you
pen the door (if your ignition is
off).
‘his light reminds you to arm the theft
eterrent system. Here’s how to do it:
. Open the door.
. Lock the door with the power door
lock switch or the Passive Keyless
Entry system. The “SECURITY” lieht
will come on.
. Close all the doors. The “SECURITY’
light should go
off.
... 44
Now, if a door or the hatch is opened
without the key or Passive Keyless Entry
system, the alarm will go
off. Your horn
will sound for three minutes, then it will
go
off to save battery power.
The theft deterrent system won’t
arm if
you lock the doors with a key or manual
door lock, or if you lock the vehicle after
the doors are closed.
If your passenger stays in the vehicle
when you leave with the keys, have the
passenger lock the vehicle after the doors
are closed. This way the alarm won’t
arm,
and your passenger won’t set it off.
Always use your key or the Passive
Keyless Entry system to unlock a door.
Unlocking a door any other way will set
off the alarm.
If you do set off the alarm
accidentally, there are three ways to stop
it:
Unlock any door with your key.
Put the ignition key in the ignition.
Use the Passive Keyless Entry system.
How to Test the Alarm
1. Make sure the rear hatch is latched.
2. Lower a window.
3. Arm the system.
4. Close the doors and wait five seconds.
5. Reach through the open window and
unlock the door from inside. The
alarm should sound.
6. Turn off the alarm.
If the alarm doesn’t go
off, check to see
if the horn works. If not, check the horn
fuse. See “Fuses and Circuit Breakers” in
the Index. If the horn does work, but the
alarm doesn’t go
off, see your dealer.
Page 46 of 274

Downloaded from www.Manualslib.com manuals search engine I
PASS-Key@
Your vehicle is equipped with the
PASS-Key@ (Personalized Automotive
Security System) theft deterrent system.
PASS-Key@ is a passive theft deterrent
system. This means you don’t have to do
anything different to arm or disarm the
system. It works when you insert or
remove the key from the ignition.
PASS-Key@ uses a resistor pellet in
the ignition key that matches a decoder
in your vehicle. When the PASS-Key@ system
senses that
someone is using the wrong key, it shuts
down the vehicle’s starter and fuel
systems. For about three minutes,
the
starter won’t work and fuel won’t go to
the engine. If someone tries to start your
vehicle again or uses another key during
this time, the shutdown period will start
over again. This discourages someone
from randomly trying different keys with
different resistor pellets in an attempt to
make a match.
The ignition key must be clean and dry
before it’s inserted in
the ignition or the
engine may not start. If the “SECURITY”
light comes on, the key may be dirty or
wet.
If this happens and the starter won’t work,
turn the ignition off. Clean and dry
the
key, wait three minutes and try again. If
the starter still won’t work, wait three
minutes and
try the other ignition key. At
this time, you may also want to check
the
fuses (see “Fuses and Circuit Breakers’’ in
the Index). If the starter won’t work with the
other key, your vehicle needs service.
[f your vehicle does start, the first ignition
key may be faulty. See your Chevrolet
Jealer or a locksmith who can service the
PASS-Key@
However, if you accidentally use a key
that has
a damaged or missing resistor
pellet, you will see no “SECURITY”
light.
You don’t have to wait three
minutes before trying the proper key.
if the resistor pellet is damaged
OF
missing, the starter won’t work. Use the
other ignition key, and see your Chevrolet
dealer or a locksmith who can service the
PASS-Key@ to have a new key made.
If the “SECURITY” light comes on while
driving, have your vehicle serviced as
soon as possible.
If you lose or damage a PASS-Key@
ignition key, see your Chevrolet
dealer or a locksmith who can service
PASS-Key@. In an emergency, call the
Chevrolet Roadside Assistance Program
at
1 -800-CHEV USA (1 -800-243-8872).
45 . I
Page 73 of 274
Downloaded from www.Manualslib.com manuals search engine Features and Controls
6. Gently lift up on the roof panel to be
sure
it is locked in place.
Installing the Roof Panel
1.
2.
Park on a level surface, set the parking
brake firmly and shift an automatic
transmission into “P” (Park). Shift a
manual transmission into
“R’
(Reverse).. Lower both windows, turn
the ignition key to “LOCK” and move
both sunshades to the side.
If the roof panel is stored in the rear
area, remove
it by reversing the steps
under “Storing the Roof Panel” above.
... 72
3. Lower the roof panel onto the vehicle,
rear edge first, and place the rear
guide pins into the holes in the roof
opening.
4. Lower the front of the roof panel, and
align the front guide pins.
5. Tighten the rear bolts part way.
NOTICE:
If you tighten bolts that are
improperly started,
the threads can
become stripped. Be sure all bolts are
properly started before you tighten
them.
6. Use the ratchet to start the front bolts.
If the bolts are hard to start, tighten
the rear bolts some more. Holding
down the panel on the outside will
also help.
front bolts.
7. Fully tighten the rear bolts, then the
If you hear a popping noise when you
drive,
the bolts may not be tight enough.
Be sure to tighten’them securely.
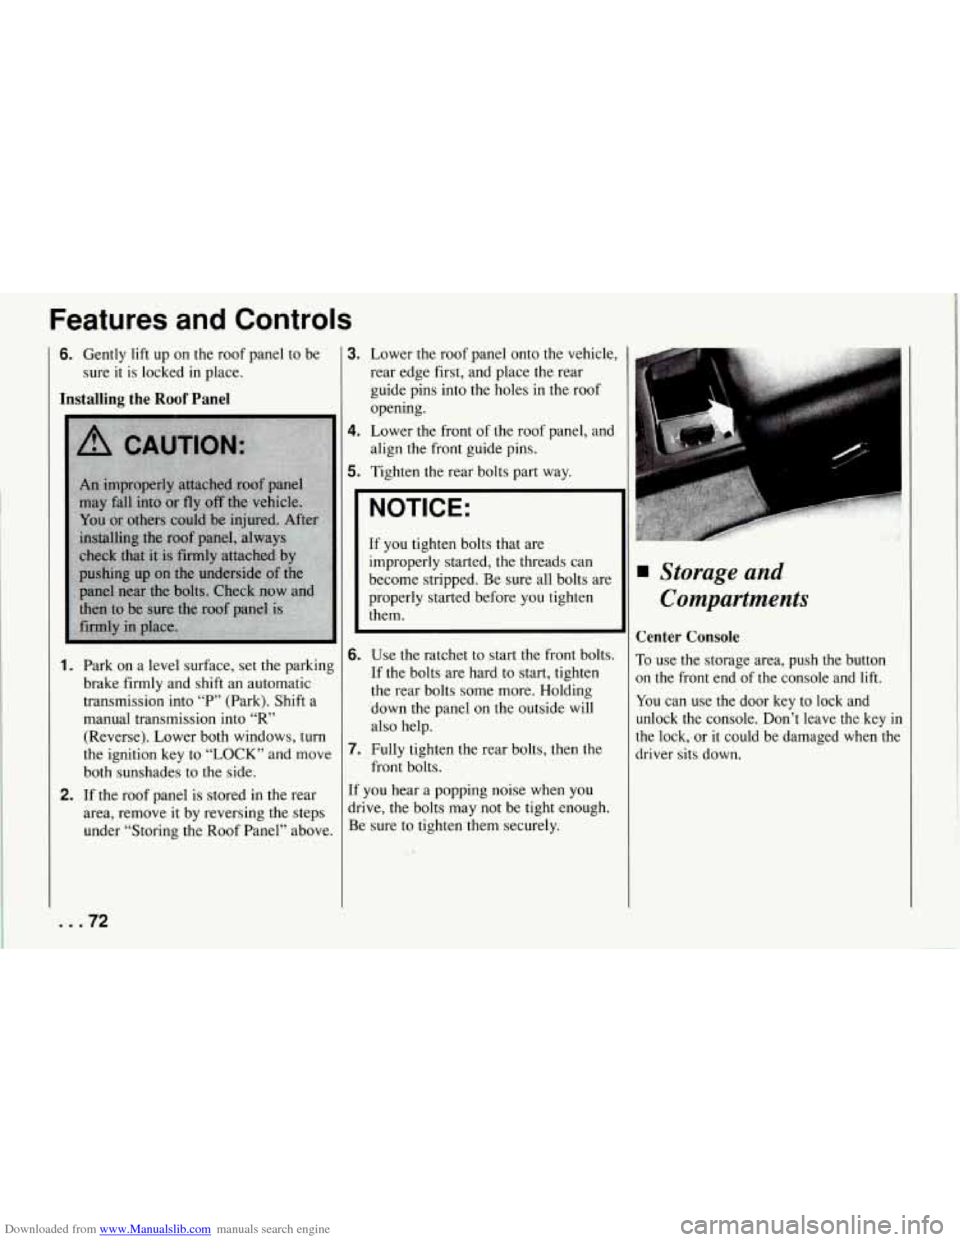
Storage and
Compartments
Center Console
To use the storage area, push the button
on the front end of the console and lift.
You can use the door key to lock and
unlock the console. Don’t leave the key
in
the lock, or it could be damaged when the
driver sits down.