1994 CHEVROLET CORVETTE check transmission fluid
[x] Cancel search: check transmission fluidPage 137 of 274
Downloaded from www.Manualslib.com manuals search engine Your Driving and the Road
What can you do about highway
hypnosis? First, be aware that
it can
happen.
Then here are some tips:
0 Make sure your vehicle is well
ventilated, with a comfortably cool
interior.
0 Keep your eyes moving. Scan the road
ahead and to the sides. Check your
rearview mirrors and your instruments
frequently.
0 If you get sleepy, pull off the road into
a rest, service, or parking area and
take a nap, get some exercise, or both.
For safety, treat drowsiness on
the
highway as an emergency.
Hill and Mountain
Roads
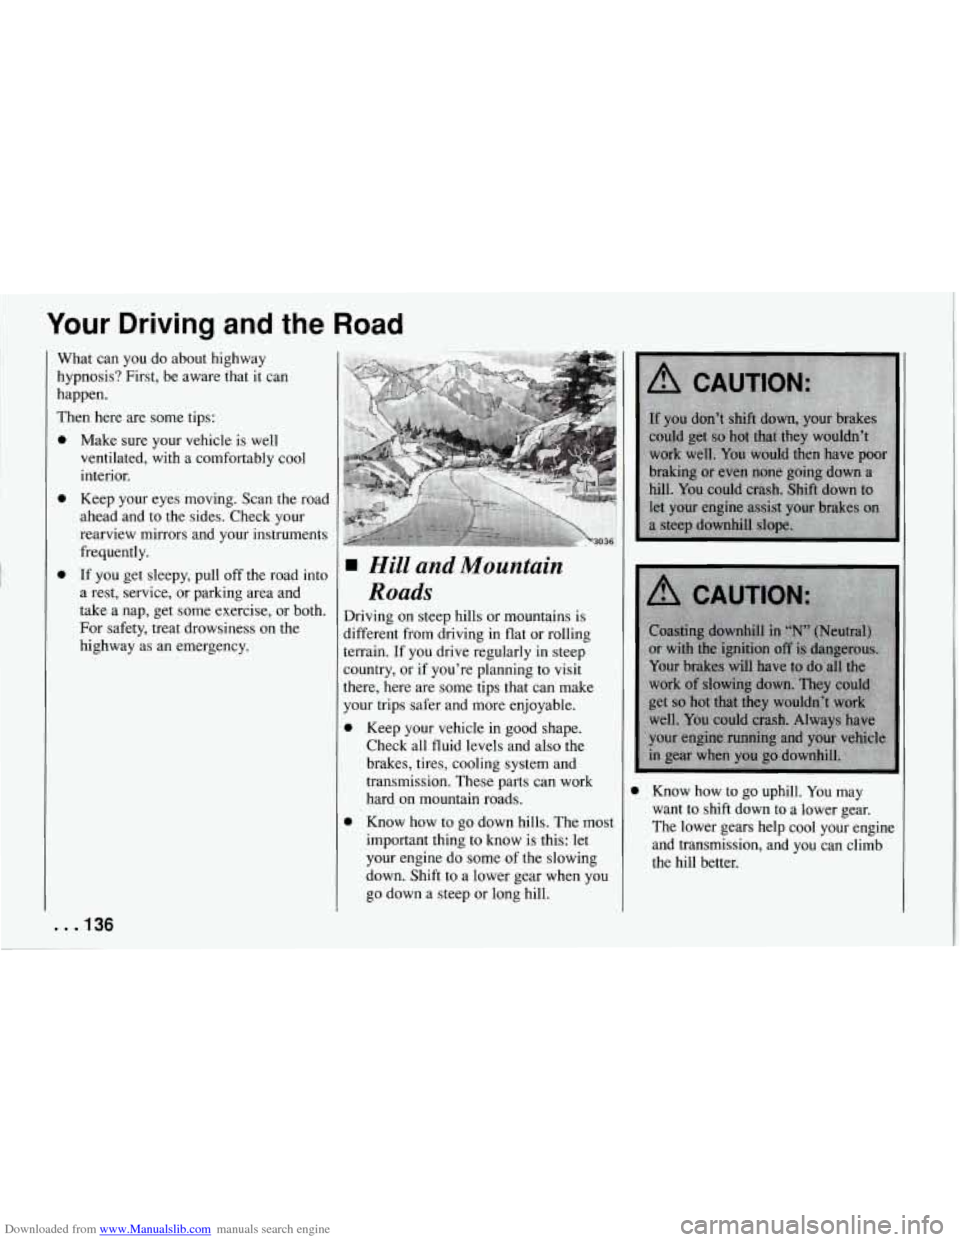
Driving on steep hills or mountains is
jifferent from driving in flat or rolling
terrain. If you drive regularly in steep
zountry, or if you’re planning to visit there, here are some tips that can make
your trips safer and more enjoyable.
Keep your vehicle in good shape.
Check all fluid levels and also the
brakes, tires, cooling system and
transmission. These parts can work
hard on mountain roads.
Know how to go down hills. The most
important thing to know is this: let
your engine do some
of the slowing
down. Shift to a lower gear when you
go down a steep or long hill.
0 Know how to go uphill. You may
want to shift down to a lower gear.
The lower gears help cool your engine and transmission, and you can climb
the hill better.
. . .136
Page 172 of 274

Downloaded from www.Manualslib.com manuals search engine Here you will find information
about the care of your Corvette
.
This part begins with service
and fuel information. and then it
shows how
to check important
fluid and lubricant levels
. There
is also technical information
about your vehicle. and a section devoted
to its
appearance care
.
Part 6
Service & Appearance Care
Service ........................................................
Fuel ..........................................................
Checking Things under the Hood ...................................
HoodRelease .................................................
Engineoil .................................................
Aircleaner ........................... ...................
Automatic Transmission Fluid ..................................
Manual Transmission Fluid ......................................
Hydraulic Clutch ...............................................
RearAxle ....................................................
Enginecoolant ................................................
Power Steering Fluid ...........................................
Windshield Washer Fluid ........................................
Brake Master Cylinder ..........................................
Battery ......................................................
Bulb Replacement ...............................................
Windshield Wiper Blades ..........................................
Tires ..........................................................
Appearancecare ................................................
Appearance Care Materials Chart ...................................
Vehicle Identification Number (VIN) ................................
Service Parts Identification Label ...................................
Add-on Electrical Equipment ......................................
Fuses and Circuit Breakers ........................................
Replacement Bulbs ..............................................
Capacities and Specifications ...................................
LoadingYourVehicle ............................................
172
173
175
175
178
182 184
186
187
188
188
191
192
193
195
195
202
202
204
210
217
218
218
218
219
223
224
171 ..
Page 185 of 274

Downloaded from www.Manualslib.com manuals search engine Service and Appearance Care
5.
0
0
Reverse the steps.
Align the tabs
to the slots in the
bottom of the assembly before you
replace it.
Install the short knob into the middle
hole first. Then install the longer
knobs into the outer holes.
Automatic Transmission Fluid
When to Check and Change
4 good time to check your automatic
:ransmission fluid level is when the
mgine oil is changed. Refer to the
Maintenance Schedule to determine when
co change your fluid. See “Scheduled
Maintenance Services” in the Index.
How to Check
Because this operation can be a little
iifficult, you may choose to have this
done at a Chevrolet dealership Service
Department.
[f you do it yourself, be sure to follow all
the instructions here, or you could get a
false reading on the dipstick.
NOTICE:
Too much or too little fluid can dam-
age your transmission.
Too much can
mean that some of the fluid could
come out and fall
on hot engine parts
or exhaust system, starting a fire. Be
sure to get an accurate reading if you
check your transmission fluid. Wait
at least 30 minutes before checking
the transmission fluid level if you have
been driving:
0 When outside temperatures are above
0 At high speed for quite a while.
0 In heavy traffic - especially in hot
To get the right reading, the fluid should
be at normal operating temperature, which is
180°F to 200°F (82°C to 93°C).
To check transmission fluid hot: Get
the vehicle warmed up by driving
about
15 miles (24 km) when outside
temperatures are above
50°F (10°C). If
it’s colder than
50°F (10°C)’ drive the
vehicle in
“D’ (Third Gear) until the
engine temperature gage moves and then
remains steady for ten minutes. Then follow the hot check procedures.
To check transmission fluid cold: A cold
check is made after the vehicle has been sitting for eight hours or more with the
engine
off and is used only as a reference.
Let the engine run at idle for five minutes
if outside temperatures are 50” F ( 1 OOC)
or more. If it’s colder than 50°F ( 10°C)’
you may have to idle the engine longer.
Should the fluid level be low during a
90°F (32°C).
weather.
. . .184
Page 186 of 274
Downloaded from www.Manualslib.com manuals search engine cold check, you must perform a hot check
before adding fluid. This will give you a
more accurate reading
of the fluid level.
To check the fluid hot or cold
0
Park your vehicle on a level place.
With the parking brake applied, place
the shift lever in “P” (Park).
With your foot
on the brake pedal,
move the shift lever through each gear
range, pausing for about three seconds
in each range. Then, position the shift
lever
in “P’ (Park).
Let the engine run at idle for three
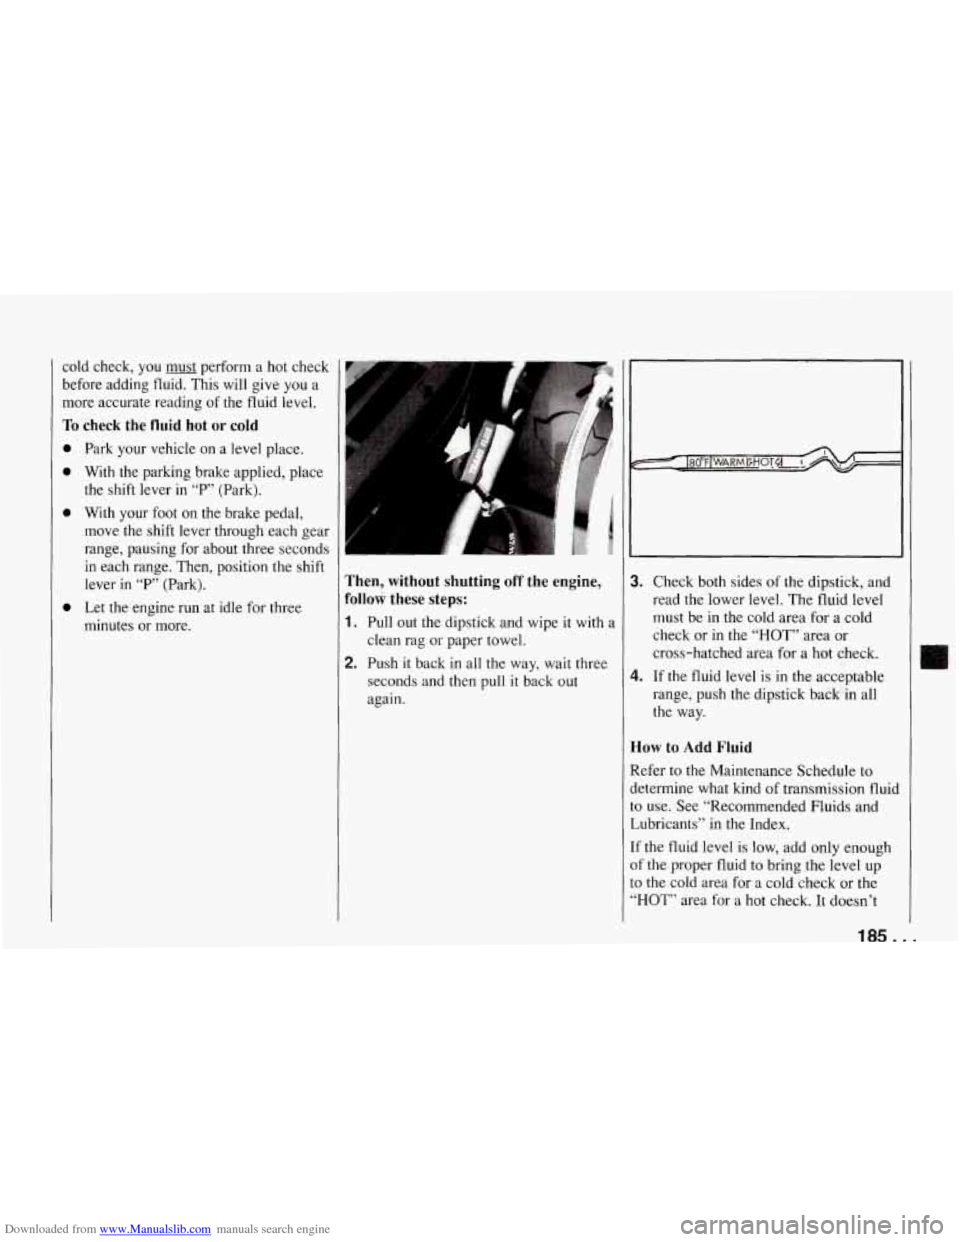
minutes or more. Then, without shutting off the engine,
Follow these steps:
1. Pull out the dipstick and wipe it with a
clean rag or paper towel.
2. Push it back in all the way, wait three
seconds and then pull
it back out
again.
3. Check both sides of the dipstick, and
read the lower level. The fluid level
must be in the cold area for a cold
check or in the
“HOT” area or
cross-hatched area for a hot check.
range, push the dipstick back in all
the way.
4. If the fluid level is in the acceptable
How to Add Fluid
Refer to the Maintenance Schedule to
determine what kind of transmission fluid to use. See “Recommended Fluids and
Lubricants” in the Index.
If the fluid level
is low, add only enough
of the proper fluid to bring the level up
to the cold area for a cold check or the
“HOT” area for a hot check. It doesn’t
Page 187 of 274
Downloaded from www.Manualslib.com manuals search engine Service and Appearance Care
;ake much fluid, generally less than a pint.
Don’t overfill. We recommend you use
mly fluid labeled DEXRON@-111 or
DEXRON@-IIE, because fluids with that
label are made especially for your
automatic transmission. Dama e caused
by fluid other than DEXRON -111 or
DEXRON@-IIE is not covered by your
new vehicle warranty.
0 After adding fluid, recheck the fluid
level as described under “How to
Check.”
obtained, push the dipstick back in all
the way.
D
0 When the correct fluid level is
Manual Transmission Fluid
How to Check:
Because this operation can be difficult,
you may choose to have this done at a
Chevrolet dealership Service Department.
If you do it yourself, be sure to follow all
the instructions here, or you could get a
false reading.
. . .I86
NOTICE:
Too much or too little fluid can
damage your transmission.
Too much
can mean that some of the fluid could
come out and fall on hot engine parts
or exhaust system, starting a fire. Be
sure to get an accurate reading if
you
check your transmission fluid.
:heck the fluid level only when your
mgine is
off, the vehicle is parked on a
eve1 place and the transmission is cool
:nough for you to rest your fingers on
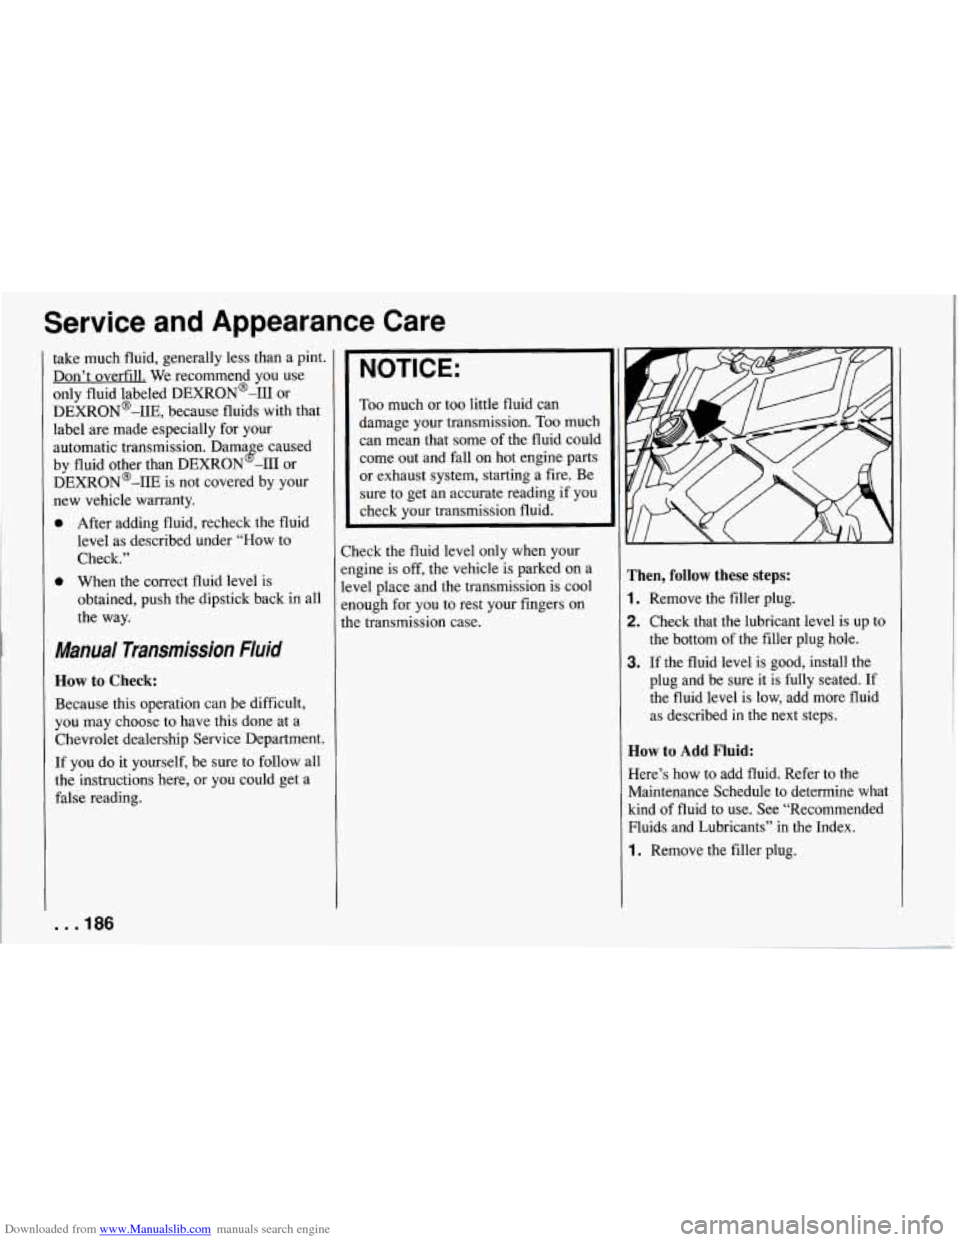
he transmission case. Then, follow these steps:
1. Remove the filler plug.
2. Check that the lubricant level is up to
the bottom of the filler plug hole.
3. If the fluid level is good, install the
plug and be sure it is fully seated. If
the fluid level is low, add more fluid
as described in the next steps.
How to Add Fluid:
Here’s how to add fluid. Refer to the
Maintenance Schedule to determine what
kind of fluid to use. See “Recommended
Fluids and Lubricants”
in the Index.
1. Remove the filler plug.
Page 227 of 274
Downloaded from www.Manualslib.com manuals search engine l Service and Appearance Care
Capacities (Approximate)
The following approximate capacities are given in U.S. and metric conversions.
Air Conditioningt
...... See the refrigerant information label under the hood.
Automatic Transmission
Drain and Refill
....................................... 10.0 pt. (4.7 L)*
Overhaul
............................................ 21.6 pt. (10.2 L)*
VIN Engine Code J ................................... 14.7 qt. (1 3.9 L)
VIN Engine Code
P ................................... 17.8 qt. (16.9 L)
VIN Engine Code J
Cooling System
Crankcase Without Filter Change
................................. 7.6 qt. (7.2 L)*
With Filter Change
.................................... 8.6 qt. (8.1 L)*
Without Filter Change ................................. 4.0 qt. (3.8 L)*
With Filter Change .................................... 4.5 qt. (4.3 L)*
Fuel Tank ............................................ 20.0 gal. (75.7 L)
Manual Transmission (Overhaul)
............................ 4.4 pt. (2.1 L)*
Rear Axle
Lubricant
............................................ 1.5 qt. (1.42 L)*
Limited-Slip Additive
................................. 4.0 oz. (1 18 ml)
VIN Engine
Code
P
tNot all air conditioning refrigerants are the same. If the air conditioning system in
your vehicle needs refrigerant, be sure the proper refrigerant is used. If you’re not
sure, ask your Chevrolet dealer.
*Recheck fluid level after filling. See Part
6 or the Index.
.. .226
Page 238 of 274
Downloaded from www.Manualslib.com manuals search engine ITEM
NO. SERVICE
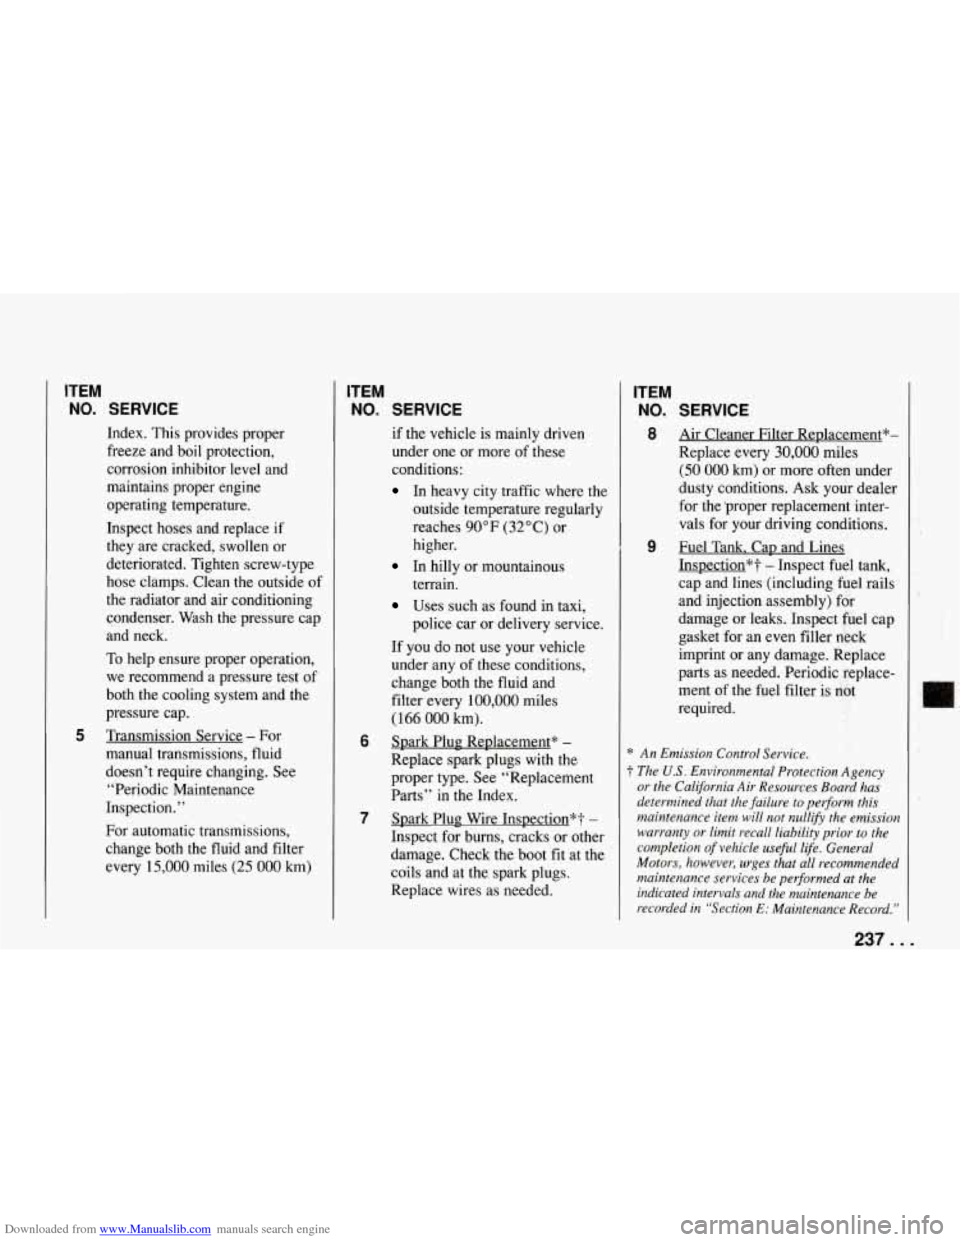
Index. This provides proper
freeze and boil protection,
corrosion inhibitor level and
maintains proper engine
operating temperature.
Inspect hoses and replace if
they are cracked, swollen or
deteriorated. Tighten screw-type
hose clamps. Clean the outside of
the radiator and air conditioning
condenser. Wash the pressure cap
and neck.
To help ensure proper operation,
we recommend a pressure test of
both the cooling system and the
pressure cap.
5 Transmission Service - For
manual transmissions, fluid
doesn’t require changing. See
“Periodic Maintenance
Inspection.”
For automatic transmissions,
change both the fluid and filter
every
15,000 miles (25 000 km)
ITEM
NO. SERVICE
if the vehicle is mainly driven
under one or more of these
conditions:
In heavy city traffic where the
outside temperature regularly
reaches
90 OF (32 O C) or
higher.
In hilly or mountainous
terrain.
Uses such as found in taxi,
police car or delivery service.
If you do not use your vehicle
under any of these conditions,
change both
the fluid and
filter every
100,000 miles
(1 66 000 km).
Replace spark plugs with the
proper type. See “Replacement
Parts” in the Index.
6 Spark Plug Replacement* -
7 Spark Plug Wire Inspection*? -
Inspect for burns, cracks or other
damage. Check the boot fit at the
coils and at the spark plugs.
Replace wires as needed.
ITEM
NO. SERVICE
8 Air Cleaner Filter Replacement*-
Replace every
30,000 miles
(50 000 km) or more often under
dusty conditions. Ask your dealer
for the ’proper replacement inter-
vals for your driving conditions.
Inspection*?
- Inspect fuel tank,
cap and lines (including fuel rails
and injection assembly) for
damage or leaks. Inspect fuel cap
gasket for an even filler neck
imprint or any damage. Replace
parts as needed. Periodic replace-
ment of the fuel filter is not
required.
9 Fuel Tank. Cap and Lines
* An Emission Control Service.
t The U.S. Environmental Protection Agency
or the California Air Resources Board has
determined that the failure to perform this
maintenance item will not nullify the emission
warranty or limit recall liability prior to the
completion
of vehicle useful life. General
Motors, however, urges that all recommended
maintenance services be performed at the
indicated intervals and the maintenance be
recorded in “Section
E: Maintenance Record.”
I -I
237. . .
Page 244 of 274
Downloaded from www.Manualslib.com manuals search engine INSPECTION
OR SERVICE
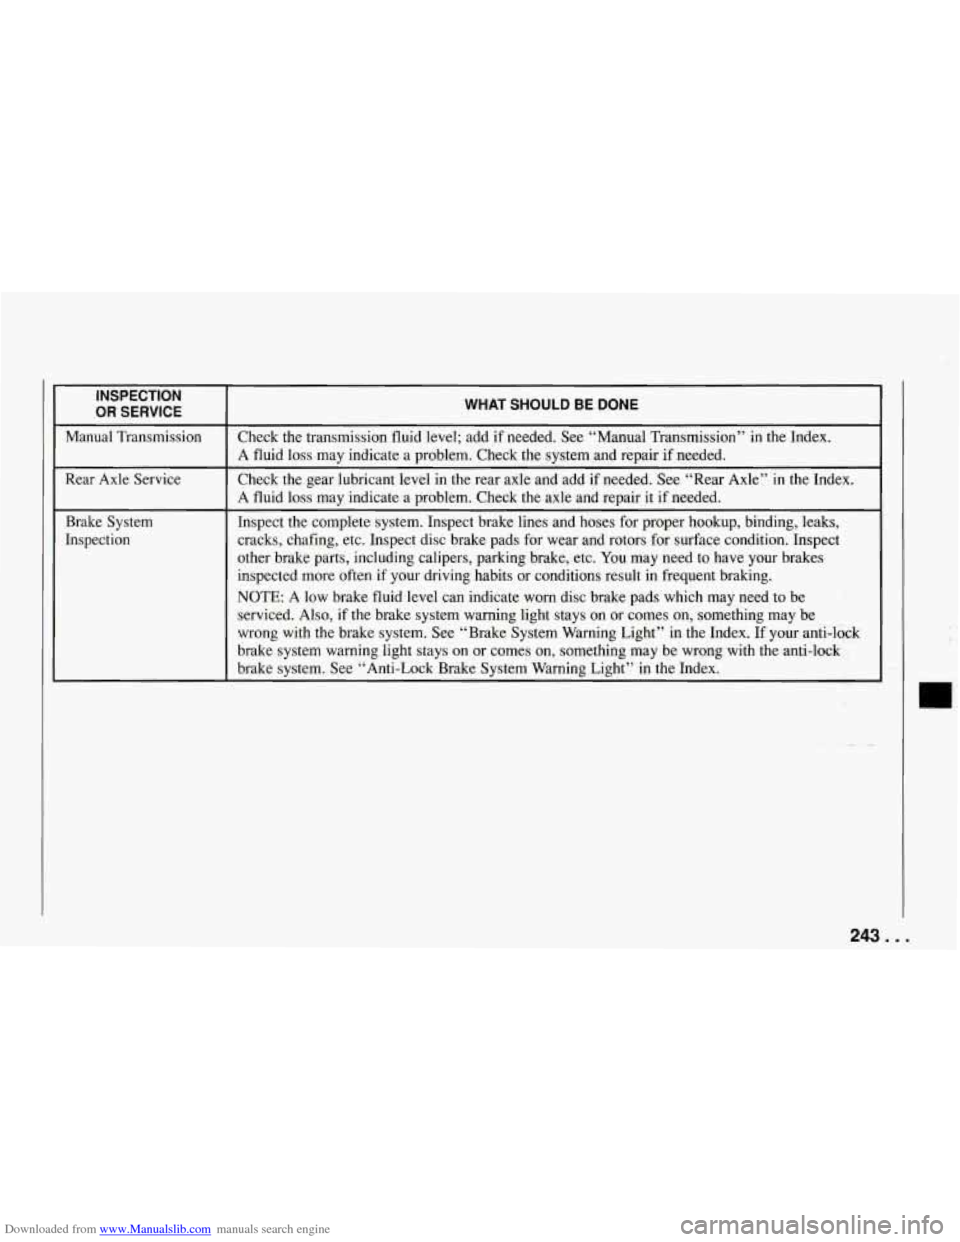
I WHAT SHOULD BE DONE
Manual Transmission
Inspect the complete system. Inspect brake lines and hoses for proper hookup, binding, leaks,
Brake System Check the gear lubricant level in the rear axle and add
if needed. See “Rear Axle” in the Index.
Rear Axle Service Check the transmission fluid level;
add if needed. See “Manual Transmission” in the Index.
Inspection cracks, chafing, etc. Inspect disc brake pads
for wear and rotors for surface condition. Inspect
A fluid loss may indicate a problem. Check the system and rep\
air
if needed.
A fluid loss may indicate a problem. Check the axle and repair it
if needed.
other brake parts, including calipers, parking brake, etc. You may need to have your brakes
inspected more often if your driving habits or conditions result in frequent braking.
NOTE: A low brake fluid level can indicate worn disc brake pads whi\
ch may need to be
serviced. Also, if the brake system warning light stays on or comes on, something may be
wrong with the brake system. See “Brake System Warning Light” in the Index.
If your anti-lock
brake system warning light stays on or comes on, something may be wrong with the anti-lock
brake system. See
“ Anti-Lock Brake System Warning Light” in the Index.
I 1
243. . .