Page 74 of 274
Downloaded from www.Manualslib.com manuals search engine i
-l
Your roof panel or hardtop wrench is
stored here. Rear Storage Compartment
This compartment is in the floor behind
the passenger seat.
To use it, push the
button and lift the lid. Use the door key
to lock it.
The top tray can be removed. The jack,
wheel lock key and wheel
nut socket are
stored below the tray.
NOTICE:
Your Corvette’s radio receiver is in
the rear storage compartment.
To
help avoid damage to the receiver:
0 Securely store jack in foam
0 Store any other objects under
the storage tray carefully.
0 Do not store items such as
liquids or sharp objects that
could puncture or cut the radio
receiver or wiring.
container
after use.
Also, to reduce the potential for radio
receiver interference, do not install
any other electronic module under
the storage tray.
Door Storage Compartment
Each door has a storage compartment
below the armrest.
73 ...
Page 75 of 274
Downloaded from www.Manualslib.com manuals search engine Features and Controls
Security Shade (Coupe)
The security shade can provide hidden
storage in the rear area
of your vehicle.
To use the security shade:
1. Pull the security shade by the center
handle.
... 74
T
2. Put the ends of the shade into the slots
behind the seats.
Sun Visors
To block out glare, you can swing down
the visors. You can also swing them to the
side.
Page 83 of 274

Downloaded from www.Manualslib.com manuals search engine Features and Controls
Warning Lights, Gauges
and Indicators
This section describes the warning lights
and gauges that may be on your vehicle.
The pictures will help you locate them.
Warning lights and gauges can signal that
something is wrong before it becomes
serious enough to cause an expensive
repair or replacement. Paying attention
to your warning lights and gauges could
also save you or others from injury.
Warning lights go on when there may be
or
is a problem with one of your vehicle’s
functions.
As you will see in the details
on the
next few pages, some warning
lights come on briefly when you turn the
ignition key just to let you know they’re
working. If you are familiar with this
section, you should not be alarmed when
this happens.
Gauges can indicate when there may be
or is a problem with one of your vehicle’s
functions. Often gauges and warning
lights work together to
let you know
when there’s a problem with your vehicle.
... 82
When one of the warning lights comes on
and stays on when you are driving, or
when one of the gauges shows there may
be a problem, check the section that tells
you what to do about
it. Please follow the
manual’s advice. Waiting to
do repairs
can be costly
- and even dangerous. So
please get to know your warning lights
and gauges. They’re a big help.
Your vehicle also has a driver information
center that works along with the warning
lights and gauges. See “Driver Information Center’’
in the Index.
System Problems
If “SYS” flashes on the display near your
fuel gauge, there may be a problem with
your Corvette’s electrical system. If the
“SECURITY” light flashes at the same
time, there is a problem with your theft
deterrent system. Have your vehicle
checked by your dealer
if “SYS’ keeps
appearing.
Gauge Markings
The analog gauges provide a quick visual
reference to the actual measurement of
these gauges. However, you must keep in mind that the gauges aren’t linear. This means that the middle mark is not
a
temperature halfway between the top and
bottom temperatures on the gauge. For
example, the middle mark on the coolant
gauge represents 210°F,
not 180°F as you
might expect.
Page 97 of 274

Downloaded from www.Manualslib.com manuals search engine Features and Controls
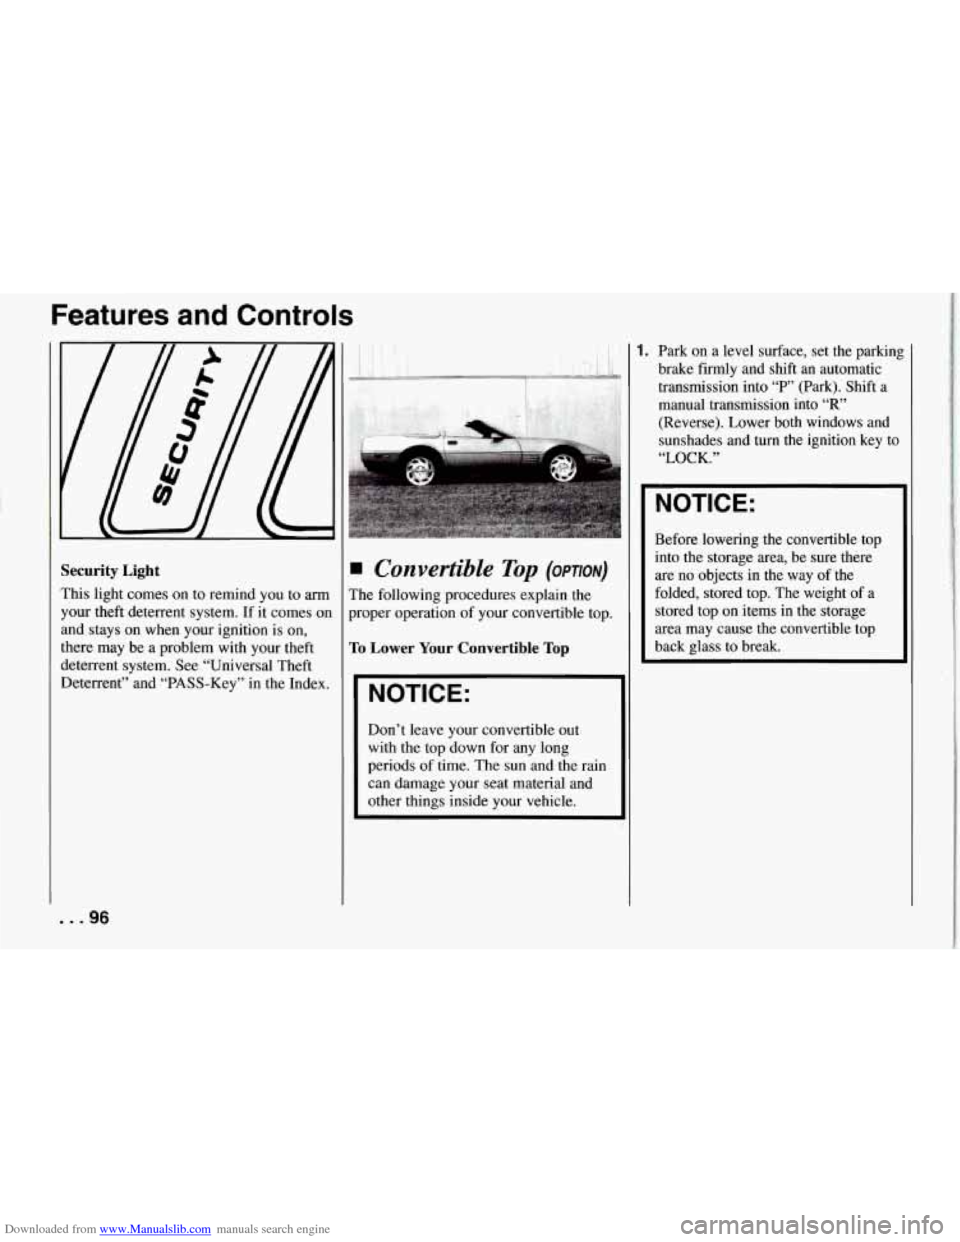
Security Light
This light comes on to remind you to arm
your theft deterrent system. If it comes on
and stays on when your ignition is on,
there may be a problem with your theft
deterrent system. See “Universal Theft
Deterrent” and “PASS-Key” in the Index.
Convertible Top (OPTION)
The following procedures explain the
proper operation of your convertible top.
To Lower Your Convertible Top
NOTICE:
~~
Don’t leave your convertible out
with the top down for any long
periods
of time. The sun and the rain
can damage your seat material and
other things inside your vehicle.
1. Park on a level surface, set the parkin8
brake firmly and shift an automatic
transmission into
“P’ (Park). Shift a
manual transmission into
“R”
(Reverse). Lower both windows and
sunshades and
turn the ignition key to
“LOCK.”
NOTICE:
Before lowering the convertible top
into the storage area, be sure there
are
no objects in the way of the
folded, stored top. The weight of a
stored top
on items in the storage
area may cause the convertible top
back glass to break.
... 96
Page 100 of 274
Downloaded from www.Manualslib.com manuals search engine To Raise Your Convertible Top
1. Park on a level surface, set the parking
brake firmly and shift an automatic
transmission into
“P” (Park). Shift a
manual transmission into
“R’
(Reverse). Lower both windows and
sunshades and turn the ignition key to
“LOCK.”
2. Press either the storage compartment lid release button behind the driver’s
seat or in the center console.
3. Turn the latch handles outward. Pull
the top up and forward until it lines
UI
with the windshield.
4. Latch the top by turning the handles
toward the center of the vehicle.
If
needed, push down on the outside
corners.
5. Lift the rear of the top and close the
compartment lid firmly.
I I
6. Lower the rear of the top so the latch
pins align with the holes in the lid.
To
secure the rear of the top, push down
firmly on both corners.
99 ...
Page 105 of 274
Downloaded from www.Manualslib.com manuals search engine Features and Controls
3. Secure but don’t tighten the rear
corner bracket bolts using the ratchet.
. .lo4
10. Tighten the front bolts using the
11. Insert the lower bolt into the bottom
flange of the lock pillar brackets
and tighten. Install and tighten the
remaining bolts into the lock pillar
brackets. wrench.
12. Using the
ratchet, tighten the rear
corner bracket bolts.
Do not
over-tighten these bolts.
13. Slide the rear trim panel in place.
Page 138 of 274

Downloaded from www.Manualslib.com manuals search engine 0
0
0
Stay in your own lane when driving
on two-lane roads. in hills or
mountains. Don't swing wide or cut
across the center of the road. Drive at speeds that let you stay in your own
lane.
As you go over the top of a hill, be
alert. There could be something in
your lane, like
a stalled car or an
accident.
You may see highway signs on
mountains
that warn of special
problems. Examples are long grades,
passing or no-passing zones, a falling
rocks area, or winding roads. Be alert
to these and take appropriate action.
0
0
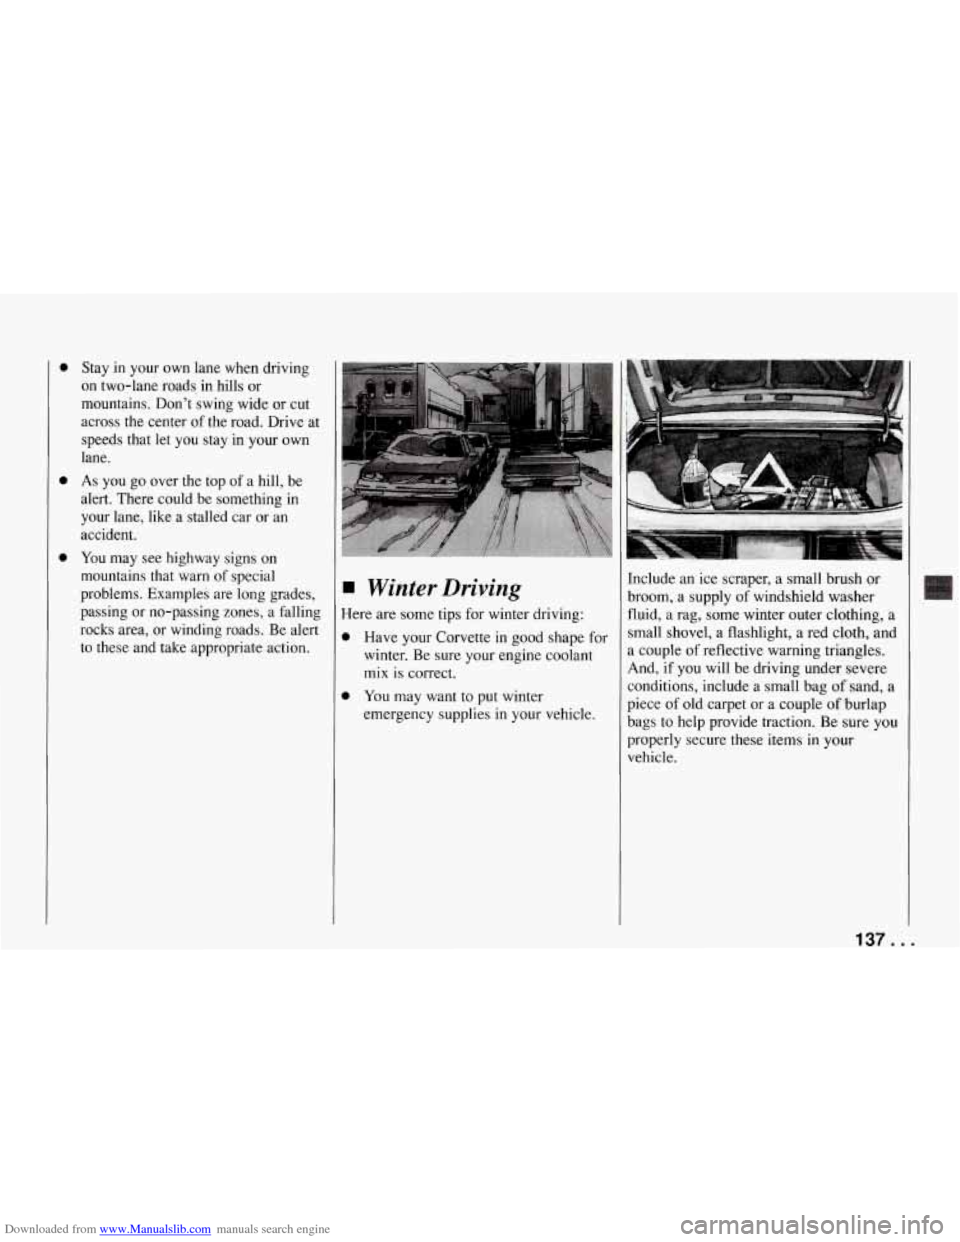
Winter Driving
Here are some tips for winter driving:
Have your Corvette in good shape for
winter. Be sure your engine coolant
mix
is correct.
You may want to put winter
emergency supplies in your vehicle.
I ,,;;. &_ $*>;.$ , x; ':. . , ;"!d i
Include an ice scraper, a small brush or
broom, a supply of windshield washer
fluid, a rag, some winter outer clothing, a
small shovel, a flashlight, a red cloth, and
a couple
of reflective warning triangles.
And,
if you will be driving under severe
conditions, include a small bag
of sand, a
piece of old carpet or a couple
of burlap
bags to help provide traction. Be sure you
properly secure these items
in your
vehicle.
137 ...
Page 223 of 274
Downloaded from www.Manualslib.com manuals search engine Service and Appearance Care
. . .222
1 I INTERIOR LIGHTING
20A I
I RH HDLP 30A I I I
h 3 5 I SECONDARY COOLING FAN
40A I
6 I EXTERIOR LIGHTING
60A
I
7 piiiFiAAccsy
I
AIR PUMP
20A I
Forward Lamp Fuse Block
1 - Interior Lighting (20 Amp.)
2 - Primary Cooling Fan (30 Amp.)
3 - LH Headlight Motor (30 Amp.)
4 - RH Headlight Motor (30 Amp.)
5 - Secondary Cooling Fan (40 Amp.)
6 - Exterior Lighting (60 Amp.)
7
- Power Accessory (Power Locks, Hatch, Lighter, Seats)
(60 Amp.)
8 - Air Pump (20 Amp.)
ECM Engine Fuse Block.
1 - Engine Control Module (20 Amp.)
2 - Fuel Pump (20 Amp.)
3 - Anti-lock Brakes; Acceleration Slip
Regulation System
(20 Amp.)
4 - A/C Blower (30 Amp.)
5 - Rear Defogger (40 Amp.)
6 - Ignition (60 Amp.)
7 - Ignition (60 Amp.)
8 - Brake Hydraulics (40 Amp.)
FUEL PUMP
ABS/ASR ECU
A/C BLOWER
IGNITION WA I
8 I BRAKE HYDRAULICS 4OA I