1994 CHEVROLET CORVETTE Recommended fluids
[x] Cancel search: Recommended fluidsPage 136 of 274
Downloaded from www.Manualslib.com manuals search engine begin to check traffic. Try to determine
where you expect to blend with the flow.
Try to merge into the gap
at close to the
prevailing speed. Switch on your turn
signal, check your mirrors and glance
over your shoulder as often as necessary.
Try to blend smoothly with the traffic
flow.
Once you are on the freeway, adjust your
speed to the posted limit or to the
prevailing rate if it’s slower. Stay in the
right lane unless you want to pass.
Before changing lanes, check your
mirrors. Then use your turn signal. Just
before you leave the lane, glance quickly
over your shoulder to make sure there
isn’t another vehicle in your “blind” spot.
Once you are moving on the freeway,
make certain you allow a reasonable
following distance. Expect to move
slightly slower at night.
When you want to leave the freeway,
move to the proper lane well
in advance.
If you miss your exit do not, under any
circumstances, stop and back up. Drive on
to the next exit.
The exit ramp can be curved, sometimes
quite sharply. The exit speed is usually
posted. Reduce your speed according to your speedometer, not
to your sense of
motion. After driving for any distance at
higher speeds, you may tend to think you
are going slower than you actually are.
Before Leaving on a Long Trip
Make sure you’re ready. Try to be well
rested. If you must start when you’re not
fresh
- such as after a day’s work -
don’t plan to ,make too many miles that
first part
of the journey. Wear comfortable
clothing and shoes you can easily drive
in.
Is your vehicle ready for a long trip? If
you keep it serviced and maintained, it’s
ready to go. If it needs service, have it
done before starting out. Of course, you’ll
find experienced and able service experts
in Chevrolet dealerships all across North
America. They’ll be ready and willing to
help if you need
it.
Here are some things you can check
before a trip:
Windshield Washer Fluid: Is the
reservoir full? Are all windows clean
inside and outside?
0 Wiper Blades: Are they in good
shape?
0
0
Fuel, Engine Oil, Other Fluids:
Have you checked all levels?
Lights: Are they all working? Are the
lenses clean?
Tires: They are vitally important to a
safe, trouble-free trip.
Is the wead
good enough for long-distance
driving? Are the tires all inflated to
the recommended pressure?
Weather Forecasts: What’s the
weather outlook along your route?
Should you delay your trip
a short
time to avoid a major storm system?
Maps: Do you have up-to-date maps?
Highway Hypnosis
Is there actually such a condition as
“highway hypnosis”? Or is it jugt plain
falling asleep at the wheel? Call it
highway hypnosis, lack of awareness, or
whatever.
There is something about an easy stretch
of road with the same scenery, along with
the hum of the tires on the road, the drone
of the engine, and the rush of the wind
against the vehicle that can make you
sleepy. Don’t let it happen to you! If it
does, your vehicle can leave the road in
less than a second, and you could crash
and be injured.
135
Page 186 of 274
Downloaded from www.Manualslib.com manuals search engine cold check, you must perform a hot check
before adding fluid. This will give you a
more accurate reading
of the fluid level.
To check the fluid hot or cold
0
Park your vehicle on a level place.
With the parking brake applied, place
the shift lever in “P” (Park).
With your foot
on the brake pedal,
move the shift lever through each gear
range, pausing for about three seconds
in each range. Then, position the shift
lever
in “P’ (Park).
Let the engine run at idle for three
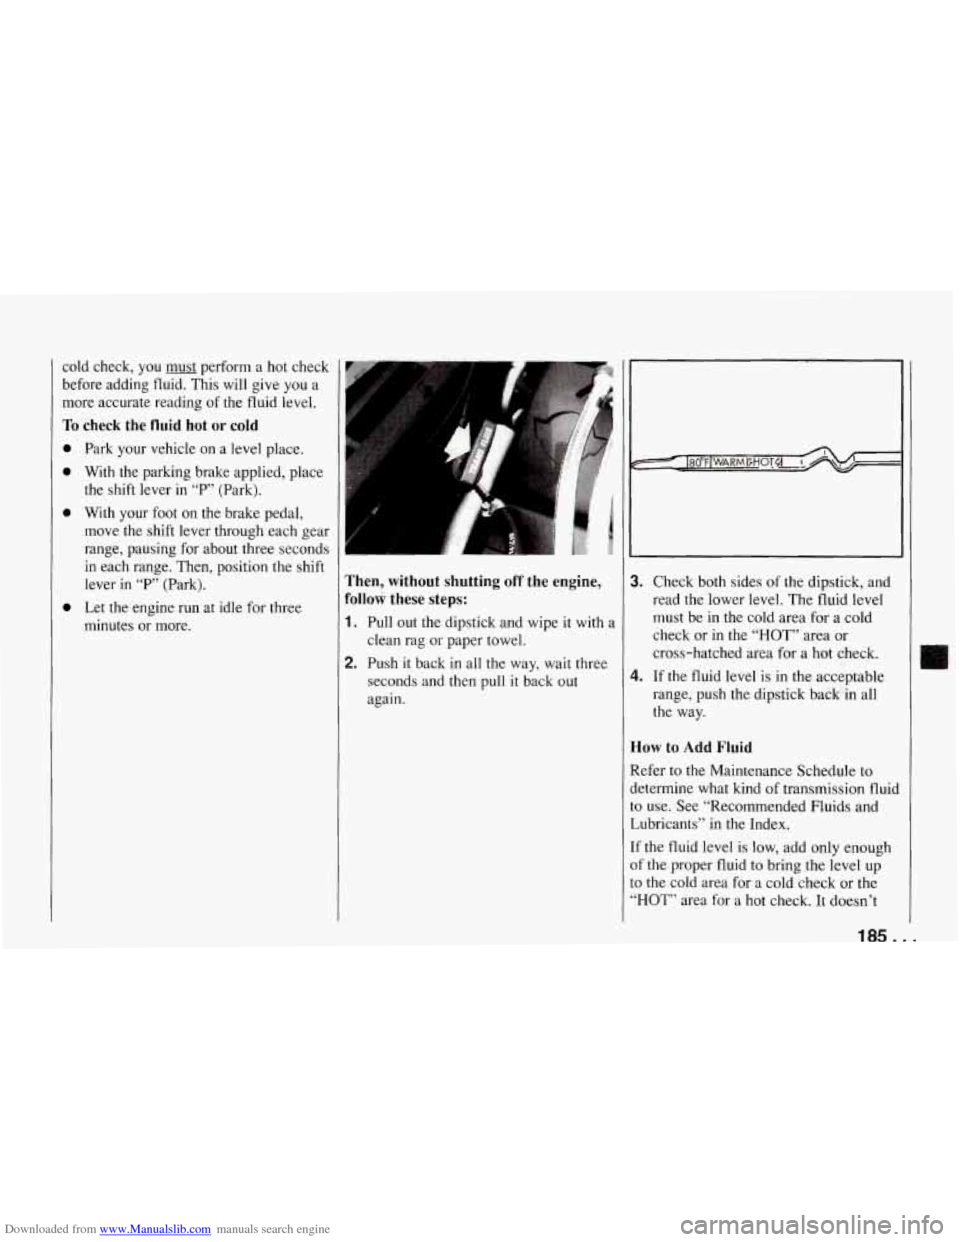
minutes or more. Then, without shutting off the engine,
Follow these steps:
1. Pull out the dipstick and wipe it with a
clean rag or paper towel.
2. Push it back in all the way, wait three
seconds and then pull
it back out
again.
3. Check both sides of the dipstick, and
read the lower level. The fluid level
must be in the cold area for a cold
check or in the
“HOT” area or
cross-hatched area for a hot check.
range, push the dipstick back in all
the way.
4. If the fluid level is in the acceptable
How to Add Fluid
Refer to the Maintenance Schedule to
determine what kind of transmission fluid to use. See “Recommended Fluids and
Lubricants” in the Index.
If the fluid level
is low, add only enough
of the proper fluid to bring the level up
to the cold area for a cold check or the
“HOT” area for a hot check. It doesn’t
Page 187 of 274
Downloaded from www.Manualslib.com manuals search engine Service and Appearance Care
;ake much fluid, generally less than a pint.
Don’t overfill. We recommend you use
mly fluid labeled DEXRON@-111 or
DEXRON@-IIE, because fluids with that
label are made especially for your
automatic transmission. Dama e caused
by fluid other than DEXRON -111 or
DEXRON@-IIE is not covered by your
new vehicle warranty.
0 After adding fluid, recheck the fluid
level as described under “How to
Check.”
obtained, push the dipstick back in all
the way.
D
0 When the correct fluid level is
Manual Transmission Fluid
How to Check:
Because this operation can be difficult,
you may choose to have this done at a
Chevrolet dealership Service Department.
If you do it yourself, be sure to follow all
the instructions here, or you could get a
false reading.
. . .I86
NOTICE:
Too much or too little fluid can
damage your transmission.
Too much
can mean that some of the fluid could
come out and fall on hot engine parts
or exhaust system, starting a fire. Be
sure to get an accurate reading if
you
check your transmission fluid.
:heck the fluid level only when your
mgine is
off, the vehicle is parked on a
eve1 place and the transmission is cool
:nough for you to rest your fingers on
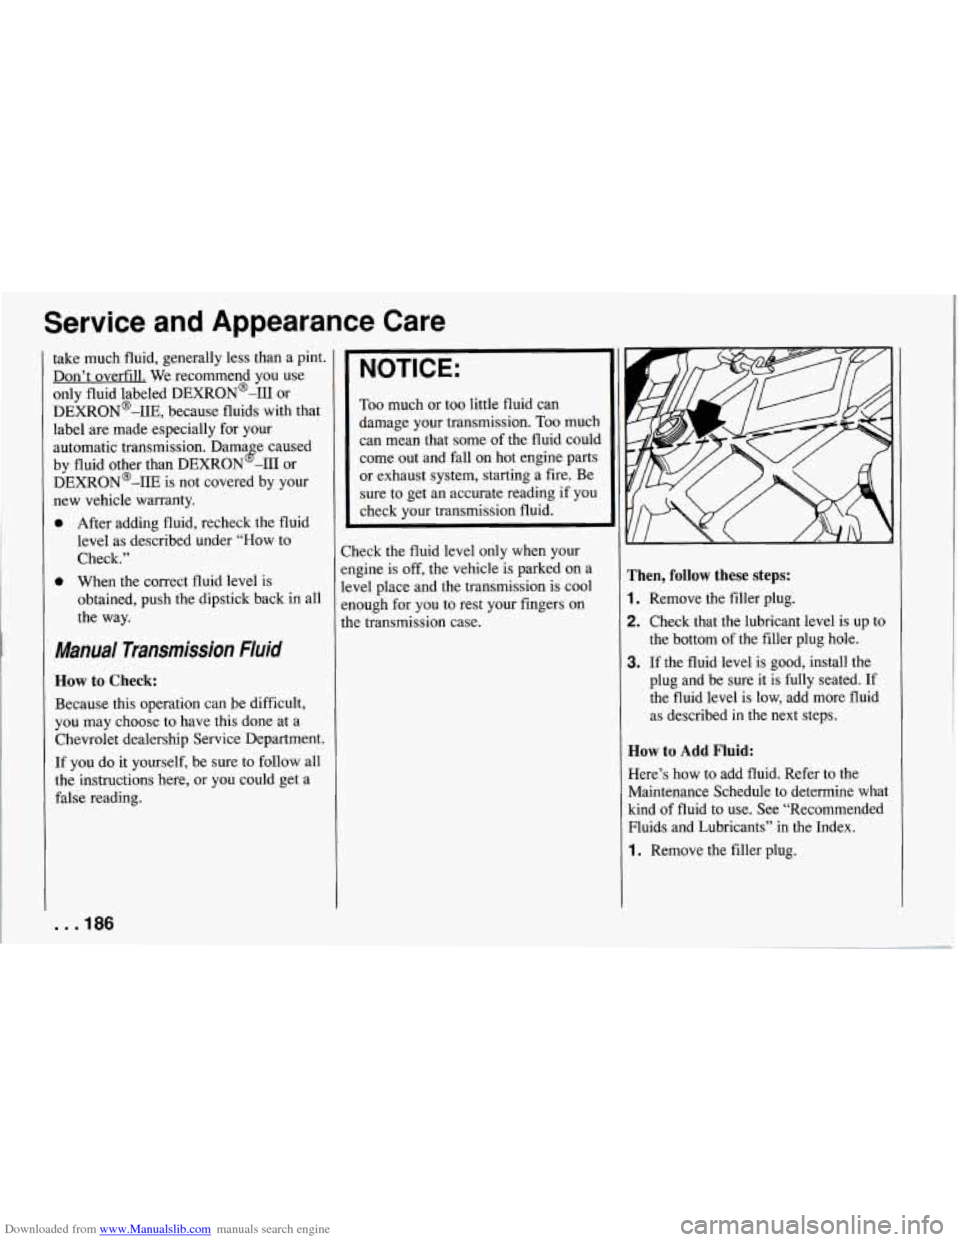
he transmission case. Then, follow these steps:
1. Remove the filler plug.
2. Check that the lubricant level is up to
the bottom of the filler plug hole.
3. If the fluid level is good, install the
plug and be sure it is fully seated. If
the fluid level is low, add more fluid
as described in the next steps.
How to Add Fluid:
Here’s how to add fluid. Refer to the
Maintenance Schedule to determine what
kind of fluid to use. See “Recommended
Fluids and Lubricants”
in the Index.
1. Remove the filler plug.
Page 188 of 274
Downloaded from www.Manualslib.com manuals search engine 2. Add fluid at the filler plug hole. Add only enough fluid to bring the fluid
level up to the bottom
of the filler
plug hole.
3. Install the filler plug. Be sure the plug
is fully seated.
Hydraulic Clutch
The clutch linkage in your vehicle is
self-adjusting. The clutch master cylinder
reservoir is filled with hydraulic clutch
fluid.
It isn’t a good idea to “top
off’ your
clutch fluid. Adding fluid won’t correct a
leak.
A fluid loss in this system could indicate
a problem. Have the system inspected and
repaired.
When to Check and What to Use
Refer to the Maintenance Schedule to
determine how often you should check
the fluid level in your clutch master
cylinder reservoir and for the proper fluid. See
“Owner Checks and Services’’ and
“Recommended Fluids and Lubricants”
in the Index.
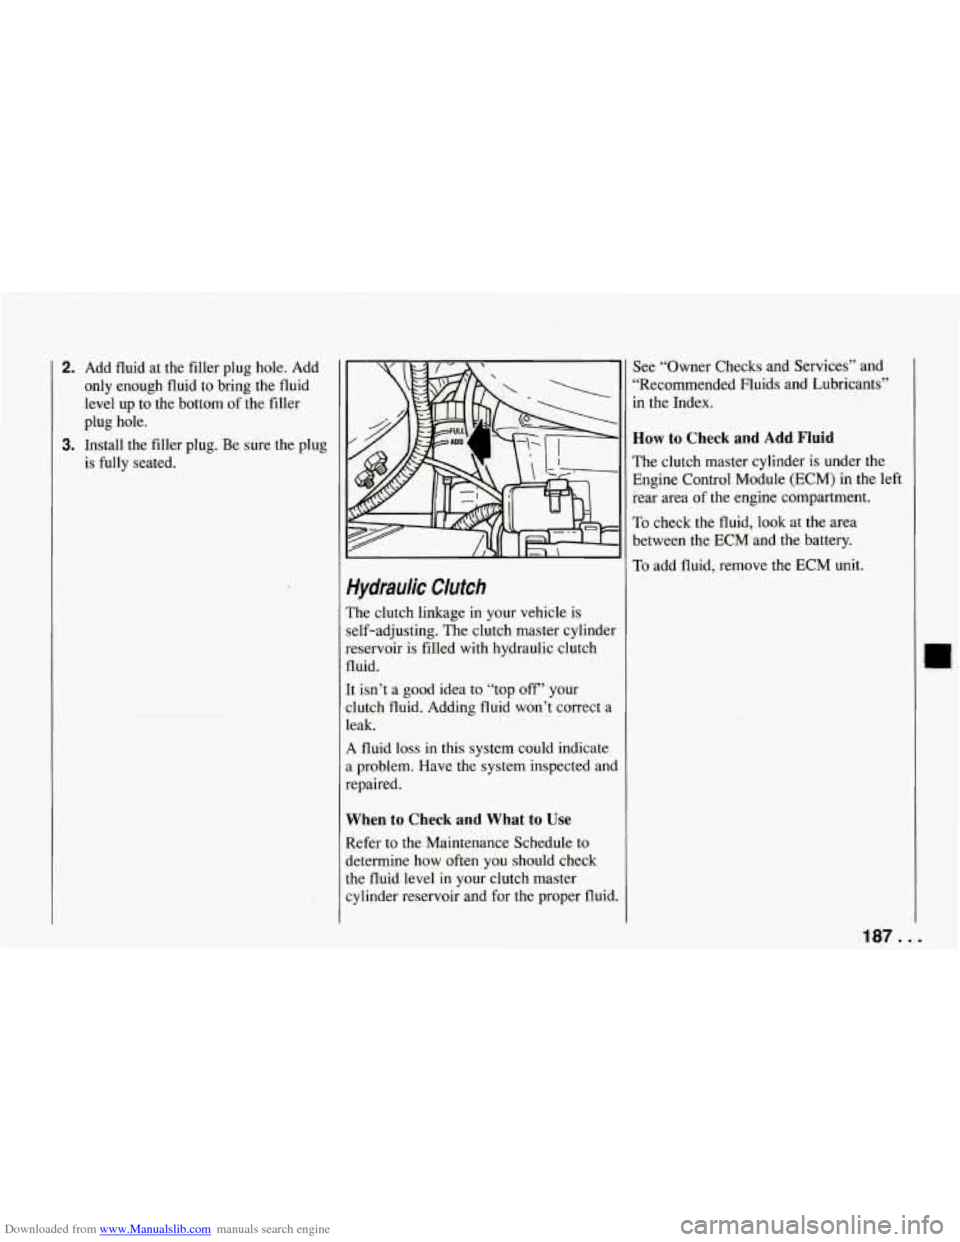
How to Check and Add Fluid
The clutch master cylinder is under the
Engine Control Module
(ECM) in the left
rear area of the engine compartment.
To check the fluid, look at the area
between the
ECM and the battery.
To add fluid, remove the ECM unit.
187 ...
Page 192 of 274
Downloaded from www.Manualslib.com manuals search engine 5.7L LT1 (Code P)
Power Steering Fluid
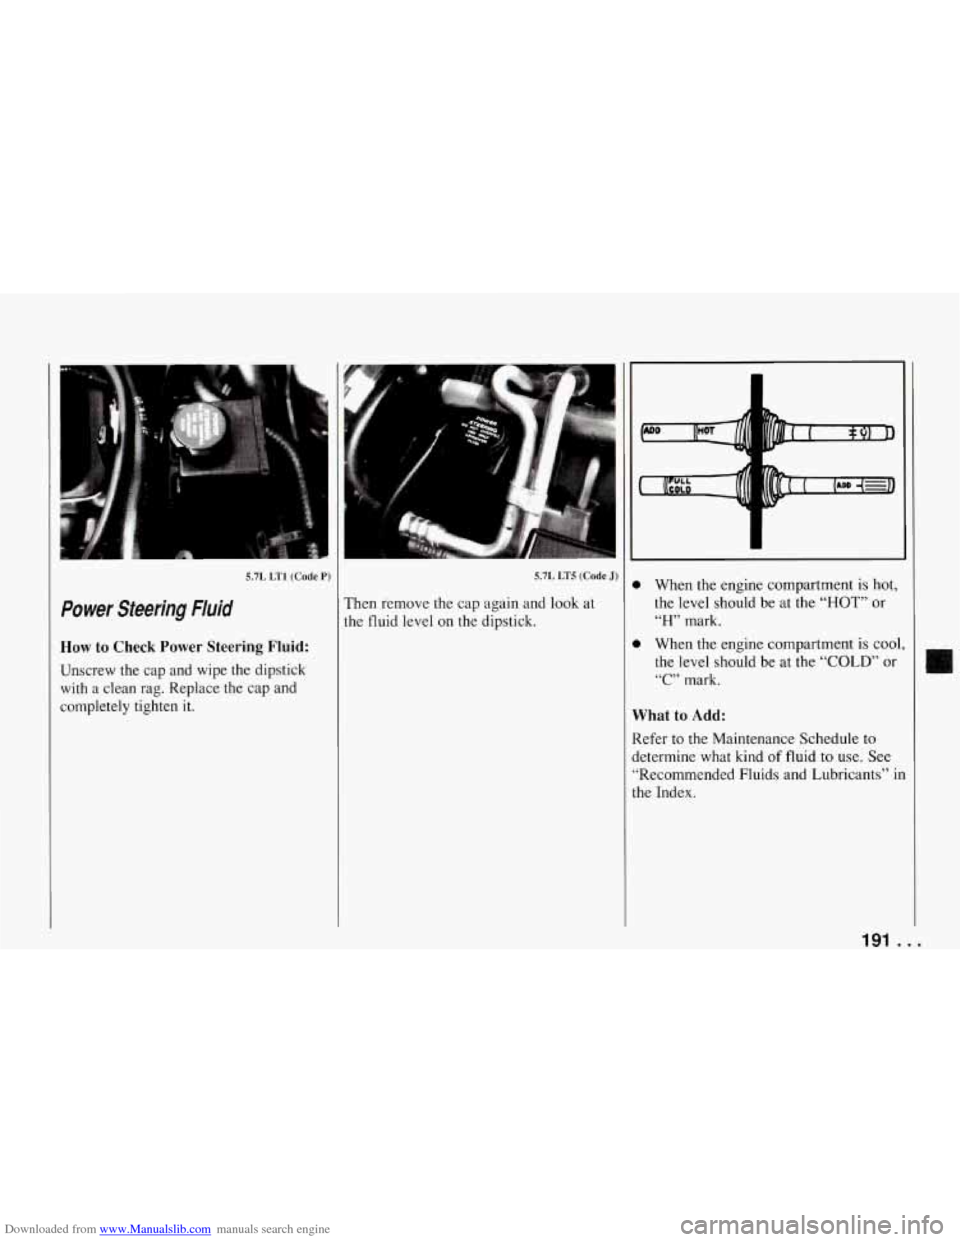
How to Check Power Steering Fluid:
Unscrew the cap and wipe the dipstick with a clean rag. Replace the cap and
completely tighten it.
5.7L LT5 (Code J)
Then remove the cap again and look at
the fluid level on the dipstick.
0 When the engine compartment is hot,
the level should be at the
“HOT” or
“H” mark.
0 When the engine compartment is cool
the level should be at
the “COLD” or
“C” mark.
What to Add:
Refer to the Maintenance Schedule to
determine what kind
of fluid to use. See
“Recommended Fluids and Lubricants” il
the Index.
191 .
T
-
3
1
..
Page 216 of 274
Downloaded from www.Manualslib.com manuals search engine To protect the convertible top:
0 After you wash the vehicle, make sure
the top is completely dry before you
lower it.
0 Don’t get any cleaner on the vehicle’s
painted finish; it could leave streaks.
0 If you decide to go through an
automatic car wash, ask the manager
if the equipment could damage your
top.
Cleaning and Storage of Your Hardtop
The optional hardtop has the same
durable finish as the painted surfaces
of
your Corvette. You can wash, polish and
wax it.
If you store the hardtop for a long time,
keep it covered in a dry place. Apply
silicone grease to all the weatherstrips.
Sngine Cleaning
Jse care when cleaning the LT5 engine.
10 not direct water into the “V” area on
he engine between the cylinder heads.
NOTICE:
I
Don’t use a cleaner with a strong
alkaline base. It will discolor the
aluminum.
4luminum Wheels
Your aluminum wheels have a protective
zoating similar to the painted surface of
your vehicle. Don’t use strong soaps,
shemicals, chrome polish,
or other
abrasive cleaners on them because you
could damage this coating. After rinsing
thoroughly, a wax may be applied.
I NOTICE:
I
Don’t use an automatic car wash that
has hard silicon carbide cleaning
brushes. These brushes can take
off
the protective coating.
rires
Your Chevrolet dealer has a GM White
Sidewall Tire Cleaner. You can
use a stiff
)rush with the cleaner.
When applying a tire dressing always take
;are to wipe
off any overspray or splash
from painted surfaces. Petroleum-based
products may damage the paint finish.
Weatherstrips
Silicone grease on weatherstrips will
make them last longer, seal better, and not
stick or squeak. Apply silicone grease
with a clean cloth at least every
six
months. During very eold, damp weather
more frequent application may be
required. (See “Recommended Fluids and
Lubricants’’ in the Index.)
Foreign Material
Calcium chloride and other salts, ice
melting agents, road oil and tar, tree sap,
bird droppings, chemicals from industrial
chimneys, and other foreign matter can
damage your vehicle’s finish if they
remain on painted surfaces. Use cleaners
that are marked safe for painted surfaces
to remove foreign matter.
215 ...
Page 218 of 274
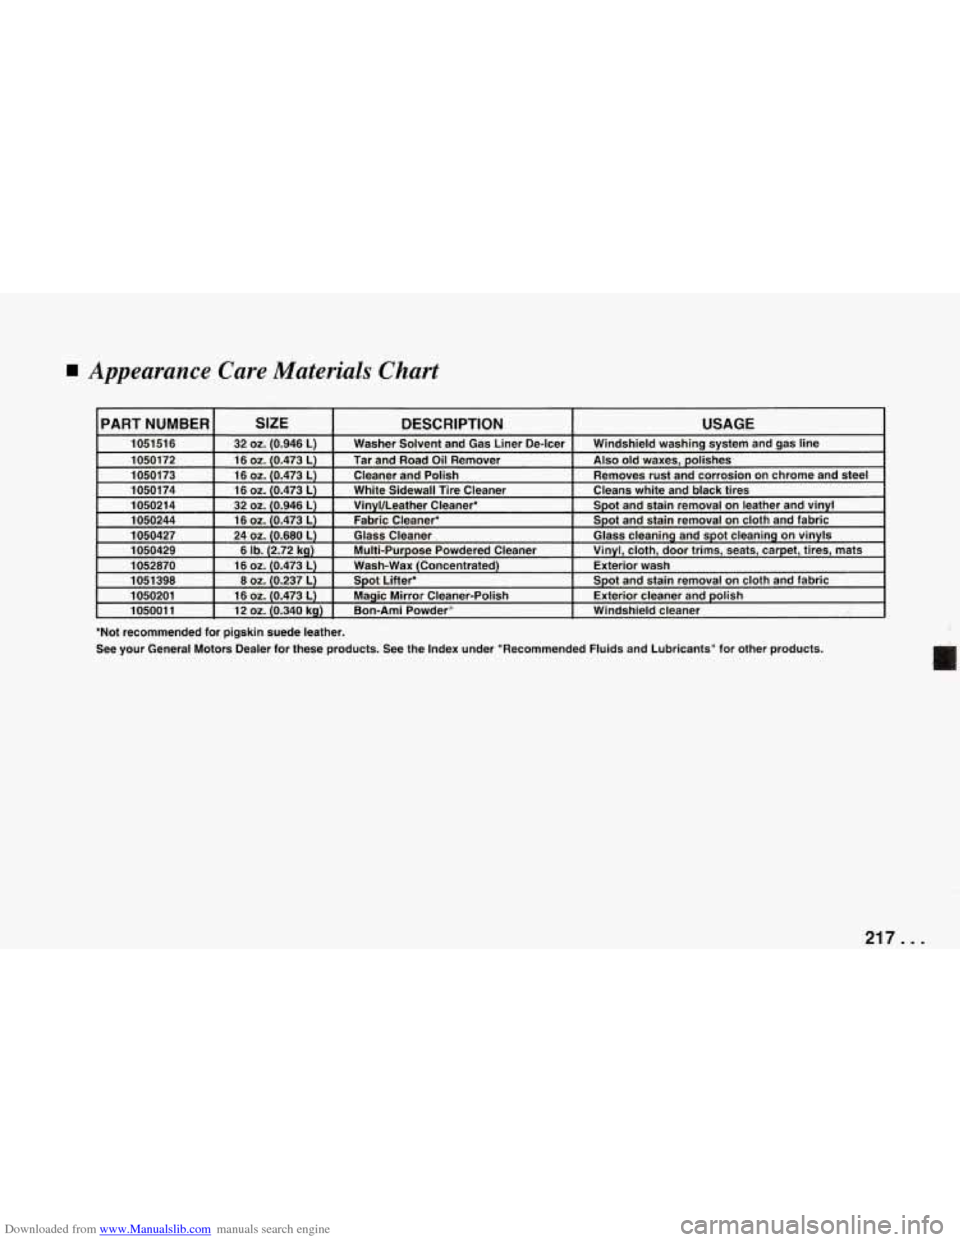
Downloaded from www.Manualslib.com manuals search engine Appearance Care Materials Chart
I 105001 1 I 12 oz.10.340 ka) I Bon-Ami Powder" I Windshield cleaner I
'Not recommended for pigskin suede leather.
See your General Motors Dealer for these products. See the Index under "Recommended Fluids and Lubricants" for other products.
217 ...
Page 230 of 274
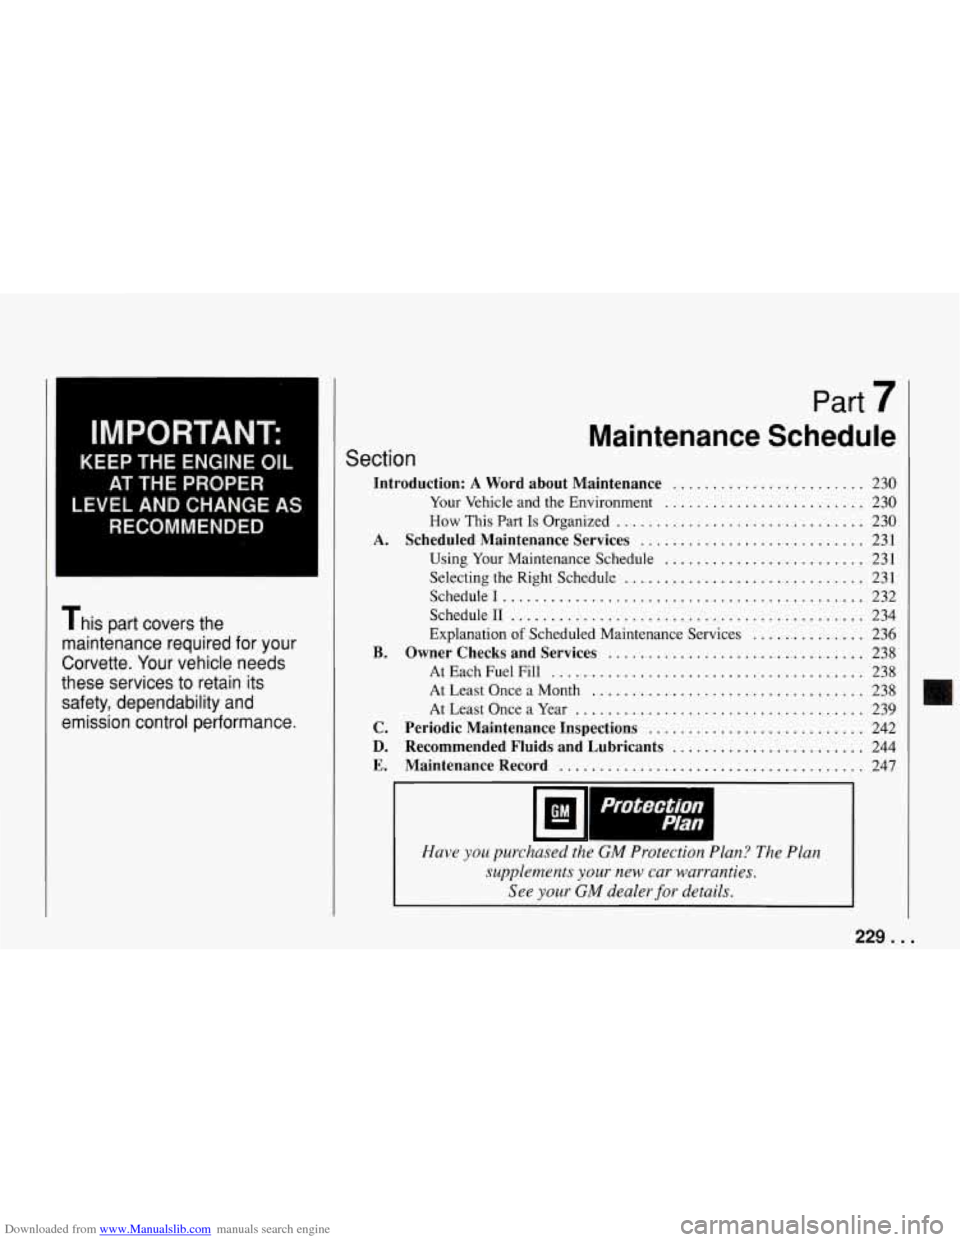
Downloaded from www.Manualslib.com manuals search engine IMPORTANT:
KEEP THE ENGINE OIL
AT THE PROPER
LEVEL AND CHANGE AS
RECOMMENDED
This part covers the
maintenance required for your
Corvette
. Your vehicle needs
these services to retain its
safety. dependability and
emission control performance
.
.
Maintenance Schedule
Section
Introduction: A Word about Maintenance ........................ 230
A .
B .
C .
D .
E .
Your Vehicle and the Environment ......................... 230
How This Part Is Organized ............................... 230
Scheduled Maintenance Services ............................ 231
Using Your Maintenance Schedule
......................... 231
Selecting the Right Schedule
.............................. 231
Schedule1
............................................. 232
Schedule11
............................................ 234
Explanation
of Scheduled Maintenance Services .............. 236
Owner Checks and Services ................................ 238
At Each Fuel
Fill ....................................... 238
AtLeastOnceaMonth
.................................. 238
At Least Once
a Year .................................... 239
Periodic Maintenance Inspections ........................... 242
Recommended Fluids and Lubricants ........................ 244
Maintenance Record ...................................... 247
I
Protection
Plan
Have you purchased the GM Protection Plan? The Plan
supplements your new car warranties
.
See your GM dealer for details .
229 ...