1994 CHEVROLET CORVETTE brake
[x] Cancel search: brakePage 195 of 274

Downloaded from www.Manualslib.com manuals search engine Service and Appearance Care
NOTICE:
Don’t let someone put in the
wrong kind of fluid. For example,
just a few drops of mineral-based
oil, such as engine oil, in your
brake system can damage brake
system parts
so badly that they’ll
have to be replaced.
Brake fluid can damage paint,
so
be careful not to spill brake fluid
on your vehicle. If you
do, wash it
off immediately. See “Appearance
Care” in the Index.
Brake Wear
Your Corvette has four-wheel disc brakes.
Disc brake pads have built-in wear
indicators that make a high-pitched
warning sound when the brake pads are
worn and new pads are needed. The
sound may come and go or be heard all
the time your vehicle is moving (except
when you are pushing
on the brake pedal
firmly).
I NOTICE:
I
Continuing to drive with worn-out
brake pads could result in costly brake repair.
Some driving conditions or climates may
cause a brake squeal when the brakes are
first applied or lightly applied. This does not mean something is wrong with your
brakes. Brake linings should always be
replaced as complete axle sets.
Brake Pedal Travel
See your dealer if the brake pedal does
not return to normal height, or if there is
a rapid increase in pedal travel. This
could be a sign of brake trouble.
Brake Adjustment
As you make brake stops, your disc
brakes automatically adjust for wear.
Replacing Brake System Parts
The braking system on a modern vehicle
is complex. Its many parts have to be of
top quality and work well together
if the
vehicle is to have really good braking.
Vehicles we design and test have
top-quality GM brake parts in them, as
your Corvette does when it is new. When
you replace parts of your braking system
- for example, when your brake linings
wear down and you have to have new
ones put in
- be sure you get new
genuine GM replacement parts. If you
don’t, your brakes may no longer work
properly. For example,
if someone puts
in brake linings that are wrong for your
vehicle, the balance between your front
and rear brakes can change, for the worse. The braking performance you’ve come to
expect can change in many other ways
if
someone puts in the wrong replacement
brake parts.
. . .I94
Page 210 of 274
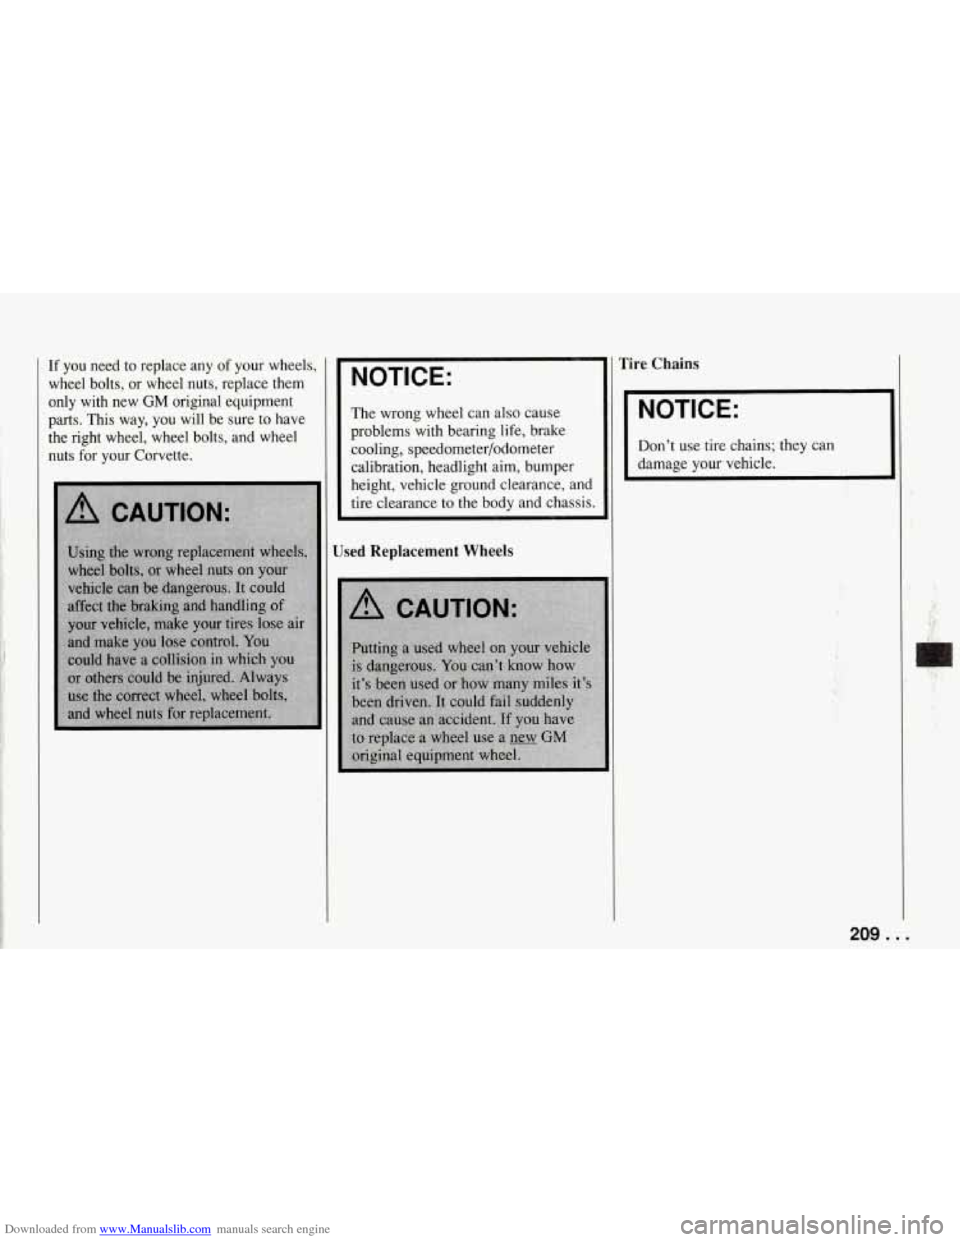
Downloaded from www.Manualslib.com manuals search engine If you need to replace any of your wheels,
wheel bolts, or wheel nuts, replace them
only with new
GM original equipment
parts. This way,
you will be sure to have
the right wheel, wheel bolts, and wheel
nuts for your Corvette.
NOTICE:
The wrong wheel can also cause
problems with bearing life, brake
cooling, speedometer/odometer
calibration, headlight aim, bumper
height, vehicle ground clearance, and
tire clearance to the body and chassis.
lrire Chains
FICE:
I
Don't use tire chains; they can
damage your vehicle.
Used Replacement Wheels
209 . .
Page 221 of 274

Downloaded from www.Manualslib.com manuals search engine Service and Appearance Care
I EoA7 I
POWER WINDOW
lu
D
.
Instrument Panel Fuse Block
1 - A/C Module (5 Amp)
2 - Blank
3 - Windshield WiperNVasher Switch
4 - Radio Receiver Box (Ignition)
5 - Heated Mirrors (5 Amp.)
6 - Taillight, Daytime Running Lights
Module (15 Amp.)
Assembly
(30 Amp.)
(5 Amp.)
7 - Horn Relay
(15 Amp.)
*Export Horn
(20 Amp.)
8 - Hazard Flashers; Brake Switch
(20 Amp.)
9 - Crank-Air Bag (5 Amp.)
10 - Crank-Parmeutral Shitch
(Automatic); Clutch (Manual)
(5 Amp.)
11 - RH Illumination (5 Amp.)
12 - LH Illumination (5 Amp.)
13 - Console Illumination (5 Amp.)
14 - Fuel Pump 1 (10 Amp.)
15 - Fuel Pump 2 (LT5) (IO Amp.)
16 - Central Control Module; Daytime
Running Lights Module
(5 Amp.)
17 - Generator; Vacuum Pump (LT5);
Valet Mode (LT5); EGR Circuit
(LT5); Oxygen Sensors (LT5)
(10 Amp.)
and A/C Control Head; Heater and
A/C Programmer; Rear Defog
Relay
(10 Amp.)
19 - Utility Plug (15 Amp.)
20 - Heated Oxygen Sensors (LT1)
(15 Amp.)
21 - Fuel Pump Relay Coil #2 (LT5);
Selective Ride Control Module;
ABS Module; Transmission Clutch
Control Switch (Automatic);
Air Pump Relay; Diverter Valve;
Secondary Bypass Valve (LT5)
(10 Amp.)
22 - Injectors #1,4,6,7 (LT1); Primary
Injectors #1-8 (LT5); Ignition Coil
Module (LT5); Ignition Coil Plate
Connector (LT5) (10 Amp.)
18 - A/C Compressor Clutch; Heater
. . .220
Page 223 of 274
Downloaded from www.Manualslib.com manuals search engine Service and Appearance Care
. . .222
1 I INTERIOR LIGHTING
20A I
I RH HDLP 30A I I I
h 3 5 I SECONDARY COOLING FAN
40A I
6 I EXTERIOR LIGHTING
60A
I
7 piiiFiAAccsy
I
AIR PUMP
20A I
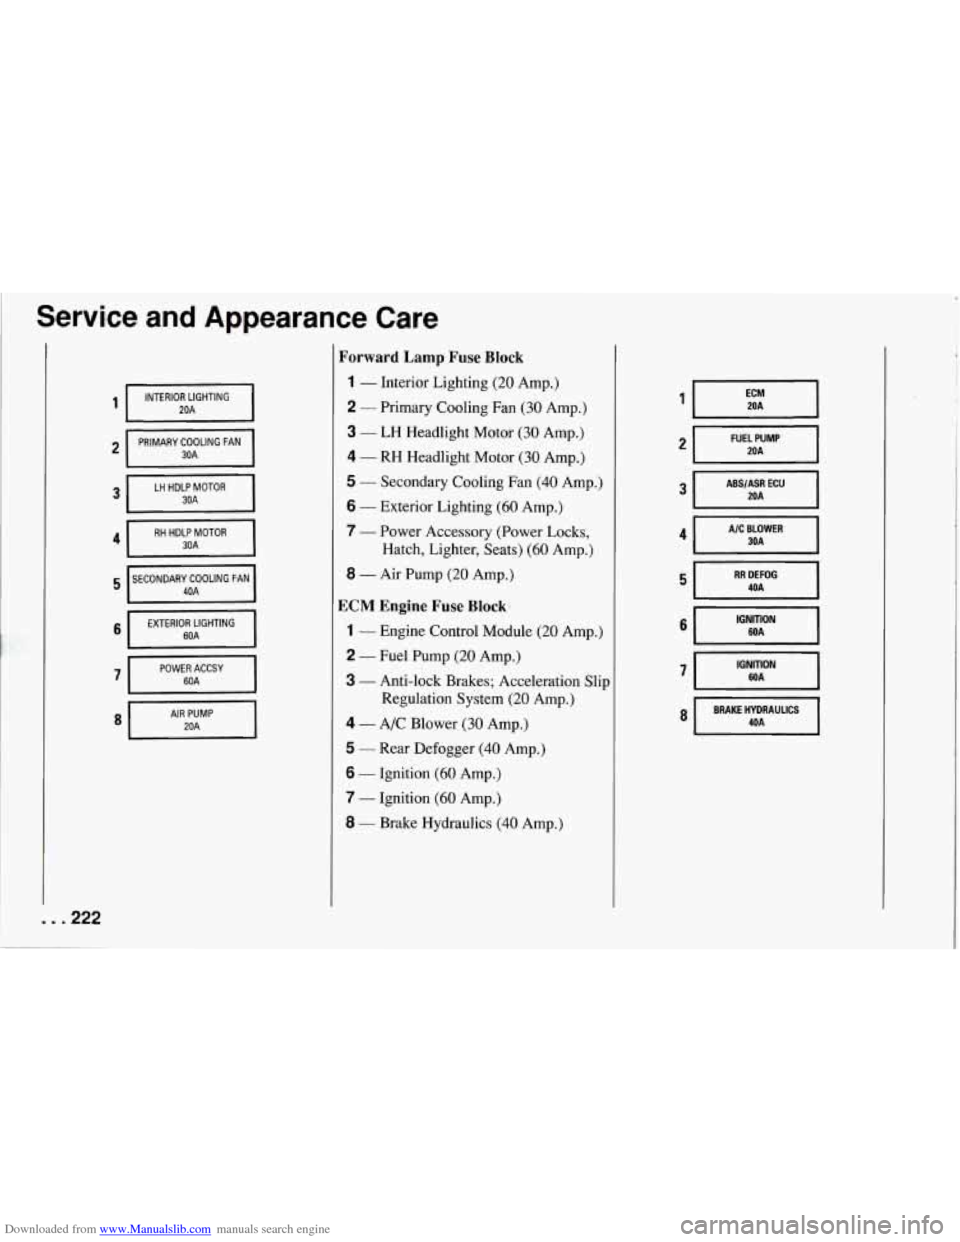
Forward Lamp Fuse Block
1 - Interior Lighting (20 Amp.)
2 - Primary Cooling Fan (30 Amp.)
3 - LH Headlight Motor (30 Amp.)
4 - RH Headlight Motor (30 Amp.)
5 - Secondary Cooling Fan (40 Amp.)
6 - Exterior Lighting (60 Amp.)
7
- Power Accessory (Power Locks, Hatch, Lighter, Seats)
(60 Amp.)
8 - Air Pump (20 Amp.)
ECM Engine Fuse Block.
1 - Engine Control Module (20 Amp.)
2 - Fuel Pump (20 Amp.)
3 - Anti-lock Brakes; Acceleration Slip
Regulation System
(20 Amp.)
4 - A/C Blower (30 Amp.)
5 - Rear Defogger (40 Amp.)
6 - Ignition (60 Amp.)
7 - Ignition (60 Amp.)
8 - Brake Hydraulics (40 Amp.)
FUEL PUMP
ABS/ASR ECU
A/C BLOWER
IGNITION WA I
8 I BRAKE HYDRAULICS 4OA I
Page 237 of 274

Downloaded from www.Manualslib.com manuals search engine Maintenance Schedule
C L Section A: Scheduled Maintenance Services (Cont.)
Explanation of Scheduled
Maintenance Services
Following are explanations of the services
listed in Schedule I and Schedule
11.
The proper fluids and lubricants to use are
listed in Section D. Make sure whoever
services your vehicle uses these. All parts
should be replaced and all necessary
repairs done before you or anyone else
drives the vehicle.
NOTE: To determine your engine’s
displacement and code, see
“Engine Identification” in the
Index.
ITEM
NO. SERVICE
1 Engine Oil and Filter Change* -
Always use SH or SG Energy
Conserving I1 oils of proper
viscosity. The engine requires a
special oil meeting GM Standard
GM4718M. Oils meeting this
Standard may be identified as
synthetic, and should also be
identified as API Service
SH or
SG. However, not all Synthetic
API Service
SH oils will meet
ITEM
NO. SERVICE
this GM Standard. You should
look for and use only an oil that
meets GM Standard GM4718M.
To determine the preferred
viscosity for your vehicle’s
engine (e.g.,
SAE 5W-30 or SAE
10W-30), see “Engine Oil” in
the Index.
Your vehicle has an Engine Oil
Life Monitor. This monitor will
show you when to change the oil
- usually between 3,000 miles
(5 000 km) and 7,500 miles
( 12 500 km) since your last oil
change. Under severe conditions
the indicator may come on before
3,000 miles
(5 000 km). Never
drive your vehicle more than
7,500 miles (12
500 km) or 12
months without an oil change.
The system won’t detect dust in
the oil..
So if you drive in a dusty
area be sure
to change your oil
every 3,000 miles
(5 000 km) or
sooner if the “Change Oil” light
comes on.
ITEM
NO.
2
3
4
SERVICE
Remember to reset the Oil Life
Monitor when the oil has been
changed. For more information, see “Engine Oil Life Monitor”
in the Index.
Chassis Lubrication
- Lubricate
suspension and steering linkage.
Lubricate the transmission shift
linkage, and parking brake cable guides, underbody contact points
and linkage.
Engine Accessory Drive Belt(s) Inspection
- Inspect the belt(s)
for cracks, fraying, wear and
proper tension. Replace as needed. (Belts can have many
small cracks in individual ribs
without affecting performance.)
Cooling System Service*
-
Drain, flush and refill the system with
new or approved recycled
coolant conforming to GM
Specification 1825M. Keep
coolant at the proper mixture as
specified. See “Coolant” in the
* An Emission Control Service.
. . .236
Page 240 of 274
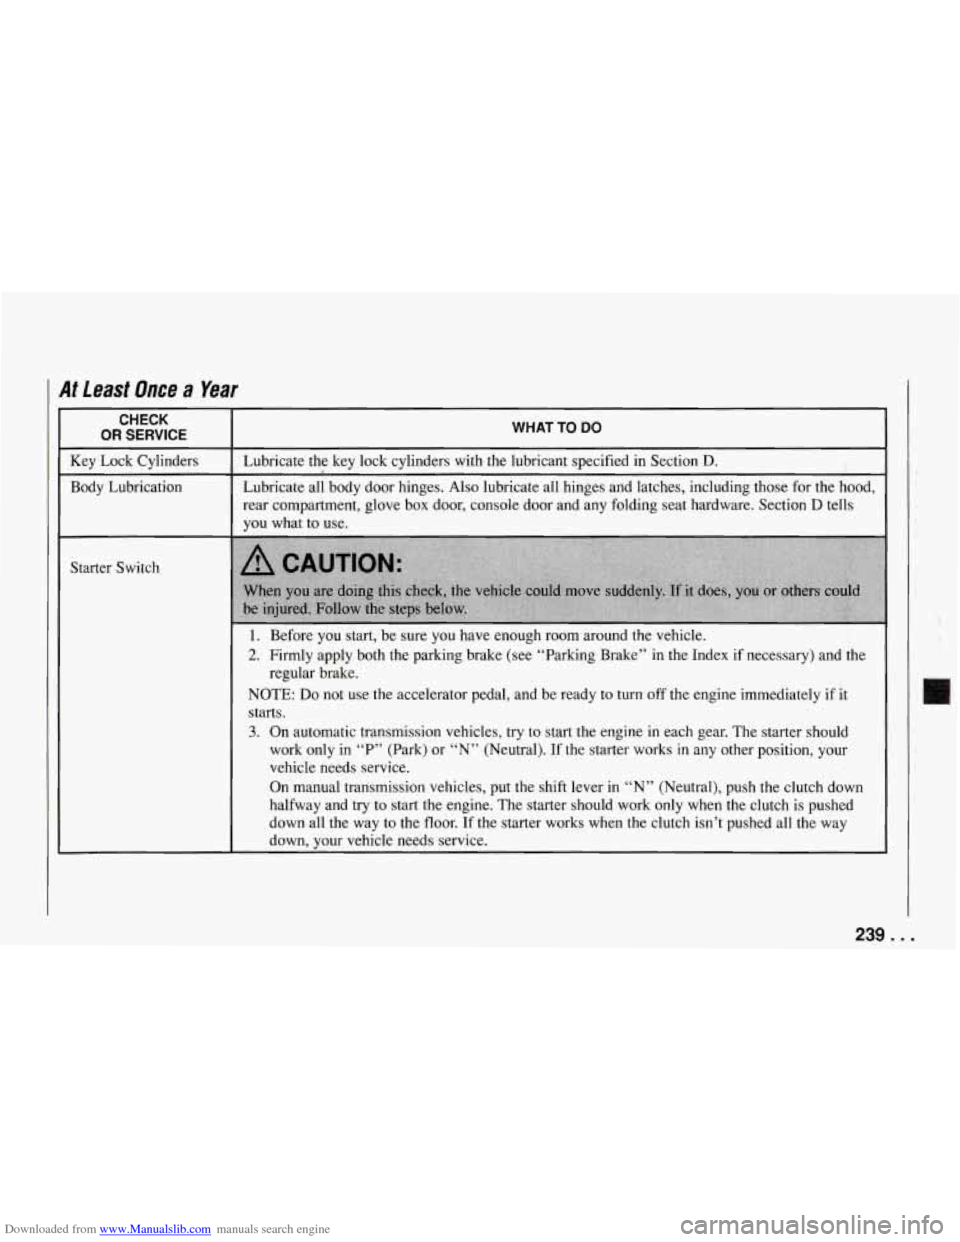
Downloaded from www.Manualslib.com manuals search engine I At Least Once a Year
WHAT TO DO
Lubricate the key lock cylinders with the lubricant specified in Section D.
Lubricate all body door hinges. Also lubricate all hinges and latches, including those for the hood,
rear compartment, glove box door, console door and any folding seat hardware. Section
D tells
you what to use.
1. Before you start, be sure you have enough room around the vehicle.
2. Firmly apply both the parking brake (see “Parking Brake” in the Index if necessary) and the
regular brake.
....
NOTE: Do not use the accelerator pedal, and be ready to turn off the engine immediately if it
starts.
3. On automatic transmission vehicles, try to start the engine in each gear. The starter should
work only in
“P” (Park) or “N” (Neutral). If the starter works in any other position, your
vehicle heeds service.
On manual transmission vehicles, put the shift lever in “N” (Neutral), push the clutch down
halfway and try to start the engine. The starter should work only when the clutch is pushed
down all the way to the floor. If the starter works when the clutch isn’t pushed all the way
down, your vehicle needs service.
r::. ,; II
U
239. . .
Page 241 of 274
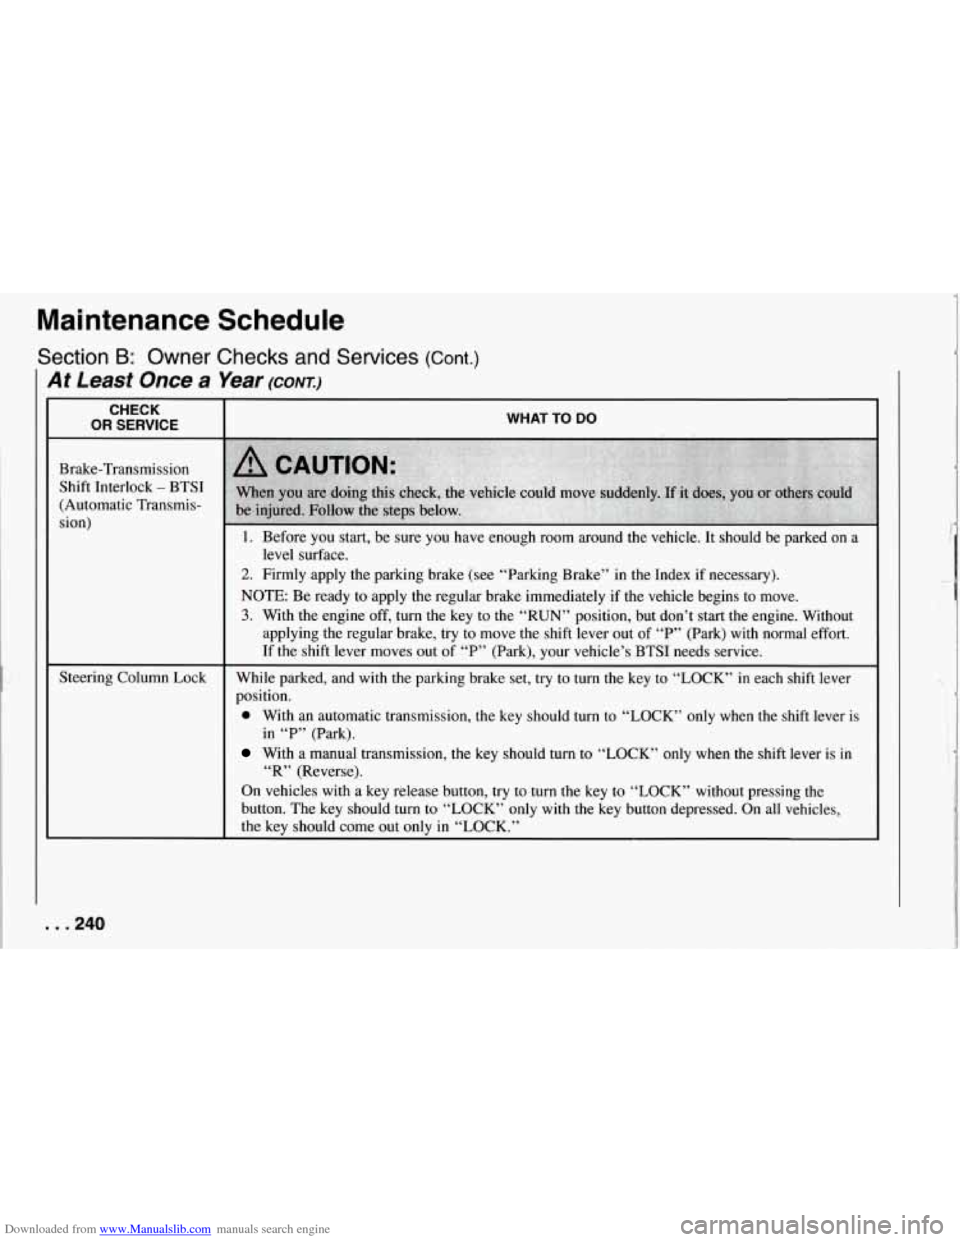
Downloaded from www.Manualslib.com manuals search engine At Least Once a Year (CONT.)
CHECK
OR SERVICE
Brake-Transmission Shift Interlock
- BTSI
(Automatic Transmis-
sion)
Maintenance Schedule
Section B: Owner Checks and Services (Cont.)
Steering Column Lock
WHAT TO DO
1. Before you start, be sure you have enough room around the vehicle. It should be parked on a
2. Firmly apply the parking brake (see “Parking Brake” in the Index if necessary).
NOTE: Be ready to apply the regular brake immediately if the vehicle begins to move.
3. With the engine off, turn the key to the “RUN” position, but don’t start the engine. Without
applying the regular brake, try to move the shift lever out of “P” (Park) with normal effort.
If the shift lever moves out of “P” (Park), your vehicle’s BTSI needs service.
level surface.
While parked, and with the parking brake set,
try to turn the key to “LOCK” in each shift lever
position.
0 With an automatic transmission, the key should turn to “LOCK” only when the shift lever is
With a manual transmission, the key should turn to “LOCK” only when the shift lever is in
On vehicles with a key release button, try to turn the key to “LOCK” without pressing the
button. The key should turn to. “LOCK” only with the key button depressed. On all vehicles,
the key should come out only in “LOCK.”
in
“P” (Park).
“R” (Reverse).
. . .240
Page 242 of 274
Downloaded from www.Manualslib.com manuals search engine I At Least Once a Year (CONI)
CHECK
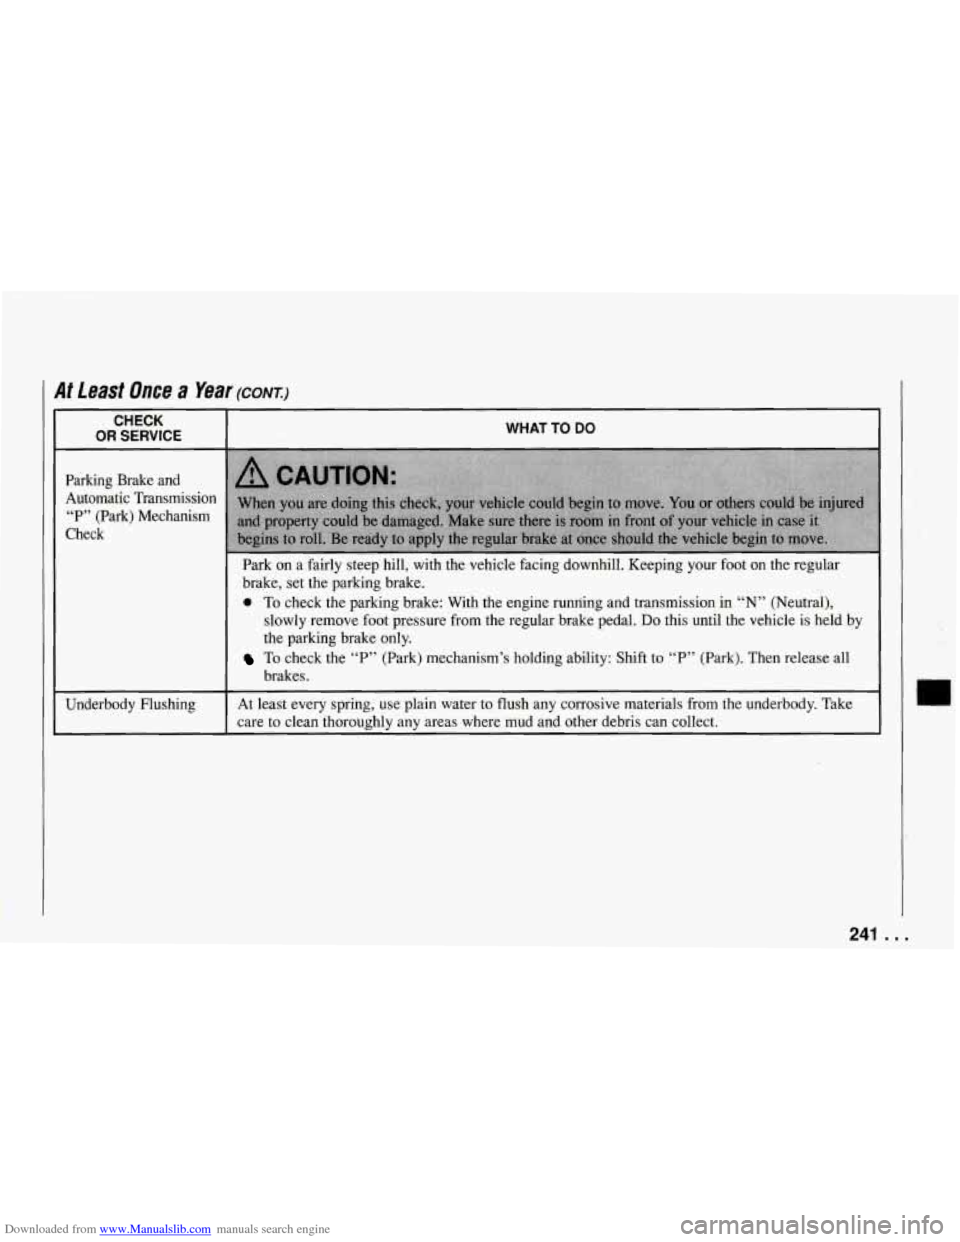
OR SERVICE ~~ ~
Parking Brake and
Automatic Transmission “P” (Park) Mechanism
Check
Underbody Flushing
WHAT TO DO
Park on a fairly steep hill, with the vehicle facing downhill. Keeping \
your foot on the regular
brake, set the parking brake.
0 To check the parking brake: With the engine runriing and transmission in “N” (Neutral),
slowly remove foot pressure from the regular brake pedal.
Do this until the vehicle is held by
the parking brake only.
brakes.
To check the “P” (Park) mechanism’s holding ability: Shift to “P” (Park). Then release all
At least every spring, use plain water to flush any corrosive mat\
erials from the underbody. Take
care to clean thoroughly any areas where mud and other debris can collect. I I
241 . . .