1994 CHEVROLET CORVETTE brake
[x] Cancel search: brakePage 73 of 274
Downloaded from www.Manualslib.com manuals search engine Features and Controls
6. Gently lift up on the roof panel to be
sure
it is locked in place.
Installing the Roof Panel
1.
2.
Park on a level surface, set the parking
brake firmly and shift an automatic
transmission into “P” (Park). Shift a
manual transmission into
“R’
(Reverse).. Lower both windows, turn
the ignition key to “LOCK” and move
both sunshades to the side.
If the roof panel is stored in the rear
area, remove
it by reversing the steps
under “Storing the Roof Panel” above.
... 72
3. Lower the roof panel onto the vehicle,
rear edge first, and place the rear
guide pins into the holes in the roof
opening.
4. Lower the front of the roof panel, and
align the front guide pins.
5. Tighten the rear bolts part way.
NOTICE:
If you tighten bolts that are
improperly started,
the threads can
become stripped. Be sure all bolts are
properly started before you tighten
them.
6. Use the ratchet to start the front bolts.
If the bolts are hard to start, tighten
the rear bolts some more. Holding
down the panel on the outside will
also help.
front bolts.
7. Fully tighten the rear bolts, then the
If you hear a popping noise when you
drive,
the bolts may not be tight enough.
Be sure to tighten’them securely.
Storage and
Compartments
Center Console
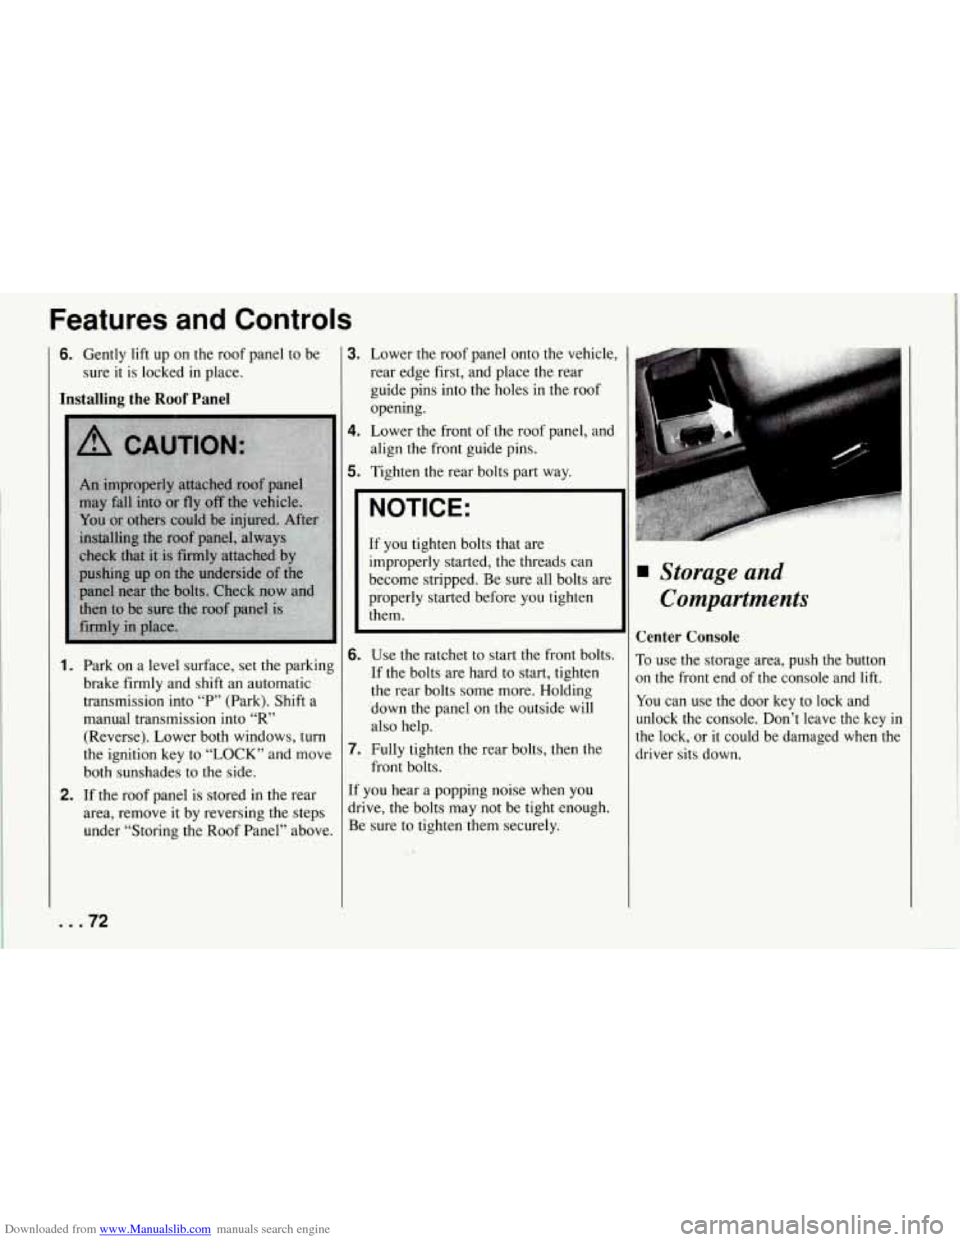
To use the storage area, push the button
on the front end of the console and lift.
You can use the door key to lock and
unlock the console. Don’t leave the key
in
the lock, or it could be damaged when the
driver sits down.
Page 85 of 274

Downloaded from www.Manualslib.com manuals search engine Features and Controls
It takes more (or less) fuel to fill up
than the gauge reads. For example, the
gauge reads half full, but it took more
(or less) than half of the tank’s
capacity to fill it.
The gauge moves a little when you
turn, stop or speed up.
You can use the Trip Monitor to display
more detailed fuel information. Each time
you press “FUEL INFO,” one
of the
following will appear next to the fuel
gauge.
INST The fuel economy calculated
for your current driving conditions.
AVERAGE: The fuel economy
calculated for the current tank of fuel,
or since you last reset the display.
RANGE: The distance you can drive
before refueling.
Blank: The fuel gauge is displayed
alone.
You should reset the fuel information
display every time you refuel. Press
“RESET FUEL” on the Trip Monitor. :loser to the floor.
It may
take longer to
stop. If the light is still on, have the
vehicle towed for service. (See “Towing
Your Vehicle” in the Index.)
... 84
Brake System Warning Light
Your Corvette’s hydraulic brake system
is divided into two parts. If one part isn’t
working, the other part can still work and
stop you. For good braking, though, you
need both parts working well.
This light should come on as you start thc
vehicle. If it doesn’t come on then, have
it fixed
so it will be ready to warn you if
there’s a problem. If this warning light
stays on, there could be
a brake problem.
Have your brake system inspected right
away.
If the light comes on while you are
driving, pull
off the road and stop
carefully. You may notice that the pedal
is harder to push. Or, the pedal may go
Page 86 of 274

Downloaded from www.Manualslib.com manuals search engine I
1
E
E
1
S
t
r
r
’arking Brake Indicator Light
rhis light will come on when you set your
mking brake, and it will stay on if your
)arking brake doesn’t release fully.
rhis light should also come on as you
tart the.vehicle. If it doesn’t come on
hen, have it fixed
so it will be ready to
cmind you if the parking brake hasn’t
&eleased fully.
SERVICE
Anti-Lock Brake System Warning
Light
With anti-lock, this light will come on
when you start your engine and may stay
on for about two seconds. That’s normal.
If the light doesn’t come on, have it fixed
so it will be ready to warn you if there is i
problem.
If the light stays on, turn the ignition off.
Or, if the light comes on when you’re
driving, stop as soon as possible and turn
the ignition
off. Then start the engine
again to reset the system. If the light still
stays on, or comes on again while you’re
driving, your Corvette needs service. If
the regular brake system warning light
isn’t on, you still have brakes, but you
don’t have anti-lock brakes.
If the regular
brake system warning light is also on, you
don’t have anti-lock brakes and there’s a
problem with your regular brakes. See
“Brake System Warning Light” earlier in
this part.
85 ...
Page 87 of 274
Downloaded from www.Manualslib.com manuals search engine Features and Controls
ABS
ACTIVE
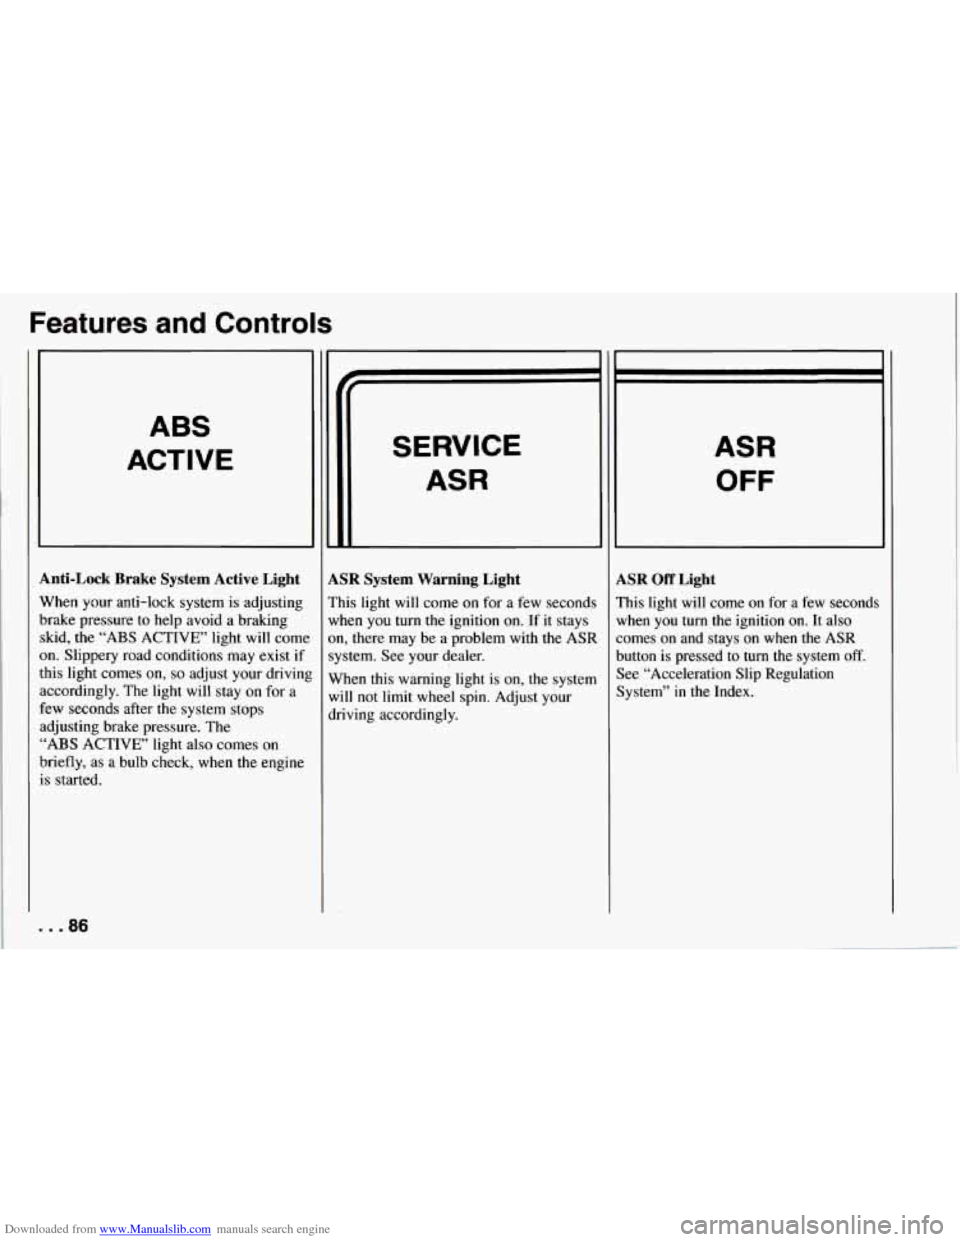
Anti-Lock Brake System Active Light
When your anti-lock system is adjusting
brake pressure to help avoid a braking skid, the
“ABS ACTIVE’ light will come
on. Slippery road conditions may exist if
this light comes
on, so adjust your drivinl
accordingly. The light will stay on for a
few seconds after the system stops
adjusting brake pressure. The
“ABS ACTIVE’ light also comes on
briefly, as a bulb check, when the engine
is started.
. . .86
SERVICE
ASR
LSR System Warning Light
’his light will come on for a few seconds
vhen you turn the ignition on. If it stays
m, there may be a problem with
the ASR
ystem. See your dealer.
Vhen this warning light is on, the system
vi11 not limit
wheel spin. Adjust your
lriving accordingly.
ASR
OFF
LSR Off Light
’his light will come on for a few seconds
lrhen you turn the ignition
on. It also
omes on and stays on when the ASR
lutton is pressed to turn the system
off.
lee “Acceleration Slip Regulation
lystem” in the Index.
Page 97 of 274
Downloaded from www.Manualslib.com manuals search engine Features and Controls
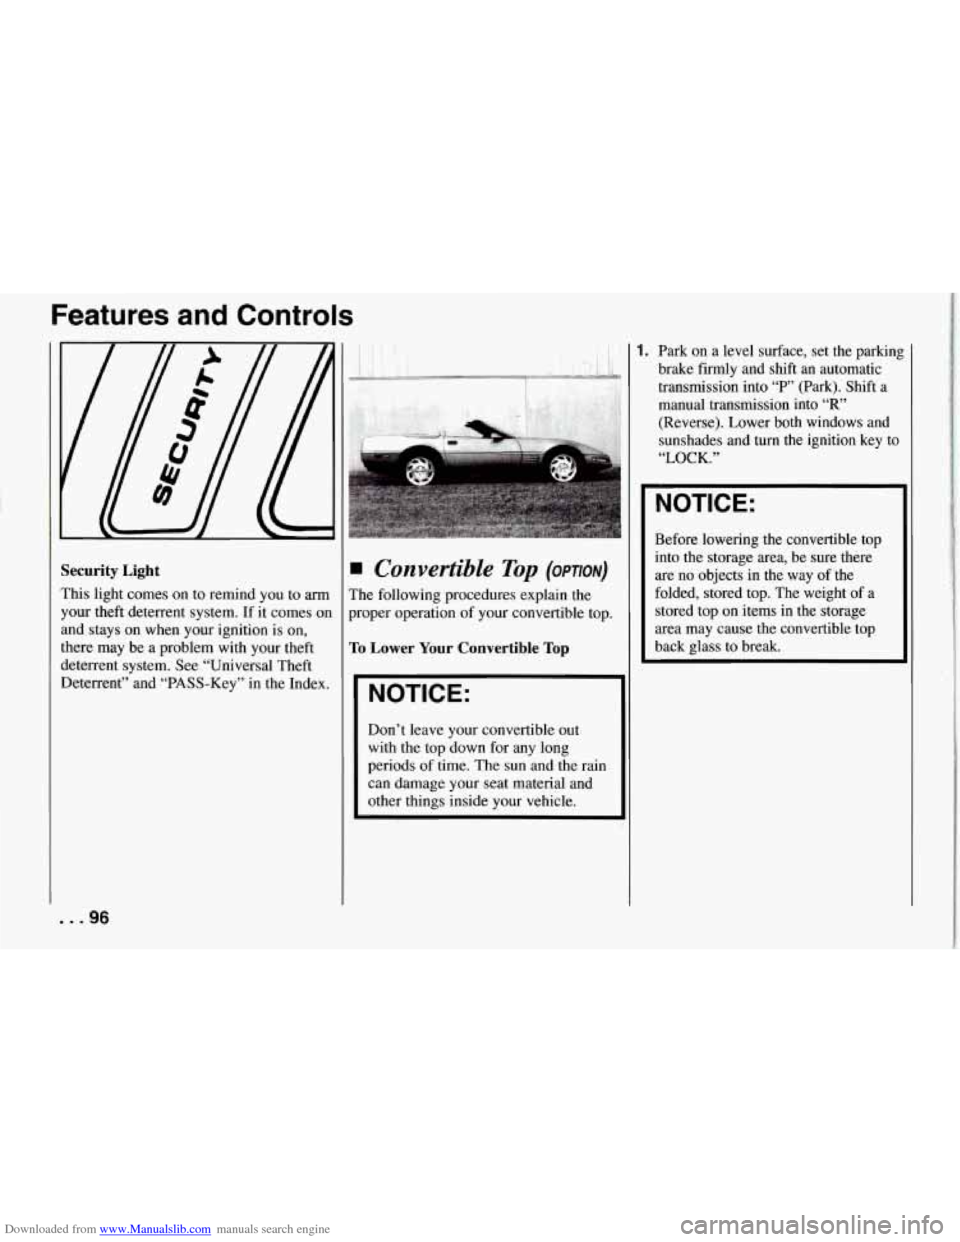
Security Light
This light comes on to remind you to arm
your theft deterrent system. If it comes on
and stays on when your ignition is on,
there may be a problem with your theft
deterrent system. See “Universal Theft
Deterrent” and “PASS-Key” in the Index.
Convertible Top (OPTION)
The following procedures explain the
proper operation of your convertible top.
To Lower Your Convertible Top
NOTICE:
~~
Don’t leave your convertible out
with the top down for any long
periods
of time. The sun and the rain
can damage your seat material and
other things inside your vehicle.
1. Park on a level surface, set the parkin8
brake firmly and shift an automatic
transmission into
“P’ (Park). Shift a
manual transmission into
“R”
(Reverse). Lower both windows and
sunshades and
turn the ignition key to
“LOCK.”
NOTICE:
Before lowering the convertible top
into the storage area, be sure there
are
no objects in the way of the
folded, stored top. The weight of a
stored top
on items in the storage
area may cause the convertible top
back glass to break.
... 96
Page 100 of 274
Downloaded from www.Manualslib.com manuals search engine To Raise Your Convertible Top
1. Park on a level surface, set the parking
brake firmly and shift an automatic
transmission into
“P” (Park). Shift a
manual transmission into
“R’
(Reverse). Lower both windows and
sunshades and turn the ignition key to
“LOCK.”
2. Press either the storage compartment lid release button behind the driver’s
seat or in the center console.
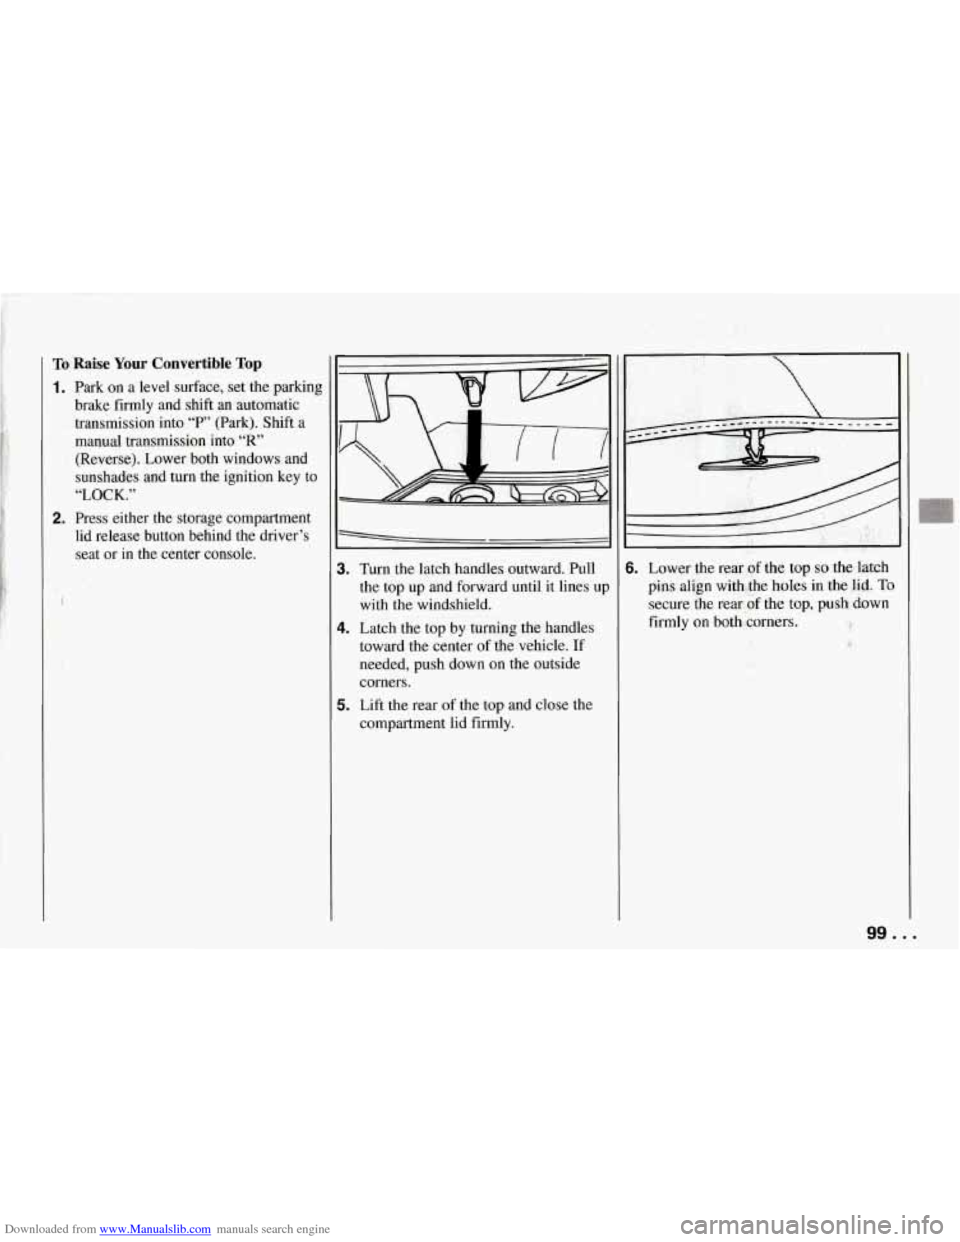
3. Turn the latch handles outward. Pull
the top up and forward until it lines
UI
with the windshield.
4. Latch the top by turning the handles
toward the center of the vehicle.
If
needed, push down on the outside
corners.
5. Lift the rear of the top and close the
compartment lid firmly.
I I
6. Lower the rear of the top so the latch
pins align with the holes in the lid.
To
secure the rear of the top, push down
firmly on both corners.
99 ...
Page 101 of 274
Downloaded from www.Manualslib.com manuals search engine Fe’atures and Controls
1
pm;.
I
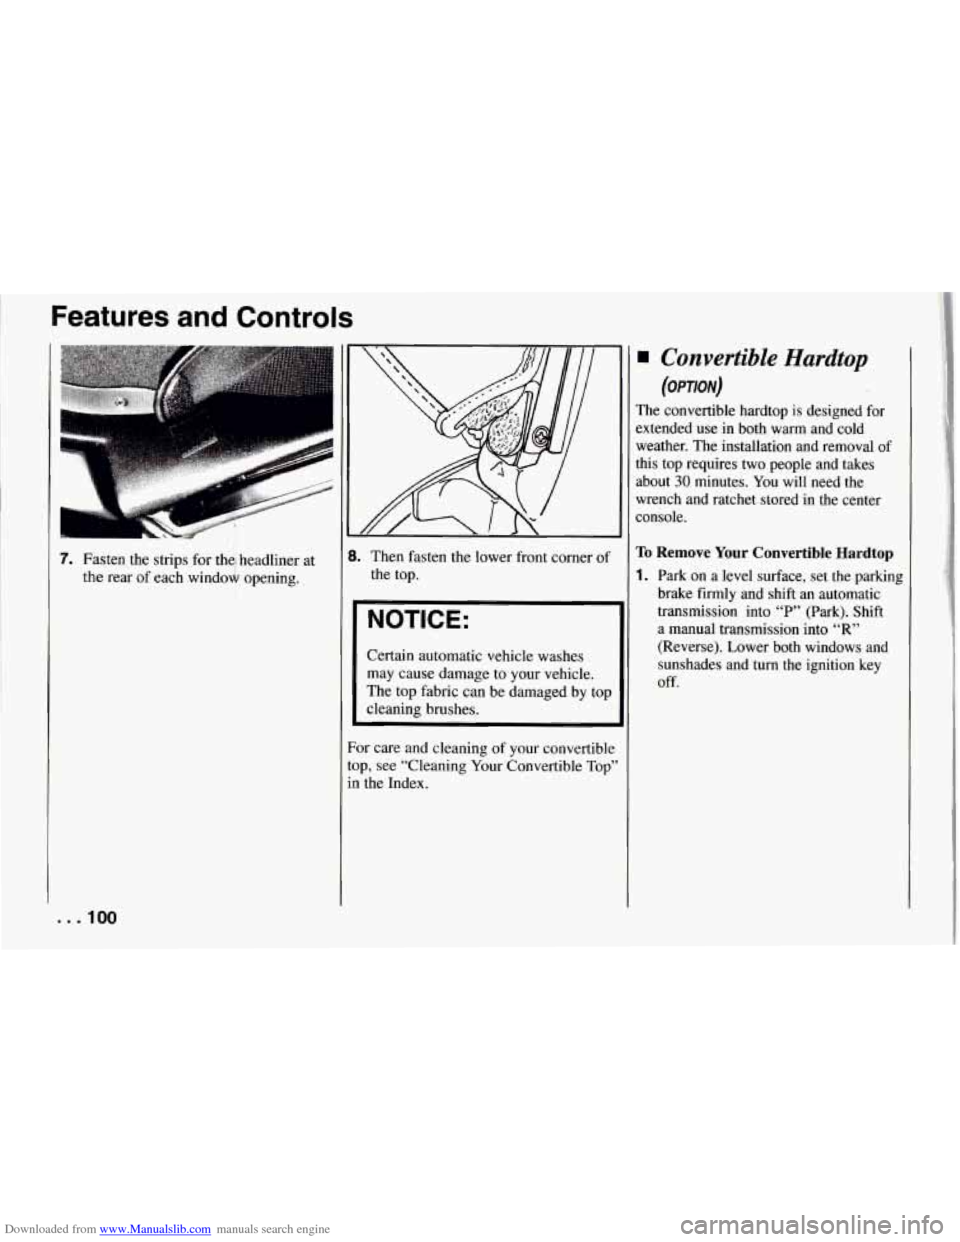
7. Fasten the strips for the, headliner at
the rear of each window opening.
I
1 [
t
8. Then fasten the lower front corner of
the top.
NOTICE:
Certain automatic vehicle washes
may cause damage to your vehicle.
The top fabric can be damaged by top
cleaning brushes.
?or care and cleaning
of your convertible
:op, see “Cleaning Your Convertible Top”
in the Index.
Convertible Hardtop
(OPTION)
The convertible hardtop is designed for
extended use in both warm and cold
weather. The installation and removal
of
this top requires two people and takes about
30 minutes. You will need the
wrench and ratchet stored in the center
console.
To Remove Your Convertible Hardtop
1. Park on a level surface, set the parking
brake firmly and shift an automatic transmission into
“P” (Park). Shift
a manual transmission into “R”
(Reverse). Lower both windows and
sunshades and turn the ignition key
Off.
Page 104 of 274
Downloaded from www.Manualslib.com manuals search engine TO Install Your Convertible Hardtop
1. Park on a level surface, set the parkinl
brake firmly and shift an automatic
transmission into
“F’” (Park). Shift
a manual transmission into
“R’
(Reverse). Lower both windows and
sunshades.
Turn off the radio to lower
the power antenna and turn the
ignition key to
“LOCK.”
electrical connectors behind the lock
pillar.
3. Lower the convertible top. Refer to
“Convertible Top” in the Index.
4. With one person on each side,
carefully position the hardtop over
the vehicle. Lower the hardtop slowly. aligning the rear bolt spacers onto the
bezels, and front conical nuts into the
2. Disconnect both rear window defogger
tapered receivers. Realign the hardtop
if necessary.
NOTICE:
To help avoid damage, don’t force
the rear of the hardtop down. The
hardtop may rest slightly above the
$forage compartment lid until the
release lever
is pulled. See step 8 in
this procedure.
\Q
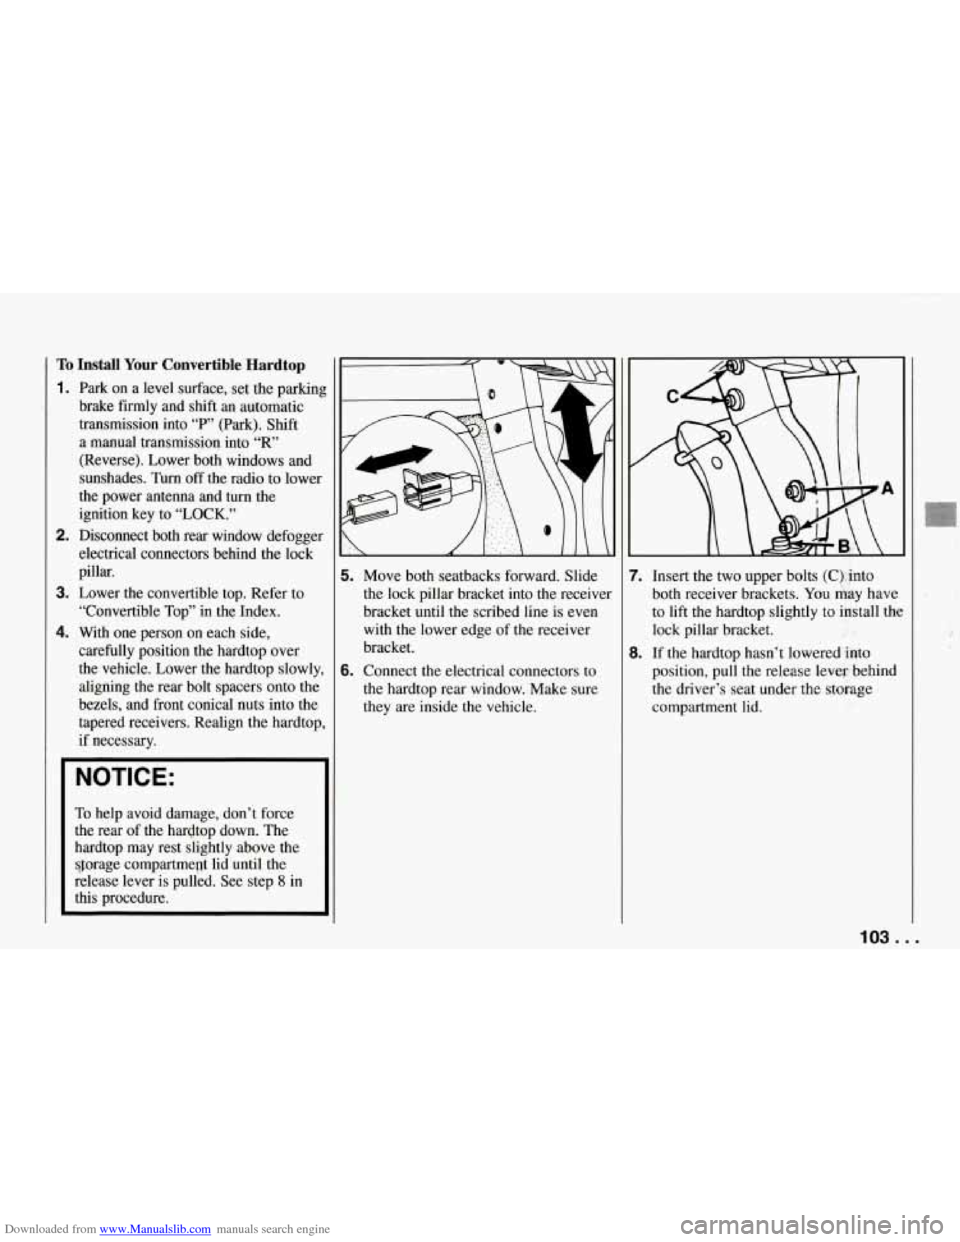
i. Move both seatbacks forward. Slide
the lock pillar bracket into the receiver
bracket until
the scribed line is even
with the lower edge of the receiver
bracket.
i. Connect the electrical connectors to
the hardtop rear window. Make sure
they are inside the vehicle. 7.
Insert the two upper bolts
(C), into
both receiver brackets. You kay have
to lift the hardtop slightly to install the
lock pillar bracket.
8. If the hardtop hasn’t lowered into
position, pull the release lever- behind
the driver’s seat under the storage
compartment lid.
103 ...