Page 73 of 274

Downloaded from www.Manualslib.com manuals search engine Features and Controls
6. Gently lift up on the roof panel to be
sure
it is locked in place.
Installing the Roof Panel
1.
2.
Park on a level surface, set the parking
brake firmly and shift an automatic
transmission into “P” (Park). Shift a
manual transmission into
“R’
(Reverse).. Lower both windows, turn
the ignition key to “LOCK” and move
both sunshades to the side.
If the roof panel is stored in the rear
area, remove
it by reversing the steps
under “Storing the Roof Panel” above.
... 72
3. Lower the roof panel onto the vehicle,
rear edge first, and place the rear
guide pins into the holes in the roof
opening.
4. Lower the front of the roof panel, and
align the front guide pins.
5. Tighten the rear bolts part way.
NOTICE:
If you tighten bolts that are
improperly started,
the threads can
become stripped. Be sure all bolts are
properly started before you tighten
them.
6. Use the ratchet to start the front bolts.
If the bolts are hard to start, tighten
the rear bolts some more. Holding
down the panel on the outside will
also help.
front bolts.
7. Fully tighten the rear bolts, then the
If you hear a popping noise when you
drive,
the bolts may not be tight enough.
Be sure to tighten’them securely.
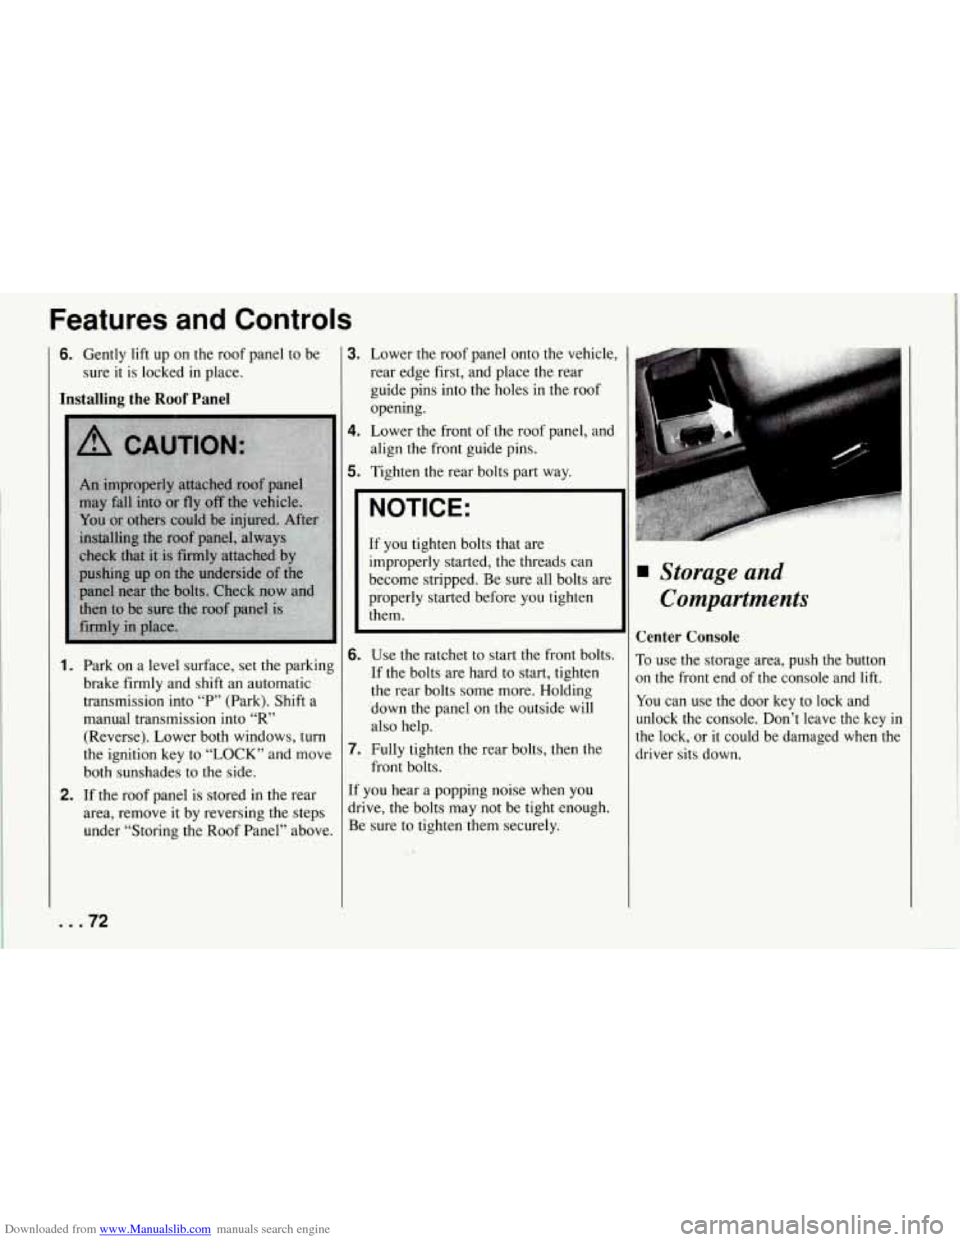
Storage and
Compartments
Center Console
To use the storage area, push the button
on the front end of the console and lift.
You can use the door key to lock and
unlock the console. Don’t leave the key
in
the lock, or it could be damaged when the
driver sits down.
Page 74 of 274
Downloaded from www.Manualslib.com manuals search engine i
-l
Your roof panel or hardtop wrench is
stored here. Rear Storage Compartment
This compartment is in the floor behind
the passenger seat.
To use it, push the
button and lift the lid. Use the door key
to lock it.
The top tray can be removed. The jack,
wheel lock key and wheel
nut socket are
stored below the tray.
NOTICE:
Your Corvette’s radio receiver is in
the rear storage compartment.
To
help avoid damage to the receiver:
0 Securely store jack in foam
0 Store any other objects under
the storage tray carefully.
0 Do not store items such as
liquids or sharp objects that
could puncture or cut the radio
receiver or wiring.
container
after use.
Also, to reduce the potential for radio
receiver interference, do not install
any other electronic module under
the storage tray.
Door Storage Compartment
Each door has a storage compartment
below the armrest.
73 ...
Page 75 of 274
Downloaded from www.Manualslib.com manuals search engine Features and Controls
Security Shade (Coupe)
The security shade can provide hidden
storage in the rear area
of your vehicle.
To use the security shade:
1. Pull the security shade by the center
handle.
... 74
T
2. Put the ends of the shade into the slots
behind the seats.
Sun Visors
To block out glare, you can swing down
the visors. You can also swing them to the
side.
Page 77 of 274

Downloaded from www.Manualslib.com manuals search engine Features and Controls
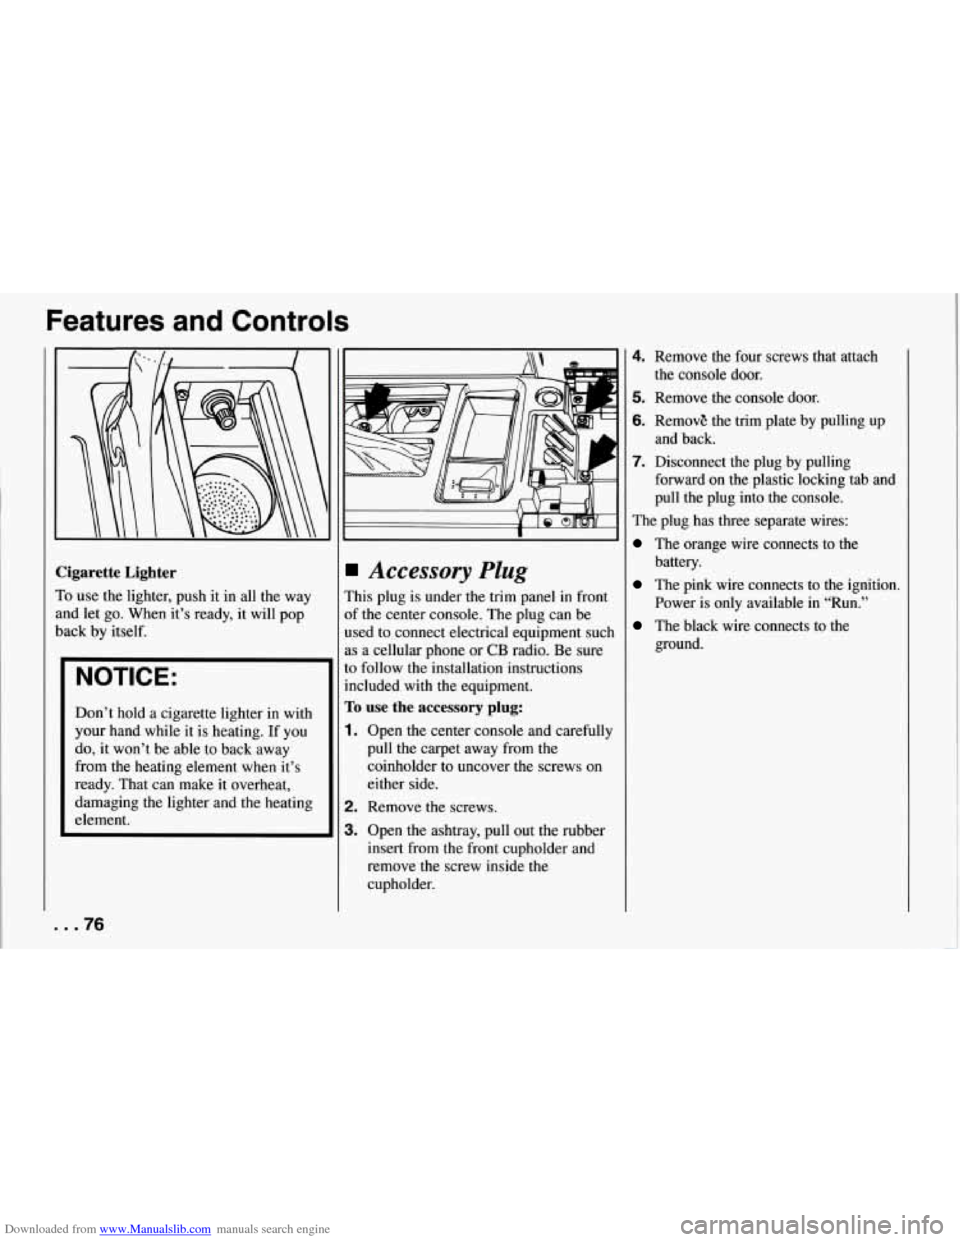
Cigarette Lighter
To use the lighter, push it in all the way
and let go. When it’s ready, it will pop
back by itself.
NOTICE:
Don’t hold a cigarette lighter in with
your hand while it is heating. If you
do, it won’t be able to back away
from the heating element when it’s
ready. That can make it overheat,
damaging the lighter and the heating
element.
Accessory Plug
This plug is under the trim panel in front
of the center console. The plug can be
used to connect electrical equipment such
as a cellular phone
or CB radio. Be sure
to follow the installation instructions
included with
the equipment.
To use the accessory plug:
1. Open the center console and carefully
pull the carpet away from the
coinholder to uncover the screws on
either side.
2. Remove the screws.
3. Open the ashtray, pull out the rubber
insert from the front cupholder and
remove the screw inside the
cupholder.
4. Remove the four screws that attach
5. Remove the console door.
6. RemovE the trim plate by pulling up
7. Disconnect the plug by pulling
the console door.
and back.
forward on the plastic locking tab and
pull the plug into the console.
The plug has three separate wires:
The orange wire connects to the
battery.
The pink wire connects to the ignition.
Power is only available in “Run.”
The black wire connects to the
ground.
... 76
Page 86 of 274

Downloaded from www.Manualslib.com manuals search engine I
1
E
E
1
S
t
r
r
’arking Brake Indicator Light
rhis light will come on when you set your
mking brake, and it will stay on if your
)arking brake doesn’t release fully.
rhis light should also come on as you
tart the.vehicle. If it doesn’t come on
hen, have it fixed
so it will be ready to
cmind you if the parking brake hasn’t
&eleased fully.
SERVICE
Anti-Lock Brake System Warning
Light
With anti-lock, this light will come on
when you start your engine and may stay
on for about two seconds. That’s normal.
If the light doesn’t come on, have it fixed
so it will be ready to warn you if there is i
problem.
If the light stays on, turn the ignition off.
Or, if the light comes on when you’re
driving, stop as soon as possible and turn
the ignition
off. Then start the engine
again to reset the system. If the light still
stays on, or comes on again while you’re
driving, your Corvette needs service. If
the regular brake system warning light
isn’t on, you still have brakes, but you
don’t have anti-lock brakes.
If the regular
brake system warning light is also on, you
don’t have anti-lock brakes and there’s a
problem with your regular brakes. See
“Brake System Warning Light” earlier in
this part.
85 ...
Page 87 of 274

Downloaded from www.Manualslib.com manuals search engine Features and Controls
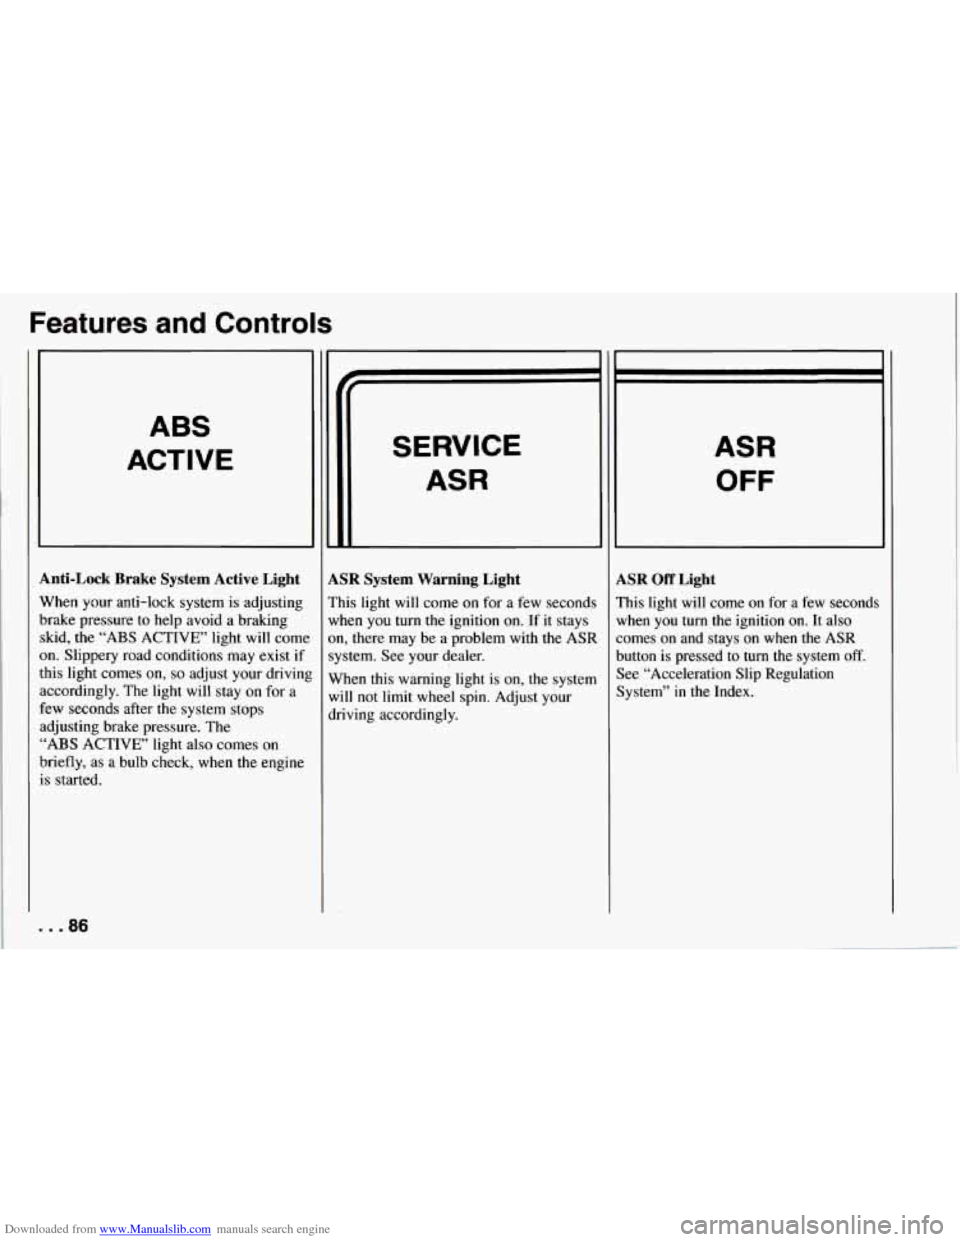
ABS
ACTIVE
Anti-Lock Brake System Active Light
When your anti-lock system is adjusting
brake pressure to help avoid a braking skid, the
“ABS ACTIVE’ light will come
on. Slippery road conditions may exist if
this light comes
on, so adjust your drivinl
accordingly. The light will stay on for a
few seconds after the system stops
adjusting brake pressure. The
“ABS ACTIVE’ light also comes on
briefly, as a bulb check, when the engine
is started.
. . .86
SERVICE
ASR
LSR System Warning Light
’his light will come on for a few seconds
vhen you turn the ignition on. If it stays
m, there may be a problem with
the ASR
ystem. See your dealer.
Vhen this warning light is on, the system
vi11 not limit
wheel spin. Adjust your
lriving accordingly.
ASR
OFF
LSR Off Light
’his light will come on for a few seconds
lrhen you turn the ignition
on. It also
omes on and stays on when the ASR
lutton is pressed to turn the system
off.
lee “Acceleration Slip Regulation
lystem” in the Index.
Page 97 of 274

Downloaded from www.Manualslib.com manuals search engine Features and Controls
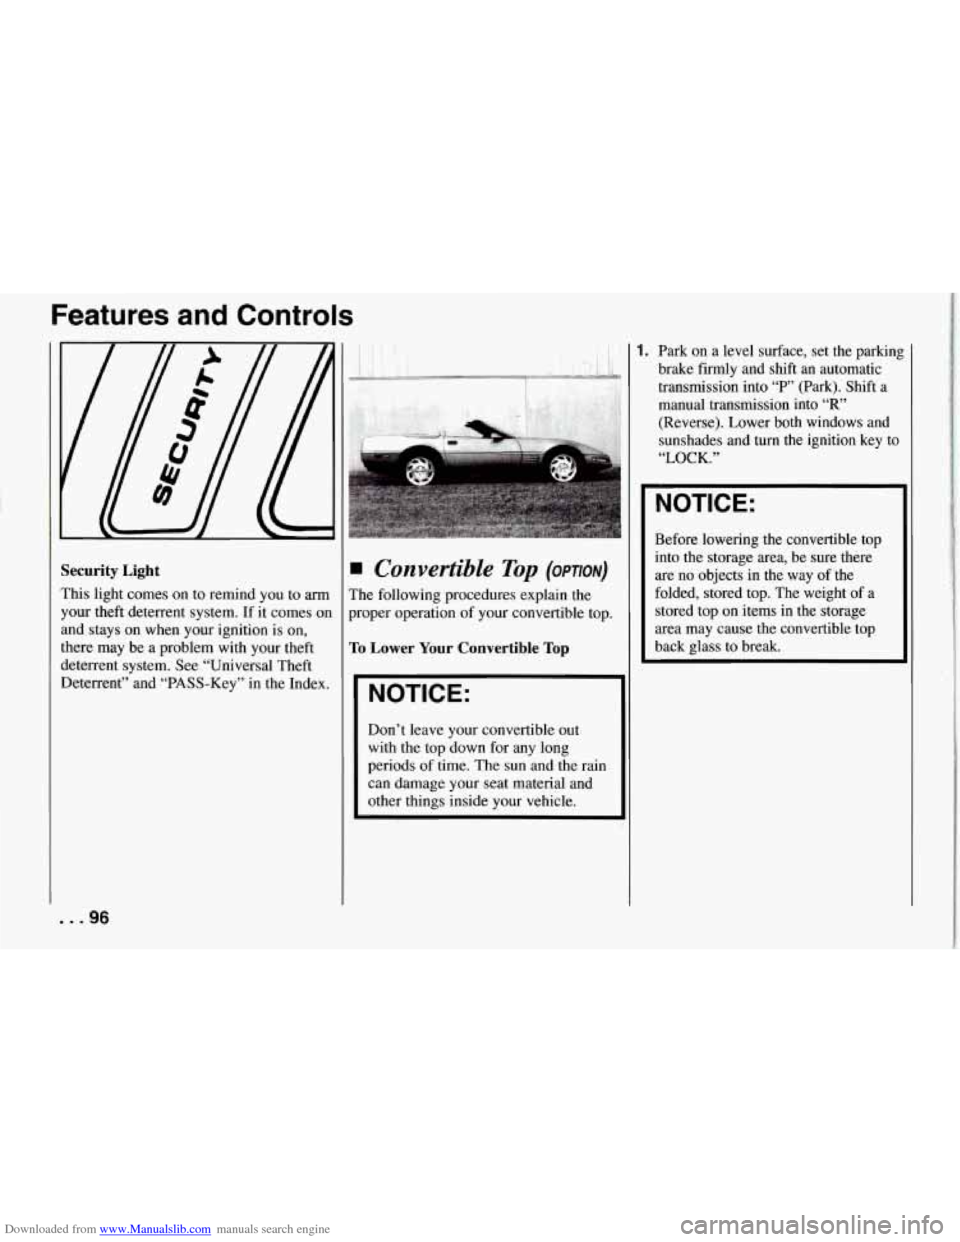
Security Light
This light comes on to remind you to arm
your theft deterrent system. If it comes on
and stays on when your ignition is on,
there may be a problem with your theft
deterrent system. See “Universal Theft
Deterrent” and “PASS-Key” in the Index.
Convertible Top (OPTION)
The following procedures explain the
proper operation of your convertible top.
To Lower Your Convertible Top
NOTICE:
~~
Don’t leave your convertible out
with the top down for any long
periods
of time. The sun and the rain
can damage your seat material and
other things inside your vehicle.
1. Park on a level surface, set the parkin8
brake firmly and shift an automatic
transmission into
“P’ (Park). Shift a
manual transmission into
“R”
(Reverse). Lower both windows and
sunshades and
turn the ignition key to
“LOCK.”
NOTICE:
Before lowering the convertible top
into the storage area, be sure there
are
no objects in the way of the
folded, stored top. The weight of a
stored top
on items in the storage
area may cause the convertible top
back glass to break.
... 96
Page 98 of 274
Downloaded from www.Manualslib.com manuals search engine Iriwl I
2. Unlock the front of the convertible top
by turning the latch handles outward.
Then lift the top
off the windshield
slightly.
3. Unfasten the strips at the rear of each
window opening. 4. Tilt the driver's seatback forward.
The convertible top release handle is
behind the driver's seat beneath the
storage compartment lid. Pull the
inside edge of the handle forward.
97 ...