1994 CHEVROLET CORVETTE overheating
[x] Cancel search: overheatingPage 8 of 274
Downloaded from www.Manualslib.com manuals search engine How to Us; This
Manual
5.-
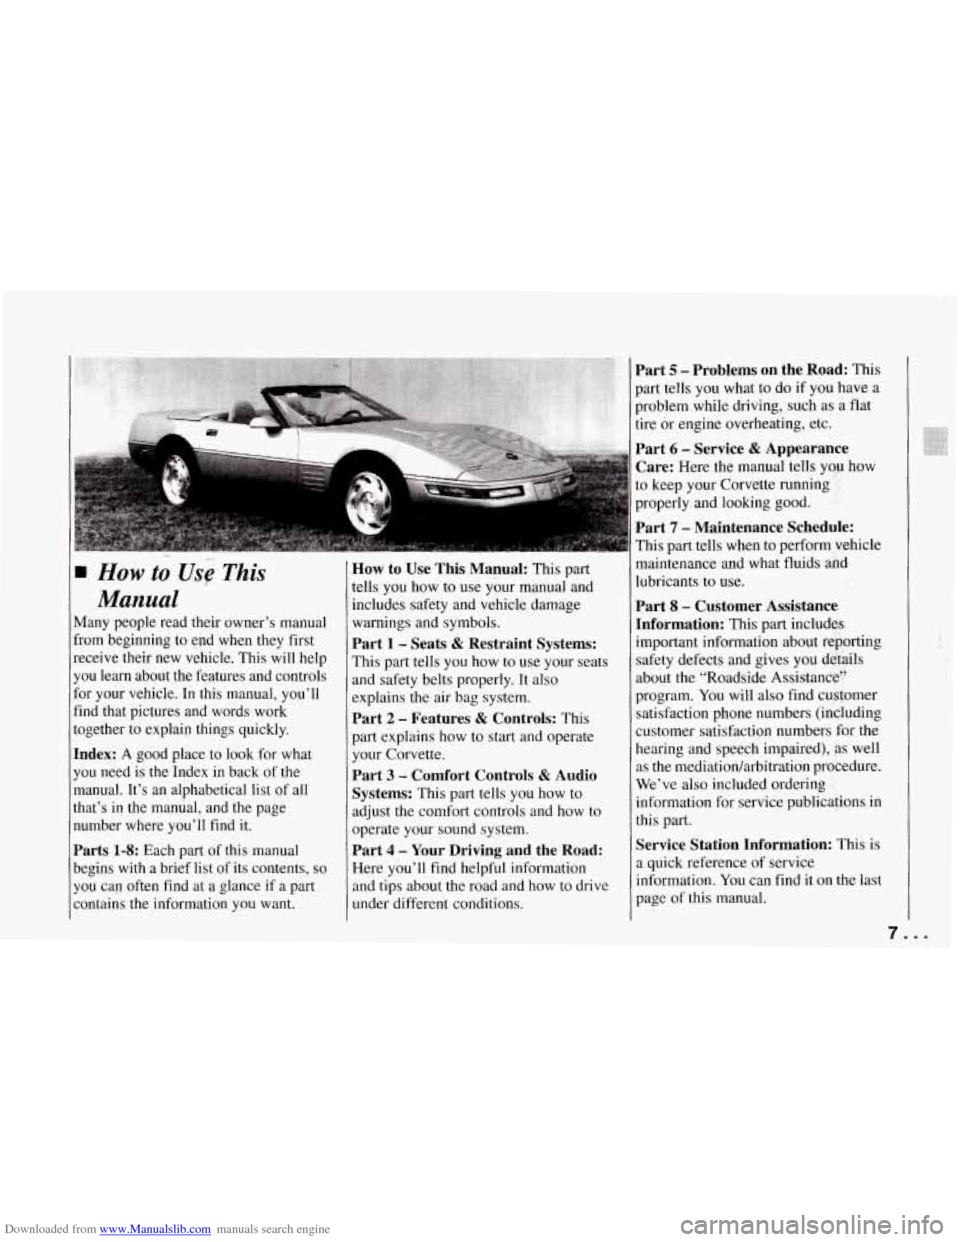
Many people read their owner’s manual
from beginning to end when they first
receive their new vehicle. This will help
you learn about the features and controls
for your vehicle.
In this manual, you’ll
find that pictures and words work
together to explain things quickly.
Index: A good place to look for what
you need is the In-dex in back of the
manual. It’s an alphabetical list of all
that’s iq the manual, and the page
number where you’ll find it.
Parts 1-8: Each part of this manual
begins with a brief list of its contents,
so
you cap often find at a glance if a part
Eontains the information you want.
How to Use This Manual: This part
tells you how to use your manual and
includes safety and vehicle damage
warnings and symbols.
Part 1 - Seats & Restraint Systems:
This part tells you how to use your seats
and safety belts properly. It also
explains the
air bag system.
Part 2 - Features & Controls: This
part explains how to start and operate
your Corvette.
Part 3 - Comfort Controls & Audio
Systems:
This ,part tells you how to
adjust the comfort controls and
how to
operate your sound system.
Part 4 - Your Driving and the Road:
Here you’ll find helpful information
and tips about the road and how to drive
under different conditions.
Part 5 - Problems on the Road: This
>art tells you what to do if you have a
Jroblem while driving, such as a flat
:ire or engine overheating, etc.
Part 6 - Service & Appearance
Care:
Here the manual tells yqap how
:o keep your Corvette running ’’:;’.
properly and looking good. ’,:.
Part 7 - Maintenance Schedule:
This part tells when to perfom,,vehicle
maintenance and what fluids
a&l
lubricants to use.
Part 8 - Customer Assistanc?
~nformation:
This part includ&
important information about rdiorting
safety defects and gives you &$$ls
about the “Roadside Assistancq?
program. You will also find cG$@mer
satisfaction phone numbers (ir&luding
customer satisfaction numbers .for the
hearing and speech impaired),
&s well
as the mediationhrbitration prokedure.
We’ve also included ordering
information for service publicagions in
this part.
Service Station Information: This is
a quick reference of service
information. You can find it
on the last
page of this manual.
..
I ‘I ,
7 I ...
Page 90 of 274

Downloaded from www.Manualslib.com manuals search engine I
S
T
P
Y
U
0
0
si
C
0:
01
SERVICE
LTPWS
‘ervice LTPWS Light (Option)
‘he “SERVICE LTPWS” light comes on
rhenever a LTPWS part is not working
roperly. It may also come on when
ou’re going less than
25 mph (40 kmk)
r in stop-and-go traffic. The light will go
ut when the electronic receiver gets a
ignal from each sensor.
lheck the system by turning the ignition
n. The light should come on and then go
ut. See your dealer if the light stays on
r doesn’t come on. Here
are two situations that cause the
“SERVICE LTPWS” light to come on
and stay on. Both
of these situations are
normal and do not indicate that anything
is wrong with your Corvette.
You turn the ignition on three times in
a row for half an hour without moving
your Corvette. The light will then
come on every time you
turn the
ignition on until you move your
Corvette.
You run your Corvette three times in a
row for half an hour while all four
sensors are missing. (All the sensors
would be missing, for example, if yo,u
put different wheels on your Corvette
without transferring the sensors.)
If you would like to clear the
”SERVICE LTPWS” light from your
driver information center permanently,
see your dealer.
[f the light comes on and stays on, even
when the vehicle is driven, there may be a
problem with LTPWS. See your dealer.
185
- k- $3 26C
- TEMP .F
100
rEMP “F
LT5 Engine LT1 Engine
Engine Coolant Temperature Gauge
This gauge shows the engine coolant
temperature. If the gauge pointer moves
into the shaded area, your engine is too
hot!
It means that your engine coolant has
overheated. If you have been operating
your vehicle under normal driving
conditions, you should pull off the road,
stop your vehicle and turn off the engine
as soon as possible.
HOT COOLANT CAN BURN YOU
BADLY!
In “Problems on the Road,” this manual
shows what to do. See “Engine
Overheating” in the Index.
89 ...
Page 93 of 274
Downloaded from www.Manualslib.com manuals search engine Features and Controls
I NOTICE:
I
Damage to your engine from
neglected oil problems can be costly
and is not covered by your warranty.
... 92
TEMP OIL
OF TEMP OIL
‘F
280
T1 Engine LT5 Enginl
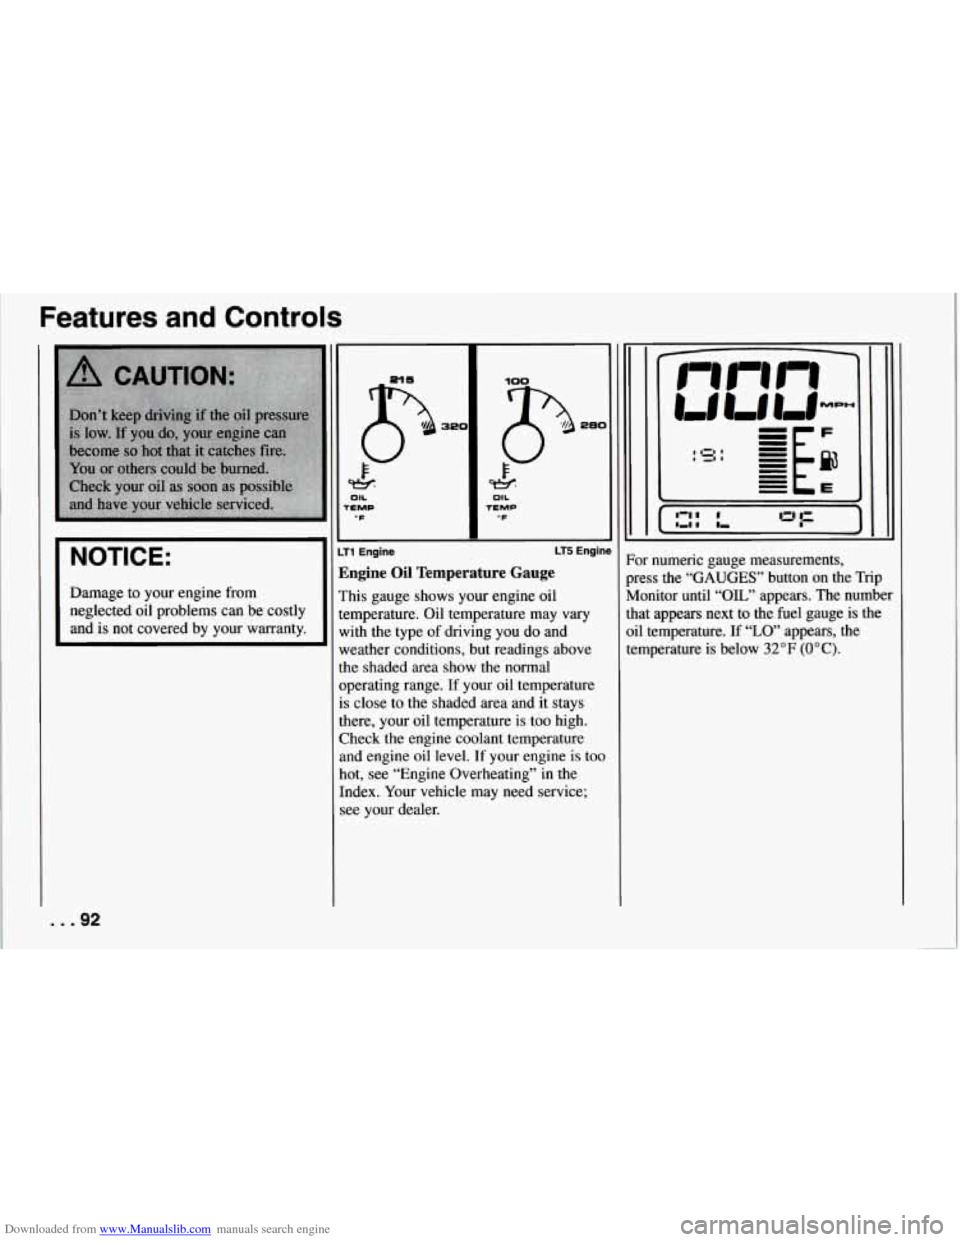
Zngine Oil Temperature Gauge
rhis gauge shows your engine oil
emperature. Oil temperature may
vary
vith the type of driving you do and
weather conditions, but readings above
the shaded area show the normal
operating range. If your oil temperature
is close to the shaded area and it stays
there, your oil temperature is too high.
Check the engine coolant temperature
and engine oil level. If your engine
is too
hot, see “Engine Overheating” in the
Index. Your vehicle may need service;
see your dealer.
1 IZI I
I ,I I
)r numeric gauge measurements,
ness the
“GAUGES” button on the Trip
[onitor until
“OIL” appears. The number
at appears next to the fuel gauge is the
1 temperature. If “LO’ appears, the
mperature
is below 32°F (OOC).
Page 94 of 274
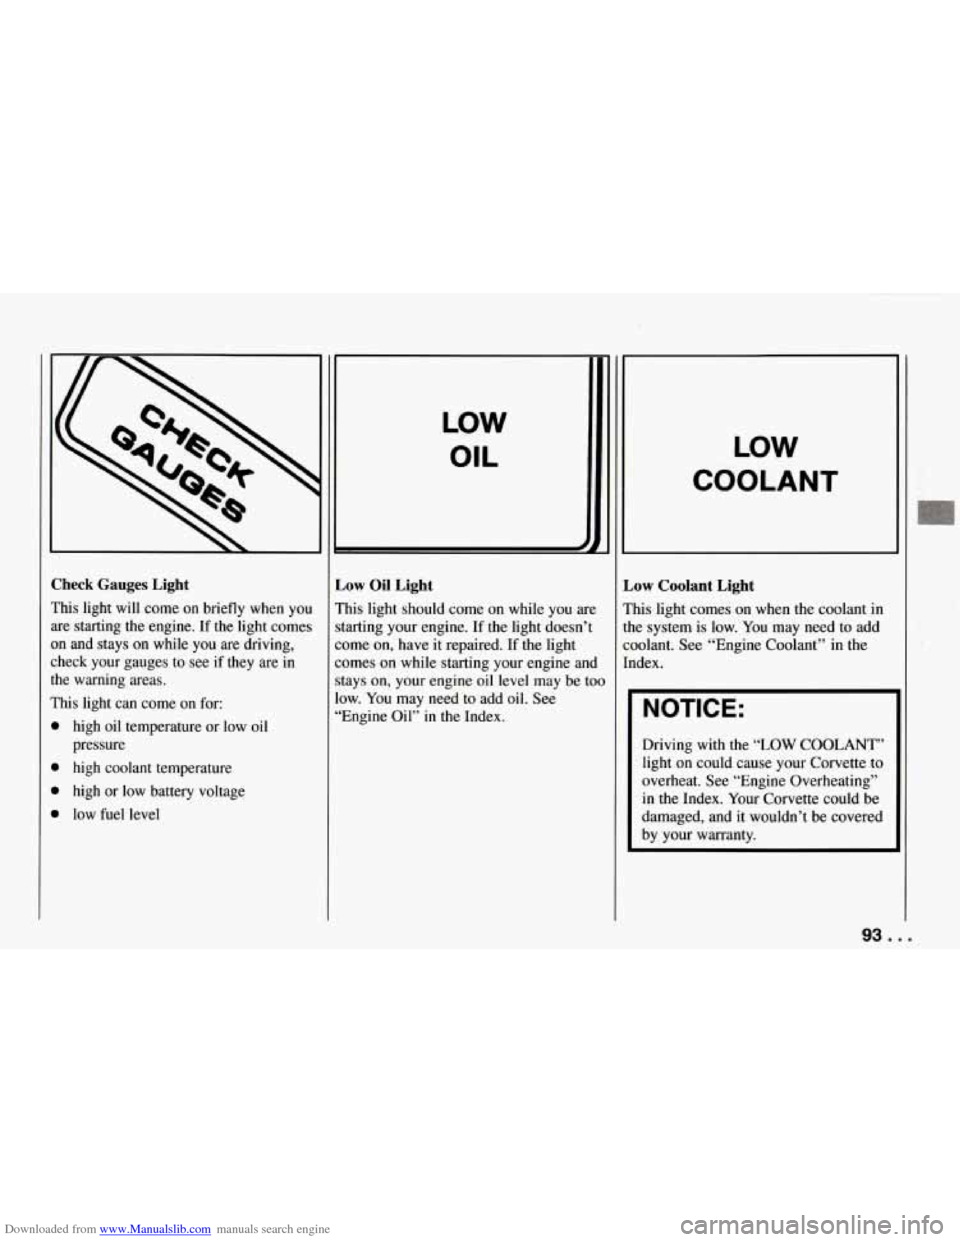
Downloaded from www.Manualslib.com manuals search engine Check Gauges Light
This light will come on briefly when you are starting
the engine. If the light comes
on and stays on while you are driving,
check your gauges to see if they are in
the warning areas.
This light can come on for:
high oil temperature or low oil
pressure
high coolant temperature
high or low battery voltage
low fuel level
LOW
OIL
L
Low Oil Light
This light should come on while you are
starting your engine. If
the light doesn’t
come on, have it repaired.
If the light
comes on while starting your engine and
stays on, your engine oil level may be too
low. You may need to add oil. See
“Engine Oil” in the Index.
LOW
COOLANT
Low Coolant Light
This light comes on when the coolant in
the system is low. You may need to add
coolant. See “Engine Coolant” in the
Index.
NOTICE:
Driving with the “LOW COOLANT”
light on could cause your Corvette to
overheat. See “Engine Overheating”
in the Index. Your Corvette could be
damaged, and it wouldn’t be covered
by your warranty.
93 ...
Page 142 of 274
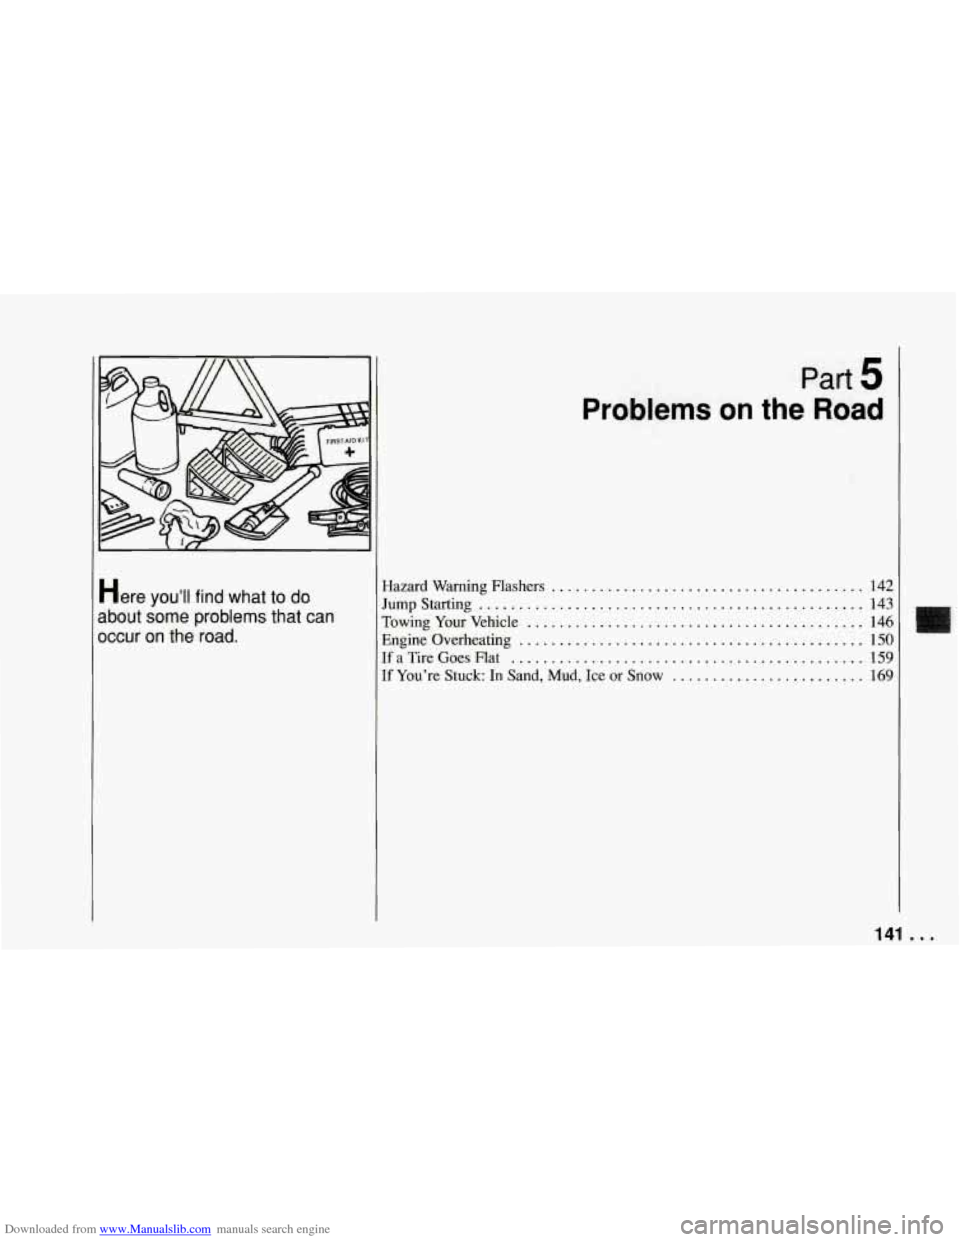
Downloaded from www.Manualslib.com manuals search engine Here you’tl find what to do
about some problems that can
occur on the road
.
Part 5
Problems on the Road
Hazard Warning Flashers ....................................... 142
rumpStarting ................................................ 143
rowing Your Vehicle
.......................................... 146
Engine Overheating ........................................... 150
[f a Tire Goes Flat ............................................ 159
[f You’re Stuck: In Sand. Mud. Ice or Snow ........................ 169
141 ...
Page 151 of 274
Downloaded from www.Manualslib.com manuals search engine Problems on the Road
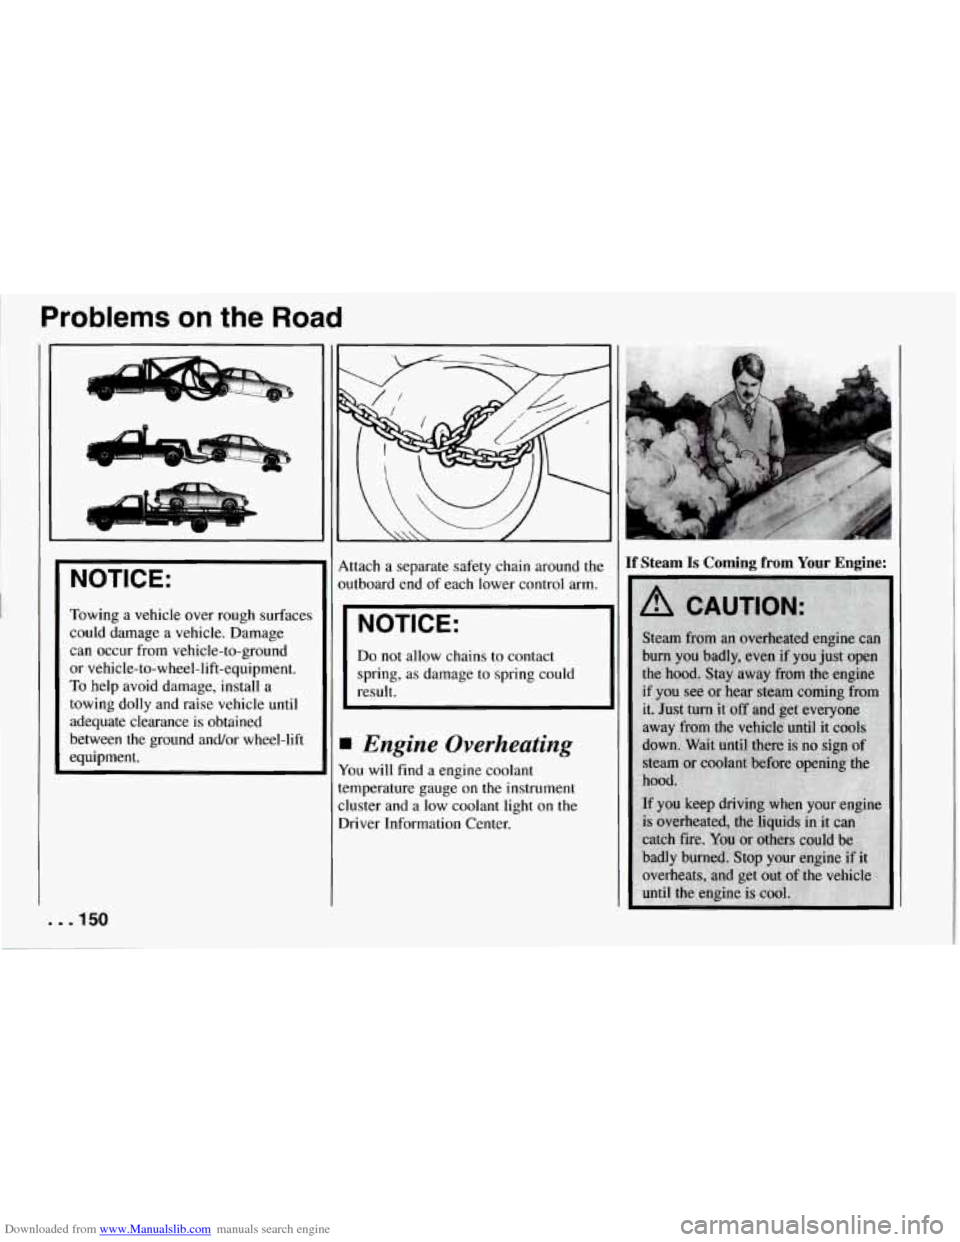
NOTICE:
Towing a vehicle over rough surfaces
could damage a vehicle. Damage
can occur from vehicle-to-ground
or vehicle-to-wheel-lift-equipment.
To help avoid damage, install a
towing dolly and raise vehicle until
adequate clearance
is obtained
between the ground and/or wheel-lift
equipment. Attach
a separate safety chain around the
outboard end of each lower control
arm.
NOTICE:
Do not allow chains to contact
spring, as damage to spring could
result.
Engine Overheating
You will find a engine coolant
temperature gauge on the instrument
cluster and a low coolant light on the
Driver Information Center.
If Steam Is Corning from Your Engine:
. . .I50
Page 153 of 274
Downloaded from www.Manualslib.com manuals search engine Problems on the Road
F
Cooling System
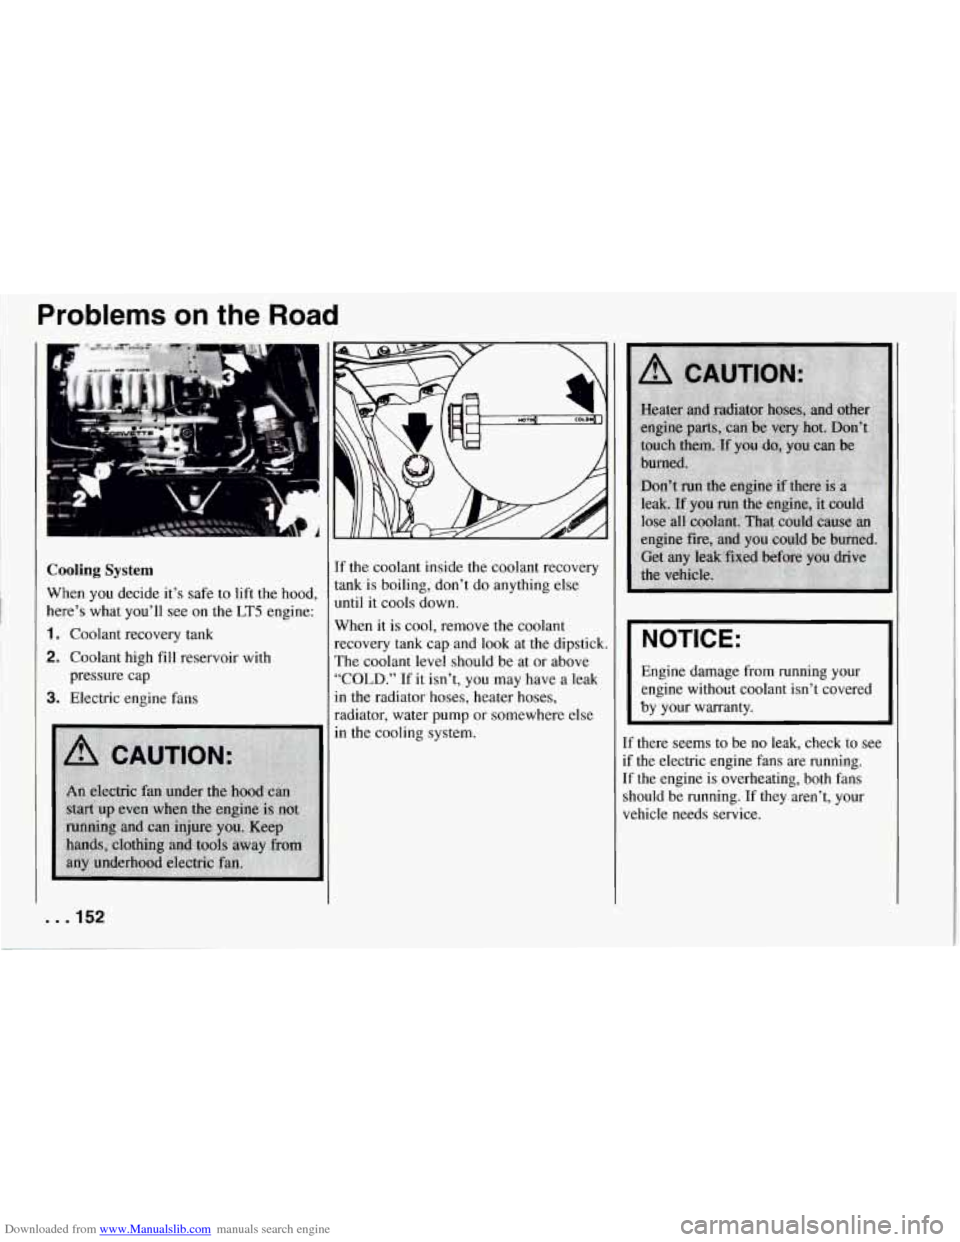
When you decide it’s safe to lift the hood,
here’s what you’ll see on the
LT5 engine:
1. Coolant recovery tank
2. Coolant high fill reservoir with
3. Electric engine fans
pressure cap
. . -152
If
the coolant inside the coolant recovery
tank is boiling, don’t do anything else
until it cools down.
When it is cool, remove the coolant
recovery tank cap and look at the dipstick.
The coolant level should be at or above
“COLD.” If it isn’t, you may have a leak
in the radiator hoses, heater hoses,
radiator, water pump or somewhere else
in the cooling system.
I NOTICE:
I
Engine damage from running your
engine without coolant isn’t covered
by your warranty.
If there seems to be no leak, check
to see
if the electric engine fans are running.
If the engine is overheating, both fans
should be running.
If they aren’t, your
vehicle needs service.
Page 189 of 274
Downloaded from www.Manualslib.com manuals search engine Service and Appearance Care
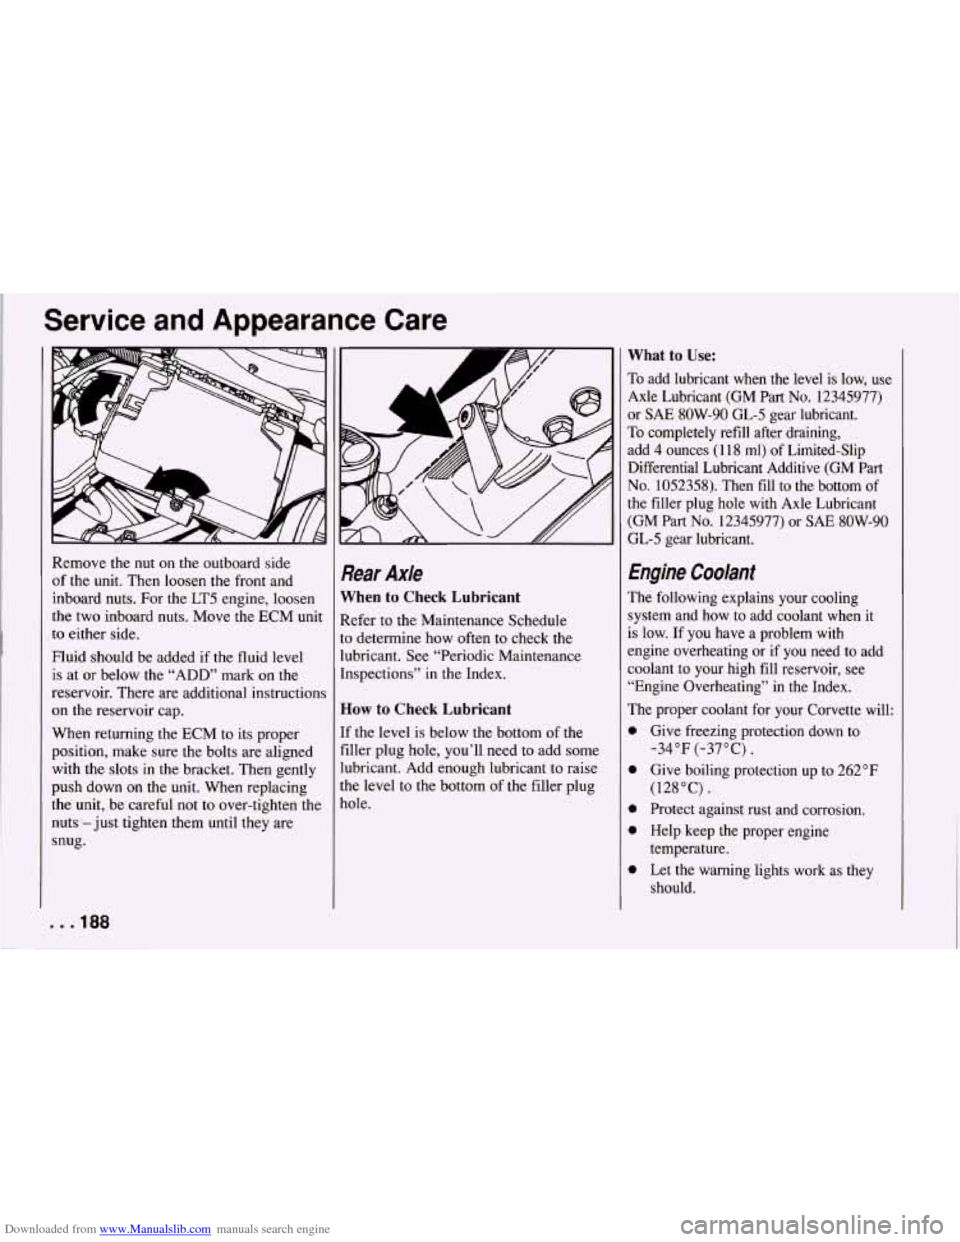
Remove the nut on the outboard side
of the unit. Then loosen the front and
inboard nuts. For the LT5 engine, loosen
the two inboard nuts. Move the ECM unit
to either side.
Fluid should be added if the fluid level
is at or below the “ADD” mark on the
reservoir. There are additional instructions
on the reservoir cap.
When returning the ECM to its proper
position, make sure the bolts are aligned
with the slots in the bracket. Then gently
push down on the unit. When replacing
the unit, be careful not to over-tighten the
nuts -just tighten them until they are
snug.
. . * 188
Rear Axle
When to Check Lubricant
Refer to the Maintenance Schedule
to determine how often to check the
lubricant. See “Periodic Maintenance
Inspections” in the Index.
How to Check Lubricant
If the level is below the bottom of the
filler plug hole, you’ll need to add some
lubricant. Add enough lubricant to raise
the level to the bottom of the filler plug
hole.
What to Use:
To add lubricant when the level is low, use
Axle Lubricant (GM Part
No. 12345977)
or
SAE 8OW-90 GL-5 gear lubricant.
To completely refill after draining,
add 4 ounces (1 18 ml) of Limited-Slip
Differential Lubricant Additive (GM Part
No. 1052358). Then fill to the bottom of
the filler plug hole with Axle Lubricant
(GM Part
No. 12345977) or SAE 8OW-90
GL-5 gear lubricant.
Engine Coolant
The following explains your cooling
system and how to add coolant when
it
is low. If you have a problem with
engine overheating or
if you need to add
coolant to your high fill reservoir, see
“Engine Overheating” in the Index.
The proper coolant for your Corvette will:
0
0
0
0
0
Give freezing protection down to -34°F (-37°C).
Give boiling protection up to 262°F
(128°C).
Protect against rust and corrosion.
Help keep the proper engine
temperature.
Let the warning lights work as they
should.