Page 9 of 105
Downloaded from www.Manualslib.com manuals search engine Power Windows (Optional)
Power windows have an ignition interlock so the windows cannot be operated
unless the ignition .
switch· is in the "RUN " position . A master control for all windows is provided on the driver 's door . Individual switches are provided
under each window for passenger use.
MIRRORS
",side Rearvlew Mirror
DAY/NIGHT ADJUSTMENT
Outside Rearview Mirror
Adjust the outside mirror so you can just see the side of your vehicle . This
helps you determine the location of objects-seen
in the mirror .
1-4
Page 10 of 105

�")
Downloaded from www.Manualslib.com manuals search engine Convex Rearview Mirror
Your vehicle may have an optional convex outside right-hand mirror. (A convex
mirror has a curved surface.)
• Use care when judging the size or distance of a vehicle· or object seen in Ihis convex mirror -such objecls will LOOK smaller and appear farther
away than when seen in a flat mirror.
• Use your inside mirror (or glance rearward) to determine the size and distance of objects seen in the convex mirror.
• Adjust the mirror so you can just see the side of your vehicle.
SEAT CONTROLS
Bucket Seats
The fronl seals may be adjusled forward or rearward by moving Ihe conlrol
lever at the front of the seat. Move thecontro! lever to the left to release the locking mechanism; then exert slight body pressure· to move seat to desired position. Release lever to lock seat into position.
CAUTION: . Do . not adjust a· manually· operated· driVer's seat while the vehicle is moving. The seat could move suddenly and cause the driver to lose controt· of.. the vehicle.
After adjusling a manually operaled seal; push il back and forlh 10 be sur" il wifl not move. Take the vehicle to your dealer for service if either seat adjuster
does not lalch.
Multi-Position Reclinil'lg Seat
The reclining sealback can be tilted forward or rearward of Ihe normal posilion
by firsl pushing on
Ihe sealback, Ihen lifting the conlrol lever on Ihe ouler side
of
Ihe seat. Release Ihe lever 10 lock the sealback in place.
To relurn Ihe sealback 10 an uprighl position, push rearward slightly on the
sealback, lhen move
Ihe conlrol lever. Release the sealback 10 allow il 10 move forward:· .Lf you do not first push on the seatback before moving the lever,
the seatback may jam.
To release it, you must push firmly rearward on the
seatback before moving the lever, then move
the control lever.
1-5
Page 11 of 105

Downloaded from www.Manualslib.com manuals search engine CAUTION: To reduce the risk of sliding under the lap belt during a collision, an
occupied reclining seat should not be reclined any more than needed for comfort. The
seatback and seat belts provide best restraint ONLY when the rider is siuing well back
and straight up in the seat. (The lap belt is designed to spread the force of a collision over the hip-bone. If you are reclined, the lap belt may slide past your hips and apply restraint forces directly to the abdomen. Therefore, in the event of a frontal collision, the riskof 'personal Injury may increase with increasing reCline of theseatback.)
Do not adjust the reclining seatback on the driver's seat while the vehicle is moving. The
seatback could move suddenly and cause the driver to lose control of the vehicle.
Easy Entry Seat (Two-Door Models Only)
The right front seat of your vehicle has an Easy Entry feature.
1 . To make it easy to enter the rear seat area, the seat slides forward when
you tilt its seatback
fully forward.
2. After entry into the rear seat. tip the folding back to its original position and
move the seat rearward until it latches.
CAUTION: ALWAYS press rearward on the seat to be sure the seat adjuster has latched to t\eJp.8voidpersonal injury in the event of a collision.
Front Seatback Latches
The seatback latches on folding front seats are designed to limit forward
movement of the seatback
only during a sudden slowing of the vehicle. The
seatback can be tilted forward without unlatching unless the vehicle
is parked "nose down." In that case, pull rearward slightly on the seatback while pumng
up on the seatback latch release lever at the bottom outboard side of the
seatback.
The latch release lever must
be in the "down" position for the latch to work
properly. Check now and then to see that each lever moves up and down
freely when the seatback
is pushed forward slightly. If it does not move, or
if you suspect the latch may not be working, have it serviced by your dealer.
Keep seat belt webbing and hardware clear of seat hinging, latching and
recHning mechanisms When you tilt a folding seat. This helps prevent damage
to these belt systems.
1·6
Page 12 of 105

The six-way power seat. control switch is located at the. front outboard side of the drivers seat sh")
Downloaded from www.Manualslib.com manuals search engine Power Operated Front Seats (Optional)
The six-way power seat. control switch is located at the. front outboard side of the driver's seat shell.
The seat can be operated as follows :
t . The front control provides up and down movement of the front of the
seat.
2. The center control provides forward and' backward movement ·i,"d·~p" ..
and down movement of the entire front seat.
3 . The rear
control provides up and down movement of the rear of the
seat.
Head Restraints
Head restraints are designed to help reduce the risk of neck injuries . Choose
the position which
places the top of the head restraint closest to the top of your ears. To raise or lower, just slide the head restraint up or down.
SEAT BEL.T SYSTEMS
CAUTION: To help reduce the risk 01 personal injury In collisions or sudden maneuvers use the selt belts fOllowing the instructions in this section on their proper use, mlintenance. -and IPPUCaUon with child res1riUnt system.. This includes pregnant women ; pregnant women shoukl Mk!ct a seat wrth a tep-shoukler bett whenever OOsoible.
1 .. 7
Page 13 of 105

Downloaded from www.Manualslib.com manuals search engine NEVER:
• Wear a shoulder belt under your arm nearest the door.
• Use a belt for more than one person at a time.
• Wear the belts twisted.
• Let the belt system become damaged by a door or seat.
• Put anything into the opening where the seat belt passes through the trim panel. (This may jam the retractor or damage the belt.)
Front Seat Lap-Shoulder Belt
1. Adjust the seat as needed and sit well back and straight up. Grasp the
latch plate and:
• Pull the belt as far as it will reach across your lap.
• Hold the latch plate at a right angle to the webbing and slide it further
(toward the front of the vehicle).
•
Then pull it across your lap and push it into the buckle until it clicks.
2. To reduce the risk of sliding under the belt during a collision, position the belt across your lap as LOW ON YOUR HIPS as pOSSible and adjust it
to a SNUG FIT by pulling the "shoulder" portion upward through the latch plate.
The shoulder portion of the belt is designed to lock only during a sudden stop or impact. At other times it should move freely.
3. If the shoulder belt is too snug:
A. Pull the shoulder belt out at least 130 millimeters (five inches) so that
when you let go, it returns to your chest.
1·8
Page 14 of 105

Downloaded from www.Manualslib.com manuals search engine B. Then pull down on the shoulder beUthe teast amount needed to ease
pressure but no more than 25mm or one inch and let go.
4. To get rid of the slack in the belt, pull the belt out as you did in Step 3A above.
Keep any
shoulder belt stack to a minimum. Too much belt slack could reduce the amount of protection in an· accident because the belt is too loose to restrain you properly.
5. To unfasten the belt, push in the button in the center of the buckle. To
stow the
belt, pull it out about 180 millimeters (seven inches) and hold it
while it retracts. On four-door models, the beH should retract when the
buckle is unlatched and the door is opened. If the beH does not retract
fully,
slide the latch plate down the webbing. To help prevent damage to
the seat beH and interior trim, before closing the door be sure the belt is
fully retracted
and the latch plate is out of the way.
Rear Seat Lap Belts
To enter the rear seat in 2-door cars:
• Push the front seat belt "sleeve" rearward out of the door opening and enter the vehicle.
•
After entering, push the sleeve forward so it will be easy for the person in the front seat to reach the belt.
Rear seat lap belts next to side windows have retractors which are designed to
take up extra webbing.
1 .
In a single motion pull the rear seat outboard lap belt across your lap enough to push the latch plate into the buckle, until it clicks. If the webbing
locks before the latch plate reaches the buckle, let it rewind fully into its
retractor to
unlock it so the belt can be pulled out to the proper length.
2. These belts should be positioned, worn, and released as described under
"Front Seat Lap-Shoulder Belt." Adjust the beH to a SNUG FIT by pulling
it firmly across your lap toward the retractor, so it can take up slack.
3. The lap belt at the center seat also should be positioned, worn, and
released as described above; however, it does not have a retractor. Adjust it to a SNUG FIT by pulling on the end of the beH coming from the latch
plate.
1·9
Page 15 of 105

Downloaded from www.Manualslib.com manuals search engine 4. To lengthen the center seat lap belt, place the latch plate at a right angle
to the belt webbing and pull on the latch plate; the belt should then slide
easily.
Rear Seat Shoulder Belts (Dealer-Installed Accessory)
Except Convertible
When properly worn with a lap bell, a shoulder belt (available for rear outboard
seats) can give riders added protection. It can prevent or reduce impact with the inside of the vehicle by restraining the upper body in a collision, especially
in a frontal impact.
1 . To use the detachable
shoulder belt, before fastening the lap belt, place the knob on the shoulder belt end in the "keyhole" on the lap bell latch
plate. Tilt
the knob as needed to pass it through the slot. Pull the knob
firmly upward to seat it at the narrow end of the keyhole, then fasten the lap belt. (Do this in reverse when taking off the shoulder belt and putting it
away.)
If your vehicle is a hatchback style with the optional roll-up cargo cover, be
sure to route the shoulder belts ABOVE the cargo cover roller when the belts are used. Hold the Shoulder belts out to the side if it is necessary to extend or
retract the cargo cover
while the shoulder belts are in use. If a shoulder belt
is routed under the roller, it eQuid dislodge the roller during an accident
increasing
the risk of personal injury.
2. A detachable shoulder belt can be made shorter and longer in the same way as a center seat lap belt.
3. Place a clenched fist between the belt and your chest, as shown. The
detachable shoulder belt should have enough slack to put a fist's width
between your chest
and the belt.
1-10
Page 16 of 105

Downloaded from www.Manualslib.com manuals search engine Keep any shoulder belt slack to a minimum. Too much belt slack could
reduce the amount of protection in an accident because the belt is too loose to restrain you properly_
Seat Belt Inspection
Now and Ihen check that belts. buckles, latch plates, retractors, reminder
systems and guide
loops work properly; look for loose parts or damage that
could keep the restraint system from doing its job. Replace a
belt if the
webbing has been cut or otherwise damaged. Replace belts in use during all
but a minor collision; if there is any question, replace the belt.
SEAT BELT LIGHT/BUZZER REMINDER
When the key is turned to "Run" or "Start," a light will come on for four to
eight seconds to remind people to fasten their· seat belts. Unless the driver's
seat
belt is buckled, a buzzer will sound at the same time.
If the seat belt or reminder system does not work as described, see your dealer
for service.
CHILD RESTRAINT
All vehicle occupants and especially children should be restrained
whenever riding
in vehicles. Holding a child in your arms is NOT a substitute for a child restraint system. In an accident, a child held in a person's arms can
be struck or crushed by any unrestrained- rider. An unrestrained child could
also be injured by striking the interior, or by being ejected from the vehicle
during a sudden maneuver or impact. A child restraint system can help
protect a child in a vehicle.
In convertibles, a top-strap-equipped child restraint can only be used in
the Iront seat because there is no appropriate place to aUach a top strap
anchor bracket behind the rear seat in this vehicle. Installing a top strap
anchor bracket behind the rear seat may expose the child to hazards if the top
is raised or lowered with the child restraint occupied,
and, the bracket itself
may damage the convertible top.
In using any child restraint system, be sure to read and follow all instructions on installation and use that come with the system.
Riding Without A Child Restraint
For the best protection in an accident or sudden maneuver, children
small enough lor child restraint systems should be restrained that way.
However, the
following may provide some degree of protection for such children if a child restraint is not used.
• Place an infant who cannot sit up in a baby carrier, preferably covered and
padded. Put it crossways on the vehicle seat and securely restrain it with the vehicle's seat belts. Or, if that is not possible, place it crossways on the floor behind the driver's seat.
• Children who can sit up by themselves should be restrained with a lap belt
when riding in a rear seat. In the front seat a child should wear both lap
and shoulder belt. If the shoulder belt irritates the neck or face move the
child
closer to the center of the vehicle or to the rear seat. Never let a child stand or kneel on any seat. If unusual conditions prevent the use of
restraints, the
child should stand on the floor behind the driver's seat.
1-11
 1
1 2
2 3
3 4
4 5
5 6
6 7
7 8
8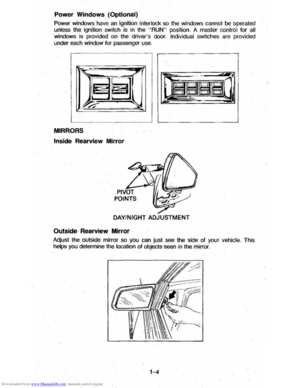 9
9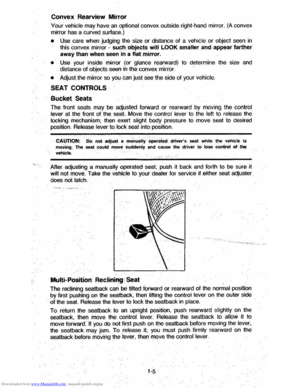 10
10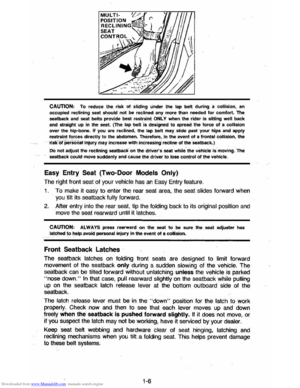 11
11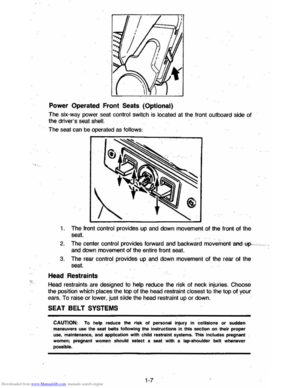 12
12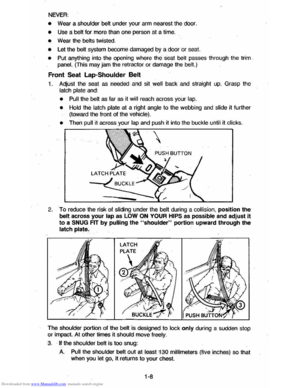 13
13 14
14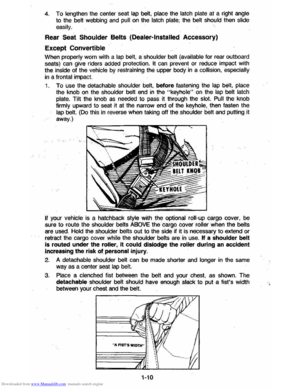 15
15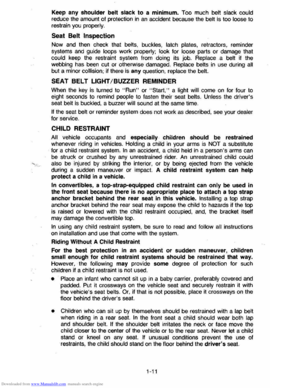 16
16 17
17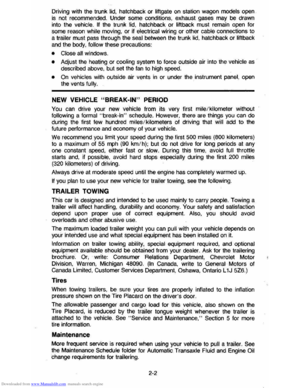 18
18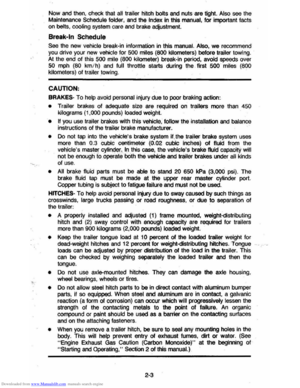 19
19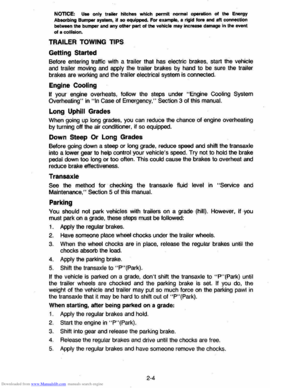 20
20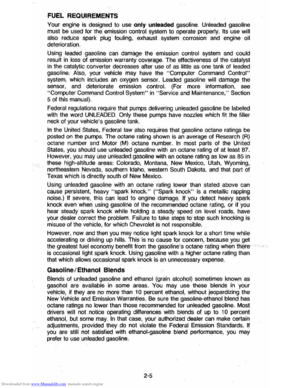 21
21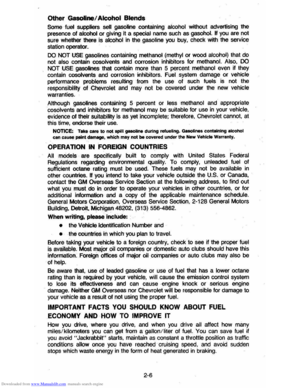 22
22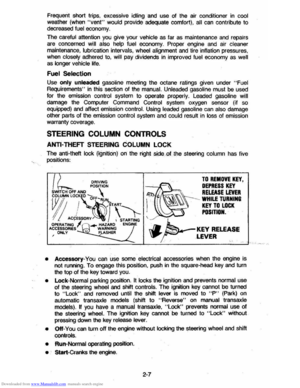 23
23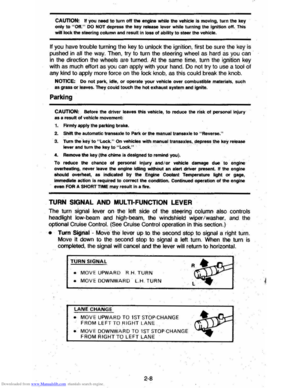 24
24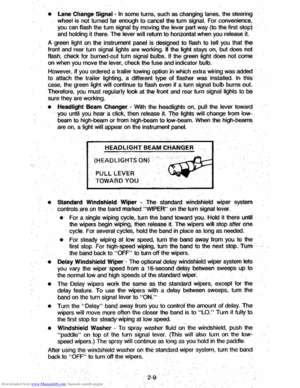 25
25 26
26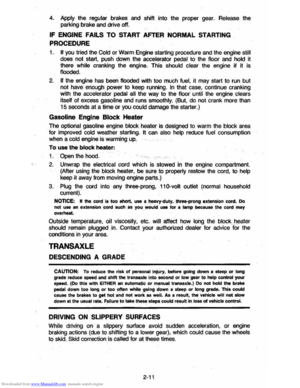 27
27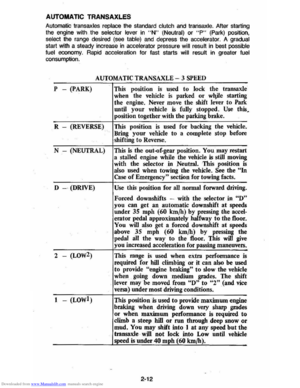 28
28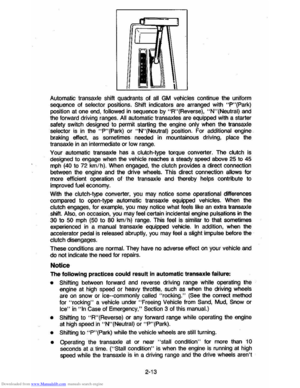 29
29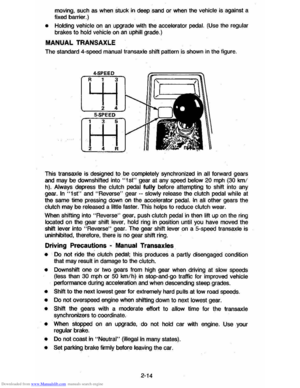 30
30 31
31 32
32 33
33 34
34 35
35 36
36 37
37 38
38 39
39 40
40 41
41 42
42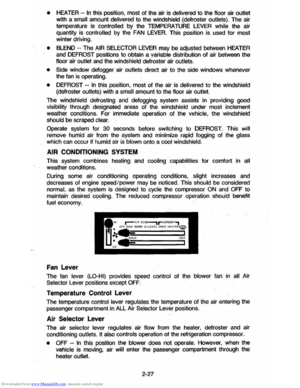 43
43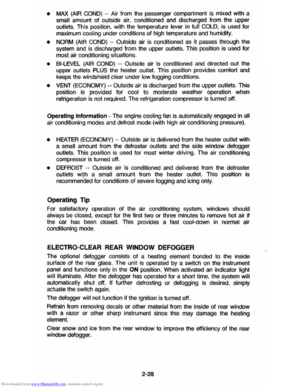 44
44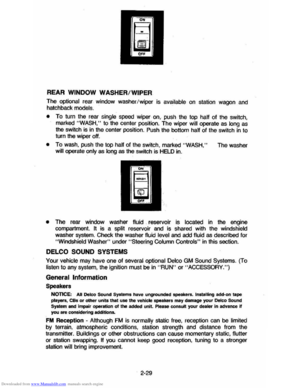 45
45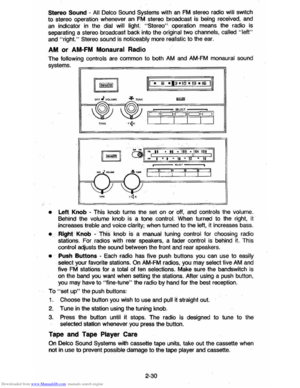 46
46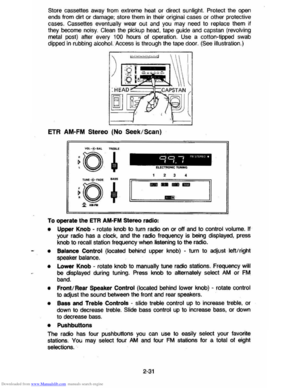 47
47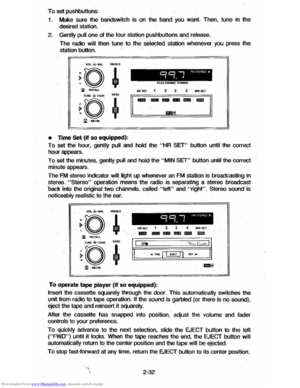 48
48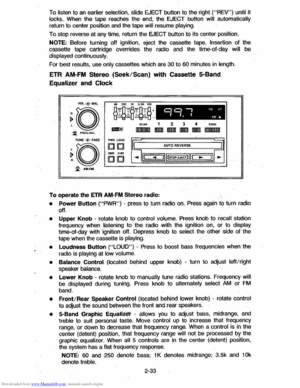 49
49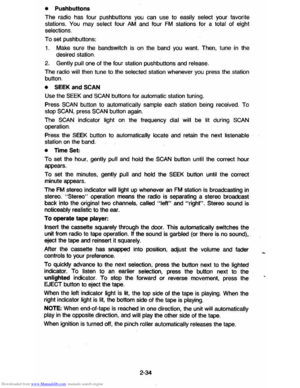 50
50 51
51 52
52 53
53 54
54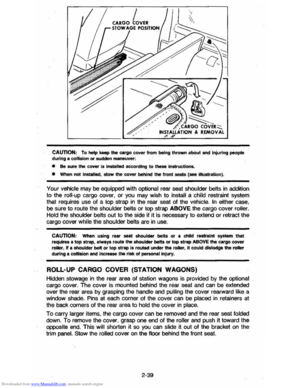 55
55 56
56 57
57 58
58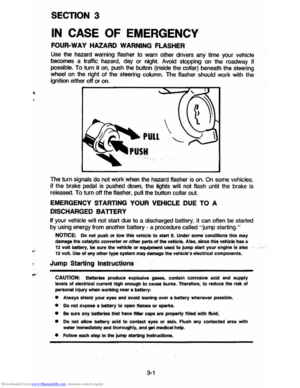 59
59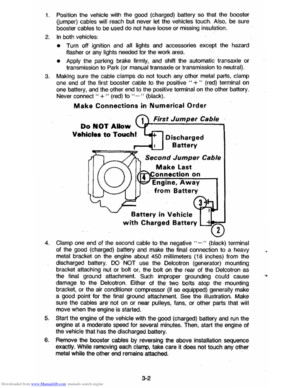 60
60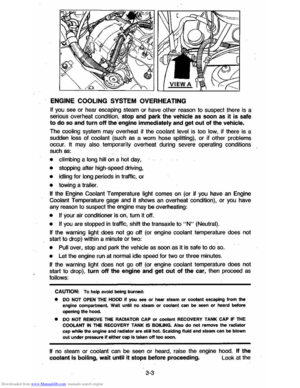 61
61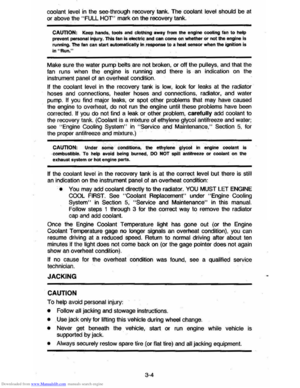 62
62 63
63 64
64 65
65 66
66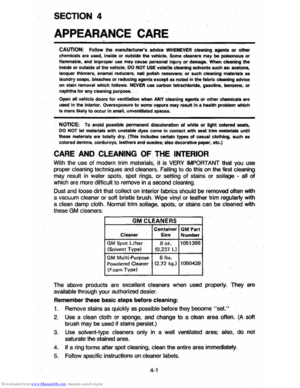 67
67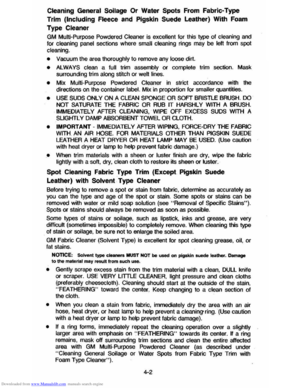 68
68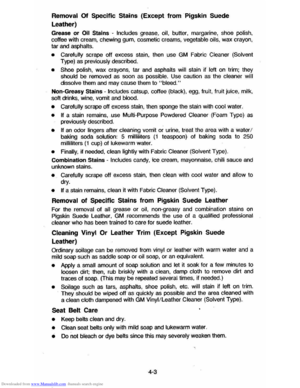 69
69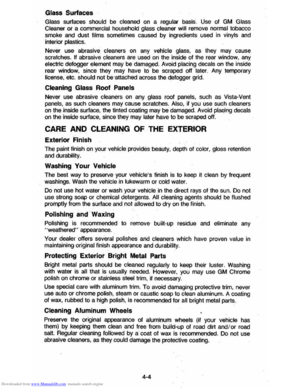 70
70 71
71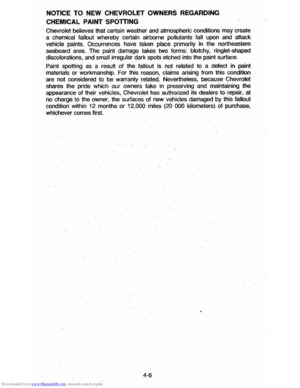 72
72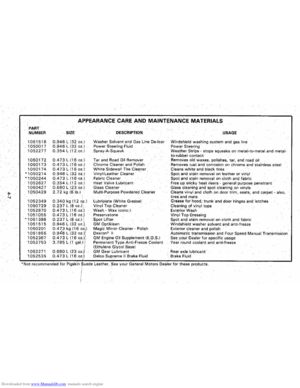 73
73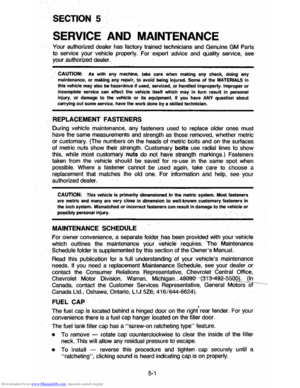 74
74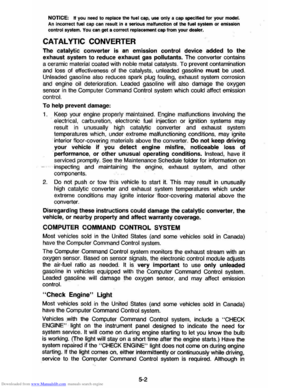 75
75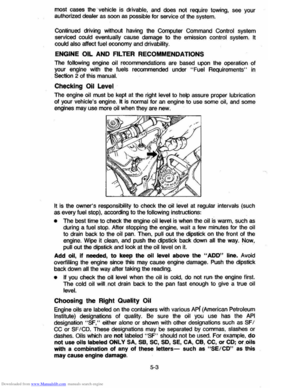 76
76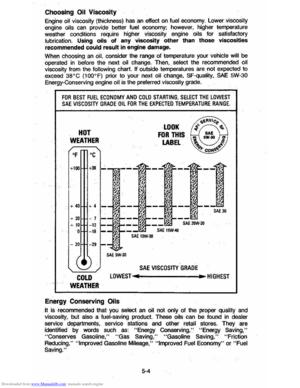 77
77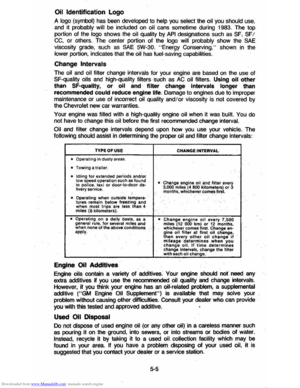 78
78 79
79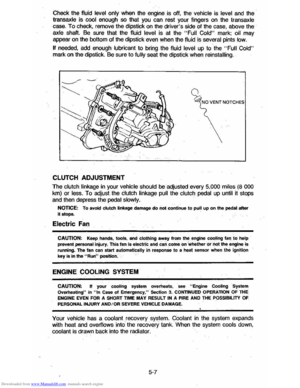 80
80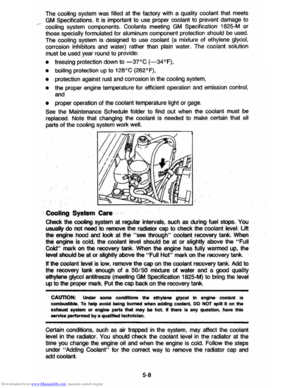 81
81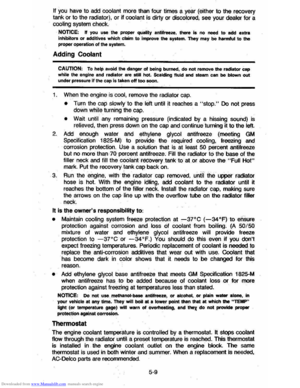 82
82 83
83 84
84 85
85 86
86 87
87 88
88 89
89 90
90 91
91 92
92 93
93 94
94 95
95 96
96 97
97 98
98 99
99 100
100 101
101 102
102 103
103 104
104
Power windows have an ignition interlock so the windows cannot be operated
unless the ignition .
switch· is")