1974 CHEVROLET CAMARO ECO mode
[x] Cancel search: ECO modePage 5 of 85

Downloaded from www.Manualslib.com manuals search engine YOUR CAR'S FIRST
FEW HUNDRED MILES OF DRIVING
You can operate your new car from
its very first mile without adhering
to a formal
"break-in" schedule.
However, during the first
few hun
dred miles of driving you can, by
observing a
few simple precautions,
add to the future performance and
economy of your car.
It is recommended that your speed
during the first
500 miles
be confined to a maximum of
60
M.P.H.,
but do not drive for ex
tended periods at
anyone constant
speed, either fast
or slow. Dur
ing this period, avoid full throttle
starts and, if possible, avoid hard
stops especially during the first
200
miles of operation since brake mis- use
during this period will destroy
much future
bnlke efficiency.
Always drive at moderate speed
until the engine has completely
warmed up.
If you plan to use your new car
for trailer hauling see additional
information on page 11.
SEE PAGE 64 for ADDITIONAL INFORMATION ON
HOW TO IMPROVE YOUR GAS M,ILEAGE.
2
Page 18 of 85
Downloaded from www.Manualslib.com manuals search engine Starting Engine
Automatic Transmission
Models
1. Apply the foot brake.
2. Place transmission selector
in "P" or "N" ("P" preferred).
A starter safety switch prevents
starter operation while the trans
mission selector
is in any drive
position.
(If it is necessary to
re-start the engine with the car
moving, place the selector lever
in
"N".)
IMPORTANT: Do not keep the
starter engaged for more than
15
seconds at a time. Wait 10 or 15 sec
onds before trying again.
.
3. Depress accelerator pedal and
activate starter
as outlined be
low for different conditions.
• Cold. Engine -Fully depress
accelerator pedal and slowly
release.
With foot oD the
pedal,
crank the engine by
turning the ignition key to the
Start position -release when
engine starts.
If engine starts, but fails to'
run, repeat this procedure.
When engine is running
smoothly (approximately 30
seconds), the idle speed may
be reduced by slightly depress
ing the accelerator pedal and
then slowly releasing.
• Warm Engine -Depress ac
celerator
pedal about halfway
15
and hold while cranking the
engine.
• Extremely Cold Weather
(~elow O°F.) Or After Car
Has Been Standing '
Idle
Several
Days-
Fully depress and release ac
celerator pedal two
or three
times before cranking the en
gine.
With foot oD the accel
erator pedal,
crank the engine
by turning the key to the
Start position and release
when engine starts. .
Manual Transmission Models
1. Apply parking brake and shift
transmission to neutral.
2.
Hold clutch pedal to floor
throughout the starting proce
dure. A starter interlock prevents
starter operation when clutch
is
not fully depressed. (Select the
Page 19 of 85

Downloaded from www.Manualslib.com manuals search engine proper gear position before re
leasing the clutch pedal.)
3.
Operate accelerator pedal and
starter
as outlined in step 3
(under Automatic Transmission
Models).
Engine Flooded
Depress accelerator pedal and
hold to floor while starting until
engine
is cleared of excess fuel and
is
running smoothly. Never
"pump" the accelerator pedal.
Warm-Up
Always let the engine idle for 20
to 30 seconds after starting and
drive at moderate speeds for several
miles, especially during cold
weather.
Driving with the Chevrolet Automatic Transmissions
The Turbo Hydra-Matic 350
and 400 are completely automatic
transmISSIons. All replace the
standard clutch and transmission.
Turbo Hydra-Malic 350
and 400
After starting the engine with the
selector lever
in N (Neutral) or P
(Park)
position select the range de
sired (see table) and depress the accelerator.
A gradual start with a
steady increase in accelerator pres
sure will result in best possible fuel
economy. Rapid acceleration for
fast starts will result in greater
fuel consumption.
Automatic transmission shift
quadrants of all GM cars continue
the uniform sequence of selector
positions. This particularly benefits
multicar families and those who
occasionally drive other cars. Shift
16
indicators are arranged with "Park"
position at one end, followed in se
quence by "Reverse" , "Neutral"
and the forward driving ranges.
All automatic transmissions are
equipped with a starter safety
switch designed to permit starting
the engine only when the trans
mission
is in the "Park" or "Neu
tral"
position. For additional
engine braking effect,
as sometimes
needed in mountainous driving,
Page 21 of 85
Downloaded from www.Manualslib.com manuals search engine Driving with Manual Transmissions
The 3-and 4-speed transmission
shift levers, extending from the
fioor, have their special shift pat
tern diagram located on the knob.
Depress the clutch pedal fully be
fore attempting to shift
toa differ
ent gear, then release the pedal to
move in that gear.
For normal
accelerations shift into second gear
at
20 mph; into third gear at 30
mph; and on 4-speed models into
fourth gear at
40 mph.
Both transmissions, being fully
synchronized, may be downshifted
into 1 st gear at any speed below
20
m. p.h. Shift into Reverse gear only
after the car has stopped. Always
depress and release the clutch pedal
fully when shifting.
Also, shift into
"Reverse" before
shutting
off engine. This will permit the
ignition key to be turned to the
"Lock" position.
Good Driving Practice: On cars
equipped with manual transmis
sions , use second gear at slow
speeds (less than
30 m.p.h.) when
driving in stop-and-go traffic; for
improved vehicle performance dur
ing acceleration; and when de
scending steep hills.
18
Turn Signals and Lane
Change Feature
The tum signal lever is located
on the left side of the steering col
umn immediately under the steer
ing wheel. The lever
is moved up
,ward to signal a right
tum and
downward to signal a left
tum.
Lamps on the front and rear of the
car transmit this signal to other
motorists and pedestrians. The
ig
nition switch must be in the "ON"
position in order for the tum sig
nals to be operational. This feature
prevents battery drain if the lever .
is left in an "ON" position when
your car
is not in use.
Page 35 of 85
Downloaded from www.Manualslib.com manuals search engine no matter which position the fan
switch
is in.
Temperature (Lower Level)
The temperature lever allows a
selection of air temperature from
Cold at the far left to Hot at the
far right. When the temperature
lever
is in the COLD position the
system will provide the coldest air
possible. When the temperature
lever
is moved to the right (toward
HOT), the system will operate on
outside air.
Selector (Upper Lever)
This lever provides a selection of
systems available to handle various
heating and cooling requirements
throughout the year . The
"Air Con
ditioning" and "Heating" groups have
several
posItIons which im
prove the effectiveness of the
sys
tem for various demands.
OFF-The system operates on low
blower regardless of fan switch
position with air discharged into
vehicle through heater outlet.
A/C-Air from the passenger com
partment
is recirculated through
the system with some outside air
and discharged from the upper
outlets when the temperature lever
is in Full COLD or extreme left. If
the Temperature lever is moved
right to the first stop or further,
the system will automatically go
on outside air. The
AIC position,
with Temp. lever in Full
COLD ,
is used when maximum cooling is
required under conditions of high
temperature and humidity. High
32
fan speed is automatically attained
in this position.
AI C (with Temp lever right to first
stop)-Outside air
is passed through
the system and discharged through
the upper outlets. This position
is
recommended for most air condi
tioning situations because of re
duced blower noise and reduction
of cigarette smoke within the
vehicle.
Fan speed may be varied
as required.
VENT -Outside air is passed
through the system and discharged
from the defroster, upper, and
lower outlets. This position
is pro
vided for cool
to moderate weather
when refrigeration
is not required.
HEATER-Outside air is delivered
through the heater outlet and with
Page 39 of 85
Downloaded from www.Manualslib.com manuals search engine I n Case of Emergency
Four-Way Hazard
Warning
Flasher
• Use the warning flasher to warn
other drivers any time your
vehicle becomes a traffic hazard,
day
or night.
• Avoid stopping on the roadway
if possible.
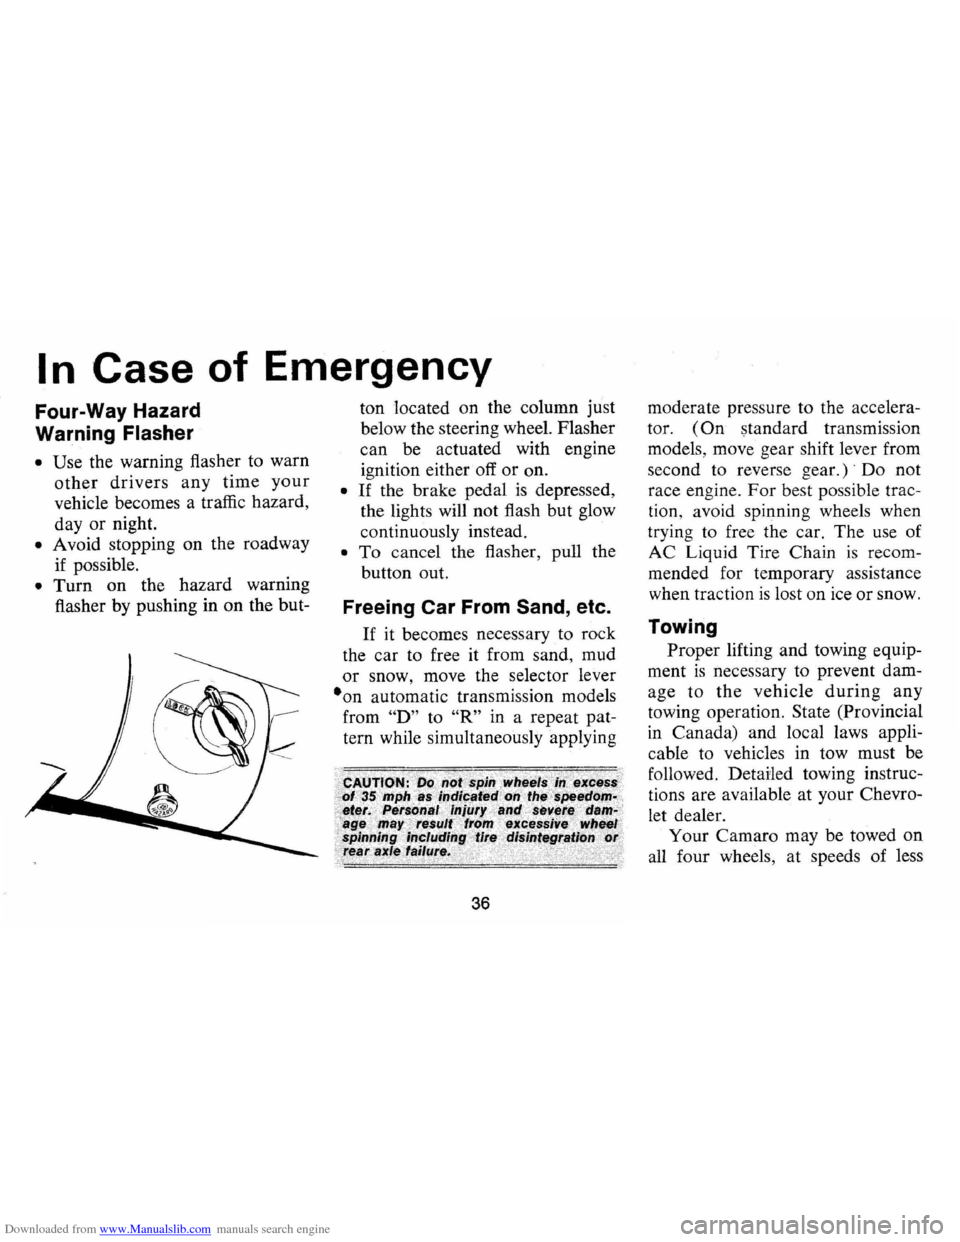
• Turn on the hazard warning
flasher by pushing in on the but- ton
located on the column just
below the steering wheel. Flasher
can be actuated with engine
ignition either off
or on.
• If the brake pedal is depressed,
the lights will not flash but glow
continuously instead.
• To cancel the flasher, pull the
button out.
Freeing Car From Sand, etc.
If it becomes necessary to rock
the car to free it from sand, mud
or snow, move the selector lever
·on automatic transmission models
from
"D" to "R" in a repeat pat
tern while simultaneously applying
36
moderate pressure to the accelera
tor.
(On standard transmission
models, move gear shift lever from
second to reverse
gear.)' Do not
race engine.
For best possible trac
tion, avoid spinning wheels when
trying to free the car. The use of
AC Liquid Tire Chain
is recom
mended for temporary assistance
when traction
is lost on ice or snow.
Towing
Proper lifting and towing equip
ment
is necessary to prevent dam
age to
the vehicle during any
towing operation. State (Provincial
in Canada) and local laws appli
cable to vehicles in tow must be
followed. Detailed towing instruc
tions are available at your Chevro
let dealer.
Your Camaro may be towed on
all four wheels, at speeds of less
Page 44 of 85
Downloaded from www.Manualslib.com manuals search engine APPEARANCE CARE
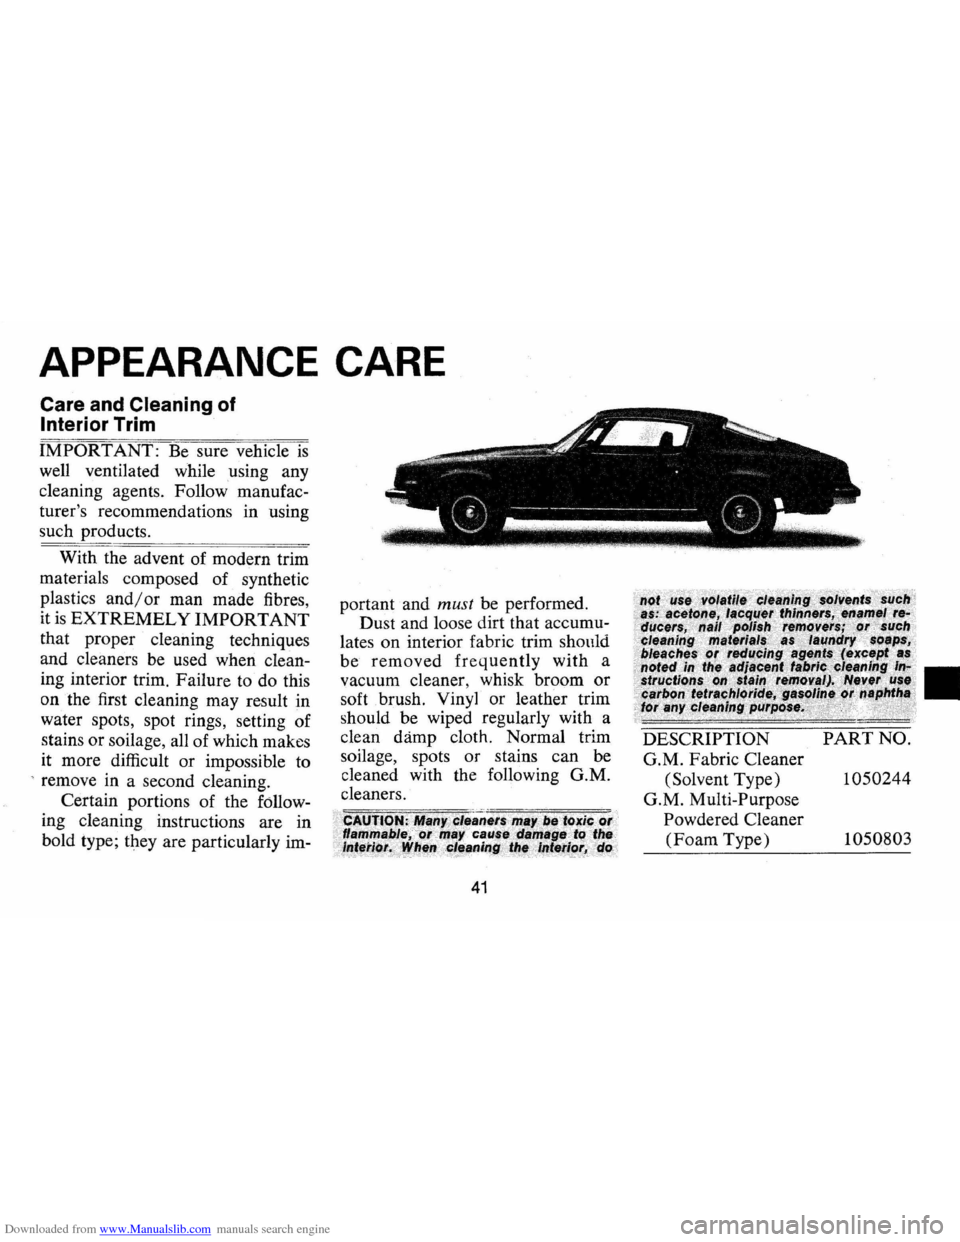
Care and Cleaning of
Interior Trim
IMPORTANT: Be sure vehicle is
well ventilated while using any
cleaning agents. Follow manufac
turer's recommendations in using
such products.
With the advent of modern trim
materials composed of synthetic
plastics and/or man made fibres,
it
is EXTREMELY IMPORTANT
that proper cleaning techniques
and cleaners
be used when clean
ing interior trim. Failure to do this
on the first cleaning may result in
water spots, spot rings, setting of
stains or soilage, all of which makes
it more difficult or impossible to
, remove in a second cleaning.
Certain portions of the follow
ing cleaning instructions are in
bold type; they are particularly im-
portantand must be performed.
Dust and loose dirt that accumu
lates on interior fabric trim
should
be removed frequently with a
vacuum cleaner, whisk broom or
soft brush. Vinyl or leather trim
should be wiped regularly with a
clean
damp cloth. Normal trim
soilage, spots
or stains can be
cleaned with the following G.M.
cleaners.
41
DESCRIPTION PART NO.
G.M. Fabric Cleaner
(Solvent Type)
1050244
G.M. Multi-Purpose
Powdered Cleaner
(Foam Type) 1050803
Page 57 of 85
Downloaded from www.Manualslib.com manuals search engine tory with a high-quality, inhibited,
year-around coolant that meets the
standards of General Motors
Spe
cification 1899-M. This coolant
solution provides freezing protec
tion to
-20oP (-35°P in Can
ada), and it has been formulated to
be used for two full calendar years
or
24,000 miles, whichever first
occurs, of normal operation with
out replacement, provided the
proper concentration of coolant is
maintained.
Cooling System Care
The radiator cap should not be
removed to check coolant level.
Check the coolant level visually in
the 'see thru' coolant recovery tank
at least
as frequently as engine oil
changes. Level should be at the
"full cold" mark on the recovery
tank when the system
is cold. At
normal operating temperature the
coolant should be at the
"full hot"
mark on the recovery tank. Add sufficient
coolant to the recovery
tank.
Use a 50/50 mixture of high
quality ethylene glycol antifreeze
and water for coolant additions.
If
regular additions are required, see
your dealer for a cooling system
check.
NOTE: If recommended quality
antifreeze
is used, supplemental in
hibitors or additives claiming to
provide increased capability are
not necessary. They may be detri
mental to the efficient operation of
the system, and represent an un
necessary operating expense.
Every year, the cooling system
should be serviced
as follows:
1. Wash
radiator cap and filler
neck with clean water.
2. Check coolant for proper level
and freeze protection.
3. Pressure test system and radia-
54
tor cap for proper pressure hold
ing capacity (15 psi) .
If re
placement of cap
is required, use
the special AC cap designed for
coolant recovery systems, speci
fied for your model.
4. Tighten hose clamps and inspect
all hoses. Replace hoses when
ever swollen, checked or other
wise deteriorated.
5. Clean frontal area of radiator
core and air conditioning con
denser.
Replace hoses every 24 months
or 24,000 miles or earlier if
checked, swollen or otherwise de
teriorated. Every two years
or 24,-
000 miles, whichever first occurs,
the cooling system should be
flushed and refilled using the fol
lowing recommended procedure:
1. Remove radiator cap when
engine is cool by:
• Slowly rotating cap counter-