1974 CHEVROLET CAMARO battery
[x] Cancel search: batteryPage 9 of 85
Downloaded from www.Manualslib.com manuals search engine To Start Car:
• Seat belts must be properly
buckled around each outboard
front seat occupant , after getting
in the car, before the starter will
operate.
• The reminder buzzer and light
are designed to
go on if seat
belts are unbuckled at occupied
front seats while the vehicle
is
underway (the engine will con
tinue to
run).
• The engine may be restarted
after a stall without interlock in
terference if the driver remains
seated.
If Starter Will Not Operate:
• Remove any objects from un
occupied front seats.
• Re-buckle front seat belts.
NOTE: Front seating positions
contain a weight detector which is
, designed to activate the starter in
terlock
or the buzzer and light ni-
minder whenever a nominal weight
is placed on the seat and belts are
not buckled. The weight detector
cannot distinguish between a pas
senger and any object on the seat,
therefore, such items should be
stowed elsewhere in the vehicle.
Leaving something on the front
seat and leaving the front
seat belts
fastened while the
car is parked
creates a current drain which could
result in a discharged battery after
a period of time, which will vary
depending on battery and weather
conditions.
IfStarterSti IIWi II NotOperate:
• Set parking brake firmly, move
transmission lever to
"Park" (re
verse for manual transmission
cars) .
• TURN IGNITION KEY TO
"ON" ("RUN").
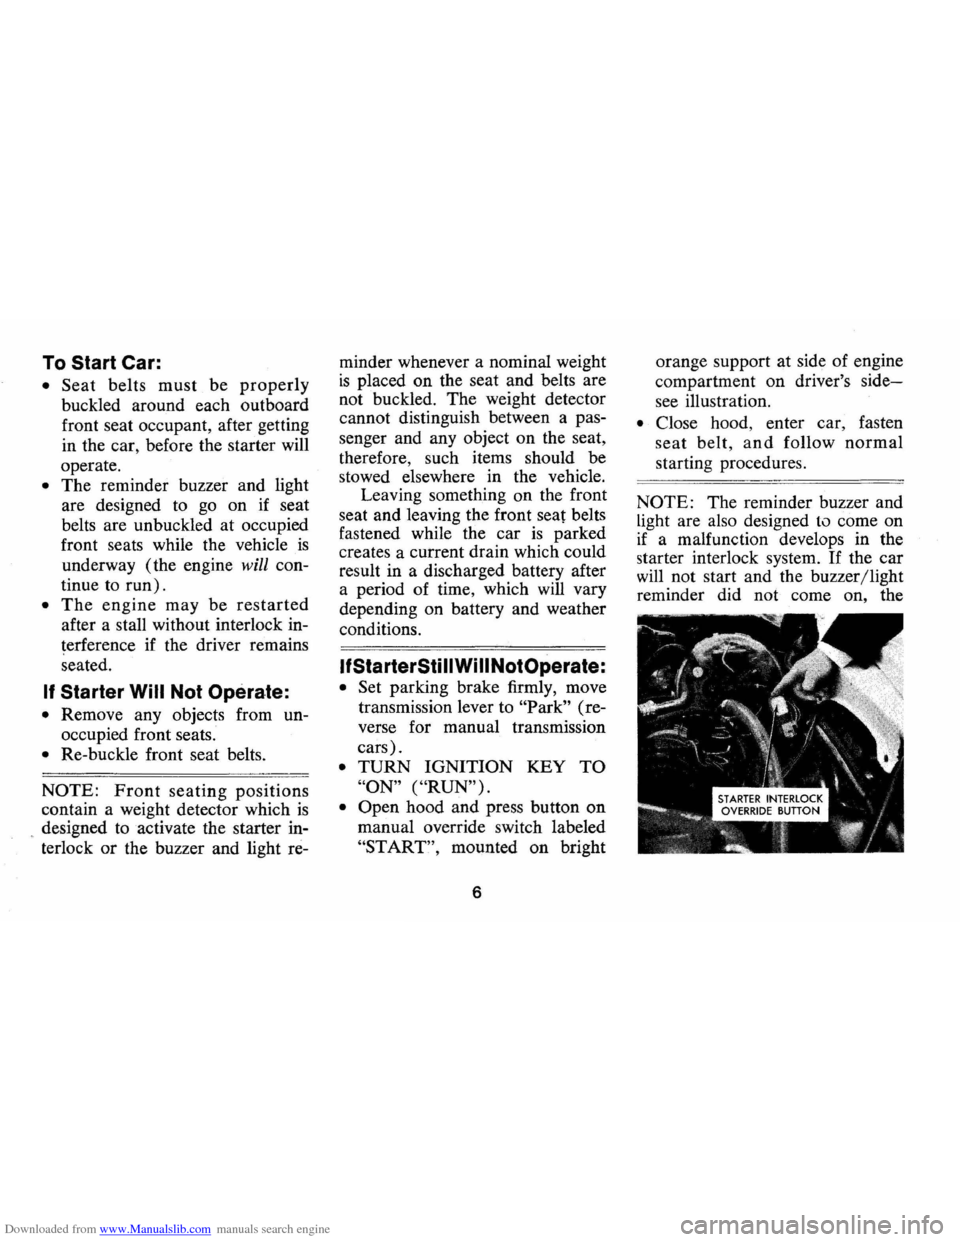
• Open hood and press button on
manual override switch labeled
"START", mounted on bright
6
orange support at side of engine
compartment
on driver's side
see illustration.
• Close hood, enter car, fasten
seat belt, and follow normal
starting procedures.
NOTE: The reminder buzzer and
Light are also designed to come on
if a malfunction develops in the
starter interlock system.
If the car
will not start and the buzzer/light
reminder did
not come on, the
Page 21 of 85
Downloaded from www.Manualslib.com manuals search engine Driving with Manual Transmissions
The 3-and 4-speed transmission
shift levers, extending from the
fioor, have their special shift pat
tern diagram located on the knob.
Depress the clutch pedal fully be
fore attempting to shift
toa differ
ent gear, then release the pedal to
move in that gear.
For normal
accelerations shift into second gear
at
20 mph; into third gear at 30
mph; and on 4-speed models into
fourth gear at
40 mph.
Both transmissions, being fully
synchronized, may be downshifted
into 1 st gear at any speed below
20
m. p.h. Shift into Reverse gear only
after the car has stopped. Always
depress and release the clutch pedal
fully when shifting.
Also, shift into
"Reverse" before
shutting
off engine. This will permit the
ignition key to be turned to the
"Lock" position.
Good Driving Practice: On cars
equipped with manual transmis
sions , use second gear at slow
speeds (less than
30 m.p.h.) when
driving in stop-and-go traffic; for
improved vehicle performance dur
ing acceleration; and when de
scending steep hills.
18
Turn Signals and Lane
Change Feature
The tum signal lever is located
on the left side of the steering col
umn immediately under the steer
ing wheel. The lever
is moved up
,ward to signal a right
tum and
downward to signal a left
tum.
Lamps on the front and rear of the
car transmit this signal to other
motorists and pedestrians. The
ig
nition switch must be in the "ON"
position in order for the tum sig
nals to be operational. This feature
prevents battery drain if the lever .
is left in an "ON" position when
your car
is not in use.
Page 30 of 85
Downloaded from www.Manualslib.com manuals search engine Optional Instruments and Gauges
Tachometer and Oil Pressure Indicator Light
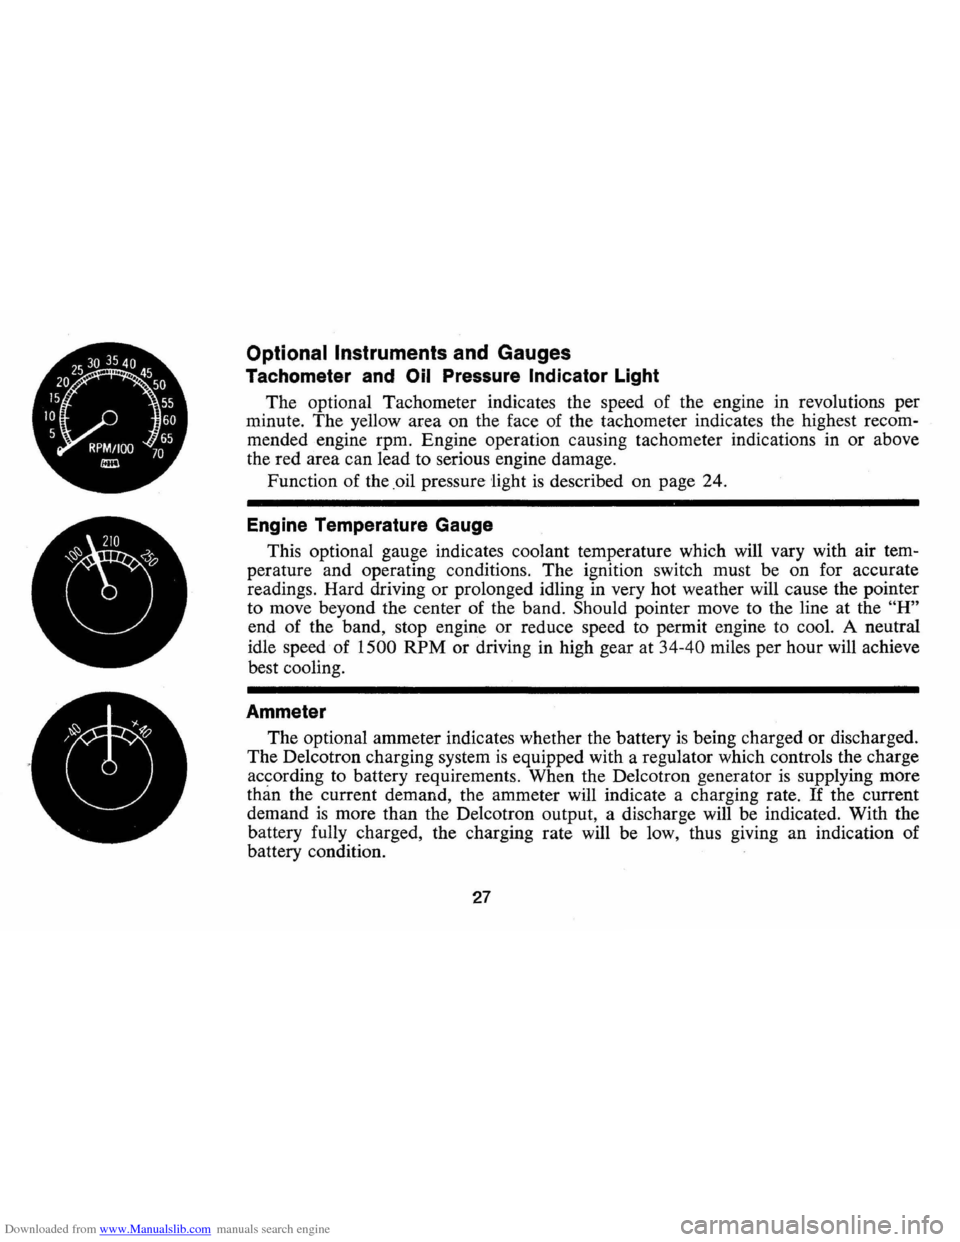
The optional Tachometer indicates the speed of the engine in revolutions per
minute. The yellow area on the face of the tachometer indicates the highest recom
mended engine rpm. Engine operation causing tachometer indications in or above
the red area can lead to serious engine damage.
Function of the .oil pressure
'light is described on page 24.
Engine Temperature Gauge
This optional gauge indicates coolant temperature which will vary with air tem
perature and operating conditions. The ignition switch must be on for accurate
readings. Hard driving
or prolonged idling in very hot weather will cause the pointer
to move beyond the center of the band.
Should pointer move to the line at the "H"
end of the band, stop engine or reduce speed to permit engine to cool. A neutral
idle speed of
1500 RPM or driving in high gear at 34-40 miles per hour will achieve
best cooling.
Ammeter
The optional ammeter indicates whether the battery is being charged or discharged.
The De1cotron charging system
is equipped with a regulator which controls the charge
according to battery requirements. When the De1cotron generator
is supplying more
than the current demand, the ammeter will indicate a charging rate. If the current
demand
is more than the De1cotron output, a discharge will be indicated. With the
battery fully charged, the charging rate will be low, thus giving an indication of
battery condition.
27
Page 40 of 85
Downloaded from www.Manualslib.com manuals search engine than 35 mph, for distances up to
50 miles, provided the drive-line,
axle, transmission, and steering
system are otherwise normally op
erable.
Use only towing equipment
specifically designed for this pur
pose following the instructions of
the towing equipment manufac
turer. A separate safety chain sys
tem must be used.
For such towing
the steering must be unlocked,
transmission in neutral and the
parking brake released. Attach
ments must be made to main struc
tural members of the car. Do not
attach to bumpers
or associated
brackets. Remember that power
brake and power steering assists
will not be available when engine
is inoperative.
Emergency Starting
• Engines in vehicles with auto
matic transmissions cannot be started
by pushing
or towing the
car.
• Never tow a manual transmis
sion-equipped
car to start be
cause the surge forward when
the engine starts could cause a
collision with the tow vehicle.
• A car with a discharged battery
may be started by transferring
electrical power from a battery
in another car -called
"jump
starting."
Jump Starting
37
• The battery in the other vehicle
must be of the
same nominal
voltage
(12 volts), and must be
negatively grounded. (All Gen
eral Motors cars, light trucks
(10,000 GVWR and under),
and motor homes use 12-volt,
negatively grounded electrical
systems and
can be used to jump
start one another.) The nominal
voltage and grounding of the
other vehicle's battery may be
determined by checking the spec
ifications
in its owner's manual.
Use of a booster battery of a
higher nominal voltage,
or which
is positively grounded may re
sult
in serious personal injury or
property damage.
• The battery in your car must be a
Delco battery (the original,
or a
replacement) which
is equipped
with flame arrestor type filler/
vent caps
on all filler openings, or
a sealed-type battery which does
Page 41 of 85
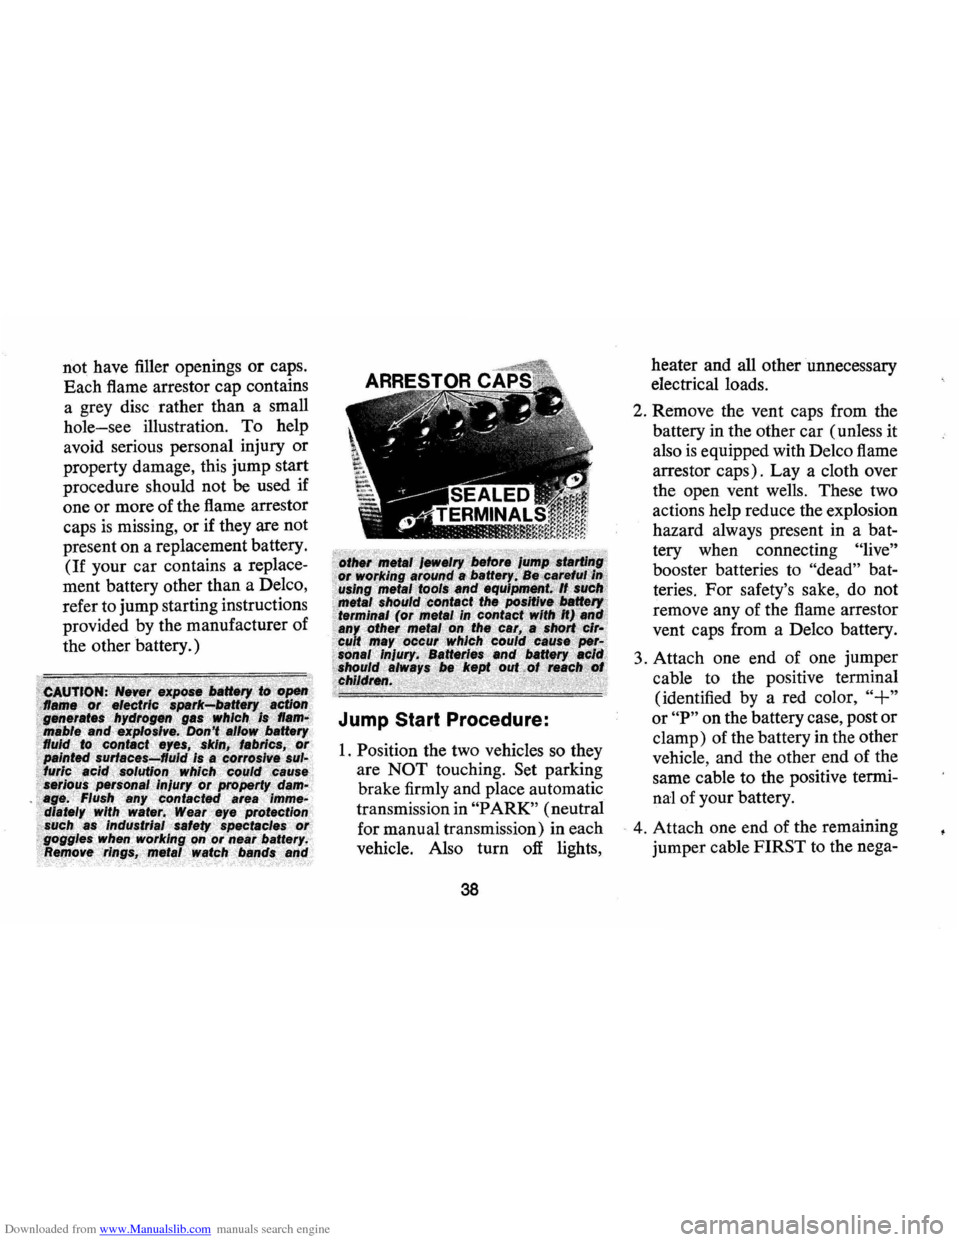
Downloaded from www.Manualslib.com manuals search engine not have filler openings or caps.
Each flame arrestor cap contains
a grey disc rather than a small
hole-see illustration. To help
avoid serious personal injury or
property damage, this jump start
procedure should not
be used if
one or more of the flame arrestor
caps
is missing, or if they are not
present on a replacement battery.
(If your car contains a replace
ment battery other than a Delco,
refer to jump starting instructions
provided by the manufacturer of
the other battery.)
Jump Start Procedure:
1. Position the two vehicles so they
are
NOT touching. Set parking
brake firmly and place automatic
transmission in
"PARK" (neutral
for manual transmission) in each
vehicle. Also turn
off lights,
38
heater and all other unnecessary
electrical loads.
2. Remove the vent caps from the
battery in the other car (unless it
also
is equipped with Delco flame
arrestor caps). Lay a cloth over
the open vent wells. These two
actions help reduce the explosion
hazard always present in a bat
tery when connecting
"live"
booster batteries to "dead" bat
teries.
For safety's sake, do not
remove any of the flame arrestor
vent caps from a Delco battery.
3. Attach one end of one jumper
cable to the positive terminal
(identified by a red color,
"+"
or "P" on the battery case, post or
clamp) of the battery in the other
vehicle, and the other end of the
same cable to the positive termi
nal of your battery.
- 4. Attach one end of the remaining
jumper cable FIRST to the nega-
Page 42 of 85
Downloaded from www.Manualslib.com manuals search engine tive terminal (black color, "-" Engine Coolant
or "N") of the battery in the other
vehicle, and
THEN the other
end of the same cable to the nega
tive terminal of your battery in
this car. Take care that clamps
from one cable do not inadver
tently touch the clamps on the
other cable. Do not lean over the
battery when making this con
nection.
5. Start the engine in the vehicle
that
is providing the jump start
(if it
was not running). Let run
a
few minutes, then start the en-
gine in the car with the dis-
Jacking Instructions
charged battery.
6. Reverse the above sequence ex
actly when removing the jumper
cables. Reinstall vent caps and
dispose in a safe manner of any
cloths used to cover vent wells,
as
the cloths may have corrosive
acid on them.
39
Preparation
• Park on level surface and set
parking brake firmly.
• Set automatic transmission in
park. (Manual transmission in
reverse).
• Activate hazard warning flasher.
Instructions
1. After removing spare wheel
and tire, jack, jack
base,and
jack handle (wheel nut wrench),
proceed with changing the
wheel
as follows:
2. Remove hub cap
or wheel
cover with flat end of wheel
nut wrench and loosen, but do
not remove nuts, by turning
counterclockwise.
3. With column assembly seated
in base and lever in
"UP" posi
tion,
insert jack hook in
bumper slot.
Page 66 of 85
Downloaded from www.Manualslib.com manuals search engine Tire Replacement
Mounting of the Space Saver
Spare Tire by other than authorized
tire dealers
is not recommended.
Improper mounting can cause
vio
lent bursting of the tire away from
the wheel which can result in serious
personal injury.
Underbody Maintenance
The effects of salt and other
corrosive materials used for ice
and snow removal and dust
con
trol can result in accelerated rust
ing and deterioration of under
body components such
as brake
and fuel lines, frame, underbody
floor pan, exhaust system, brac
kets , parking brake cables. These
corrosive effects, however, can be
reduced by periodic flushing of the underbody
with plain water. In
geographic areas having a heavy
concentration of such corrosive
materials,
it is recommended that
the complete underbody be
in
spected and flushed at least once
each year, preferably after a
win
ter's exposure. Particular attention
should be given to cleaning out
underbody members where dirt
and other foreign materials may
have collected.
If desired, your Chevrolet deal
er can perform this service for
you.
In addition, he can provide
recommendations on undercoat
ing materials which will help
pro
tect your vehicle from corrosion.
Battery Care (Energizer)
Check fluid level monthly. If the
fluid level
is low, add only color-
63
less, odorless drinking water or dis
tilled water to bring level to split
ring in filler opening.
Page 71 of 85
Downloaded from www.Manualslib.com manuals search engine valve moves freely and is not stuck . (Don 't mistake normal spring
tension for a stuck valve.) Top the side of the carburetor sharply several times with a light tool such as a screwdriver handle or pliers. Replace the air cleaner and attempt to start the engine in the normal manner. IE) If the cor will start but stalls when hot or has a rough idle,
you can suspect a faulty IDLE ADJUSTMENT, a malfunctioning AUTOMATIC CHOKE or on extremely dirty and blocked AIR CLEANER ELEMENT. Replace paper element air cleaner if necessary. Idle' adjustment or automatic choke service (other than that outlined in paragraph 0 above) should be performed by your Chevrolet Dealer. If the above Fuel System checks and the checks suggested under the Electrical System following do not correct the malfunction, it is recommended that you return to your Authorized Chevrolet Dealer for further checks, adjustments or repairs.
ELECTRICAL SYSTEM • If, when the ignition key is turned to "Start", the engine will not
turn over, you have good reason to suspect electrical trouble. NOTE: Never remove Delcotron bat lead without first disconnecting
baHery ground cable.
, (F) When there is no response at all to attempts to start the car, check the obvious-your AUTOMATIC TRANSMISSION SELECTOR LEVER must be in Neutral or Park position (manucil transmission
must have clutch depressed all the way to floor) before the engine can be started. Turning the IGNITION SWITCH rapidly back and forth several times will sometimes correct a poor internal switch contact. (G) The BATTERY may be discharged. If so, lights will be dim and the horn will have a poor tone if it will blow at all. Usually a garage recharge will be necessary to return the bottery to operation. Occasionally, however, a long drive will recharge the battery.
68
NOTE: If the battery is determined to be dead, and for no apparent reason, have your Authorized Chevrolet Dealer check the
baHery, the GENERATOR and the VOLTAGE REGULATOR.
GENERATOR trouble should already have been indicated by the generator indicator light on the instrument panel.
POOR BATTERY CONNECTIONS may be suspected if the car has operated properly a short time before and now not even the horn will operate. Check both ends of both battery cables. If the connections are corroded, a cor may sometimes be restored to operation by removing all cable ends, scraping all contacting surfaces clean with a pen knife, and reassembling. If the cables are broken, they must be replaced. The power supply should now be restored unless the battery is dead.
(H) If, however, the lights and horn work properly but the starter will still not turn over, check the STARTER connections. A "dick" from the starter solenoid indicates that the wiring to the starter is properly installed. If the wiring seems to be clean and tightly installed, the trouble is probably in the starter itself and should be referred to your Authorized Chevrolet Dealer.
When the engine will "turn over" but will not start, the following
items may be checked along with the Fuel Systems Checks listed
previously.
(I) With a clean dry cloth, wipe the ceramic portions of the spark plugs dry. In particularly damp or rainy weather dampness may be the cause of not starting, especially when the engine is cold.
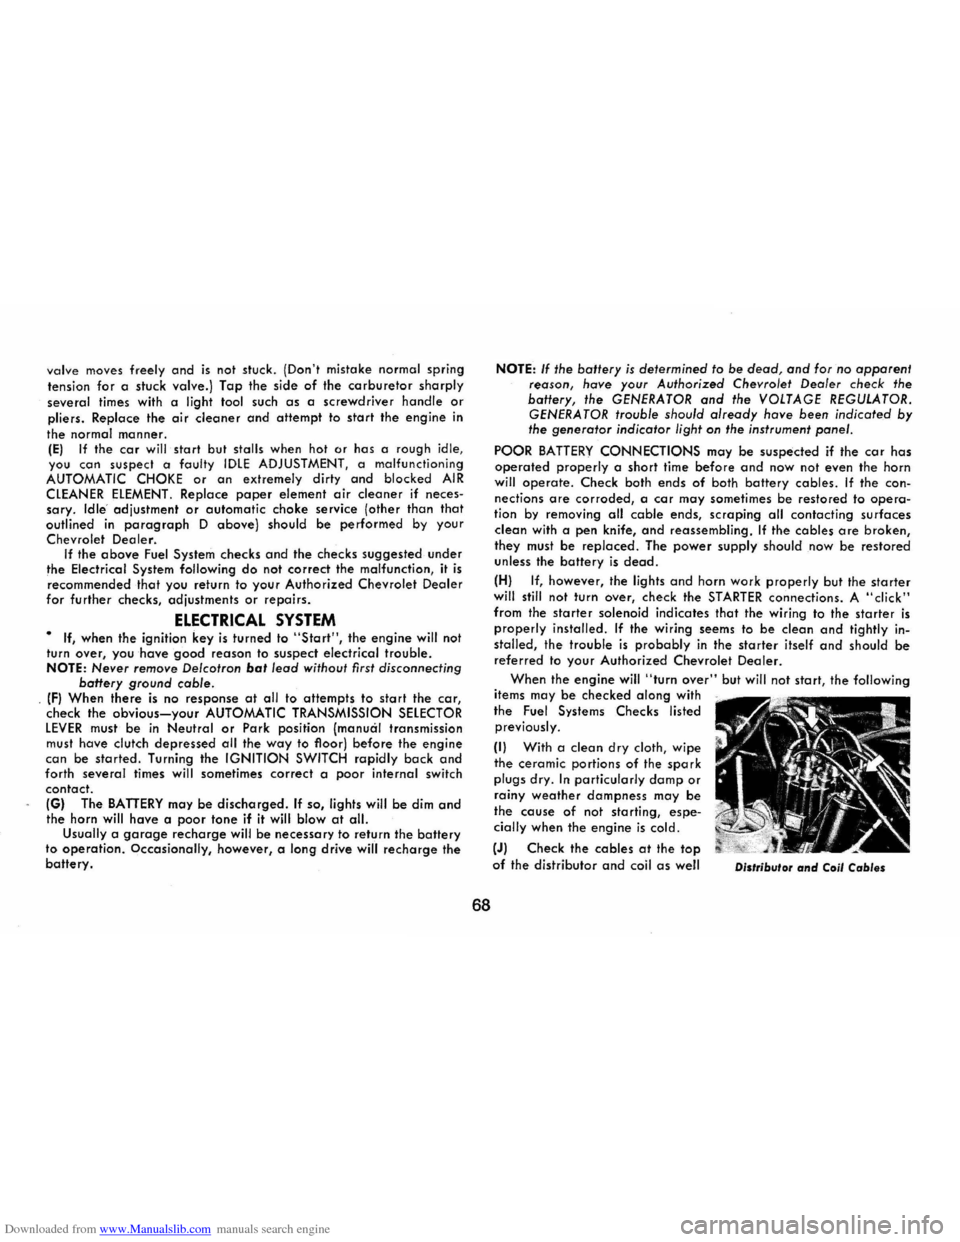
(J) Check the cables at the top of the distributor and coil as well Distributor and Coil Cables