1974 CHEVROLET CAMARO clutch
[x] Cancel search: clutchPage 18 of 85
Downloaded from www.Manualslib.com manuals search engine Starting Engine
Automatic Transmission
Models
1. Apply the foot brake.
2. Place transmission selector
in "P" or "N" ("P" preferred).
A starter safety switch prevents
starter operation while the trans
mission selector
is in any drive
position.
(If it is necessary to
re-start the engine with the car
moving, place the selector lever
in
"N".)
IMPORTANT: Do not keep the
starter engaged for more than
15
seconds at a time. Wait 10 or 15 sec
onds before trying again.
.
3. Depress accelerator pedal and
activate starter
as outlined be
low for different conditions.
• Cold. Engine -Fully depress
accelerator pedal and slowly
release.
With foot oD the
pedal,
crank the engine by
turning the ignition key to the
Start position -release when
engine starts.
If engine starts, but fails to'
run, repeat this procedure.
When engine is running
smoothly (approximately 30
seconds), the idle speed may
be reduced by slightly depress
ing the accelerator pedal and
then slowly releasing.
• Warm Engine -Depress ac
celerator
pedal about halfway
15
and hold while cranking the
engine.
• Extremely Cold Weather
(~elow O°F.) Or After Car
Has Been Standing '
Idle
Several
Days-
Fully depress and release ac
celerator pedal two
or three
times before cranking the en
gine.
With foot oD the accel
erator pedal,
crank the engine
by turning the key to the
Start position and release
when engine starts. .
Manual Transmission Models
1. Apply parking brake and shift
transmission to neutral.
2.
Hold clutch pedal to floor
throughout the starting proce
dure. A starter interlock prevents
starter operation when clutch
is
not fully depressed. (Select the
Page 19 of 85

Downloaded from www.Manualslib.com manuals search engine proper gear position before re
leasing the clutch pedal.)
3.
Operate accelerator pedal and
starter
as outlined in step 3
(under Automatic Transmission
Models).
Engine Flooded
Depress accelerator pedal and
hold to floor while starting until
engine
is cleared of excess fuel and
is
running smoothly. Never
"pump" the accelerator pedal.
Warm-Up
Always let the engine idle for 20
to 30 seconds after starting and
drive at moderate speeds for several
miles, especially during cold
weather.
Driving with the Chevrolet Automatic Transmissions
The Turbo Hydra-Matic 350
and 400 are completely automatic
transmISSIons. All replace the
standard clutch and transmission.
Turbo Hydra-Malic 350
and 400
After starting the engine with the
selector lever
in N (Neutral) or P
(Park)
position select the range de
sired (see table) and depress the accelerator.
A gradual start with a
steady increase in accelerator pres
sure will result in best possible fuel
economy. Rapid acceleration for
fast starts will result in greater
fuel consumption.
Automatic transmission shift
quadrants of all GM cars continue
the uniform sequence of selector
positions. This particularly benefits
multicar families and those who
occasionally drive other cars. Shift
16
indicators are arranged with "Park"
position at one end, followed in se
quence by "Reverse" , "Neutral"
and the forward driving ranges.
All automatic transmissions are
equipped with a starter safety
switch designed to permit starting
the engine only when the trans
mission
is in the "Park" or "Neu
tral"
position. For additional
engine braking effect,
as sometimes
needed in mountainous driving,
Page 21 of 85
Downloaded from www.Manualslib.com manuals search engine Driving with Manual Transmissions
The 3-and 4-speed transmission
shift levers, extending from the
fioor, have their special shift pat
tern diagram located on the knob.
Depress the clutch pedal fully be
fore attempting to shift
toa differ
ent gear, then release the pedal to
move in that gear.
For normal
accelerations shift into second gear
at
20 mph; into third gear at 30
mph; and on 4-speed models into
fourth gear at
40 mph.
Both transmissions, being fully
synchronized, may be downshifted
into 1 st gear at any speed below
20
m. p.h. Shift into Reverse gear only
after the car has stopped. Always
depress and release the clutch pedal
fully when shifting.
Also, shift into
"Reverse" before
shutting
off engine. This will permit the
ignition key to be turned to the
"Lock" position.
Good Driving Practice: On cars
equipped with manual transmis
sions , use second gear at slow
speeds (less than
30 m.p.h.) when
driving in stop-and-go traffic; for
improved vehicle performance dur
ing acceleration; and when de
scending steep hills.
18
Turn Signals and Lane
Change Feature
The tum signal lever is located
on the left side of the steering col
umn immediately under the steer
ing wheel. The lever
is moved up
,ward to signal a right
tum and
downward to signal a left
tum.
Lamps on the front and rear of the
car transmit this signal to other
motorists and pedestrians. The
ig
nition switch must be in the "ON"
position in order for the tum sig
nals to be operational. This feature
prevents battery drain if the lever .
is left in an "ON" position when
your car
is not in use.
Page 22 of 85
Downloaded from www.Manualslib.com manuals search engine In a normal turning situation
such
as turning a corner, the turn
signal
is cancelled automatically
after the turn
is completed. How
ever, in some driving maneuvers
such
as changing lanes on an ex
pressway, the steering wheel
is not
turned back sufficiently after com
pleting the turn to automatically
cancel the turn signal. For con
venience in such maneuvers, the
driver can flash the turn signals by
moving the turn signal lever part
way (to the first stop) and holding
it there. The lever returns to the
neutral or cancelled position when
the driver releases his hold on the
lever.
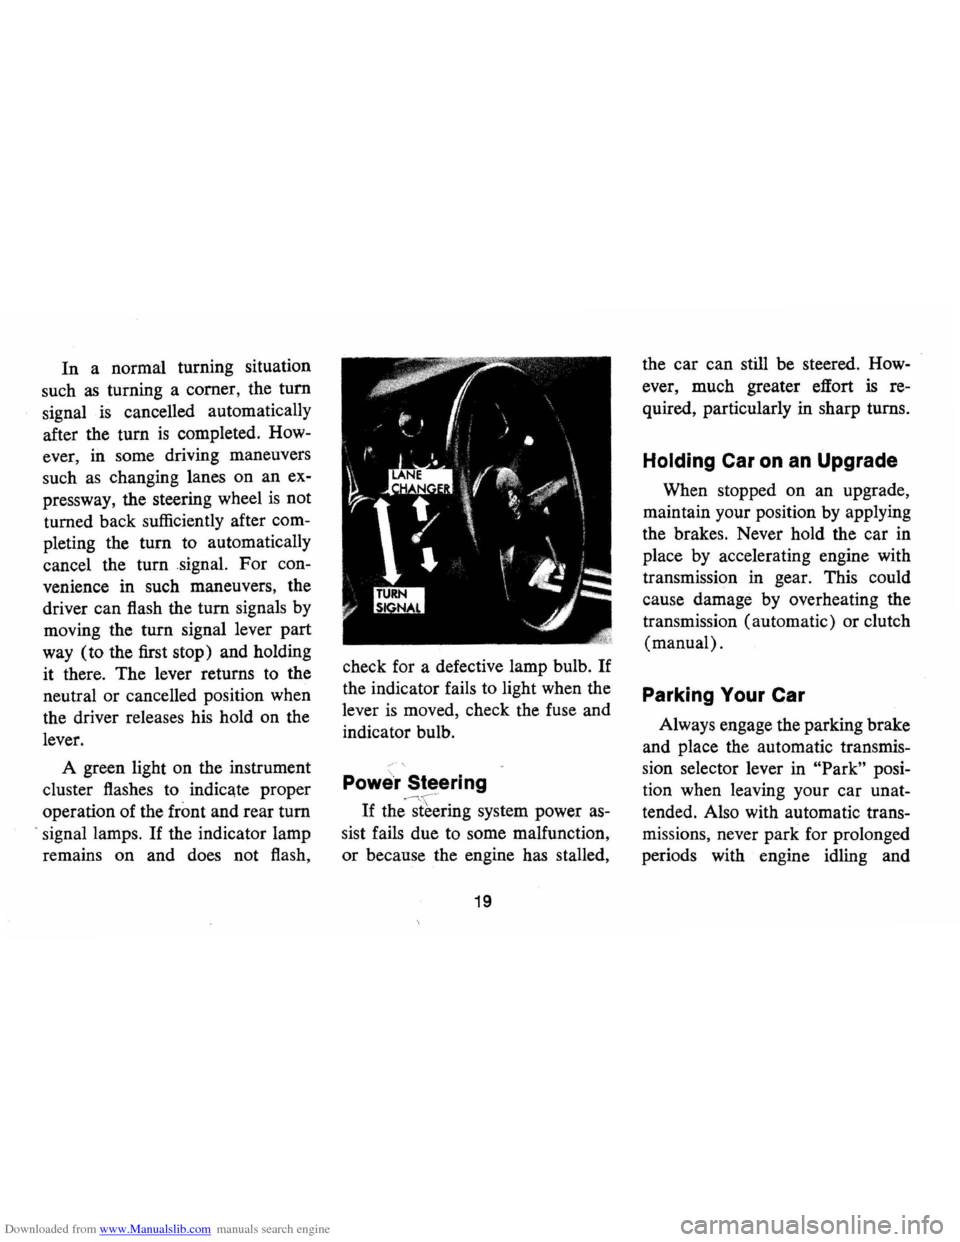
A green light on the instrument
cluster flashes to indicate proper
operation of the
front and rear tum
> signal lamps. If the indicator lamp
remains on and does not flash, check
for a defective lamp bulb.
If
the indicator fails to light when the
lever
is moved, check the fuse and
indicator bulb.
Powe'r Steering
If
the'-~[~~ring system power as
sist fails due to some malfunction,
or because the engine has stalled,
19
the car can still be steered. How
ever, much greater effort
is re
quired, particularly in sharp turns.
Holding Car on an Upgrade
When stopped on an upgrade,
maintain your position by applying
the brakes. Never hold the car in
place by accelerating engine with
transmission in gear. This could
cause damage by overheating the
transmission (automatic) or clutch
(manual).
Parking Your Car
Always engage the parking brake
and place the automatic transmis
sion selector lever in
"Park" posi
tion when leaving your car unat
tended. Also with automatic trans
missions, never park for prolonged
periods with engine idling and
Page 25 of 85
Downloaded from www.Manualslib.com manuals search engine REMINDER: Cars equipped with
front disc brakes have a built-in
wear indicator that
is designed to
make a high frequency, squealing,
or cricket-like warning sound when
the linings are worn to where re
placement
is required. The sound
will occur intermittently or con
tinuously when wheels are rolling,
but will change or cease completely
when the brake pedal
is applied
firmly.
See also the various brake
checks listed in the Chevrolet main
tenance schedule folder.
Automatic Brake Adjusters
• Brakes on this car (except for
the parking brake) are self
adjusting, designed to eliminate
periodic brake adjustments .
• Drum brake adjustment is made
automatically
as the brakes are
applied while car
is moving
backwards .
• Disc brake adjustment is made
automatically with each brake
application.
• If excess brake pedal travel de
velops, drive alternately back
ward and forward several times
and apply brakes firmly in each
direction.
• See your dealer if normal pedal
travel
is not restored, or if there
is a rapid increase in pedal travel,
which could be a sign of other
brake
trOUble.
Clutch Adjustment
Clutch adjustment should be
checked and adjusted periodically
as necessary to compensate for
22
clutch facing wear. To check, de
press pedal by hand until resistance
is felt. Free travel of pedal should
be approximately one inch; if very
little or no free travel
is evident,
clutch adjustment
is required.
Headlight Beam Switch
"High" and "low" headlight
beams are controlled by the floor
button at your left foot. The indi
cator, located in the speedometer
dial, will light up when the high
beams are in use.
Page 53 of 85
Downloaded from www.Manualslib.com manuals search engine first, check lubricant level and add
lubricant, if necessary, to
fill to
level of filler plug hole.
Use SAE
80
or SAE 90 GL-S Gear Lubri
cant.
(For vehicles normally 0per
ated in Canada use SAE 80 GL-S
Gear Lubricant.)
Positraction -Drain and refill
after the first
12,000 miles then
maintain same
as standard axle but
use only the special positraction
lubricanf
available from your
Chevrolet Dealer.
Manual Transmissions
3-Speed and 4-Speed -Every
6,000 miles or 4 months-Check
at operating temperature and
fill
as necessary to level of filler plug
hole with
SAE 80 or SAE 90 GL
S Gear Lubricant.
(For vehicles
normally operated in Canada use
SAE 80 GL-S Gear Lubricant.)
If temperatures of below 32°F.
are expected, use SAE 80 GL-S Gear
Lubricant only.
Clutch Cross-Shaft -Every
36,000 miles or sooner if neces
sary -Remove the plug, install a
lubrication fitting and lubricate
with water resistant
EP Chassis
Lubricant which meets GM
Speci
fication 6031 M.
Automatic Transmission
Fluid Recommendations
Use only automatic transmis
sion fluids identified with the
mark
DEXRON@ II or DEX
RON®. These fluids have been spe
cially formulated and tested for use
in your automatic transmission,
and are available from your Chev
rolet dealer or local service station.
Check the fluid level at each
engine oil change period. To make
an accurate fluid level check:
Check the fluid level at each en
gine oil change period.
To make an
accurate fluid level check:
50
1. Drive car several miles, making
frequent starts and stops, to
bring transmission up to normal
operating temperature (approxi
mately
180-190° F.).
2. Park car on a level surface.
3. Place selector level in "Park"
and leave engine running.
4. Remove dipstick and wipe clean.
S . Reinsert dipstick until
cap seats.
6. Remove dipstick and note read
ing.
If fluid level is at or below the
ADD mark, add sufficient fluid to
raise the level to the
FULL mark.
One pint raises the level from ADD
to FULL.
Do not overfill.
Under normal driving condi
tions, the transmission fluid should
be changed every 24,000 miles. If
your car is driven extensively in
heavy city traffic during hot weather,
or
is used to pull a trailer , change
fluid every
12,000 miles. Likewise,
operators of cars in commercial use
Page 71 of 85
Downloaded from www.Manualslib.com manuals search engine valve moves freely and is not stuck . (Don 't mistake normal spring
tension for a stuck valve.) Top the side of the carburetor sharply several times with a light tool such as a screwdriver handle or pliers. Replace the air cleaner and attempt to start the engine in the normal manner. IE) If the cor will start but stalls when hot or has a rough idle,
you can suspect a faulty IDLE ADJUSTMENT, a malfunctioning AUTOMATIC CHOKE or on extremely dirty and blocked AIR CLEANER ELEMENT. Replace paper element air cleaner if necessary. Idle' adjustment or automatic choke service (other than that outlined in paragraph 0 above) should be performed by your Chevrolet Dealer. If the above Fuel System checks and the checks suggested under the Electrical System following do not correct the malfunction, it is recommended that you return to your Authorized Chevrolet Dealer for further checks, adjustments or repairs.
ELECTRICAL SYSTEM • If, when the ignition key is turned to "Start", the engine will not
turn over, you have good reason to suspect electrical trouble. NOTE: Never remove Delcotron bat lead without first disconnecting
baHery ground cable.
, (F) When there is no response at all to attempts to start the car, check the obvious-your AUTOMATIC TRANSMISSION SELECTOR LEVER must be in Neutral or Park position (manucil transmission
must have clutch depressed all the way to floor) before the engine can be started. Turning the IGNITION SWITCH rapidly back and forth several times will sometimes correct a poor internal switch contact. (G) The BATTERY may be discharged. If so, lights will be dim and the horn will have a poor tone if it will blow at all. Usually a garage recharge will be necessary to return the bottery to operation. Occasionally, however, a long drive will recharge the battery.
68
NOTE: If the battery is determined to be dead, and for no apparent reason, have your Authorized Chevrolet Dealer check the
baHery, the GENERATOR and the VOLTAGE REGULATOR.
GENERATOR trouble should already have been indicated by the generator indicator light on the instrument panel.
POOR BATTERY CONNECTIONS may be suspected if the car has operated properly a short time before and now not even the horn will operate. Check both ends of both battery cables. If the connections are corroded, a cor may sometimes be restored to operation by removing all cable ends, scraping all contacting surfaces clean with a pen knife, and reassembling. If the cables are broken, they must be replaced. The power supply should now be restored unless the battery is dead.
(H) If, however, the lights and horn work properly but the starter will still not turn over, check the STARTER connections. A "dick" from the starter solenoid indicates that the wiring to the starter is properly installed. If the wiring seems to be clean and tightly installed, the trouble is probably in the starter itself and should be referred to your Authorized Chevrolet Dealer.
When the engine will "turn over" but will not start, the following
items may be checked along with the Fuel Systems Checks listed
previously.
(I) With a clean dry cloth, wipe the ceramic portions of the spark plugs dry. In particularly damp or rainy weather dampness may be the cause of not starting, especially when the engine is cold.
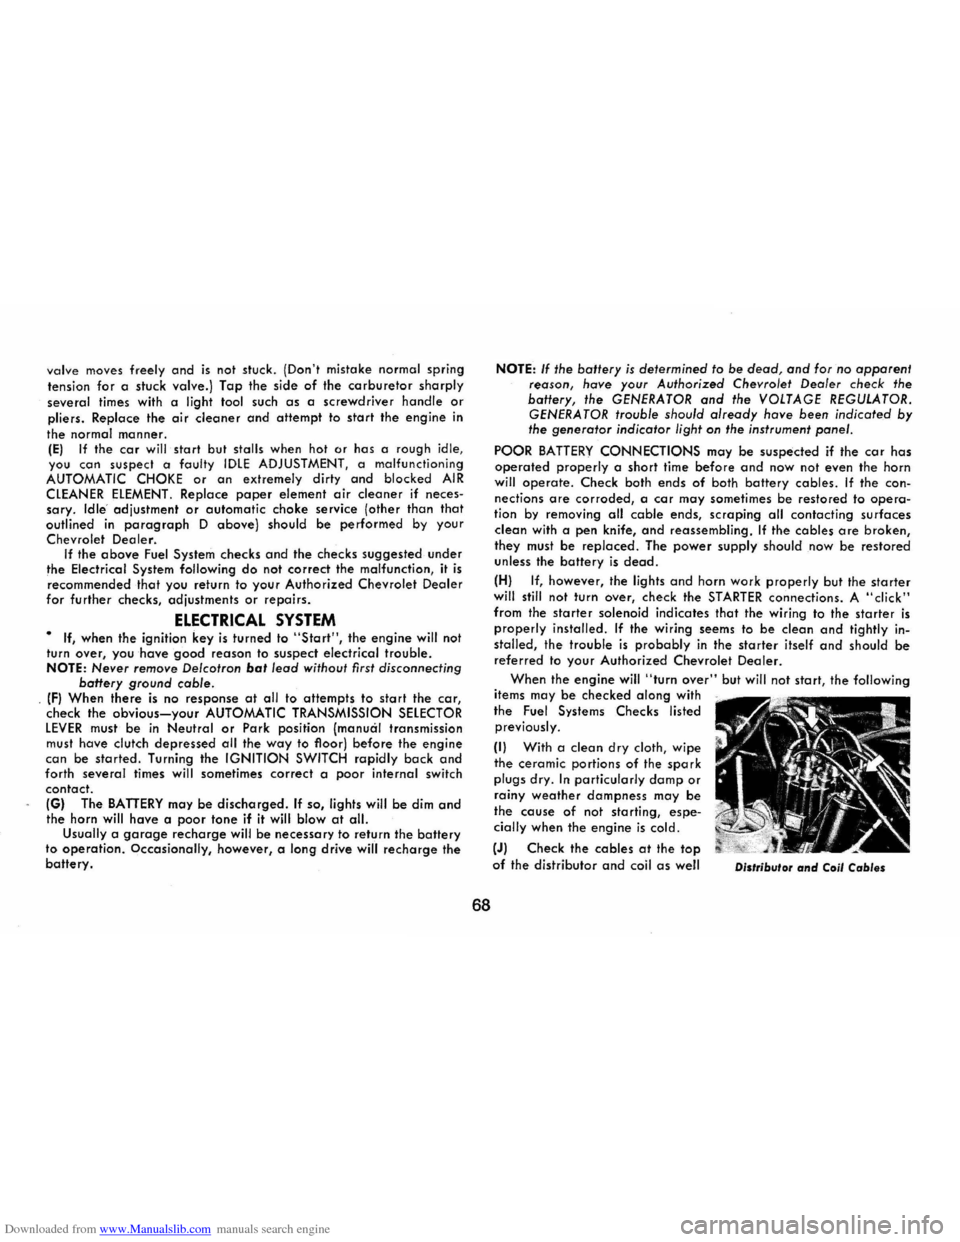
(J) Check the cables at the top of the distributor and coil as well Distributor and Coil Cables
Page 81 of 85
Downloaded from www.Manualslib.com manuals search engine INDEX
Accessory Drive Belts. . . . . . . . . . . . . . . .. 49 Accessory Position, Steering
Column Lock. . . . . . . . . . . . . . . . . . . . .. 14 Acrylic Lacquer ...................... 44 Adjusters, Automatic Brake. . . . . . . . . . .. 22 Air Circulation. . . . . . . . . . . . . . . . . . . . . .. 28 Air Cleaner. . . . . . . . . . . . . . . . . . . . . . . . .. 49 Air Conditioning
Maintenance. . . . . . . . . . . . . . . . . . . . . .. 53 Air Inlets, Ventilating System. . . . . . . . .. 28 Ammeter ............................ 26
Antenna ............................. 34 Anti-freeze (See Cooling System) ........ 53 Anti-Spin Differential. . . . . . . . . . . . . . . .. 35 Anti-Theft Key Buzzer System .......... 14 Anti-Theft Steering Column Lock ....... 14 Appearance Care ..................... 41 Ash Trays. . . . . . . . . . . . . . . . . . . . . . . . . .. 23 Automatic Brake Adjusters. . . . . . . . . . .. 22 Automatic Transmissions
Fluid Check ........................ 50 Fluid Recommendations ............. 50 Maintenance. . . . . . . . . . . . . . . . . . . . . .. 50 -Operation ...... _ ... _ ...... _ ........ 16 Starter Safety Switch _ . . . . . . . . . . . . . .. 15 Axle Rear Flu!? Level. ....................... 49 Mamtenance. . . . . . . . . . . . . . . . . . . . . .. 49 Ball Joints. . . . . . . . . . . . . . . . . . . . . . . . . .. 51 Battery
Emergency Starting ................. 37 Fluid Level. . . . . . . . . . . . . . . . . . . . . . .. 63 Gas Caution. . . . . . . . . . . . . . . . . . . . . .. 38 Specifications. . . . . . . . . . . . . . . . . . . . . .. 70
Bearings, Front Wheel. . . . . . . . . . . . . . . .. 52 Before Driving Your Camaro.......... 3
Belted Tires. . . . . . . . . . . . . . . . . . . . . . . . .. 56 Belts
Engine Drive. . . . . . . . . . . . . . . . . . . . . .. 49 Lap ............................... 7 Shoulder........................... 7
Body Identification Number ............ 70 Brakes
D.riying Through Deep Water. . . . . . .. 21 Lmmgs ............................ 21 Maintenance. . . . . . . . . . . . . . . . . . . . . .. 52 Master Cylinder Level. .............. 52 Parking Brake. . . . . . . . . . . . . . . . . . . . .. 21 Pedal Travel ....................... 22
Power. ............................ 21 Self-Adjusting. . . . . . . . . . . . . . . . . . . . .. 22
Trailer ............................ 11 Warning Light. .................... 25 Break-In Period
Cars Pulling Trailers. . . . . . . . . . . . . . .. 11 New Car .......................... 2
Bright Metal Cleaning ................. 45 "Brights" Headlamp Indicator .......... 26 Buckles, Seat Belt. . . . . . . . . . . . . . . . . . . . . 7
Bulbs and Fuses. . . . . . . . . . . . . . . . . . . . . . 73 Bumper Jack
Operation.. . . . . . . . . . . . . . . . . . . . . . . .. 39 Stowage ........................... 39 Buzzer
Key Reminder. . . . . . . . . . . . . . .. . . . . .. 14 Cap, Filler
Engine Oil. ................... .47, IBC
Gasoline ....................... 46, IBC
Radiator. . . . . . . . . . . . . . . . . . . . . . . . . .. 39 Capacities. . . . . . . . . . . . . . . . . . . . . . . . . .. 70 Carbon Monoxide Caution.. . . . . . . . . . .. 13 Carpet Care .......................... 41
78
Carrier, Infant Safety.... . . . . . . . . . . . . .. 9
Changing Wheels and Tires. . . . . . . . . . .. 39 Charging System Indicator Light. .... : .. 25 Chassis Maintenance. . . . . . . . . . . . . . . . .. 51 Child Restraint
Cars Not Equipped With Special Child Restraints. . . . . . . . .. 9
Child Safety Seat. . . . . . . . . . . . . . . . . .. 9
Infant Safety Carrier .... ; . . . . . . . . . .. 9
Chrome Protection .................... 45 Cigarette Lighter ..................... 28 Circuit Breakers, Headlamps. . . . . . . . . .. 73 Cleaning
Carpet Care. . . . . . . . . . . . . . . . . . . . . . .. 41 Exterior Finish and Trim. . . . . . . . . . .. 44
Fabric and Interior Trim. . . . . . . . . . .. 42
Solvents Recommended .......... , ... 41 Spot Removal. . . . . . . . . . . . . . . . . . . . .. 42
Vinyl Top. . . . . . . . . . . . . . . . . . . . . . . .. 45 Clock ............................... 28 Clutch Maintenance. . . . . . . . . . . . . . . . . . . . . .. 50 Pedal Adjustment. . . . . . . . . . . . . . . . . .. 22 Coat Hooks. . . . . . . . . . . . . . . . . . . . . . . . .. 4
Cold Weather Starting ................. 15 Compartment Glove............................. 3 Luggage........................... 3
Complaint Procedure .................. 74 Conditioner, Air ...................... 31 Controlled Differential. . . . . . . . . . . . . . .. 35 Controls ............................. 14 Cooling System Care .............................. 53 Coolant Recommendation. . . . . . . . . .. 53 Overheating Caution. . . . . . . . . . . . . . .. 39 Cowl Air Inlets ....................... 29