1974 CHEVROLET CAMARO tire type
[x] Cancel search: tire typePage 45 of 85
Downloaded from www.Manualslib.com manuals search engine The above cleaners are EXCEL
LENT CLEANERS when used
properly according to directions on
containers and are available
through the G.M. Parts System.
Never use gasoline, nail polish
remover
or acetone, lacquer thin
ners, bleaches, etc.
Some basic
steps should be remembered before
the cleaning
is attempted:
1. Remove stains as quickly as pos
sible before they become
"set."
2. Use a clean cloth or sponge and
change to a clean area fre
quently. ( A
soft brush may be
used
if stains persist.)
3. Use solvent type cleaners in a
well ventilated area, also, do not
saturate the stained area.
4. If a ring should form after spot
cleaning, the entire area of the
trim assembly should be cleaned
immediately.
5. Follow instructions on the label
> of the cleaner.
Cleaning General Soilage or
Water
Spots from Fabric
Type Trim with Foam Type
Cleaner .
G.M. Multi-Purpose Powdered
Cleaner
is excellent for this type
cleaning and for cleaning a panel
section where a minor cleaning
ring may be left from spot cleaning.
Vacuum area thoroughly to re
move excess loose dirt.
AL WAYS
clean a full trim assembly or com
plete trim section-mask adjacent
trim along stitch
or welt lines. Mix
Multi-Purpose Powdered Cleaner
in strict accordance with directions
on label of container-mix propor
tionally for smaller quantities.
USE
SUDS ONLY
ON A .CLEAN
SPONGE or SOFT BRISTLE
BRUSH-DO NOT WET FAB
RIC
EXCESSIVELY OR RUB
HARSHLY WITH BRUSH. IM
MEDIATELY
AFTER CLEAN
ING WIPE
OFF ANY CLEANER
42
RESIDUE WITH SLIGHTLY
DAMP ABSORBENT TOWEL
OR CLOTH.
IMPORTANT-IM
MEDIA TEL Y AFTER WIPING,
FORCE-DRY FABRIC WITH
AIR
HOSE, HEAT DRYER OR
HEAT LAMP. (Use caution with
heat dryer or heat lamp to prevent
damage to fabric.) When trim ma
terials with a sheen or luster finish
are dry, wipe fabric lightly with a
soft,
dry clean cloth to restore
sheen or luster.
Spot Cleaning Fabric Type
Trim
Materials with Solvent
Type Cleaner
Before attempting to remove
spots or stains from fabric, deter
mine
as accurately as possible the
nature and age of the spot or stain.
Some spots or stains can be re
moved satisfactorily with water
or
mild soap solution (refer to ac
companying
"Removal of Specific
Stains"). For best results , spots or
Page 46 of 85
Downloaded from www.Manualslib.com manuals search engine stains should be removed as soon
as possible. Some types of stains
or soilage such
as lipsticks, some
inks, certain types of grease etc.,
are extremely difficult and, in some
cases, impossible to completely re
move. When cleaning this type
of'
stain or soi'lage, care must be taken
not to enlarge the soiled area.
It is
sometimes more desirable to have
a small stain than an enlarged stain
as a result of careless cleaning.
G.M. Fabric Cleaner (Solvent
Type)
is excellent for spot cleaning
stains containing grease, oil or fats
from fabric type trim. Excess stain
should be gently scraped off trim
material with a clean
DULL knife
or scraper.
USE VERY LITTLE
CLEANER, light pressure, and
clean cloths (preferably cheese
cloth). Cleaning action should be
, from outside of stain FEATHER
ING towards center of stain and
constantly changing to a clean sec- tion
of cloth. When stain
is cleaned
from fabric, immediately dry area
with an air hose, heat dryer or
heat lamp to help prevent a clean
ing ring (use caution with heat
dryer or heat lamp to prevent dam
age to fabric material).
If a ring
forms,
immediately repeat the
cleaning operation over a slightly
larger area with special emphasis
on
FEATHERING towards center
of area.
If ring still persists, mark
off adjacent trim sections and clean
entire affected trim panel section
with G.M. Multi Purpose Pow
dered Cleaner as previously de
scribed under
"cleaning general
soilage
or water spots with foam
type
cleaner."
Removal of Specific Stains
Grease or Oil Stains -In
cludes grease, oil, butter, marga
rine,
shoe· polish, coffee with
cream, chewing gum, cosmetic
43
creams, vegetable oils, wax crayon,
tar and asphalts. Carefully scrape
off excess stain; then use Fabric
Cleaner (Solvent Type)
as pre
viously described.
Shoe polish, wax
crayons, tar and asphalts will stain
if allowed to remain on trim; they
should be removed
as soon as pos
sible-use caution
as cleaner will
dissolve them and may cause them
to bleed.
Non-Greasy Stains-Includes
catsup, coffee (black), egg, fruit,
fruit juice, milk, soft drinks,
wine,
vomit and blood. Carefully scrape
off excess stain; then sponge stain
with cool water.
If stain remains
use
Multi-Purpose Powdered
Cleaner (Foam Type) as previ
ously described.
If odor persists
after cleaning vomitus or urine,
treat area with a water-baking soda
solution
(1 teaspoon baking soda
to 1 cup of tepid water)-finally, if
necessary, clean lightly with fabric
Page 48 of 85
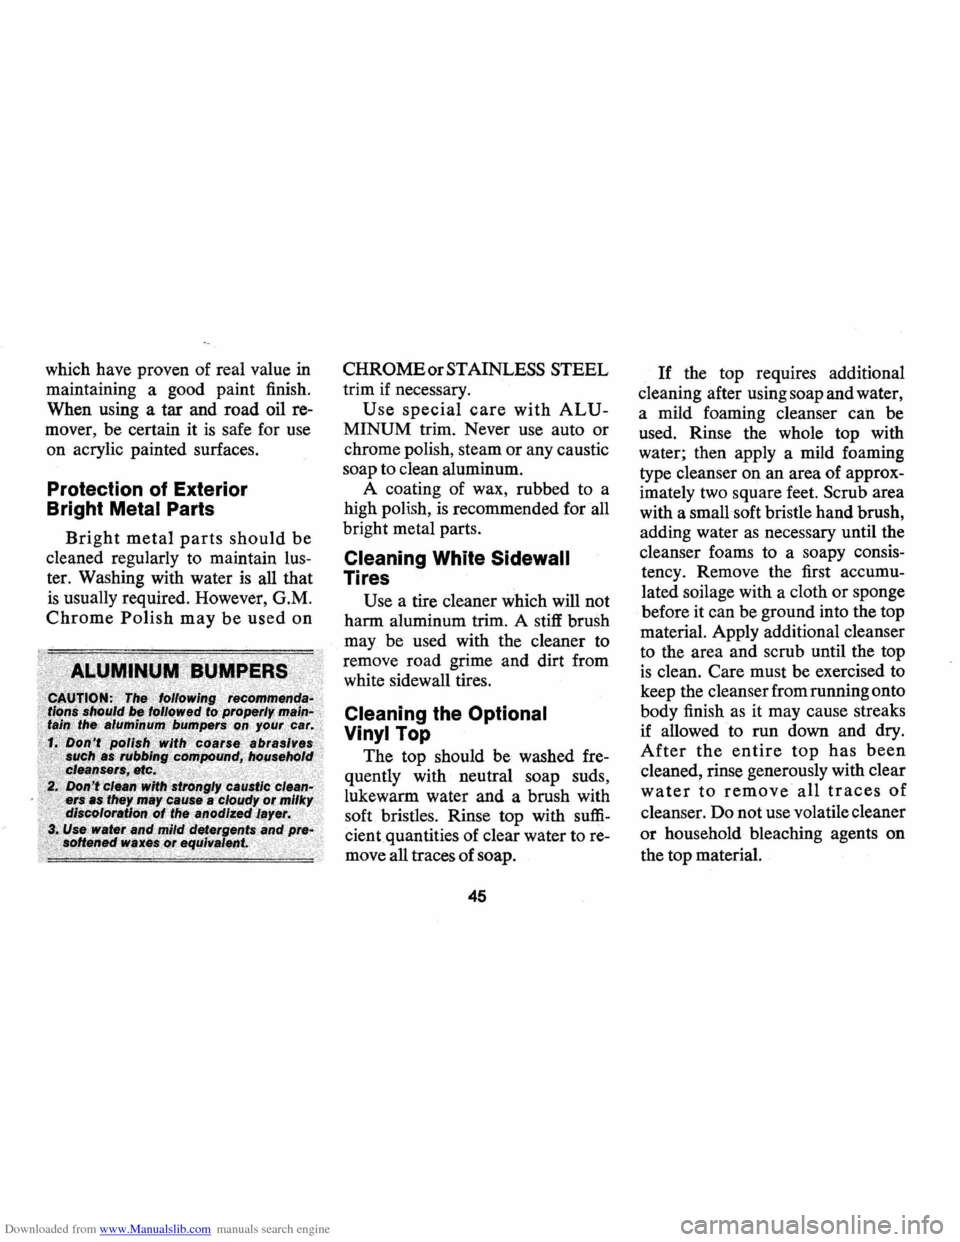
Downloaded from www.Manualslib.com manuals search engine which have proven of real value in
maintaining a good paint finish.
When using a tar and road oil re
mover, be certain it
is safe for use
on acrylic painted surfaces.
Protection of Exterior
Bright
Metal Parts
Bright metal parts should be
cleaned regularly to maintain lus
ter. Washing with water
is all that
is usually required. However, G.M.
Chrome Polish may be used on
CHROME or STAINLESS STEEL
trim if necessary.
Use special care with ALU
MINUM trim. Never use auto or
chrome polish, steam
or any caustic
soap to clean aluminum.
A coating of wax, rubbed to a
high polish,
is recommended for all
bright metal parts.
Cleaning White Sidewall
Tires
Use a tire cleaner which will not
harm aluminum trim. A stiff brush
may be used with the cleaner to
remove road grime and dirt from
white sidewall tires.
Cleaning the Optional
Vinyl
Top
The top should be washed fre
quently with neutral soap suds,
lukewarm water and a brush with
soft bristles. Rinse top with
suffi
cientquantities of clear water to re
move all traces of soap.
45
If the top requires additional
cleaning after using soap and water,
a mild foaming cleanser
can be
used. Rinse the whole top with
water; then apply a mild foaming
type cleanser on an area of approx
imately two square feet.
Scrub area
with a small soft bristle hand brush,
adding water
as necessary until the
cleanser foams to a soapy consis
tency. Remove the first accumu
lated soilage with a cloth
or sponge
before it can be ground into the top
material. Apply additional cleanser
to the area and scrub until the top
is clean. Care must be exercised to
keep the cleanserfrom running onto
body finish
as it may cause streaks
if allowed
to run down and dry.
After the entire top has been
cleaned, rinse generously with clear
water to remove all traces of
cleanser. Do not use volatile cleaner
or household bleaching agents on
the top material.
Page 59 of 85
Downloaded from www.Manualslib.com manuals search engine temperatures are not expected.
• Add ethylene glycol base coolant
that meets GM Specification
1899-M when coolant additions
are required because of coolant
loss or to provide additional pro
tection against freezing at tem
peratures lower than
-20°F
(-35°F in Canada).
NOTE: Alcohol or methanol base
coolants or plain water are not
recommended for your Camaro at
any time.
Radi~tor Pressure Cap
The radiator cap, a 15 lb. pres
sure type, must be installed tightly,
9therwise coolant may be lost and
damage to engine may result from
overheating.
Radiator pressure
caps should be checked periodi
cally for proper operation.
If re
placement
is required specify AC.
Thermostat
The cooling system is protected
and controlled by a thermostat in
stalled in the engine coolant outlet
to maintain a satisfactory operat
ing temperature of the engine. This
Tires
NOTE: The factory installed tires
on your car are either bias-belted thermostat
is designed
for continu
ous
. use through both winter and
summer and need not be changed
seasonally. When replacement
is
necessary, Delco parts are recom
mended.
or optional steel-belted radial tires.
Additional owner information about
steel-belted radial tires
is contained
in the special steel-belted radial tire
guarantee booklet.
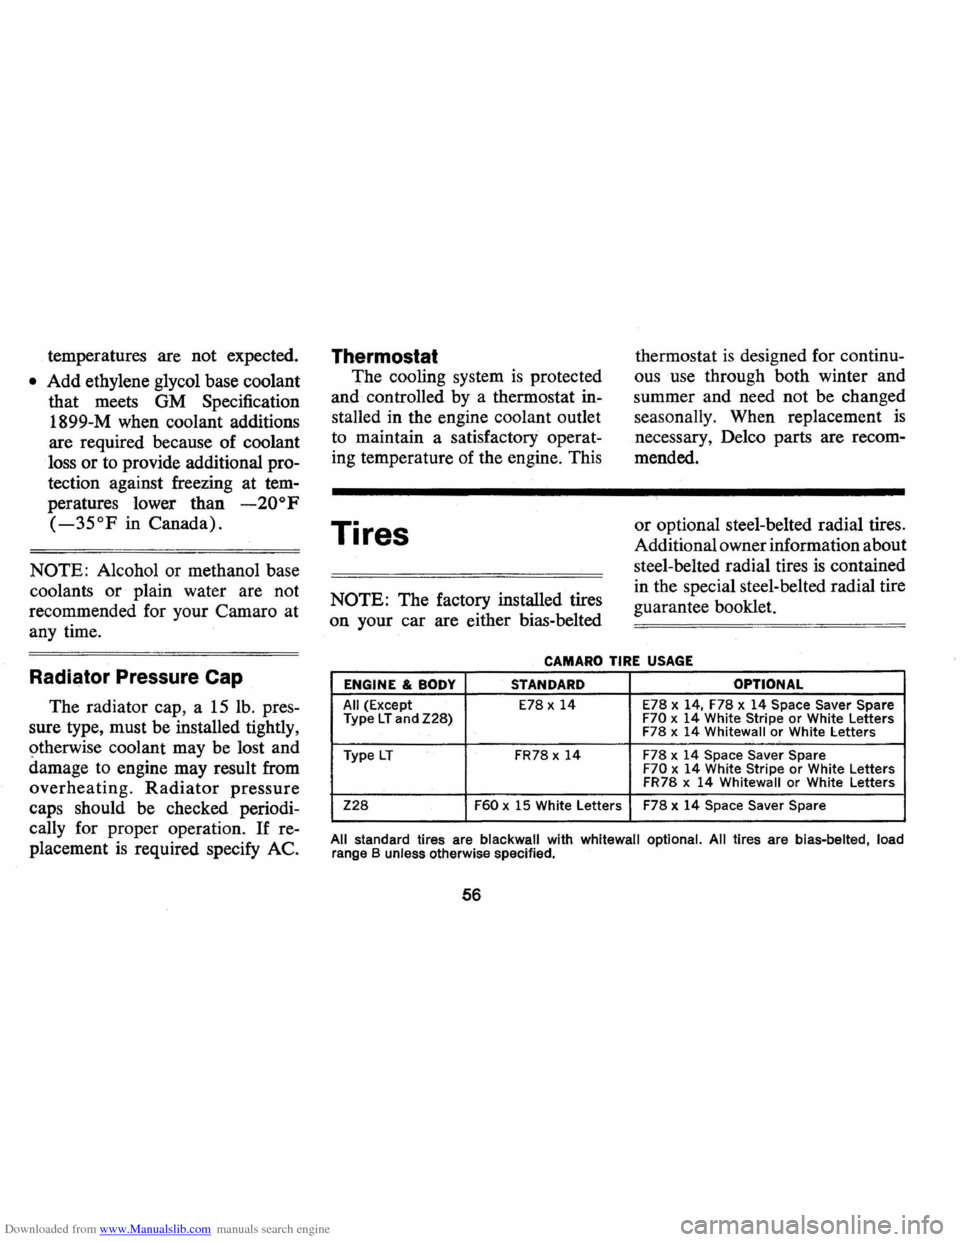
CAMARO TIRE USAGE
ENGINE & BODY STANDARD OPTIONAL
All (Except E78 x 14 E78 x 14, F78 x 14 Space Saver Spare
Type LTand Z28) F70 x 14 White Stripe or White Letters
F78 x 14 Whitewall or White Letters
Type
LT FR78 x 14 F78 x 14 Space Saver Spare F70 x 14 White Stripe or White Letters
FR78 x 14 Whitewall or White Letters
Z28 F60 x 15 White Letters F78 x 14 Space Saver Spare
All standard tires are blackwall with whitewall optional. All tires are bias-belted load range B unless otherwise specified. '
56
Page 60 of 85
Downloaded from www.Manualslib.com manuals search engine The factory installed tires on
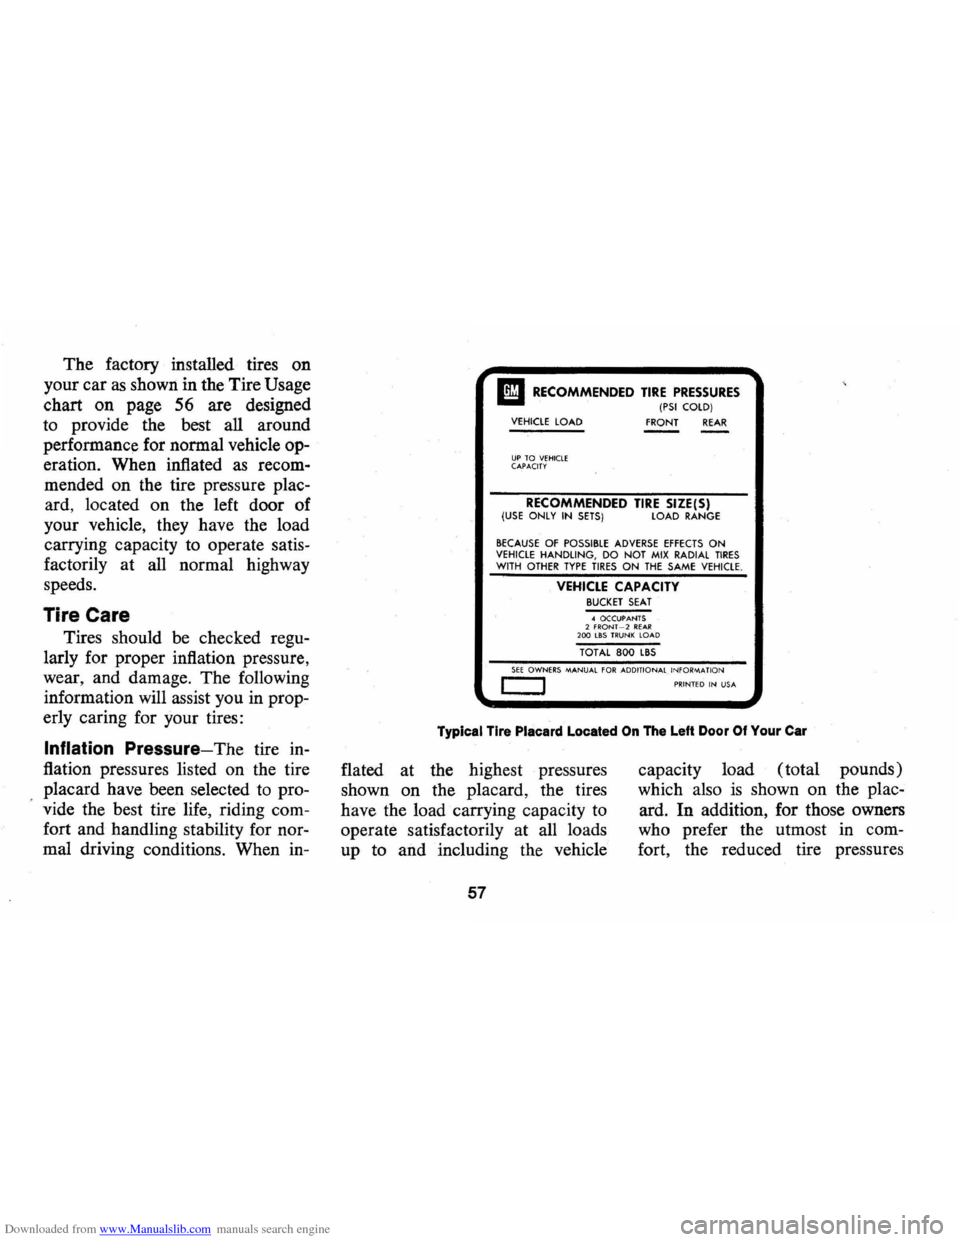
your car as shown in the Tire Usage
chart
on page 56 are designed
to provide the best all around
performance for normal vehicle op
eration. When inflated as recom
mended on the tire pressure plac
ard, located
on the left door of
your vehicle, they have the load
carrying capacity to operate satis
factorily at all normal highway
speeds.
Tire Care
Tires should be checked regu
larly for proper inflation pressure,
wear, and damage. The following
information will assist you in prop
erly caring for your tires:
Inflation Pressure-The tire in
flation pressures listed on the tire
placard have been selected to pro
vide the best tire life, riding com
fort and handling stability for nor
mal driving conditions. When in-
I! RECOMMENDED TIRE PRESSURES (PSI COlD) VEHICLE LOAD
FRONT REAR
UP TO VEHiClE CAPACITY
RECOMMENDED TIRE SIZE(S) (USE ONLY IN SETS) LOAD RANGE
BECAUSE OF POSSIBLE ADVERSE EFFECTS ON VEHICLE HANDLING, DO NOT MIX RADIAL TIRES WITH OTHER TYPE TIRES ON THE SAME VEHICLE.
VEHICLE CAPACITY BUCKET SEAT .. OCCUPANTS 2 fRONf -2 Rf.A.R 200 LBS TRUNK LOAD
TOT AL 800 L8S
SEE OWNERS MANUAL FOR ADDITIONAL INFORM-A nON c:::::J PRINTED IN USA
Typical Tire Placard Located On The Left Door Of Your Car
flated at the highest pressures
shown
on the placard, the tires
have the load carrying capacity to
operate satisfactorily at all loads
up to and including the vehicle
57
capacity load (total pounds)
which also
is shown on the plac
ard.
In addition, for those owners
who prefer the utmost in com
fort, the reduced tire pressures
Page 61 of 85
Downloaded from www.Manualslib.com manuals search engine listed on the placard may be used
when loads of
4 occupants or less
are carried.
The use of improper tire
infla
tion pressures can adversely affect
tire life and vehicle performance:
• Too little air pressure can result
in excessive tire heat, abnormal
tire wear, adverse handling and
reduced fuel economy.
• Too much air pressure can re
sult in abnormal tire wear, ad
verse vehicle ride and handling,
and increased susceptibility to
damage by road impacts.
Tire pressures should be
checked when the tires are "cold"
at least once a month (and pref
erably oftener) or before long
trips or when heavily loaded. The
following points should
be ob
served when checking and setting
tire pressures:
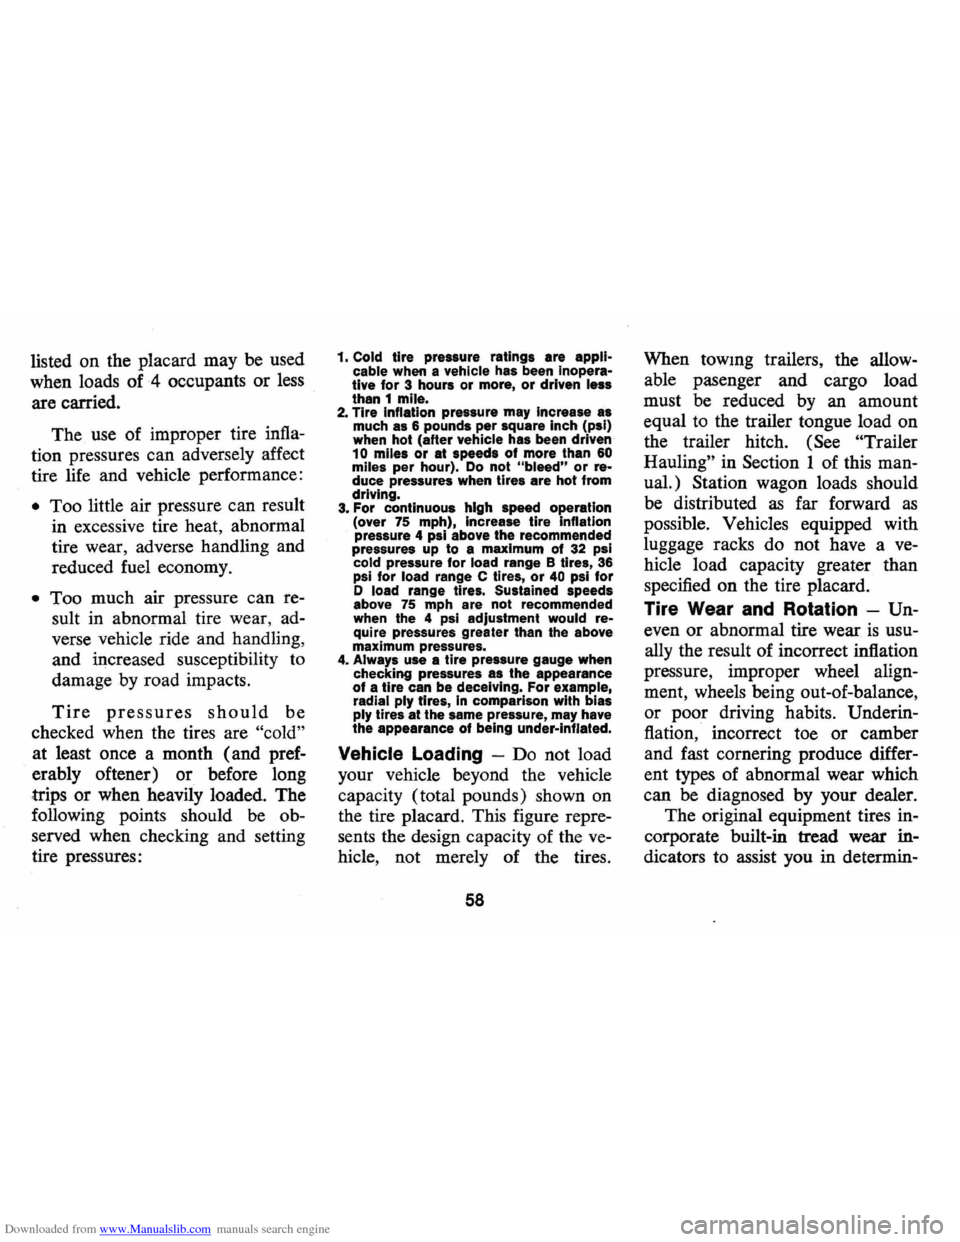
1. Cold tire pressure ratings are applicable when a vehicle has been Inoperative for 3 hours or more, or driven less
than 1 mile.
2. Tire Inflation pressure may Increase as
much as 6 pounds per square inch (psi)
when hot (aHer vehicle has been driven
10 miles or at speeds of more than 60 miles per hour). Do not "bleed" or reduce pressures when tires are hot from
driving.
3. For continuous high speed operation
(over 75 mph), Increase tire inflation
pressure 4 psi above the recommended
pressures up
to a maximum of 32 psi
cold pressure for load range B tires, 36
psi for load range C tires, or 40 psi for D load range tires. Sustained speeds
above 75 mph are not recommended
when the 4 psi adjustment would require pressures greater than the above
maximum pressures.
4. Always use a tire pressure gauge when
checking pressures as the appearance
of a tire can be deceiving. For example,
radial ply fires, In comparison with bias
ply tires at the same pressure, may have
the appearance of being under-inflated.
Vehicle Loading -Do not load
your vehicle beyond the vehicle
capacity (total pounds) shown on
the tire placard. This figure
repre
sents the design capacity of the ve
hicle, not merely of the tires.
58
When towmg trailers, the allow
able pasenger and cargo load
must be reduced by an amount
equal to the trailer tongue load on
the trailer hitch.
(See "Trailer
Hauling"
in Section 1 of this man
ual.) Station wagon loads should
be distributed
as far forward as
possible. Vehicles equipped with
luggage racks do not have a
ve
hicle load capacity greater than
specified on the tire placard.
Tire Wear and Rotation -Un
even or abnormal tire wear is usu
ally the result of incorrect inflation
pressure, improper wheel
align
ment, wheels being out-of-balance,
or poor driving habits.
Underin
flation, incorrect toe or camber
and fast cornering produce
differ
ent types of abnormal wear which
can be diagnosed by your dealer.
The original equipment tires
in
corporate built-in tread wear in
dicators to assist you in determin-
Page 63 of 85
Downloaded from www.Manualslib.com manuals search engine a short distance can damage a tire
beyond repair.
Temporary repairs, such
as
"blowout" patches or any repair
made from the outside of the tire
should not be made except in
emergencies.
Such "stop-gap" de
vices
as plugs and aerosol-type
sealants are good for no more than
100 miles of driving at speeds not
over
50 mph. A permanent vul
canized repair, plug or patch ap
plied from inside the tire, should
be made
as soon as possible. Also,
the installation of an inner tube in
a damaged tubeless tire
is not a
recommended repair procedure.
Replacement Tires
When replacing tires, only the
size, load range, and construction
type (bias, bias-belted,
or radial)
originally installed on your vehi
cle are recommended. Use of any
other tire size or type tire may seriously
affect ride, handling,
speedometer/odometer calibration
vehicle ground clearance and tire
clearance to the body and chassis.
The following also should be con
sidered when replacing tires:
• To achieve best all around ve
hicle performance, belted-bias
tires and bias tires should not
be mixed on the same car.
• Because of possible adverse ef
fects on vehicle handling, do
not mix radial ply tires with
other type tires on the same
vehicle (such as bias
or bias
belted snow tires).
• It is recommended that new
tires be installed in pairs on the
same axle.
• When replacing only one tire, it
should be paired with the tire
having the least wear, to equal
ize braking traction.
• When replacing original tires
with an optional recommended
60
size of different diameter, the
speedometer must be recali
brated by installing the correct
speedometer driven gear.
Snow Tires
If you equip your vehicle with
snow tires, they should be inflated
4 psi above the recommended
pressures shown on the tire pla
card up to a maximum of 32 psi
( cold) for load range B tires and
40 psi for load range D tires. It is
recommended that vehicle speeds
be limited to a maximum of 75
mph if snow tires are installed.
If
your car is equipped with radial
tires, use only radial snow tires.
Replacement Wheels
When replacing wheels for any
reason, care should be taken to in
sure that the wheels are equiva
lent to those removed in diameter,
rim width and off-set.
Page 74 of 85
Downloaded from www.Manualslib.com manuals search engine SPECIFICATIONS (Cont'd)
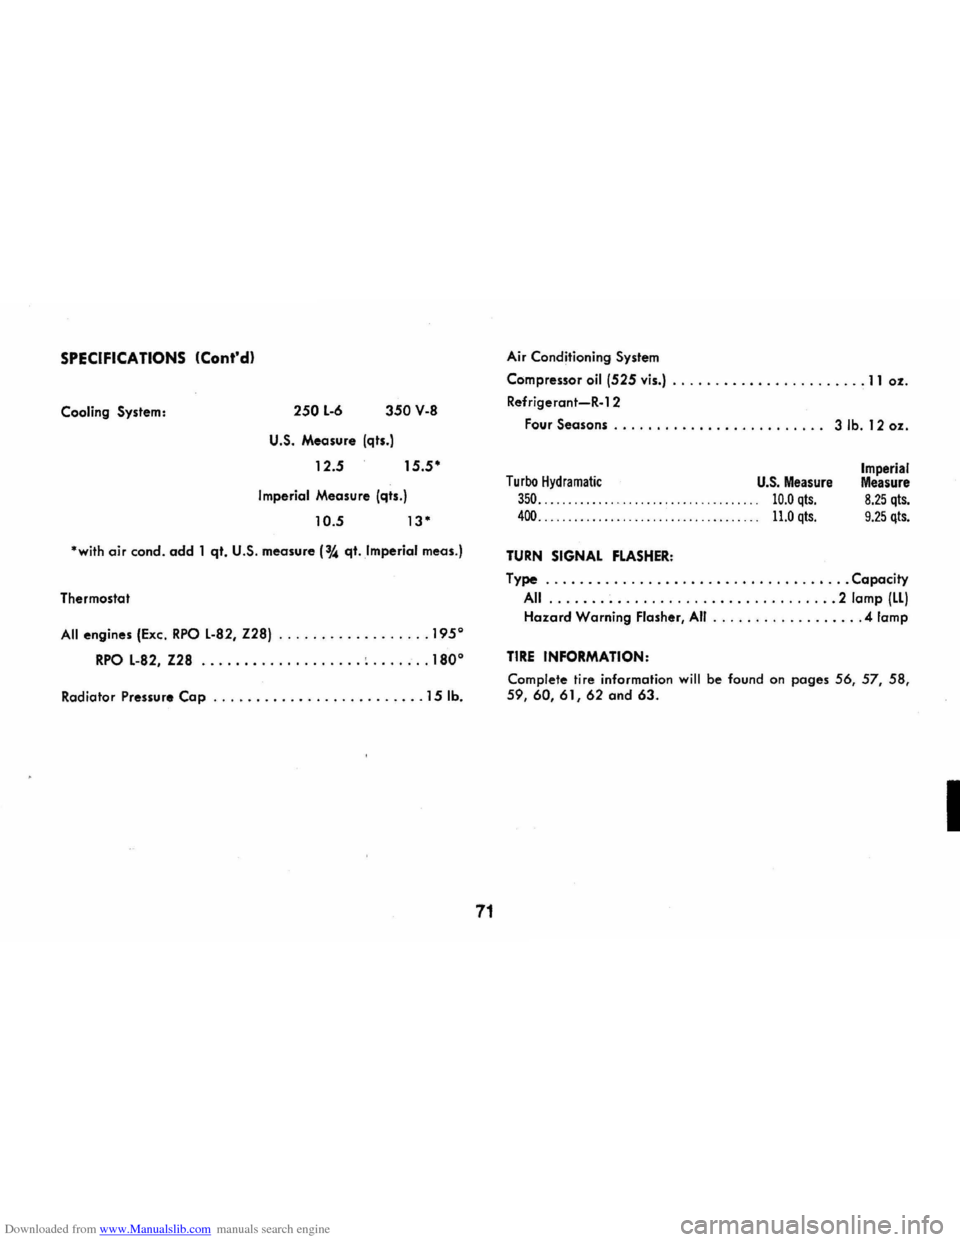
Cooling System: 250 L-6 350 V-8
U.S. Measure (qts.)
12.5 15.5"
Imperial Measure (qts.)
10.5 13·
·with air condo add 1 qt. U.S. measure (3A qt. ,Imperial meas.)
Thermostat
All engines (Exc. RPO L-82, Z28) .................. 1950
RPO L-82, Z28 ................... ~ . . ..... 1800
Radiator Pressure Cap ......................... 15 lb.
71
Air Conditioning System
Compressor oil (525 vis.) ....................... 11 oz.
Refrigerant-R-1 2
Four
Seasons. . . . . . . . . . . . . . . . . . . . . . . .. 3 lb. 12 oz.
Turbo Hydramatic U.S. Measure
350............. ....................... 10.0 qts. 400. . . . . . . . . . . . . . . . . . . . . . . . . . . . . . . . . . . . . 11.0 qts.
TURN SIGNAL FLASHER:
Imperial Measure 8.25 qts. 9.25 qts.
Type .................................... Capacity
All .................................. 2 lamp (LL)
Hazard Warning Flasher, All .................. 4 lamp
TIRE INFORMATION:
Complete tire information will be found on pages 56, 57, 58, 59,60,61,62 and 63.
I