Page 17 of 56

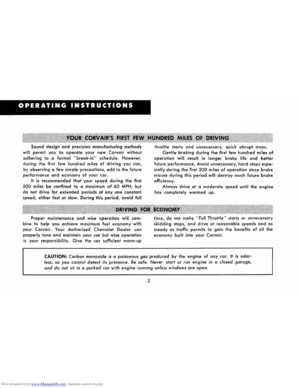
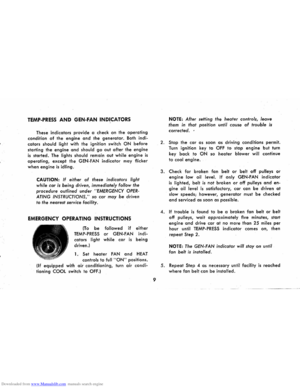
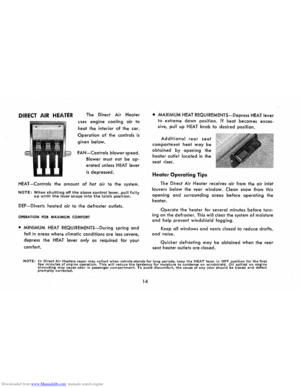
Downloaded from www.Manualslib.com manuals search engine DIRECT AIR HEATER The Direct Air Heater
uses engine cooling air to
heat the interior of the car.
Operation of the controls is
given below.
FAN-Controls blower speed.
Blower must not be op
erated unless HEAT lever
is depressed.
HEAT
-Controls the amount of hot air to the system.
NOTE: When shutting off the above control lever, pull fully up until the lever snaps into the latch position.
DEF-Diverts heated air to the defroster outlets.
OPERATION FOR MAXIMUM COMFORT
• MINIMUM HEAT REQUIREMENTS-During spring and
fall in areas where climatic conditions are less severe,
depress the HEAT
lever only as required for your
comfort.
• MAXIMUM HEAT REQUIREMENTS-Depress HEAT lever
to extreme down position. If heat becomes exces
sive, pull up HEAT
knob to desired position.
Additional rear seat
compartment heat may be
obtained by opening the
heater outlet located in the
seat riser.
Heater Operating Tips
The Direct Air Heater receives air from the air inlet
louvers below the rear window. Clean snow from this
opening and surrounding areas before operating the
heater.
Operate the heater for several minutes before turn
ing on the defroster. This will clear the system of moisture
and help prevent windshield fogging.
Keep all windows and vents closed to reduce drafts, and noise.
Quicker defrosting may be obtained when the rear
seat heater outlets are closed.
NOTE: In Direct Air Heaters vapor may collect when vehicle stands for long periods, keep the HEAT lever in OFF position for the first few minutes of engine operation. This will reduce the tendency for moisture to condense on windshield. Oil spilled on engine shrouding may cause odor in passenger compartment. To avoid discomfort, the cause of any odor should be traced and defect prom ptly corrected.
14
Page 18 of 56

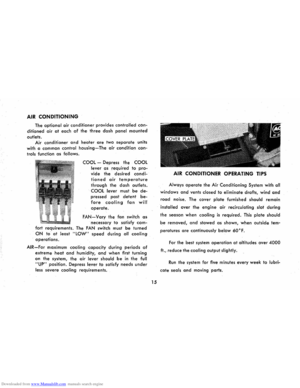
Downloaded from www.Manualslib.com manuals search engine AIR CONDITIONING
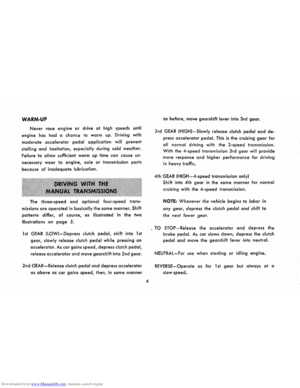
The optional air conditioner provides controlled con
ditioned air at each of the three dash panel mounted
outlets.
Air conditioner and heater are two separate units
with a common control housing-The air condition con
trols function as follows.
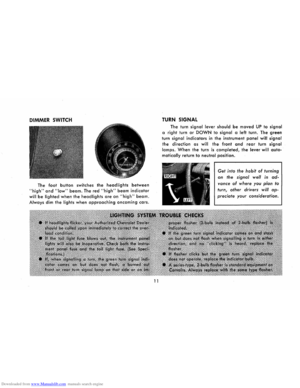
COOL -Depress the COOL
lever as required to pro
vide the desired condi
tioned air temperature
through the dash outlets.
COOL lever must be de
pressed past detent be
fore cooling fan will
operate.
FAN-Vary the fan switch as
necessary
to satisfy com
fort requirements. The FAN switch must be turned
ON to at least "LOW" speed during all cooling
operations.
AIR-For maximum cooling capacity during periods of
extreme heat and humidity, and when first turning
on the system, the air lever should be in the full
"UP" position. Depress lever to satisfy needs under
less severe cooling requirements.
15
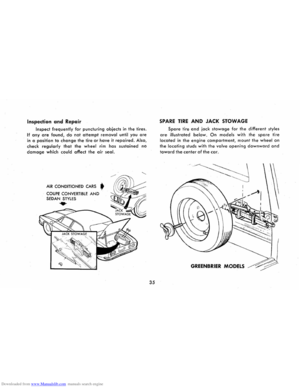
AIR CONDITIONER OPERATING TIPS
Always operate the Air Conditioning System with all
windows and vents closed to eliminate drafts, wind and
road noise. The cover plate furnished should remain
installed over the engine air recirculating slot during
the season when cooling is required. This plate should
be removed, and stowed as shown, when outside tem
peratures are continuously below 600 F.
For the best system operation at altitudes over 4000
ft., reduce the cooling output slightly.
Run the system for five minutes every week to lubri
cate seals and moving parts.
Page 19 of 56

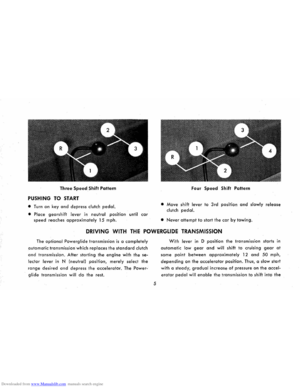
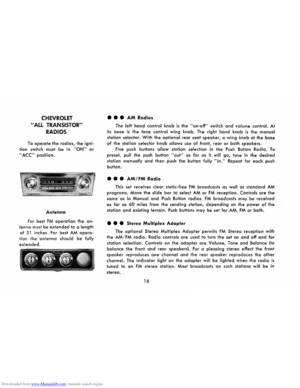
Downloaded from www.Manualslib.com manuals search engine CHEVROLET
"ALL TRANSISTOR"
RADIOS
To operate the radios, the igni
tion switch must
be in "ON" or
"ACC" position.
Antenna
For best FM operation the an
tenna must be extended to a length
of 31 inches. For best AM opera
tion
the antenna should be fully
extended.
••• AM Radios
The left hand control knob is the "on-off" switch and volume control. At
its base is the tone control wing knob. The right hand knob is the manual
station selector. With
the optional rear seat speaker, a wing knob at the base
of the station selector knob allows use of front, rear or both speakers.
Five push buttons allow station selection in the Push Button Radio. To
preset, pull the push button "out" as far as it will go, tune in the desired
station manually and then push the button fully "in." Repeat for each push
button.
• • • AMI FM Radio
This set receives clear static-free FM broadcasts as well as standard AM
programs. Move the slide bar to select AM or FM reception. Controls are the
same as in Manual and Push Button radios. FM broadcasts may be received
as far as 60 miles from the sending station, depending on the power of the
station and existing terrain. Push buttons may be set for AM, FM or both.
• • • Stereo Multiplex Adapter
The optional Stereo Multiplex Adapter permits FM Stereo reception with
the AM/FM
radio. Radio controls are used to turn the set on and off and for
station selection. Controls on
the adapter are Volume, Tone and Balance (to
-balance the front and rear speakers!. For a pleasing stereo effect the front
speaker reproduces one channel and the rear speaker reproduces the other
channel. The indicator light on the adapter will be lighted when the radio is
tuned to an FM stereo station. Most broadcasts on such stations will be in
stereo.
16
Page 20 of 56

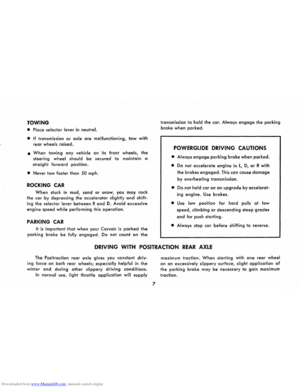
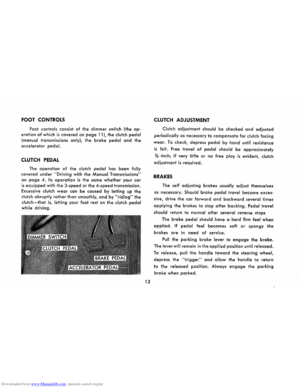
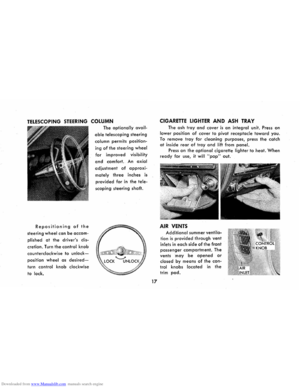
Downloaded from www.Manualslib.com manuals search engine TELESCOPING STEERING COLUMN
Repositioning of the
steering wheel can be accom
plished at the driver's dis
cretion.
Turn the control knob
counterclockwise to
unlock
position wheel as desired
turn control knob clockwise
to
lock.
The optionally avail
able telescoping steering
column permits position
ing
of the steering wheel
for improved visibility
and comfort. An axial
adiustment of approxi
mately three inches is
provided for in the tele
scoping steering shaft.
17
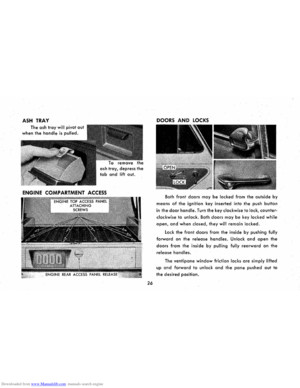
CIGARETTE LIGHTER AND ASH TRAY
The ash tray and cover is an integral unit. Press on
lower position of cover to pivot receptacle toward you.
To remove tray for cleaning purposes, press the catch
at inside rear of tray and lift from panel.
Press on the optional cigarette lighter to heat. When
ready for use, it will "pop" out.
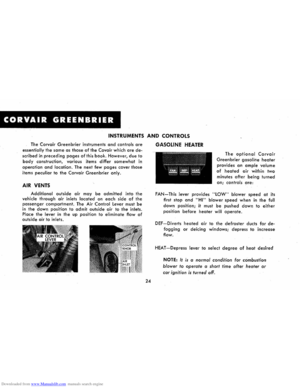
AIR VENTS
Additional summer ventila
tion is provided through vent
inlets in each side of the front
passenger compartment. The
vents may
be opened or
closed by means of the con
trol knobs located in the
trim pad.
Page 21 of 56

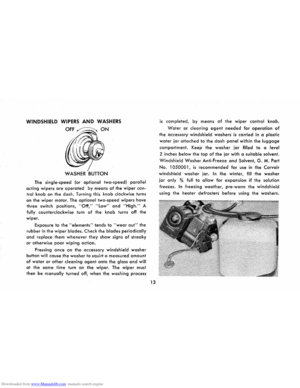
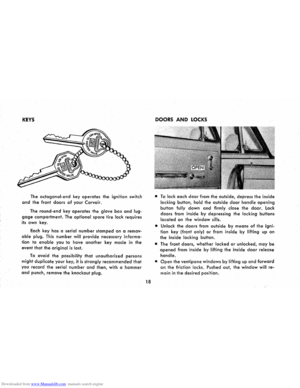
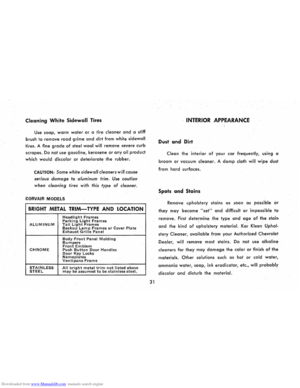
Downloaded from www.Manualslib.com manuals search engine KEYS
The octagonal-end key operates the ignition switch
and the front doors of your Corvair.
The round-end key operates the glove box and lug
gage compartment. The optional spare tire lock requires
its
own key.
Each key has a
serial number stamped on a remov
able plug. This number will provide necessary informa
tion to enable you to have another key made in the
event
that the original is lost.
To avoid the possibility that unauthorized persons
might duplicate your key, it is strongly recommended that
you record the serial number and then, with a hammer
and punch, remove the knockout plug.
18
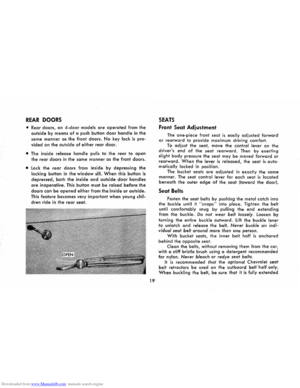
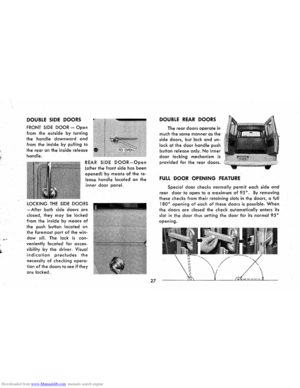
DOORS AND LOCKS
• To lock each door from the outside, depress the inside
locking button, hold the outside door handle opening
button fully down and firmly close the door. lock
doors from inside by depressing the locking buttons
located on the window sills.
• Unlock the doors from outside by means of the igni
tion key (front only) or from inside by lifting up on
the inside
locking button.
• The front doors, whether locked or unlocked, may be
opened from inside by lifting the inside door release
handle.
• Open the venti pane windows by lifting up and forward
on the friction locks. Pushed out, the window will re
main in the desired
position.
Page 22 of 56

Downloaded from www.Manualslib.com manuals search engine REAR DOORS
• Rear doors, on 4-door models are operated from the
outside by means of a push button door handle in the
same
manner as the front doors. No key lock is pro
vided On the outside of either rear door.
• The inside release handle pulls to the rear to open
the rear doors in the same manner as the front doors.
• lock the rear doors from inside by depressing the
locking button in the window sill. When this button is
depressed ,
both the inside and outside door handles
are inoperative. This button must be raised before the
doors can be opened either from the inside or outside.
This
feature becomes very important when young chil
dren ride in the rear seat.
19
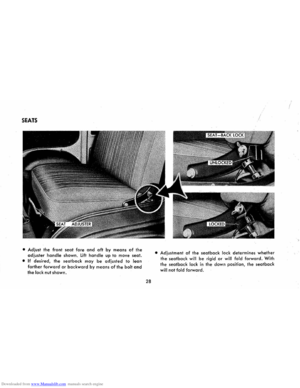
SEATS
Front Seat Adjustment
The one-piece front seat is easily adjusted forward or rearward to provide maximum driving comfort.
To adjust the seat, move the control lever on the
driver's end of the seat rearward. Then by exerting
slight body pressure the seat may be moved forward or
rearward. When the lever is released, the seat is auto. matically locked in position.
The
bucket seats are adjusted in exactly the same
manner. The seat control lever for each seat is located
beneath the outer edge of the seat (toward the door).
Seat Belts
Fasten the seat belts by pushing the metal catch into
the buckle until it "snaps" into place, Tighten the belt
until comfortably snug by pulling the end extending
from the buckle. Do not wear belt loosely . loosen by
turning the entire buckle outward. lift the buckle lever
to unlatch and release the belt. Never buckle an indi
vidual seat belt around more than
one person .
With bucket seats, the inner belt half is anchored
behind the opposite seat.
Clean the belts, without removing them from the car,
with a stiff bristle brush using a detergent recommended
for nylon. Never bleach or redye seat belts .
It is recommended that the optional Chevrolet seat
belt retractors be used on the outboard belfhalf only.
When buckling the belt, be sure that it is fully extended
Page 23 of 56

Downloaded from www.Manualslib.com manuals search engine so there is no webbing wound around the retractor
drum.
Then adjust for proper fit at the buckle.
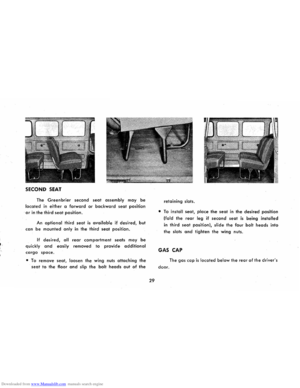
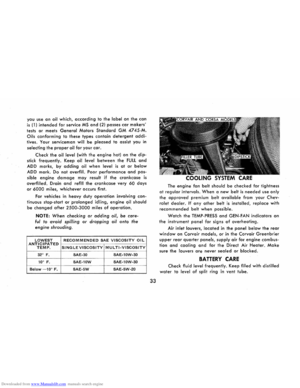
Folding
Rear Seat
The folding rear seatback, standard equipment on
Mon:z:a and Corsa, optional on all other Corvair models
except convertible, quickly and easily folds forward and
down to provide additional cargo space in four-door
models
as well as in coupe models. The folding seat in
both models operates in exactly the same manner ex
cept that the four-door models include a folding panel
at the bottom of the seatback which must be "snapped"
into or out of place after lowering and before raising
the
seatback.
CAUTION: If the car has rear door armrests it
will be necessary to open both rear doors before
raising or lowering the rear seatback.
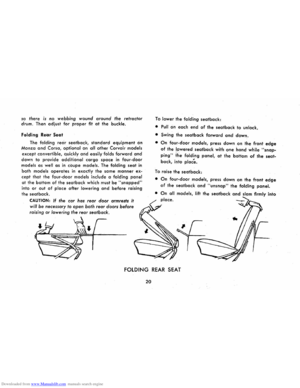
To lower the folding seatback:
• Pull on each end of the seatback to unlock.
• Swing the seatback forward and down.
• On four-door models, press down on the front edge
of the !pwered seatback with one hand while "snap
ping" the folding panel, at the bottom of the seat
back, into place.
To raise the seatback:
• On four-door models, press down on the front edge
of the seatback and "unsnap" the folding panel.
• On all
models, lift the seatback and slam firmly into
FOLDING REAR SEAT
20
Page 24 of 56

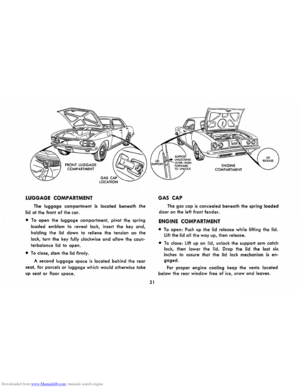
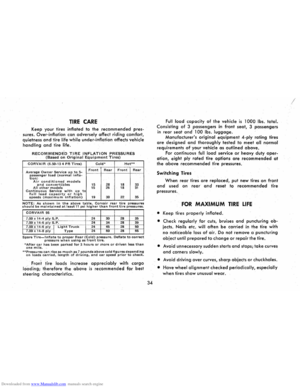
Downloaded from www.Manualslib.com manuals search engine LUGGAGE COMPARTMENT
The luggage compartment is located beneath the
lid
at the front of the car .
• To open the luggage compartment, pivot the spring
loaded emblem to reveal lock, insert the key and,
holding the lid down to relieve the tension on the
lock, turn the key
fully clockwise and allow the coun
terbalance lid to open.
• To close, slam the lid firmly.
A second
luggage space is located behind the rear
seat, for parcels or luggage which would otherwise take
up
seat or floor space.
21
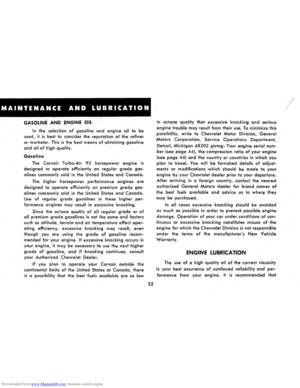
GAS CAP
ENGINE COMPARTMENT
The gas cap is concealed beneath the spring loaded
poor on the left front fender.
ENGINE COMPARTMENT
• To open: Push up the lid release while lifting the lid.
Lift the lid all the way up, then release.
• To close: Lift up on lid, unlock the support arm catch
lock, then lower the lid. Drop the lid the last six
inches to assure that the
lid lock mechanism is en
gaged.
For proper engine cooling keep the vents located
below the
rear window free of ice, snow and leaves.