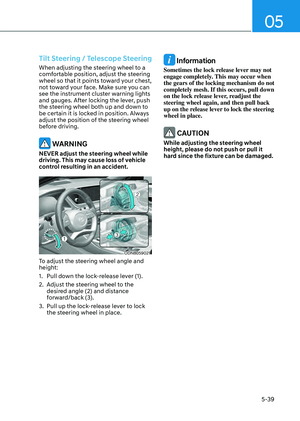
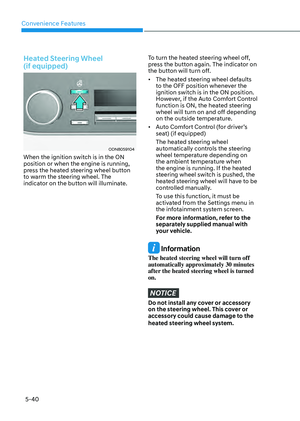
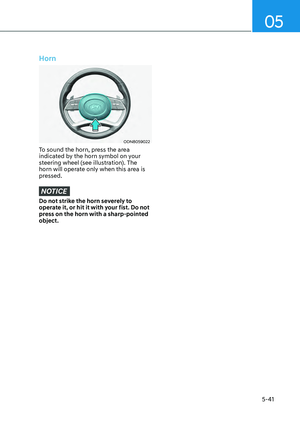
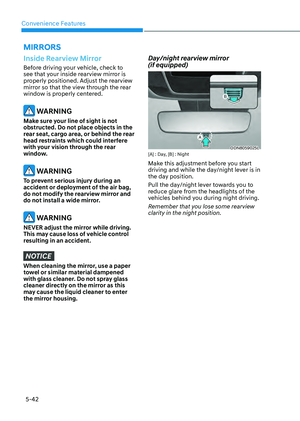
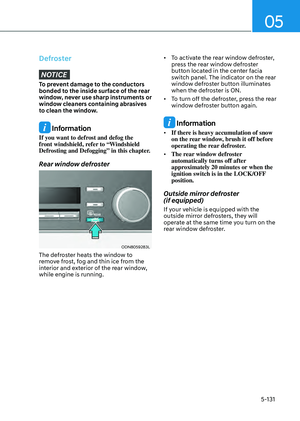
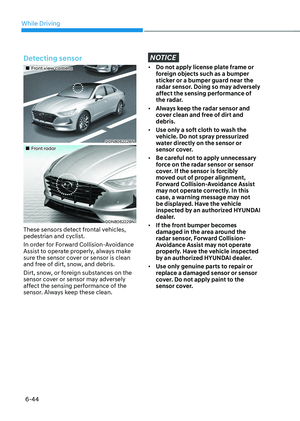
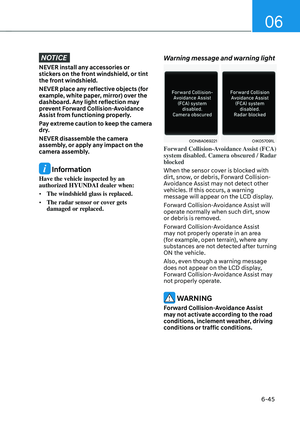
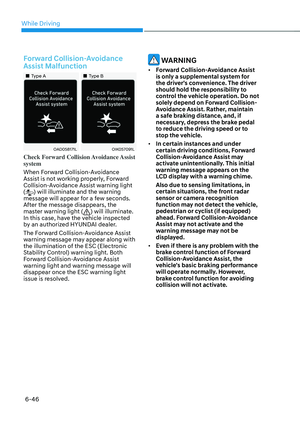
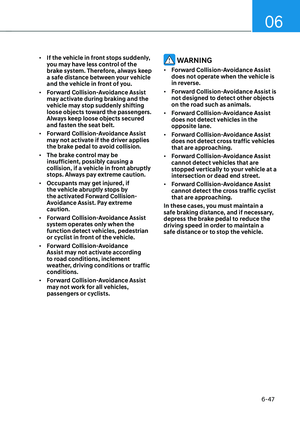
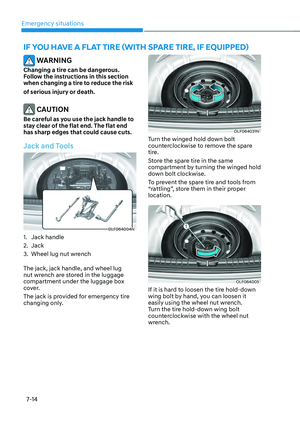
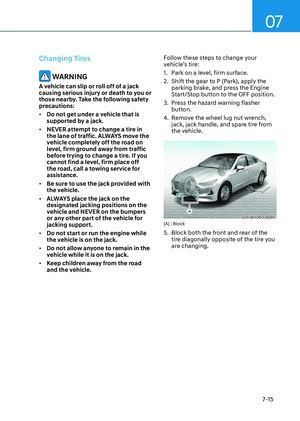
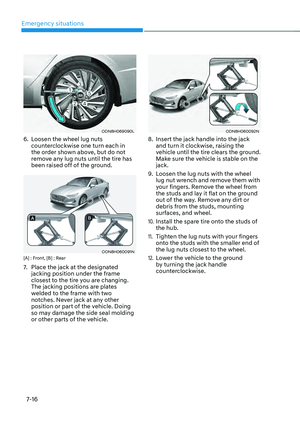
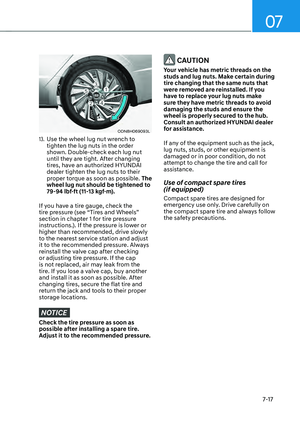
Page 489 of 549

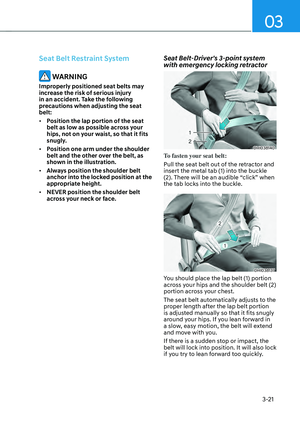
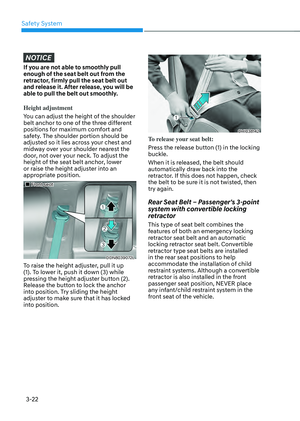
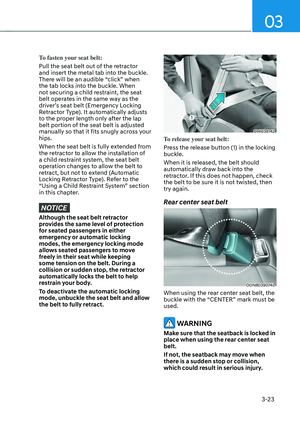
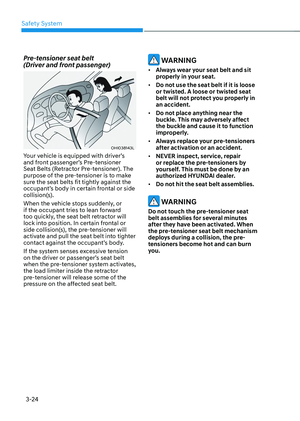
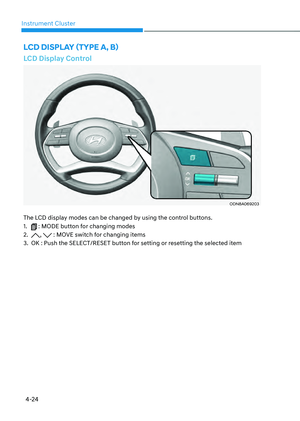
Maintenance
8-20
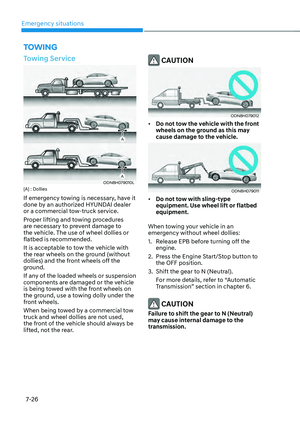
Checking the Hybrid Starter &
Generator (HSG) Belt
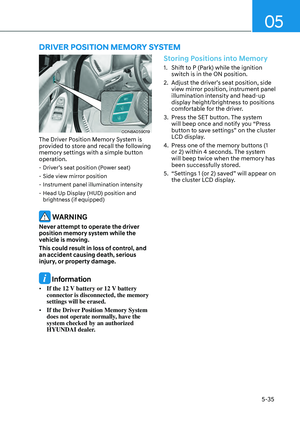
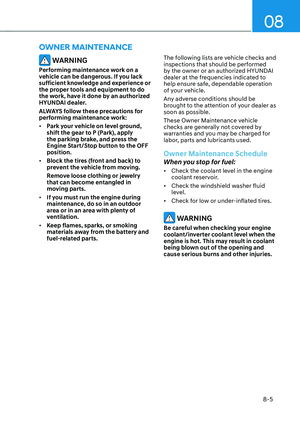
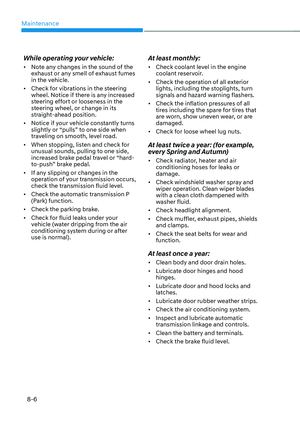
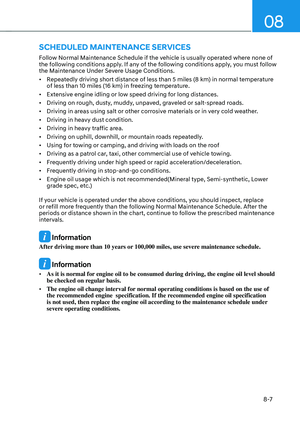
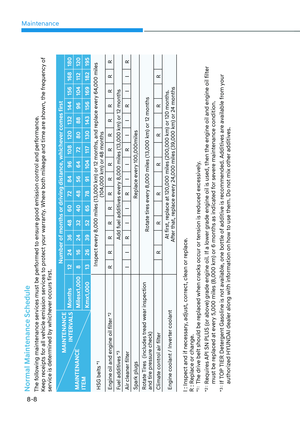
Have the Hybrid Starter & Generator
(HSG) belt inspected or replaced
according to the Maintenance Schedule
in this chapter by an authorized
HYUNDAI dealer.
CAUTION
When the HSG belt is worn out or
damaged, replace the belt.
Otherwise, it may cause engine
overheating or battery discharge.
WARNING
• Turn the vehicle off while you inspect
the engine or Hybrid Starter &
Generator (HSG) belt. Otherwise it
may result in serious injury.
• Keep hands, clothing etc., away from
the Hybrid Starter & Generator (HSG)
belt.
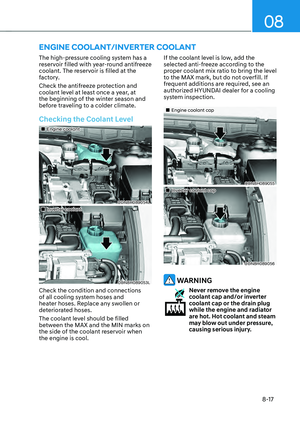
Checking the Brake Fluid Level
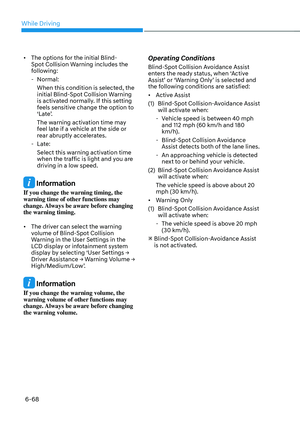
ODN8H089005ODN8H089005
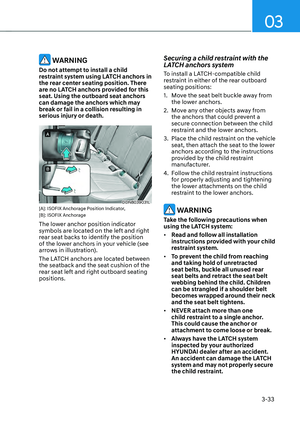
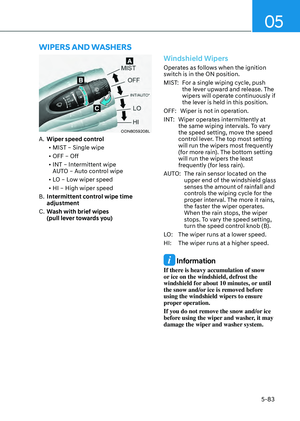
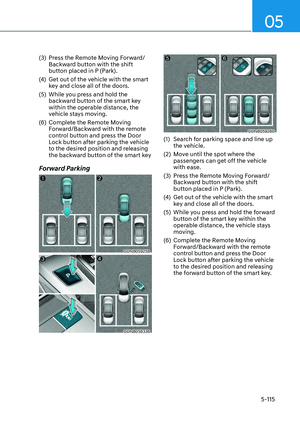
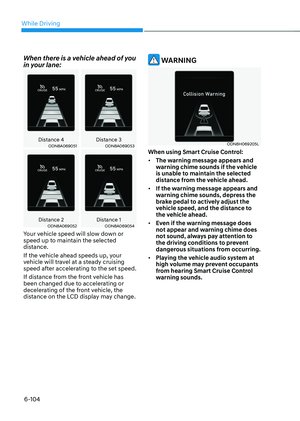
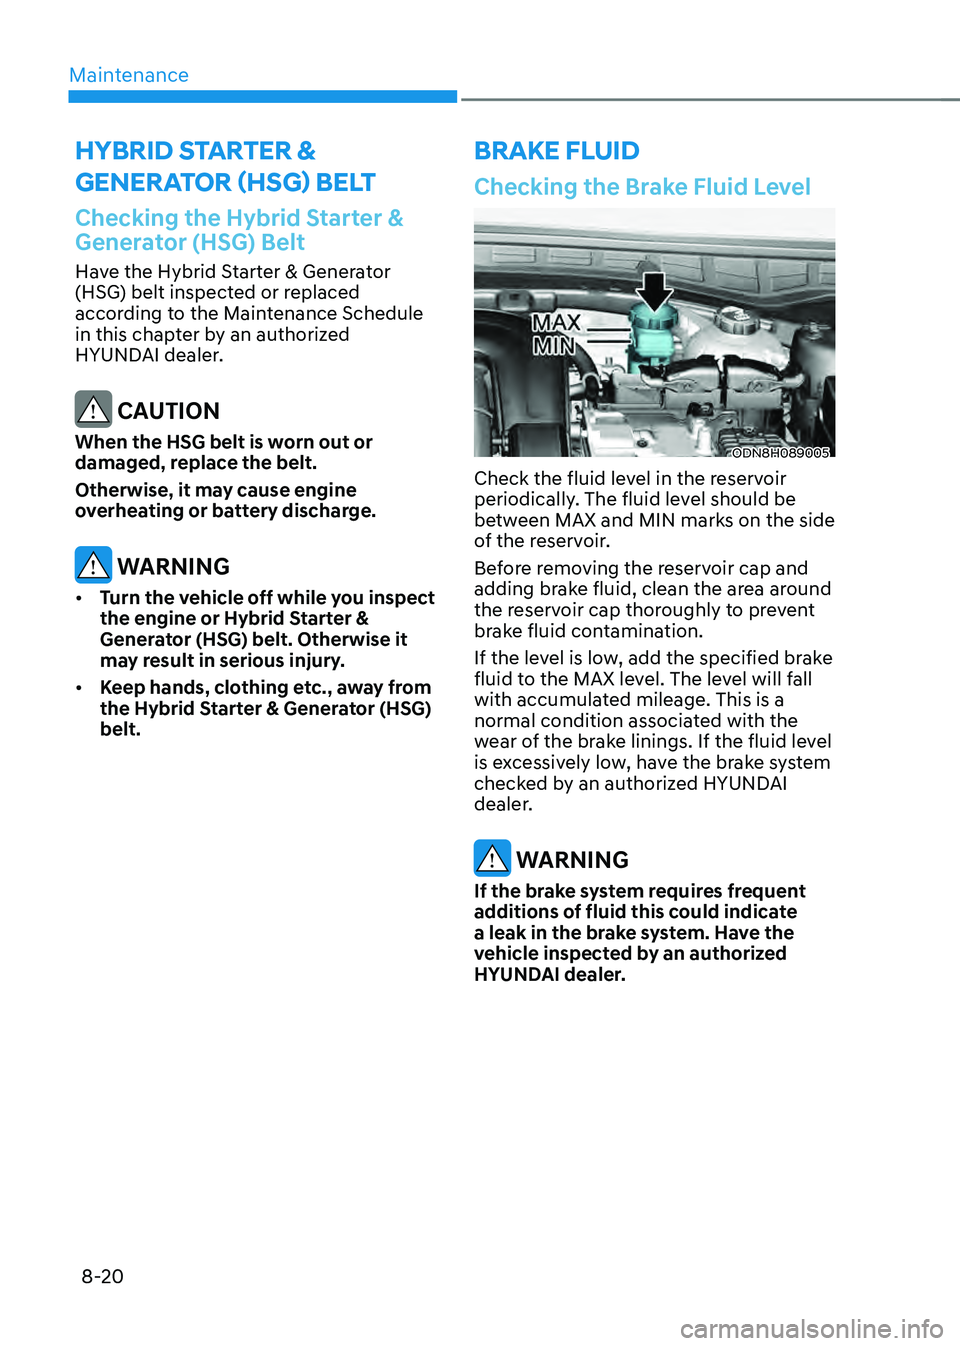
Check the fluid level in the reservoir
periodically. The fluid level should be
between MAX and MIN marks on the side
of the reservoir.
Before removing the reservoir cap and
adding brake fluid, clean the area around
the reservoir cap thoroughly to prevent
brake fluid contamination.
If the level is low, add the specified brake
fluid to the MAX level. The level will fall
with accumulated mileage. This is a
normal condition associated with the
wear of the brake linings. If the fluid level
is excessively low, have the brake system
checked by an authorized HYUNDAI
dealer.
WARNING
If the brake system requires frequent
additions of fluid this could indicate
a leak in the brake system. Have the
vehicle inspected by an authorized
HYUNDAI dealer.
HYBRID STARTER &
GENERATOR (HSG) BELTBRAKE FLUID
Page 490 of 549

08
8-21
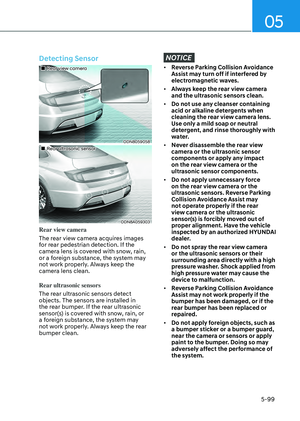
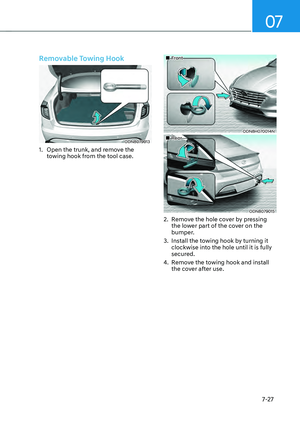
WASHER FLUID
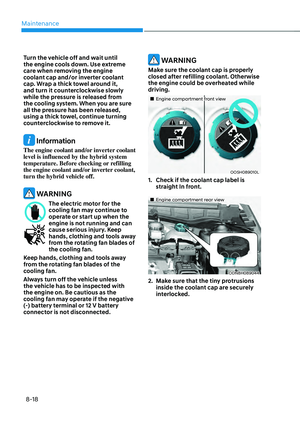
Checking the Washer Fluid Level
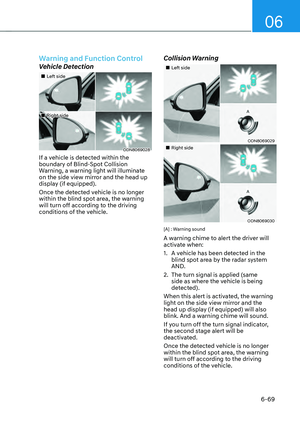
ODN8H089006ODN8H089006
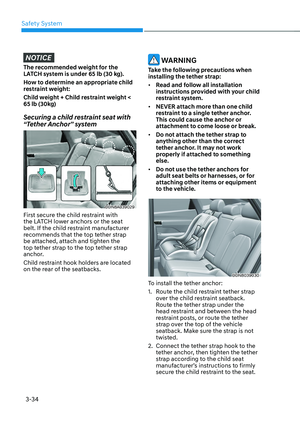
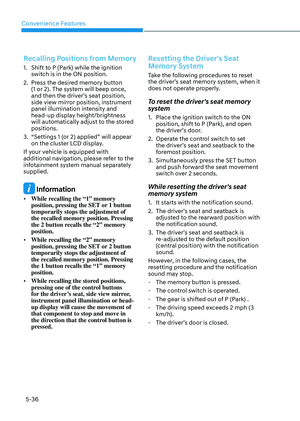
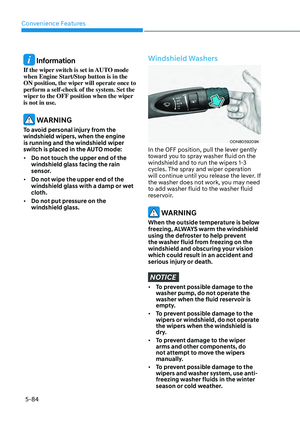
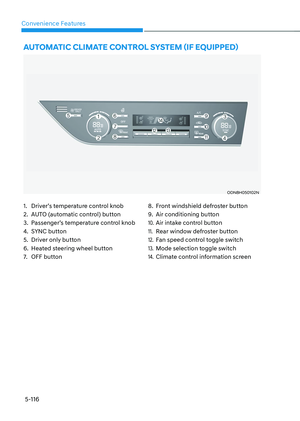
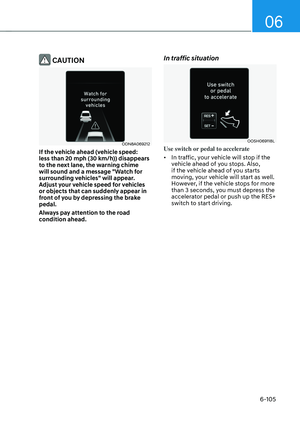
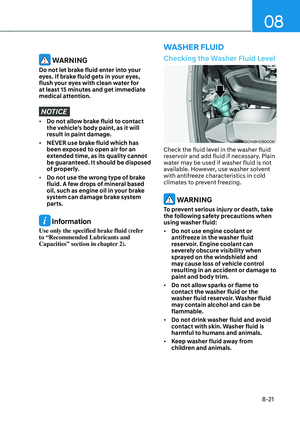
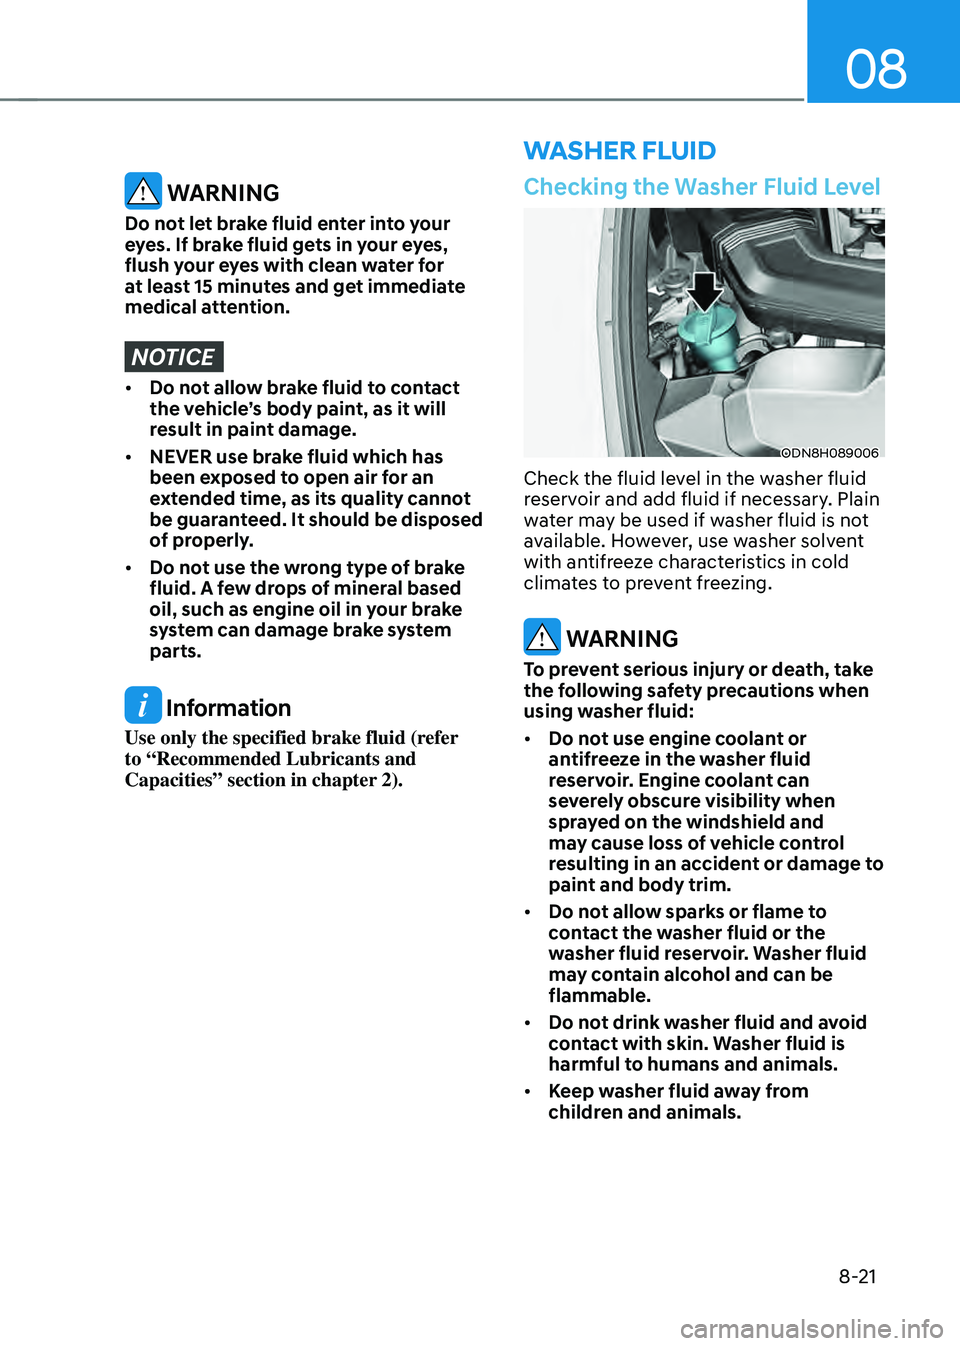
Check the fluid level in the washer fluid
reservoir and add fluid if necessary. Plain
water may be used if washer fluid is not
available. However, use washer solvent
with antifreeze characteristics in cold
climates to prevent freezing.
WARNING
To prevent serious injury or death, take
the following safety precautions when
using washer fluid:
• Do not use engine coolant or
antifreeze in the washer fluid
reservoir. Engine coolant can
severely obscure visibility when
sprayed on the windshield and
may cause loss of vehicle control
resulting in an accident or damage to
paint and body trim.
• Do not allow sparks or flame to
contact the washer fluid or the
washer fluid reservoir. Washer fluid
may contain alcohol and can be
flammable.
• Do not drink washer fluid and avoid
contact with skin. Washer fluid is
harmful to humans and animals.
• Keep washer fluid away from
children and animals.
WARNING
Do not let brake fluid enter into your
eyes. If brake fluid gets in your eyes,
flush your eyes with clean water for
at least 15 minutes and get immediate
medical attention.
NOTICE
• Do not allow brake fluid to contact
the vehicle’s body paint, as it will
result in paint damage.
• NEVER use brake fluid which has
been exposed to open air for an
extended time, as its quality cannot
be guaranteed. It should be disposed
of properly.
• Do not use the wrong type of brake
fluid. A few drops of mineral based
oil, such as engine oil in your brake
system can damage brake system
parts.
Information
Use only the specified brake fluid (refer
to “Recommended Lubricants and
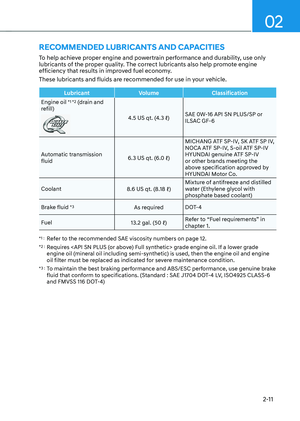
Capacities” section in chapter 2).
Page 491 of 549

Maintenance
8-22
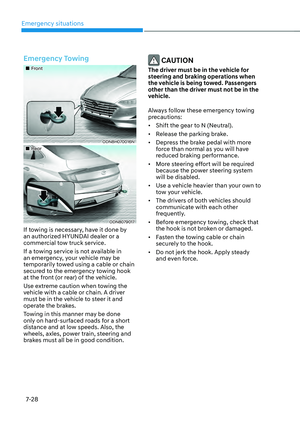
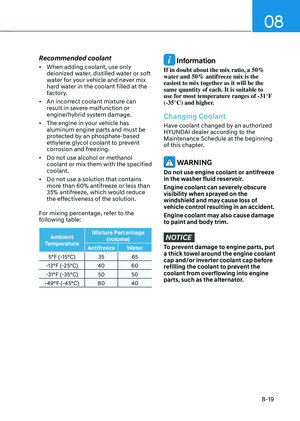
Filter Replacement
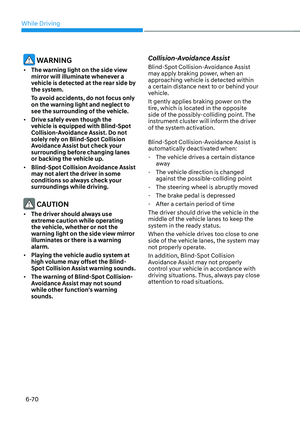
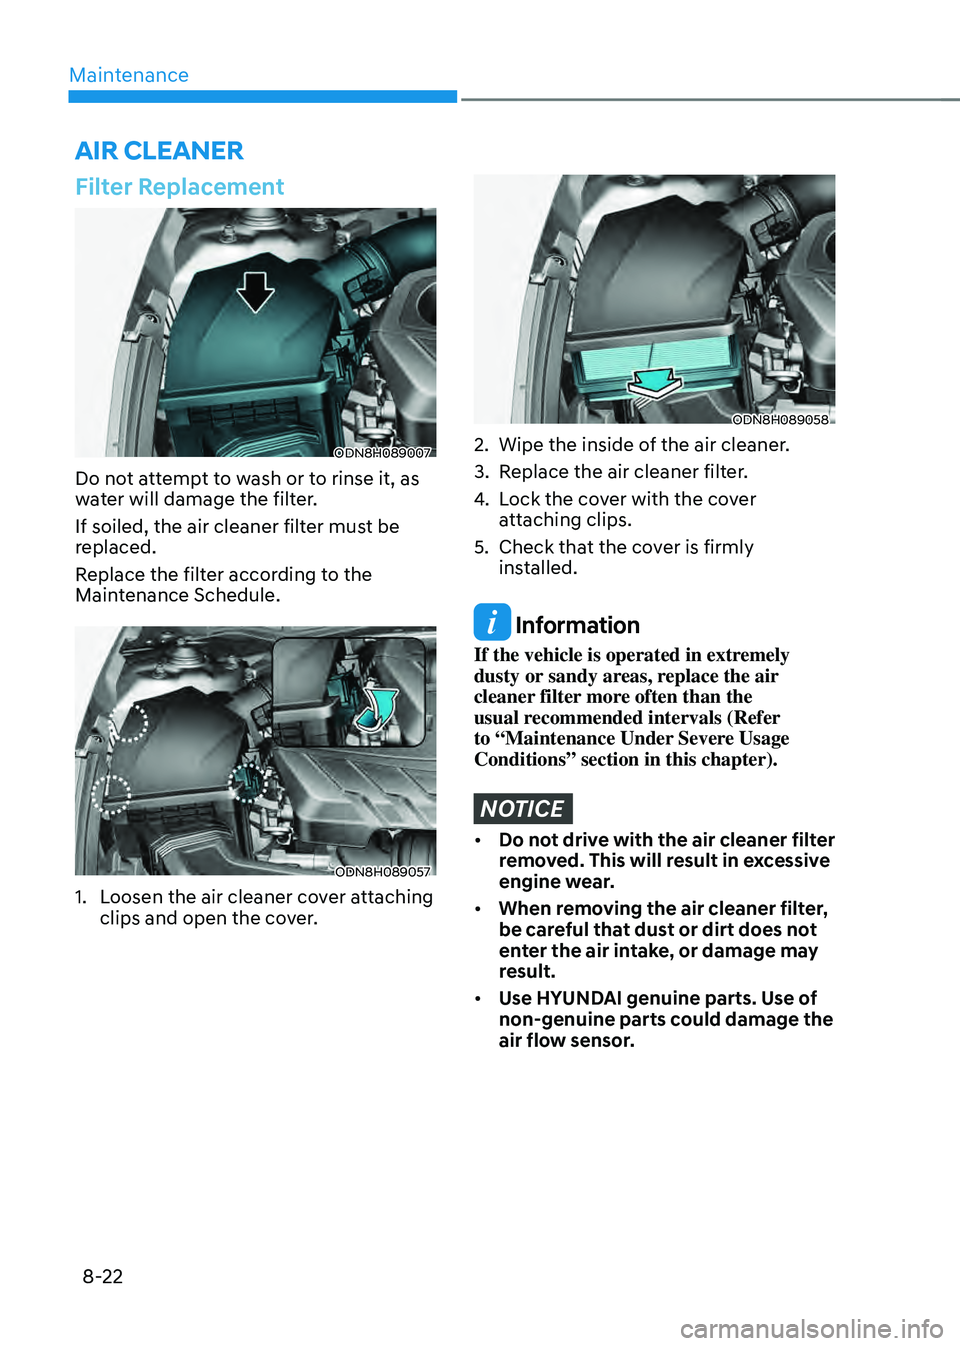
ODN8H089007ODN8H089007
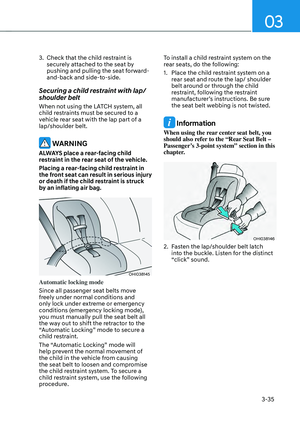
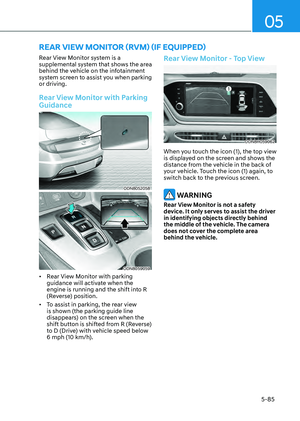
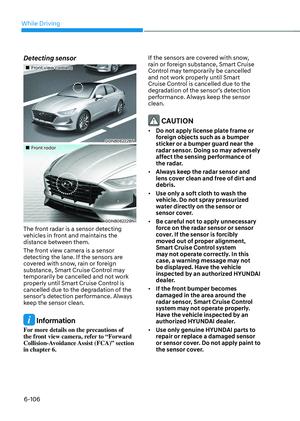
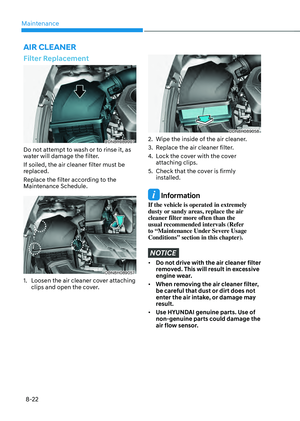
Do not attempt to wash or to rinse it, as
water will damage the filter.
If soiled, the air cleaner filter must be
replaced.
Replace the filter according to the
Maintenance Schedule.
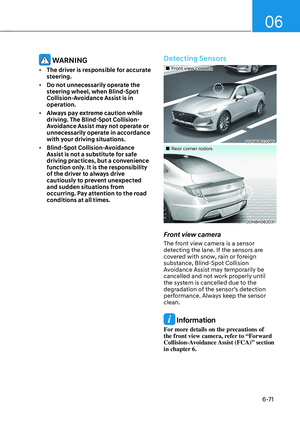
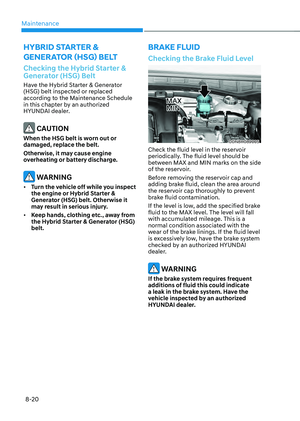
ODN8H089057ODN8H089057
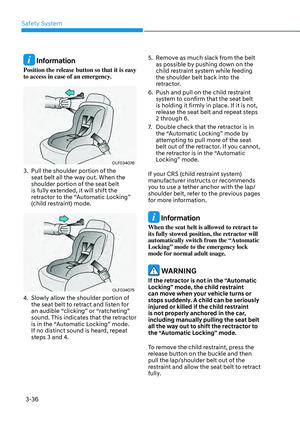
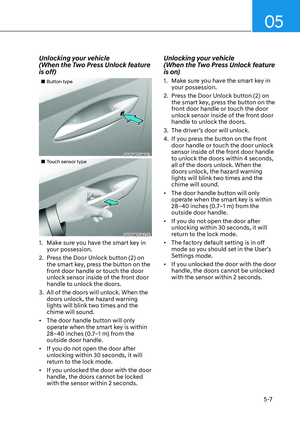
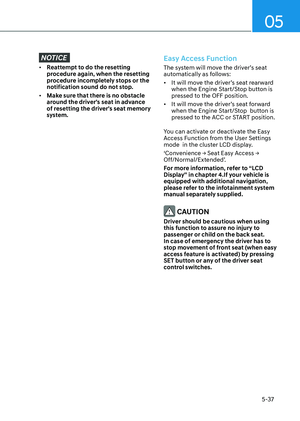
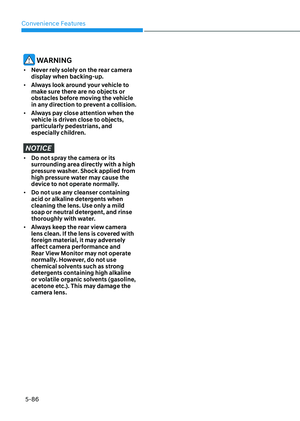
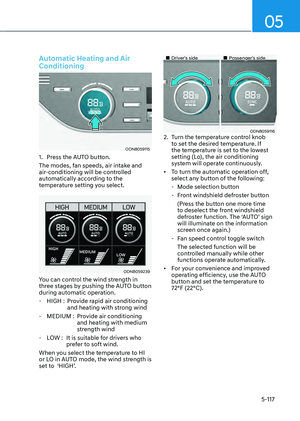
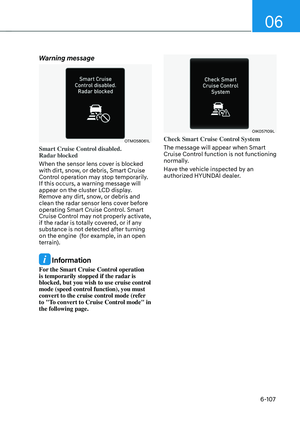
1. Loosen the air cleaner cover attaching
clips and open the cover.
ODN8H089058ODN8H089058
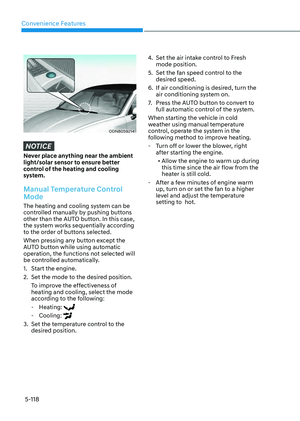
2. Wipe the inside of the air cleaner.
3. Replace the air cleaner filter.
4. Lock the cover with the cover
attaching clips.
5. Check that the cover is firmly
installed.
Information
If the vehicle is operated in extremely
dusty or sandy areas, replace the air
cleaner filter more often than the
usual recommended intervals (Refer
to “Maintenance Under Severe Usage
Conditions” section in this chapter).
NOTICE
• Do not drive with the air cleaner filter
removed. This will result in excessive
engine wear.
• When removing the air cleaner filter,
be careful that dust or dirt does not
enter the air intake, or damage may
result.
• Use HYUNDAI genuine parts. Use of
non-genuine parts could damage the
air flow sensor.
AIR CLEANER
Page 492 of 549

08
8-23
Filter Inspection
The cabin air filter should be replaced
according to the Maintenance Schedule.
If the vehicle is operated in severely air-
polluted cities or on dusty rough roads
for a long period, it should be inspected
more frequently and replaced sooner.
Replace the cabin air filter by following
the procedure below and be careful to
avoid damaging other components.
Filter Replacement
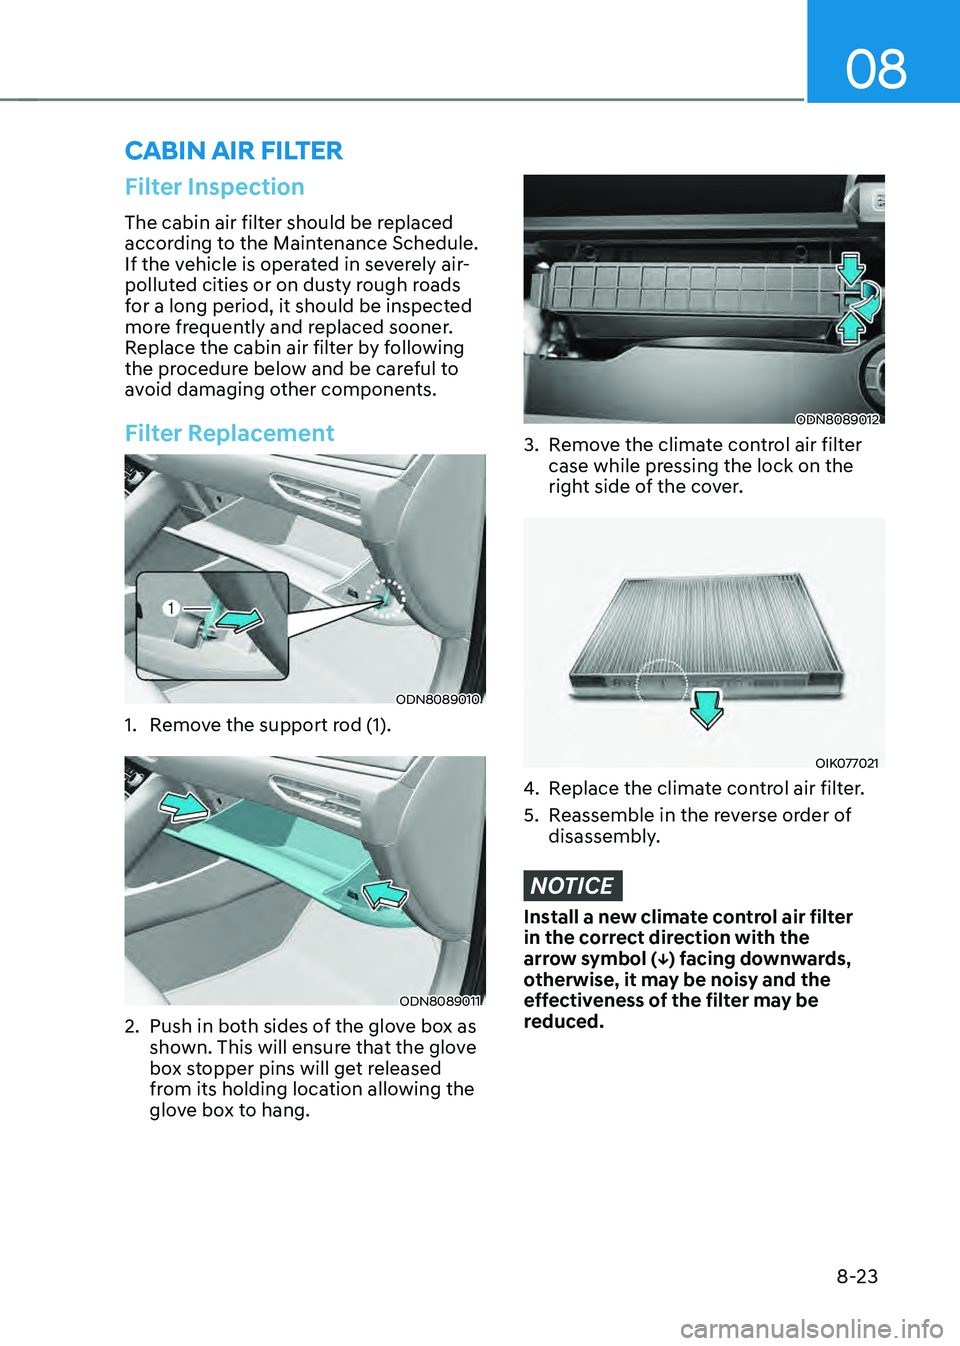
ODN8089010ODN8089010
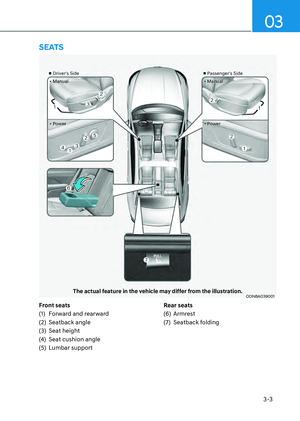
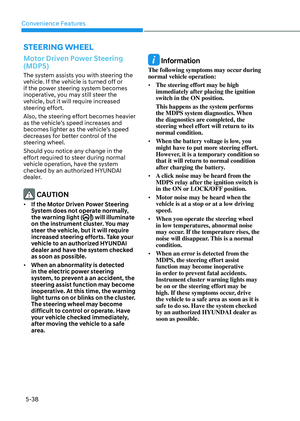
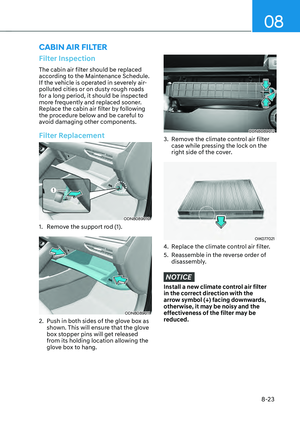
1. Remove the support rod (1).
ODN8089011ODN8089011
2. Push in both sides of the glove box as
shown. This will ensure that the glove
box stopper pins will get released
from its holding location allowing the
glove box to hang.
ODN8089012ODN8089012
3. Remove the climate control air filter
case while pressing the lock on the
right side of the cover.
OIK077021OIK077021
4. Replace the climate control air filter.
5. Reassemble in the reverse order of
disassembly.
NOTICE
Install a new climate control air filter
in the correct direction with the
arrow symbol (↓) facing downwards,
otherwise, it may be noisy and the
effectiveness of the filter may be
reduced.
CABIN AIR FILTER
Page 493 of 549

Maintenance
8-24
Blade Inspection
Contamination of either the windshield
or the wiper blades with foreign matter
can reduce the effectiveness of the
windshield wipers.
Common sources of contamination are
insects, tree sap, and hot wax treatments
used by some commercial car washes. If
the blades are not wiping properly, clean
both the window and the blades with a
good cleaner or mild detergent, and rinse
thoroughly with clean water.
NOTICE
To prevent damage to the wiper blades,
arms or other components, do not:
• Use gasoline, kerosene, paint
thinner, or other solvents on or near
them.
• Attempt to move the wipers
• manually.
• Use non-specified wiper blades.
Information
Commercial hot waxes applied by
automatic car washes have been known to
make the windshield difficult to clean.
Blade Replacement
When the wipers no longer clean
adequately, the blades may be worn or
cracked, and require replacement.
CAUTION
Do not allow the wiper arm to fall
against the windshield, since it may
chip or crack the windshield.
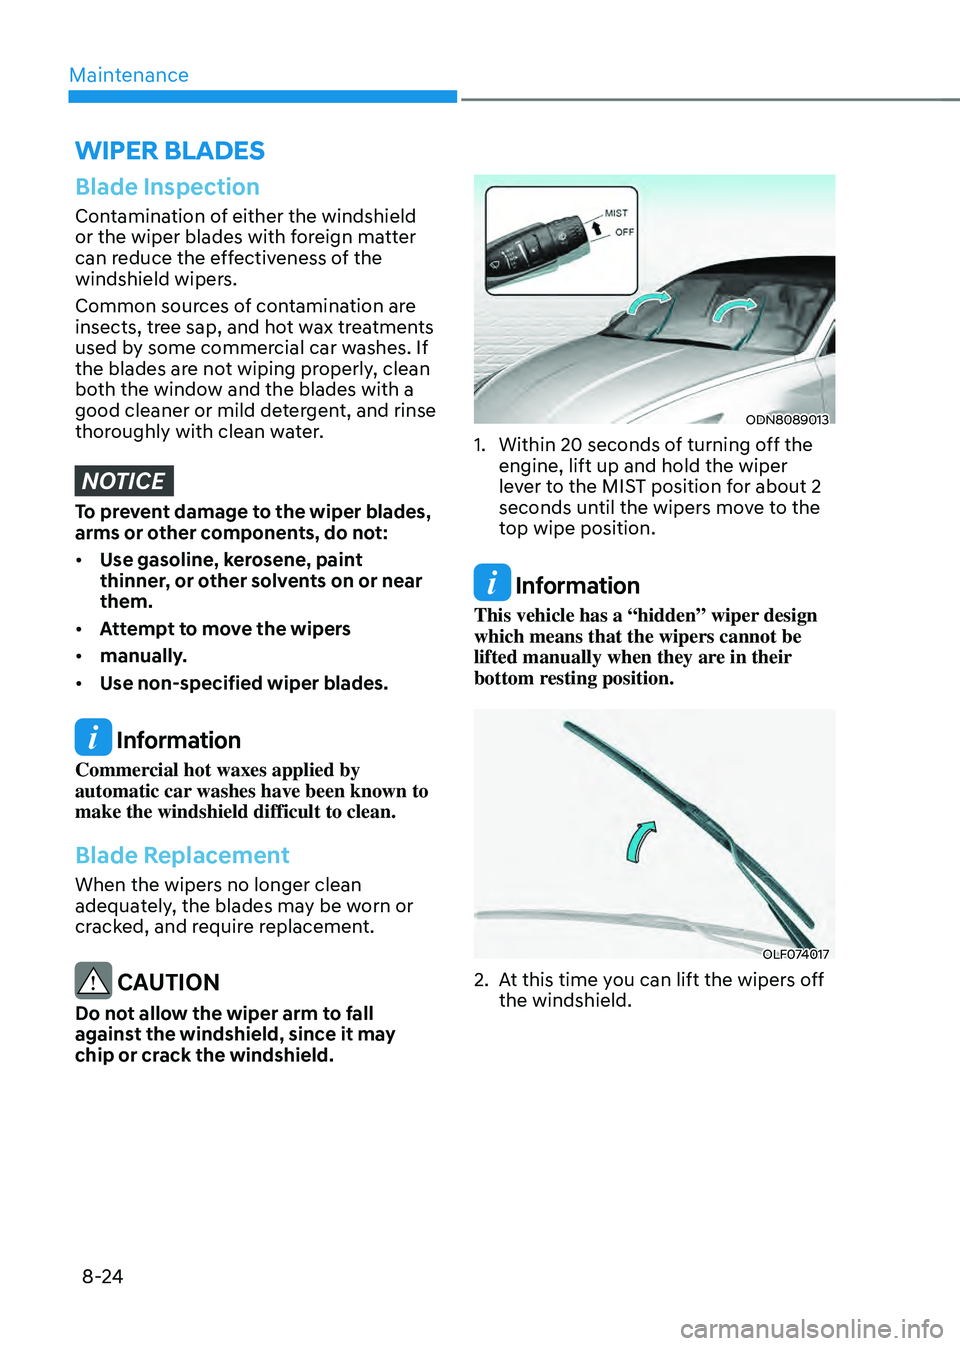
ODN8089013ODN8089013
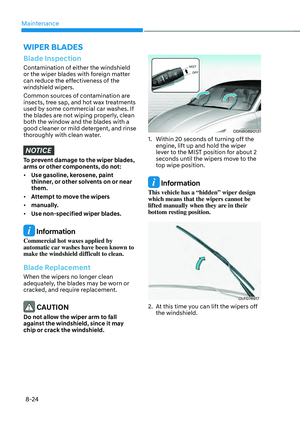
1. Within 20 seconds of turning off the
engine, lift up and hold the wiper
lever to the MIST position for about 2
seconds until the wipers move to the
top wipe position.
Information
This vehicle has a “hidden” wiper design
which means that the wipers cannot be
lifted manually when they are in their
bottom resting position.
OLF074017OLF074017
2. At this time you can lift the wipers off
the windshield.
WIPER BLADES
Page 494 of 549
08
8-25
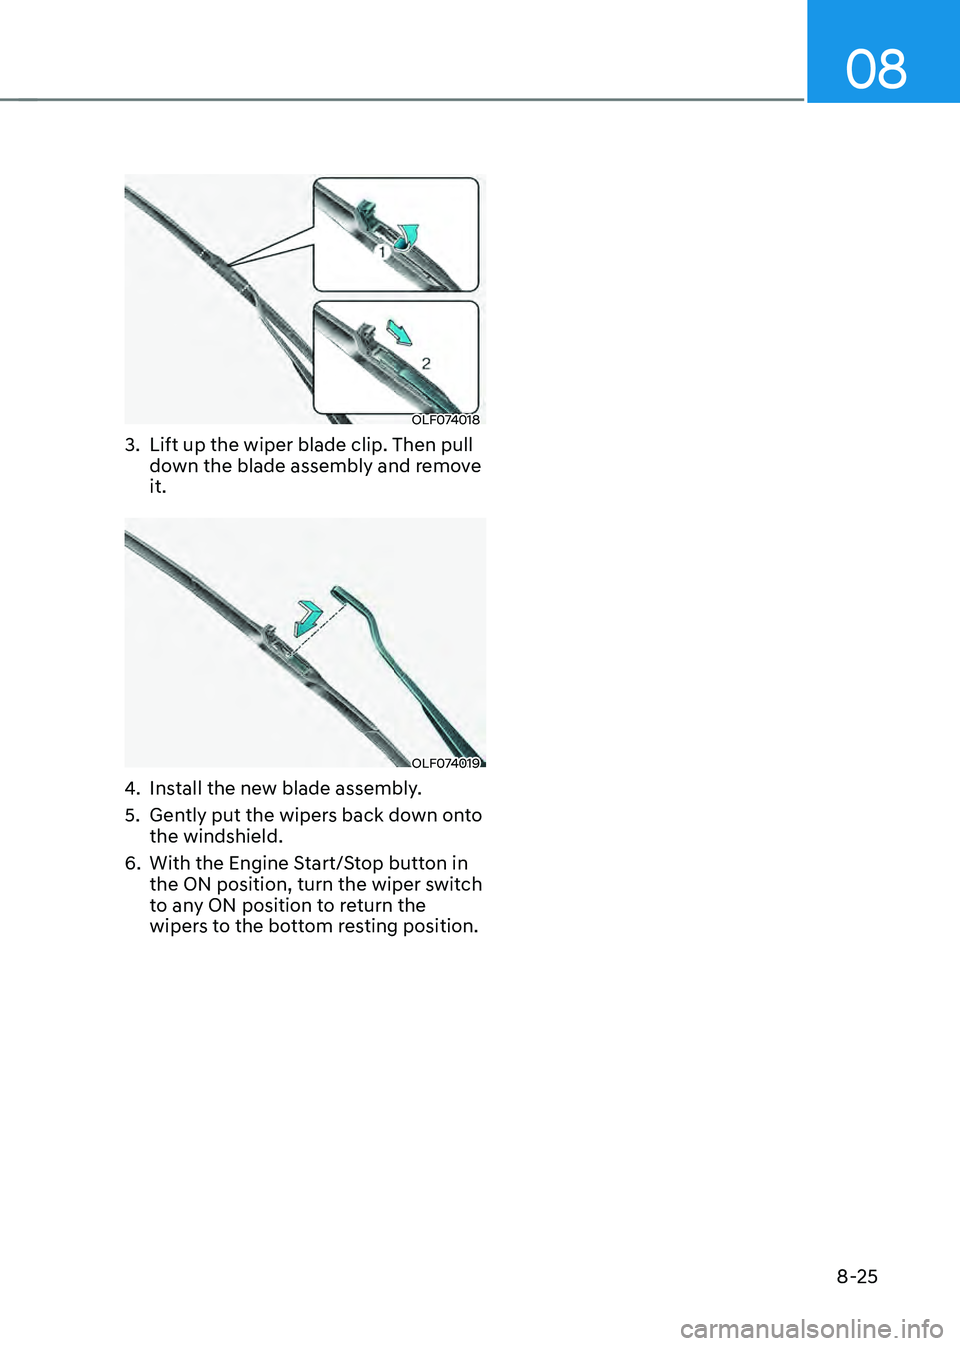
OLF074018OLF074018
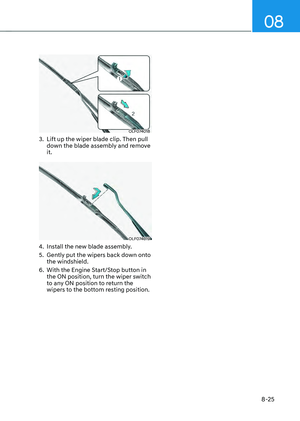
3. Lift up the wiper blade clip. Then pull
down the blade assembly and remove
it.
OLF074019OLF074019
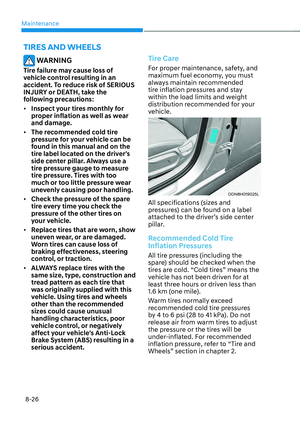
4. Install the new blade assembly.
5. Gently put the wipers back down onto
the windshield.
6. With the Engine Start/Stop button in
the ON position, turn the wiper switch
to any ON position to return the
wipers to the bottom resting position.
Page 495 of 549

Maintenance8-26
TIRES AND WHEELS
WARNING
Tire failure may cause loss of
vehicle control resulting in an
accident. To reduce risk of SERIOUS
INJURY or DEATH, take the
following precautions:
• Inspect your tires monthly for
proper inflation as well as wear
and damage.
• The recommended cold tire
pressure for your vehicle can be
found in this manual and on the
tire label located on the driver’s
side center pillar. Always use a
tire pressure gauge to measure
tire pressure. Tires with too
much or too little pressure wear
unevenly causing poor handling.
• Check the pressure of the spare
tire every time you check the
pressure of the other tires on
your vehicle.
• Replace tires that are worn, show
uneven wear, or are damaged.
Worn tires can cause loss of
braking effectiveness, steering
control, or traction.
• ALWAYS replace tires with the
same size, type, construction and
tread pattern as each tire that
was originally supplied with this
vehicle. Using tires and wheels
other than the recommended
sizes could cause unusual
handling characteristics, poor
vehicle control, or negatively
affect your vehicle’s Anti-Lock
Brake System (ABS) resulting in a
serious accident.
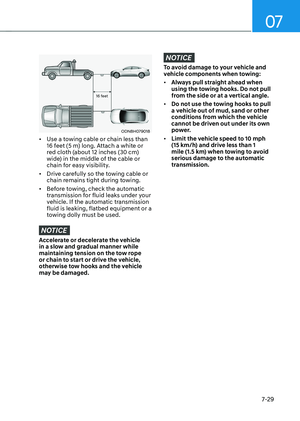
Tire Care
For proper maintenance, safety, and
maximum fuel economy, you must
always maintain recommended
tire inflation pressures and stay
within the load limits and weight
distribution recommended for your
vehicle.
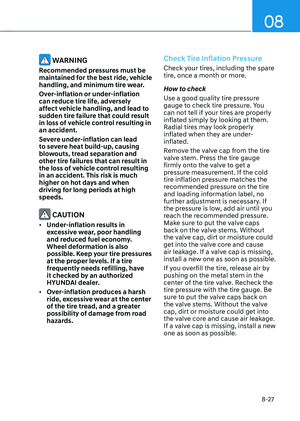
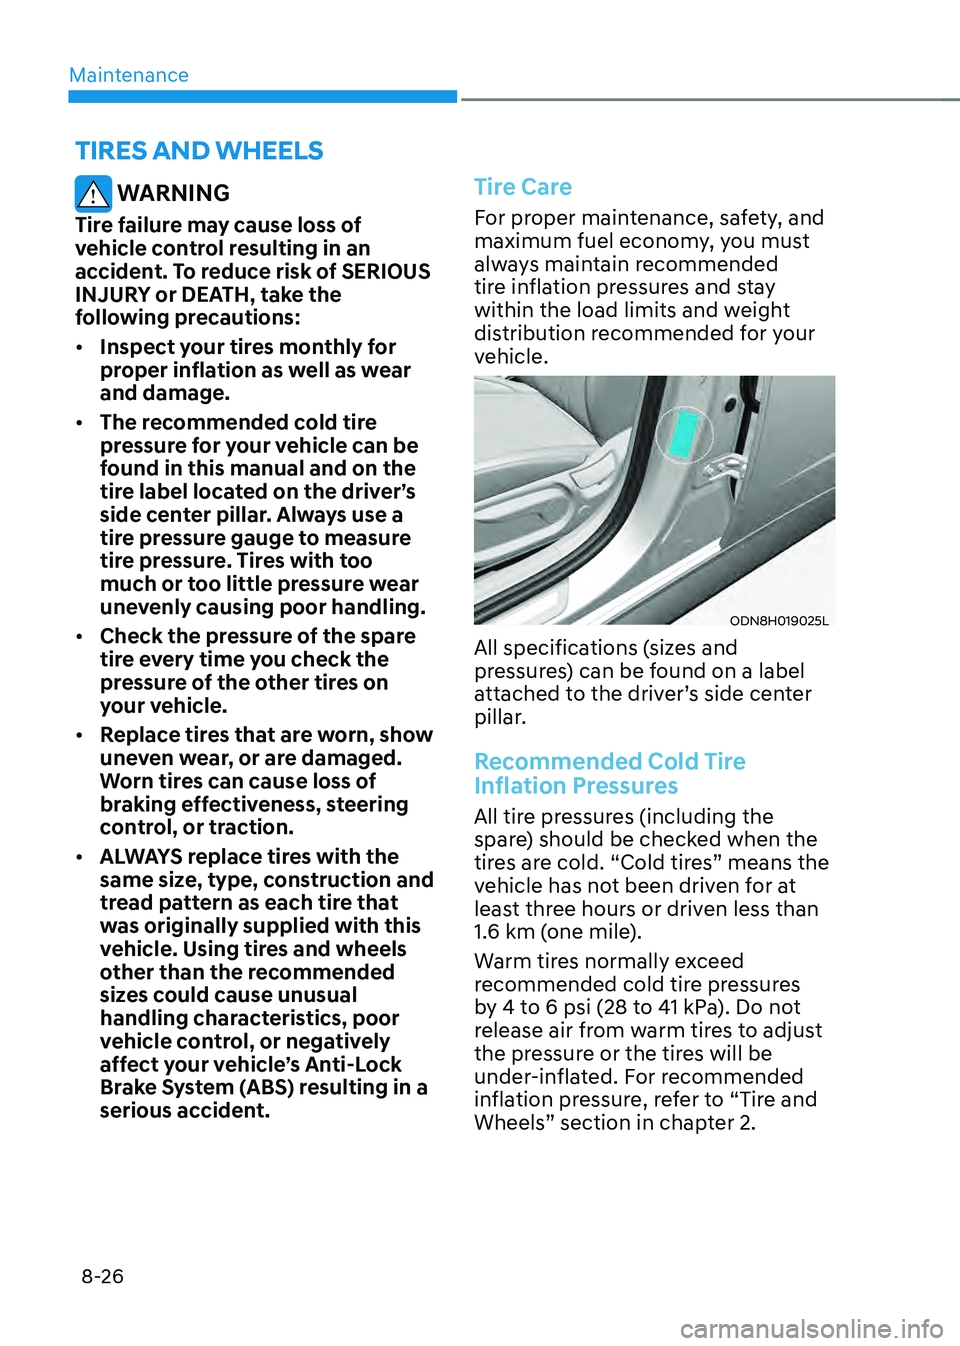
ODN8H019025LODN8H019025L
All specifications (sizes and
pressures) can be found on a label
attached to the driver’s side center
pillar.
Recommended Cold Tire
Inflation Pressures
All tire pressures (including the
spare) should be checked when the
tires are cold. “Cold tires” means the
vehicle has not been driven for at
least three hours or driven less than
1.6 km (one mile).
Warm tires normally exceed
recommended cold tire pressures
by 4 to 6 psi (28 to 41 kPa). Do not
release air from warm tires to adjust
the pressure or the tires will be
under-inflated. For recommended
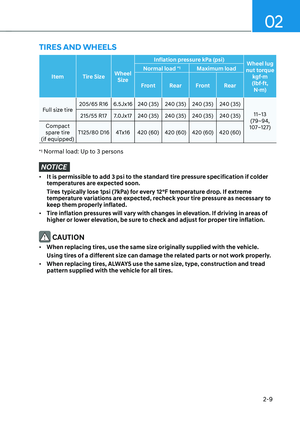
inflation pressure, refer to “Tire and
Wheels” section in chapter 2.
Page 496 of 549

08
8-27
WARNING
Recommended pressures must be
maintained for the best ride, vehicle
handling, and minimum tire wear.
Over-inflation or under-inflation
can reduce tire life, adversely
affect vehicle handling, and lead to
sudden tire failure that could result
in loss of vehicle control resulting in
an accident.
Severe under-inflation can lead
to severe heat build-up, causing
blowouts, tread separation and
other tire failures that can result in
the loss of vehicle control resulting
in an accident. This risk is much
higher on hot days and when
driving for long periods at high
speeds.
CAUTION
• Under-inflation results in
excessive wear, poor handling
and reduced fuel economy.
Wheel deformation is also
possible. Keep your tire pressures
at the proper levels. If a tire
frequently needs refilling, have
it checked by an authorized
HYUNDAI dealer.
• Over-inflation produces a harsh
ride, excessive wear at the center
of the tire tread, and a greater
possibility of damage from road
hazards.
Check Tire Inflation Pressure
Check your tires, including the spare
tire, once a month or more.
How to check
Use a good quality tire pressure
gauge to check tire pressure. You
can not tell if your tires are properly
inflated simply by looking at them.
Radial tires may look properly
inflated when they are under-
inflated.
Remove the valve cap from the tire
valve stem. Press the tire gauge
firmly onto the valve to get a
pressure measurement. If the cold
tire inflation pressure matches the
recommended pressure on the tire
and loading information label, no
further adjustment is necessary. If
the pressure is low, add air until you
reach the recommended pressure.
Make sure to put the valve caps
back on the valve stems. Without
the valve cap, dirt or moisture could
get into the valve core and cause
air leakage. If a valve cap is missing,
install a new one as soon as possible.
If you overfill the tire, release air by
pushing on the metal stem in the
center of the tire valve. Recheck the
tire pressure with the tire gauge. Be
sure to put the valve caps back on
the valve stems. Without the valve
cap, dirt or moisture could get into
the valve core and cause air leakage.
If a valve cap is missing, install a new
one as soon as possible.