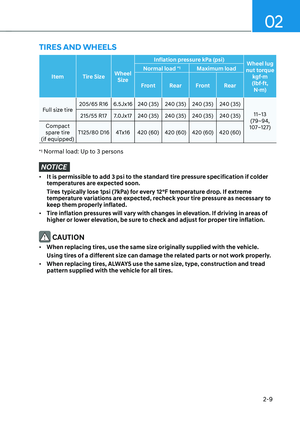
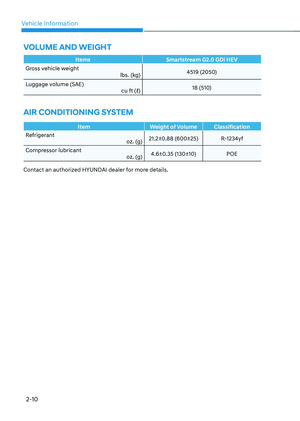
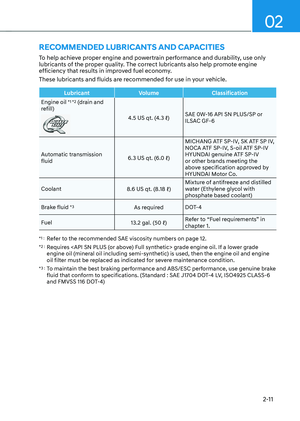
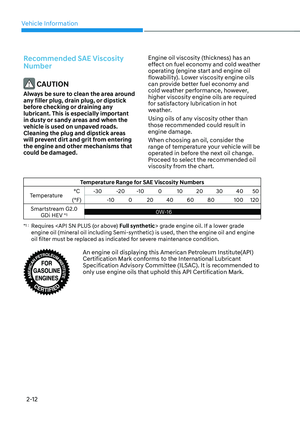
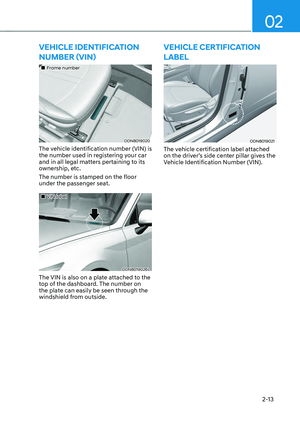
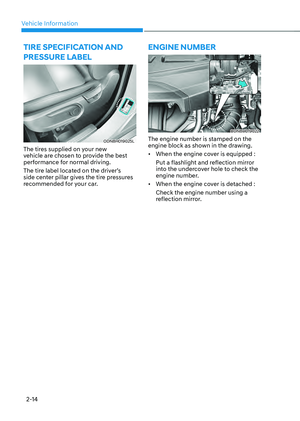
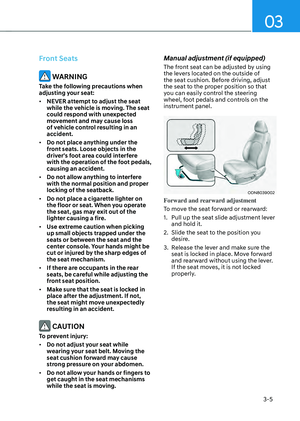
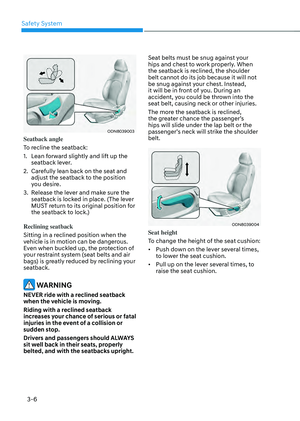
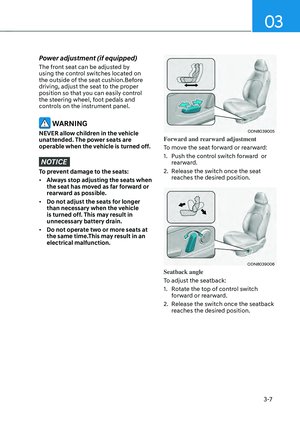
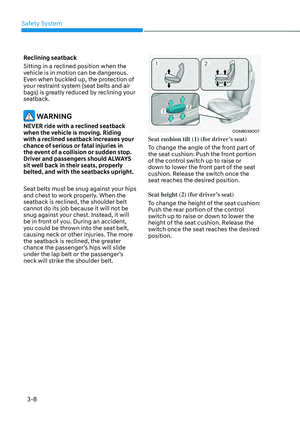
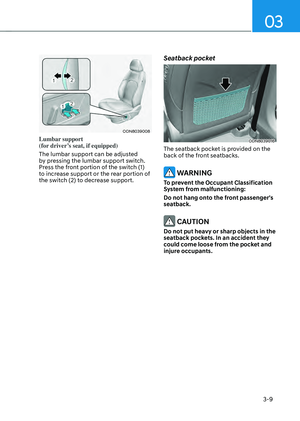
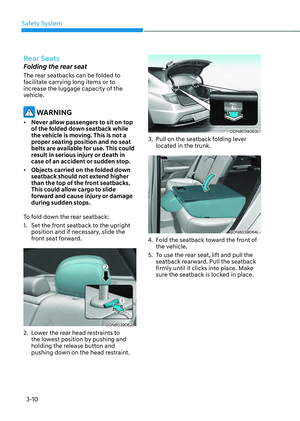
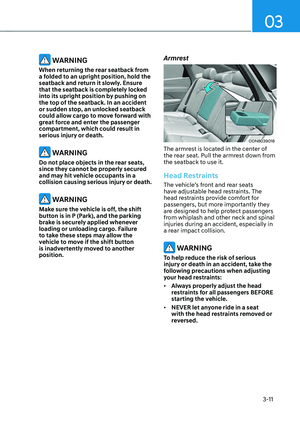
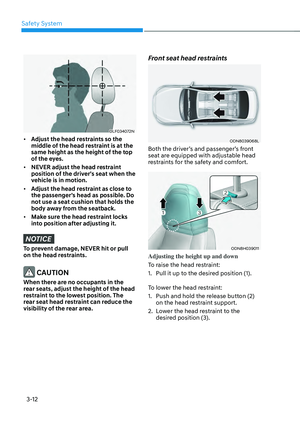
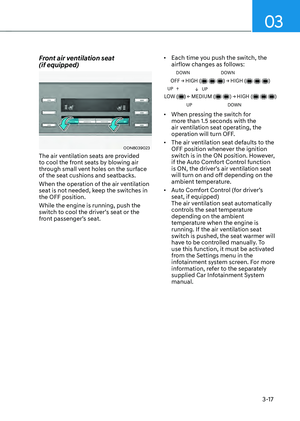
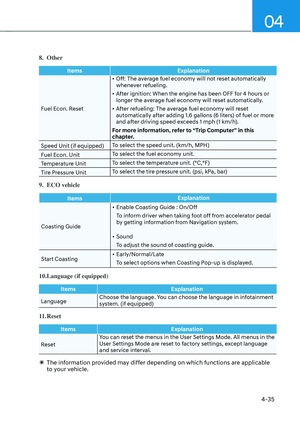
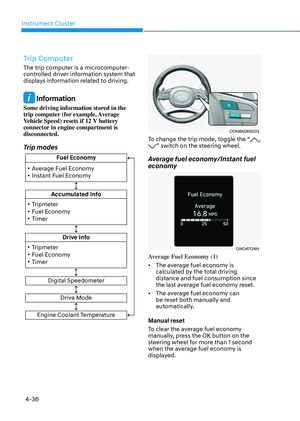
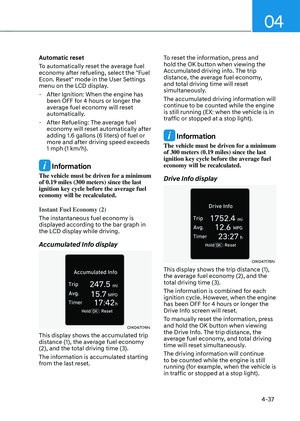
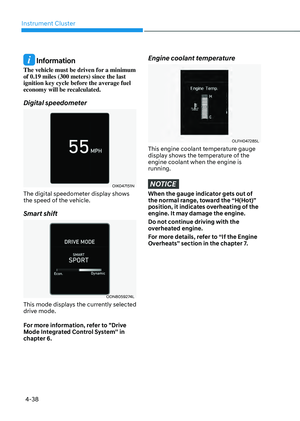
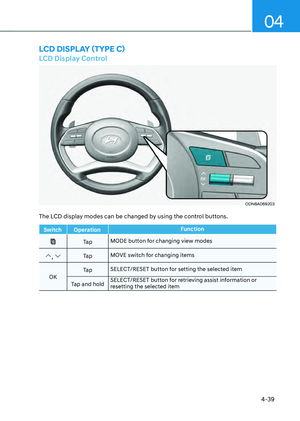
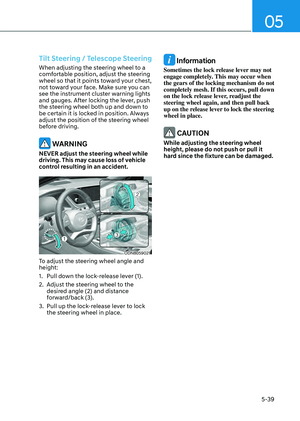
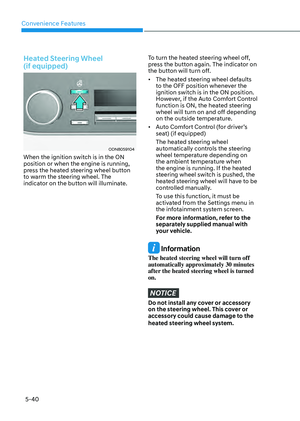
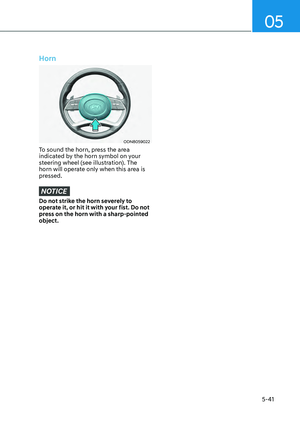
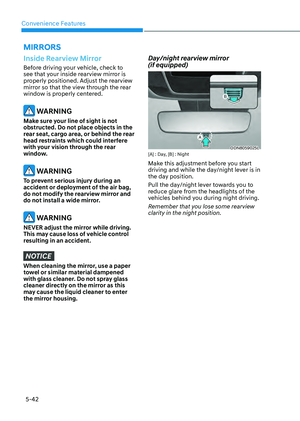
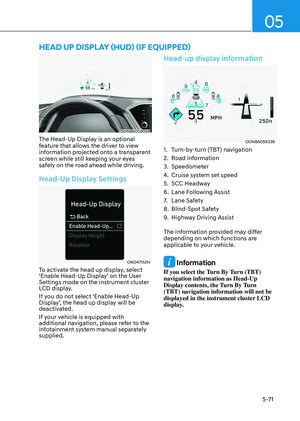
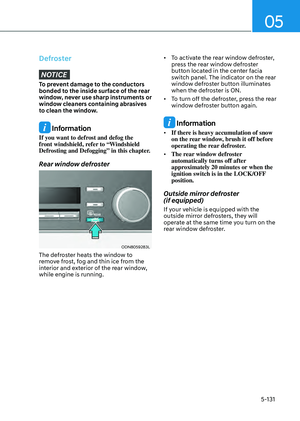
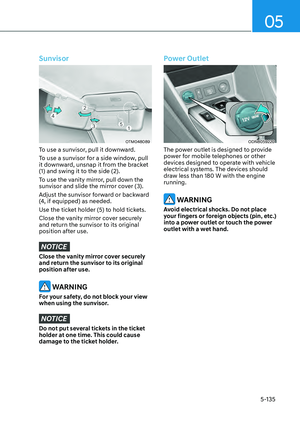
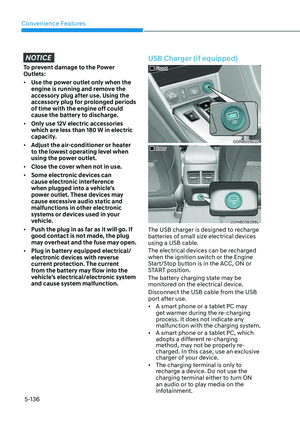
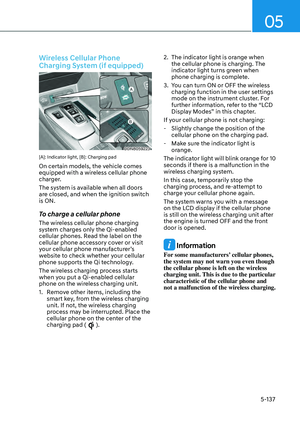
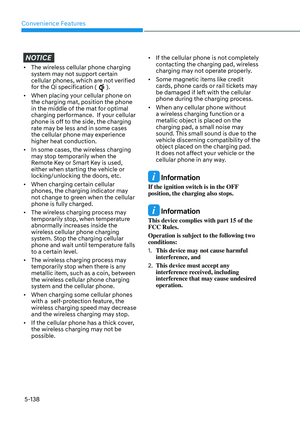
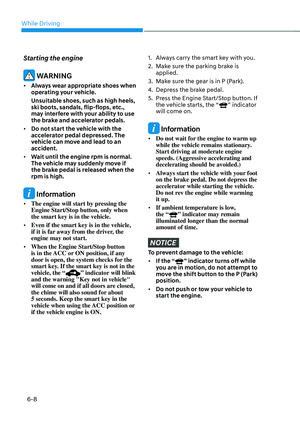
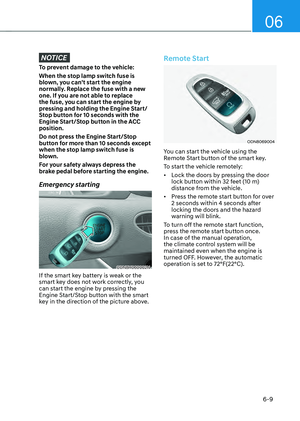
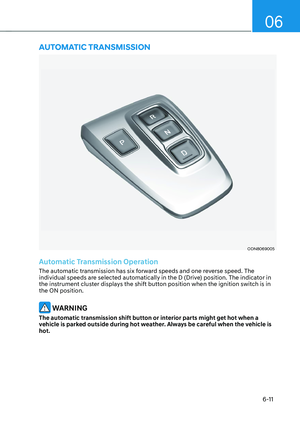
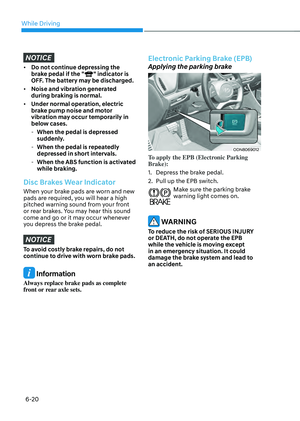
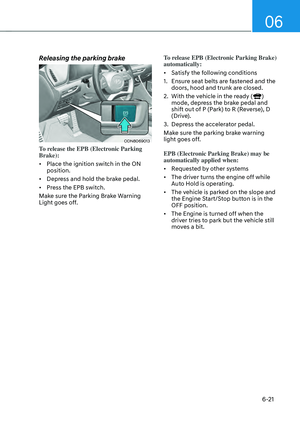
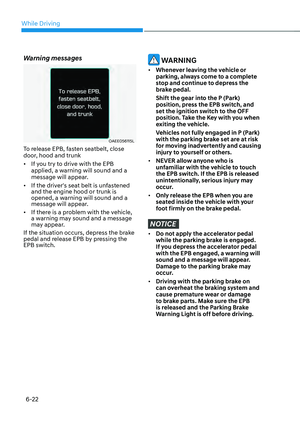
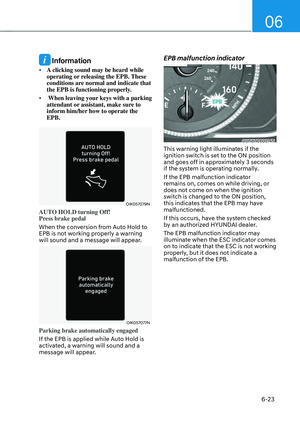
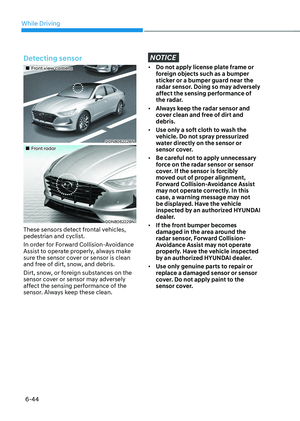
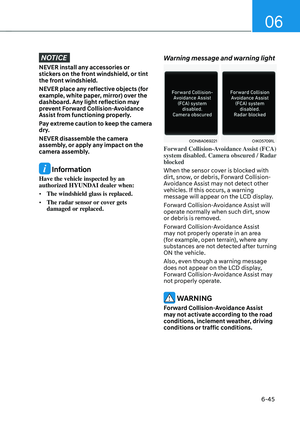
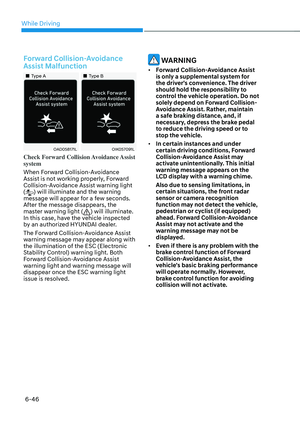
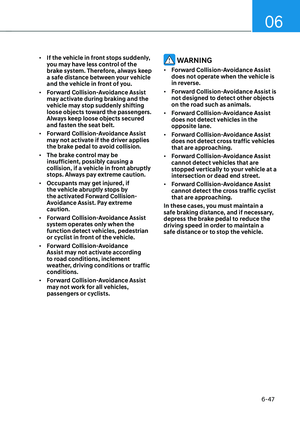
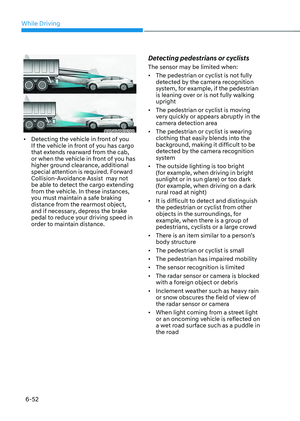
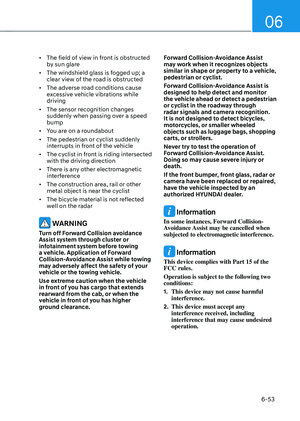
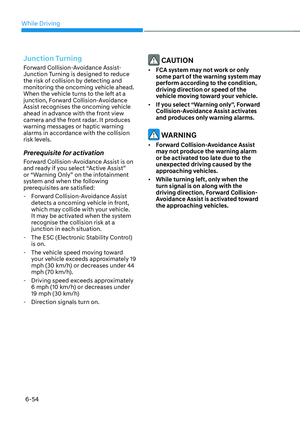
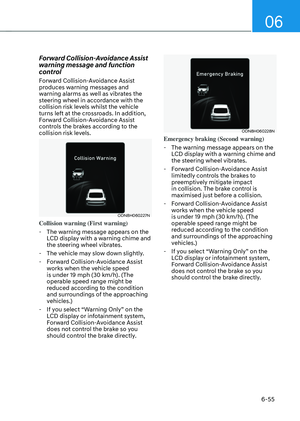
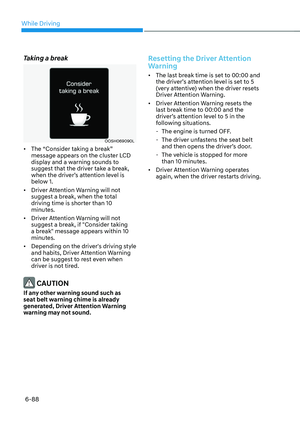
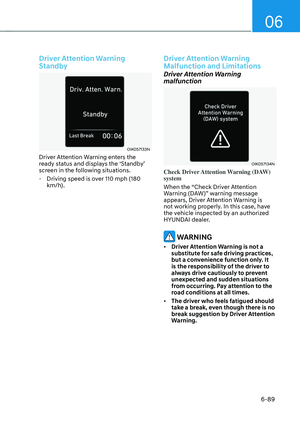
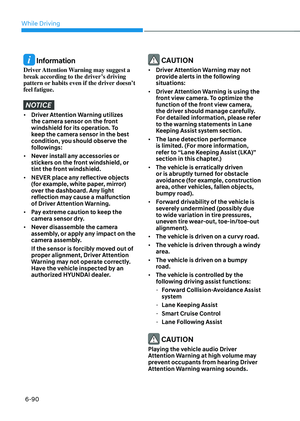
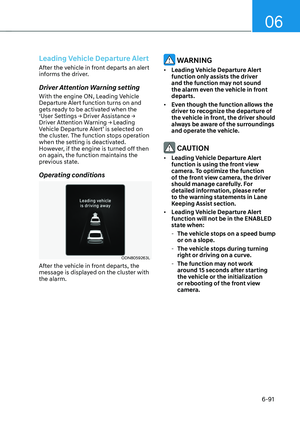
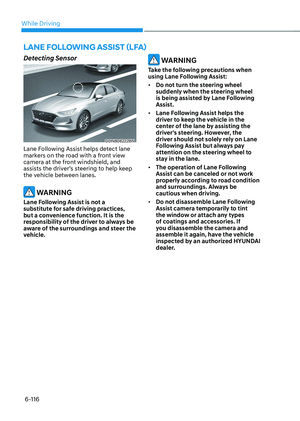
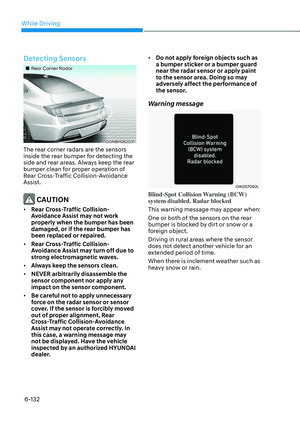
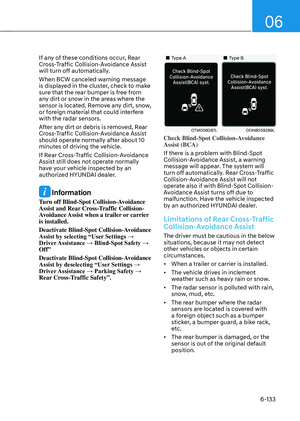
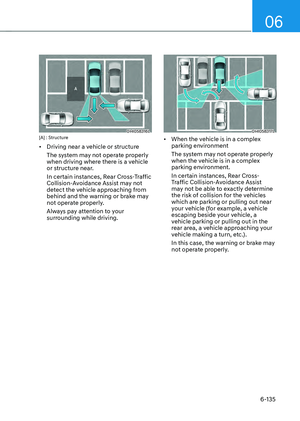
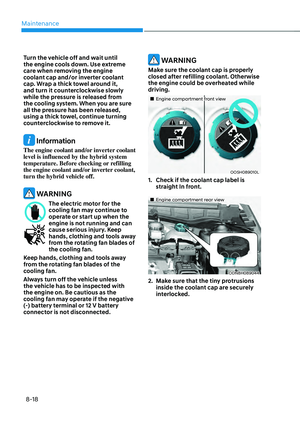
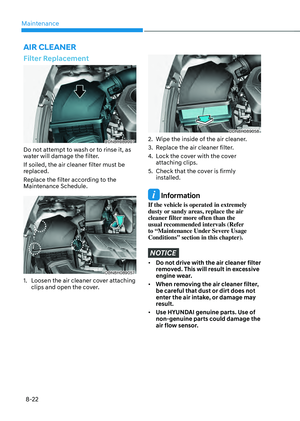
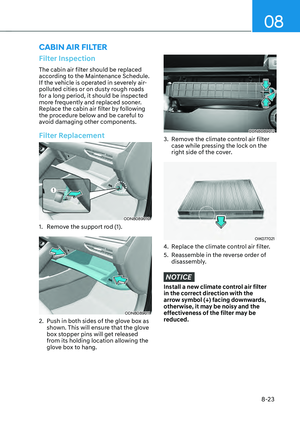
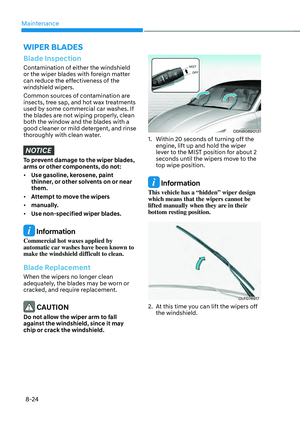
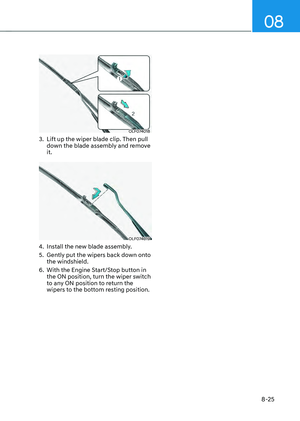
Page 185 of 549

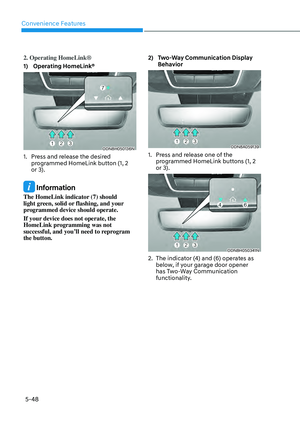
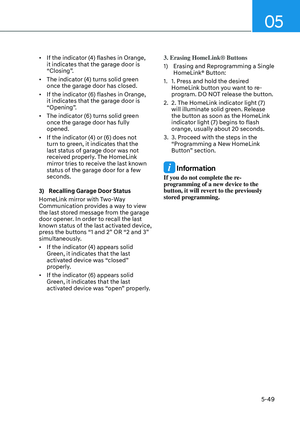
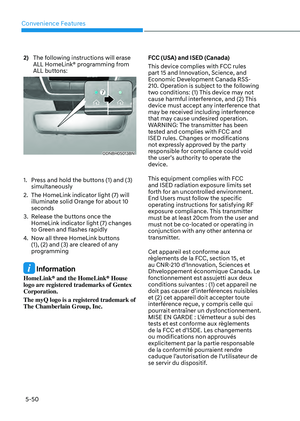
Convenience Features
5-38
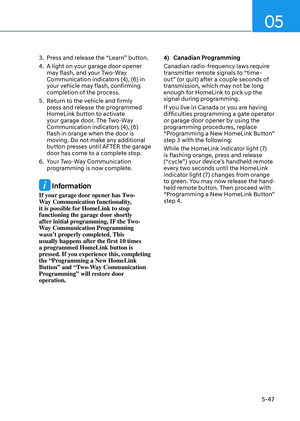
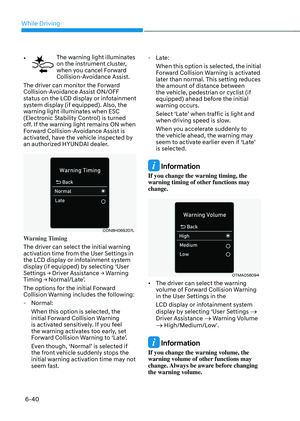
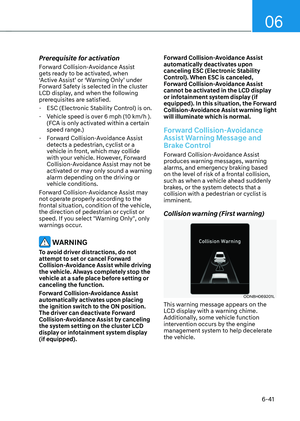
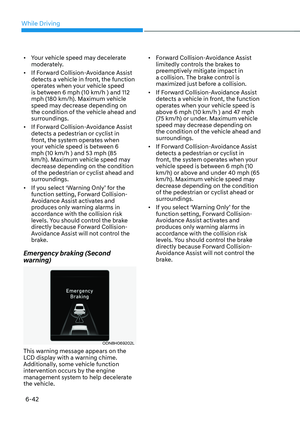
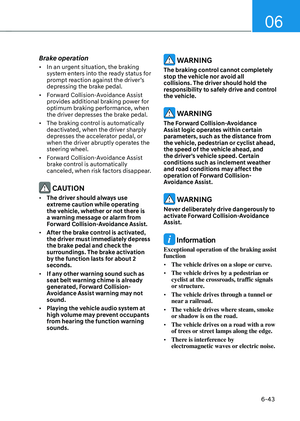
STEERING WHEEL
Motor Driven Power Steering
(MDPS)
The system assists you with steering the
vehicle. If the vehicle is turned off or
if the power steering system becomes
inoperative, you may still steer the
vehicle, but it will require increased
steering effort.
Also, the steering effort becomes heavier
as the vehicle’s speed increases and
becomes lighter as the vehicle’s speed
decreases for better control of the
steering wheel.
Should you notice any change in the
effort required to steer during normal
vehicle operation, have the system
checked by an authorized HYUNDAI
dealer.
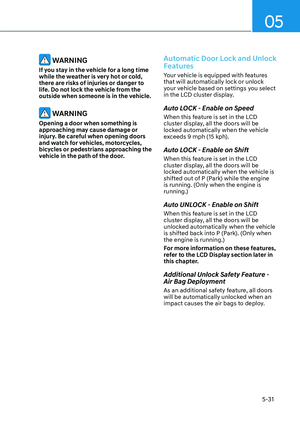
CAUTION
• If the Motor Driven Power Steering
System does not operate normally,
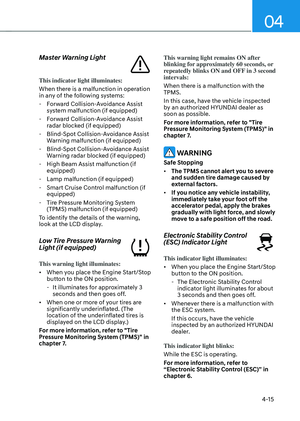
the warning light (
) will illuminate
on the instrument cluster. You may
steer the vehicle, but it will require
increased steering efforts. Take your
vehicle to an authorized HYUNDAI
dealer and have the system checked
as soon as possible.
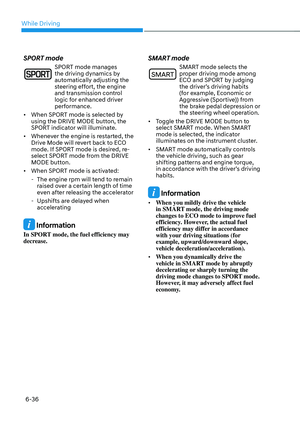
• When an abnormality is detected
in the electric power steering
system, to prevent a an accident, the
steering assist function may become
inoperative. At this time, the warning
light turns on or blinks on the cluster.
The steering wheel may become
difficult to control or operate. Have
your vehicle checked immediately,
after moving the vehicle to a safe
area.
Information
The following symptoms may occur during
normal vehicle operation:
• The steering effort may be high
immediately after placing the ignition
switch in the ON position.
This happens as the system performs
the MDPS system diagnostics. When
the diagnostics are completed, the
steering wheel effort will return to its
normal condition.
• When the battery voltage is low, you
might have to put more steering effort.
However, it is a temporary condition so
that it will return to normal condition
after charging the battery.
• A click noise may be heard from the
MDPS relay after the ignition switch is
in the ON or LOCK/OFF position.
• Motor noise may be heard when the
vehicle is at a stop or at a low driving
speed.
• When you operate the steering wheel
in low temperatures, abnormal noise
may occur. If the temperature rises, the
noise will disappear. This is a normal
condition.
• When an error is detected from the
MDPS, the steering effort assist
function may become inoperative
in order to prevent fatal accidents.
Instrument cluster warning lights may
be on or the steering effort may be
high. If these symptoms occur, drive
the vehicle to a safe area as soon as it is
safe to do so. Have the system checked
by an authorized HYUNDAI dealer as
soon as possible.
Page 186 of 549

05
5-39
Tilt Steering / Telescope Steering
When adjusting the steering wheel to a
comfortable position, adjust the steering
wheel so that it points toward your chest,
not toward your face. Make sure you can
see the instrument cluster warning lights
and gauges. After locking the lever, push
the steering wheel both up and down to
be certain it is locked in position. Always
adjust the position of the steering wheel
before driving.
WARNING
NEVER adjust the steering wheel while
driving. This may cause loss of vehicle
control resulting in an accident.
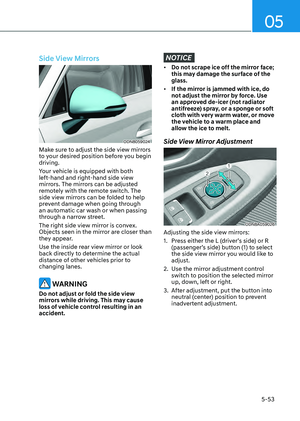
ODN8059021ODN8059021
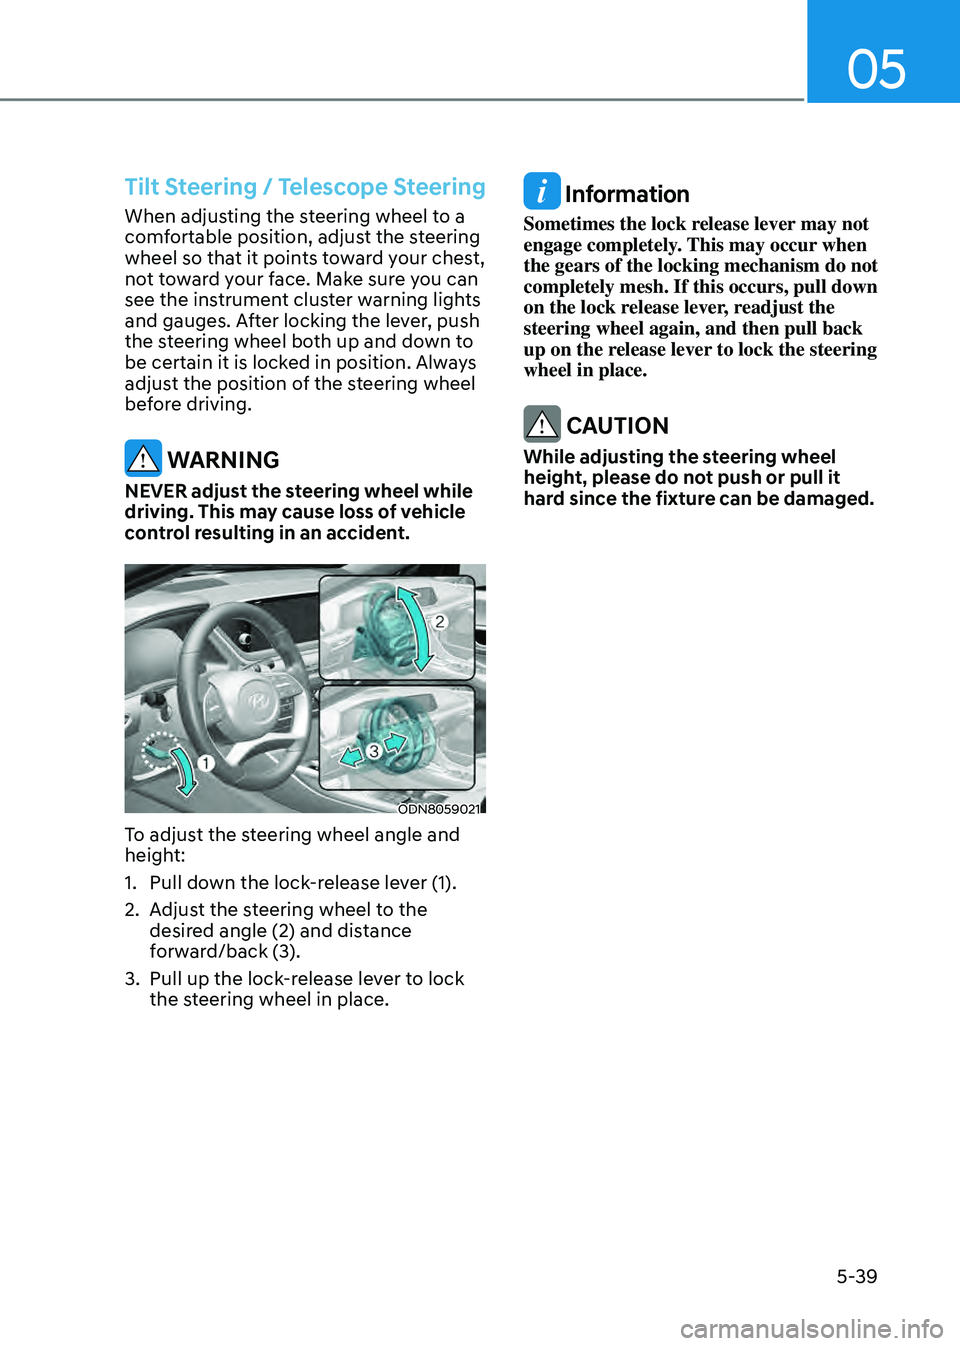
To adjust the steering wheel angle and
height:
1. Pull down the lock-release lever (1).
2. Adjust the steering wheel to the
desired angle (2) and distance
forward/back (3).
3. Pull up the lock-release lever to lock
the steering wheel in place.
Information
Sometimes the lock release lever may not
engage completely. This may occur when
the gears of the locking mechanism do not
completely mesh. If this occurs, pull down
on the lock release lever, readjust the
steering wheel again, and then pull back
up on the release lever to lock the steering
wheel in place.
CAUTION
While adjusting the steering wheel
height, please do not push or pull it
hard since the fixture can be damaged.
Page 187 of 549

Convenience Features
5-40
Heated Steering Wheel
(if equipped)
ODN8059104ODN8059104
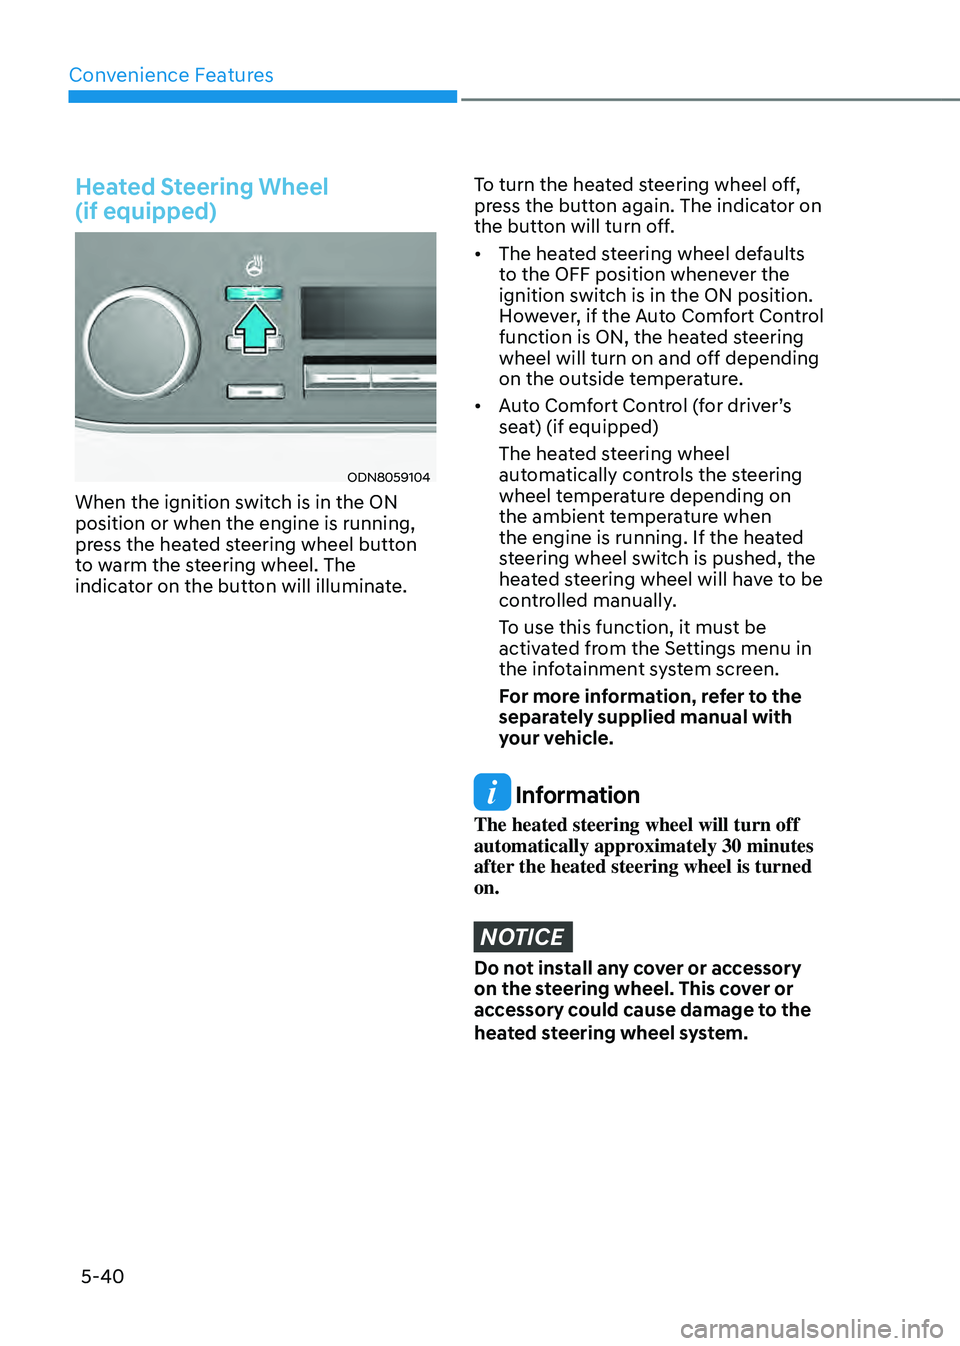
When the ignition switch is in the ON
position or when the engine is running,
press the heated steering wheel button
to warm the steering wheel. The
indicator on the button will illuminate.
To turn the heated steering wheel off,
press the button again. The indicator on
the button will turn off.
• The heated steering wheel defaults
to the OFF position whenever the
ignition switch is in the ON position.
However, if the Auto Comfort Control
function is ON, the heated steering
wheel will turn on and off depending
on the outside temperature.
• Auto Comfort Control (for driver’s
seat) (if equipped)
The heated steering wheel
automatically controls the steering
wheel temperature depending on
the ambient temperature when
the engine is running. If the heated
steering wheel switch is pushed, the
heated steering wheel will have to be
controlled manually.
To use this function, it must be
activated from the Settings menu in
the infotainment system screen.
For more information, refer to the
separately supplied manual with
your vehicle.
Information
The heated steering wheel will turn off
automatically approximately 30 minutes
after the heated steering wheel is turned
on.
NOTICE
Do not install any cover or accessory
on the steering wheel. This cover or
accessory could cause damage to the
heated steering wheel system.
Page 188 of 549
05
5-41
Horn
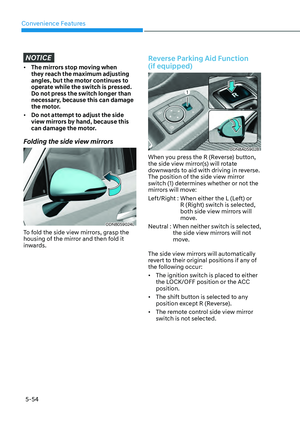
ODN8059022ODN8059022
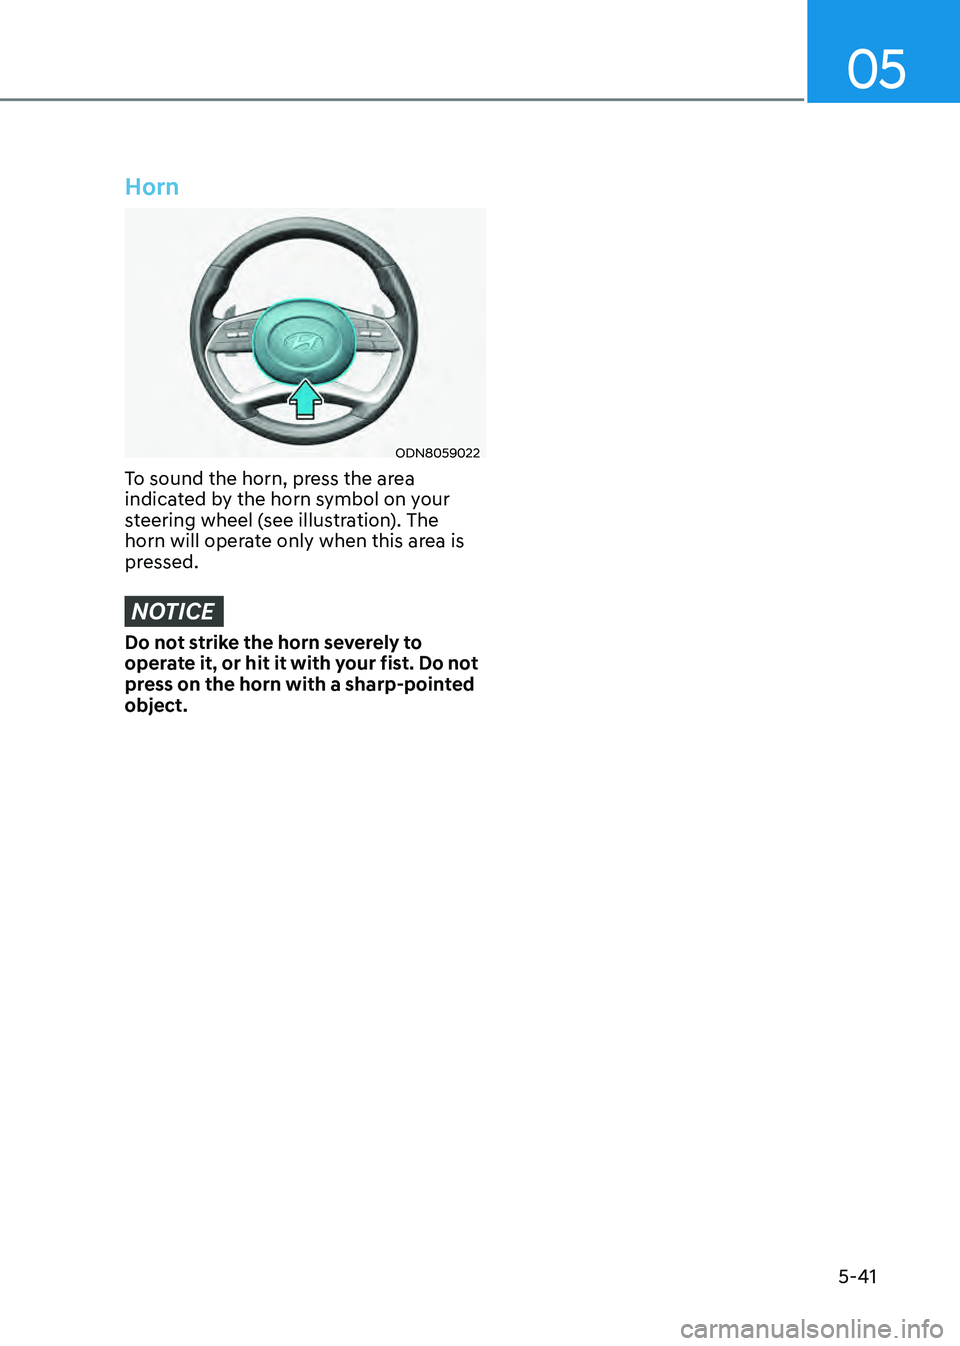
To sound the horn, press the area
indicated by the horn symbol on your
steering wheel (see illustration). The
horn will operate only when this area is
pressed.
NOTICE
Do not strike the horn severely to
operate it, or hit it with your fist. Do not
press on the horn with a sharp-pointed
object.
Page 189 of 549

Convenience Features
5-42
MIRRORS
Inside Rearview Mirror
Before driving your vehicle, check to
see that your inside rearview mirror is
properly positioned. Adjust the rearview
mirror so that the view through the rear
window is properly centered.
WARNING
Make sure your line of sight is not
obstructed. Do not place objects in the
rear seat, cargo area, or behind the rear
head restraints which could interfere
with your vision through the rear
window.
WARNING
To prevent serious injury during an
accident or deployment of the air bag,
do not modify the rearview mirror and
do not install a wide mirror.
WARNING
NEVER adjust the mirror while driving.
This may cause loss of vehicle control
resulting in an accident.
NOTICE
When cleaning the mirror, use a paper
towel or similar material dampened
with glass cleaner. Do not spray glass
cleaner directly on the mirror as this
may cause the liquid cleaner to enter
the mirror housing.
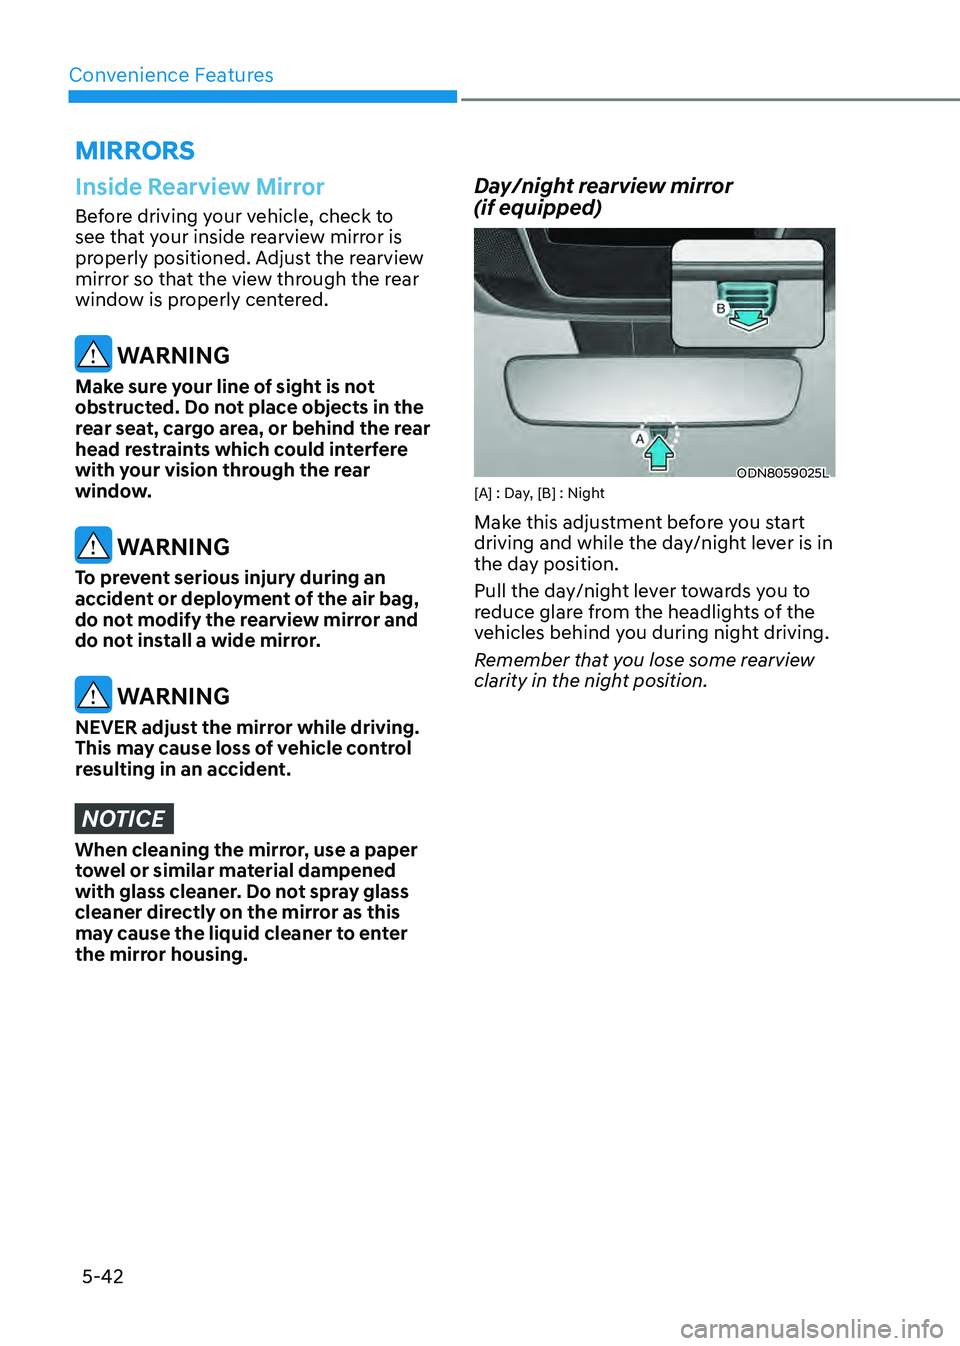
Day/night rearview mirror
(if equipped)
ODN8059025LODN8059025L[A] : Day, [B] : Night
Make this adjustment before you start
driving and while the day/night lever is in
the day position.
Pull the day/night lever towards you to
reduce glare from the headlights of the
vehicles behind you during night driving.
Remember that you lose some rearview
clarity in the night position.
Page 190 of 549

05
5-43
Electrochromic mirror (ECM) with
HomeLink® system (if equipped)
Your vehicle may be equipped with
a Gentex Automatic-Dimming Mirror
with an Integrated HomeLink® Wireless
Control System.
During nighttime driving, this feature
will automatically detect and reduce
rearview mirror glare. The HomeLink®
Universal Transceiver allows you to
activate your garage door(s), electric
gate, home lighting, etc.
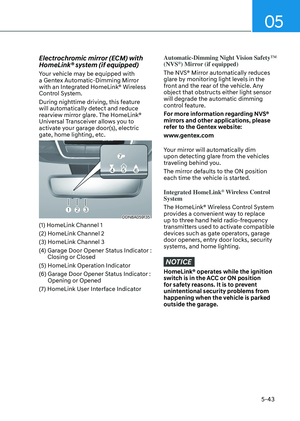
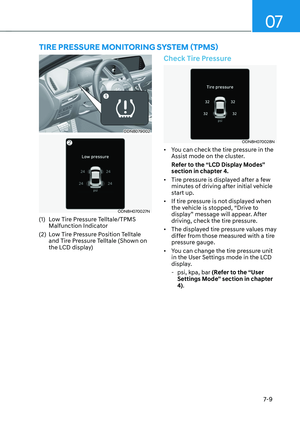
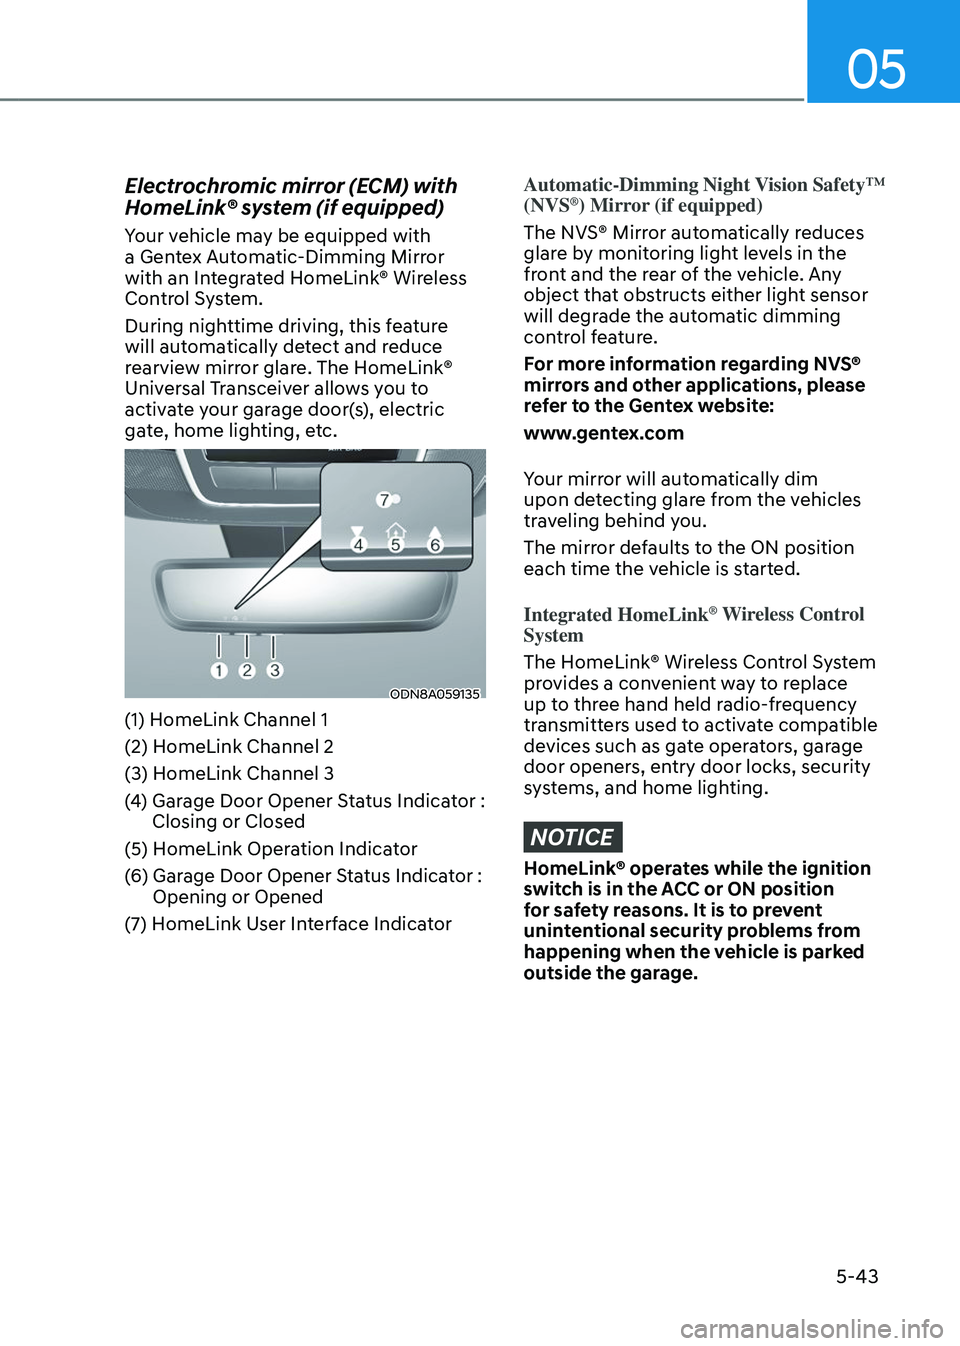
ODN8A059135ODN8A059135
(1) HomeLink Channel 1
(2) HomeLink Channel 2
(3) HomeLink Channel 3
(4) Garage Door Opener Status Indicator : Closing or Closed
(5) HomeLink Operation Indicator
(6) Garage Door Opener Status Indicator : Opening or Opened
(7) HomeLink User Interface Indicator
Automatic-Dimming Night Vision Safety™
(NVS®) Mirror (if equipped)
The NVS® Mirror automatically reduces
glare by monitoring light levels in the
front and the rear of the vehicle. Any
object that obstructs either light sensor
will degrade the automatic dimming
control feature.
For more information regarding NVS®
mirrors and other applications, please
refer to the Gentex website:
www.gentex.com
Your mirror will automatically dim
upon detecting glare from the vehicles
traveling behind you.
The mirror defaults to the ON position
each time the vehicle is started.
Integrated HomeLink
® Wireless Control
System
The HomeLink® Wireless Control System
provides a convenient way to replace
up to three hand held radio-frequency
transmitters used to activate compatible
devices such as gate operators, garage
door openers, entry door locks, security
systems, and home lighting.
NOTICE
HomeLink® operates while the ignition
switch is in the ACC or ON position
for safety reasons. It is to prevent
unintentional security problems from
happening when the vehicle is parked
outside the garage.
Page 191 of 549

Convenience Features
5-44
WARNING
Before programming HomeLink® to a
garage door opener or gate operator,
make sure people and objects are out
of the way of the device to prevent
potential harm or damage. Do not
use the HomeLink® with any garage
door opener that lacks the safety
stop and reverse features required
by U.S. federal safety standards (this
includes any garage door opener model
manufactured before April 1, 1982).
A garage door that cannot detect an
object - signaling the door to stop and
reverse - does not meet current U.S.
federal safety standards. Using a garage
door opener without these features
increases the risk of serious injury or
death.
For more information, contact
HomeLink® at www.homelink.com, or
call Home-Link customer support at
1-800-355-3515.
It is also recommended that a new
battery be replaced in the handheld
transmitter of the device being trained
to HomeLink® for quicker training and
accurate transmission of the radio
frequency.
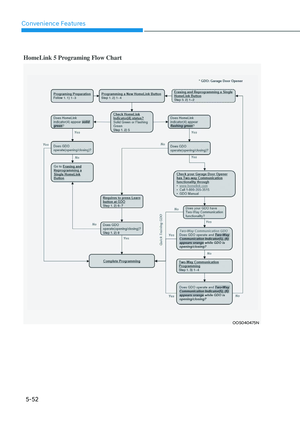
1. Programming HomeLink®
The following steps show how to
program HomeLink. If you have any
questions or are having difficulty
programming your HomeLink buttons,
refer to the HomeLink website or call the
HomeLink customer support toll-free
number. Do this, before going back to
the dealer who sold you the car.
• Visit the HomeLink website at: www.
homelink.com. Then at the top of the
page, choose your vehicle make. Then
watch the You Tube video, and/or
access additional website information.
• If you choose to access the website
via your cell phone, scan the QR code.
• Or, call HomeLink customer support
at 1-800-355-3515 (Please have the
vehicle make/model AND the opener
device make/model readily available.)
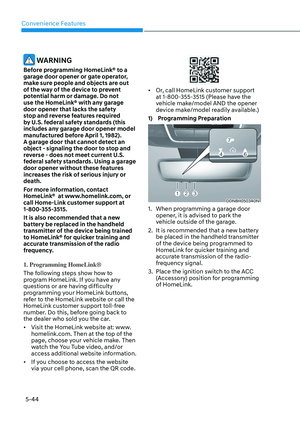
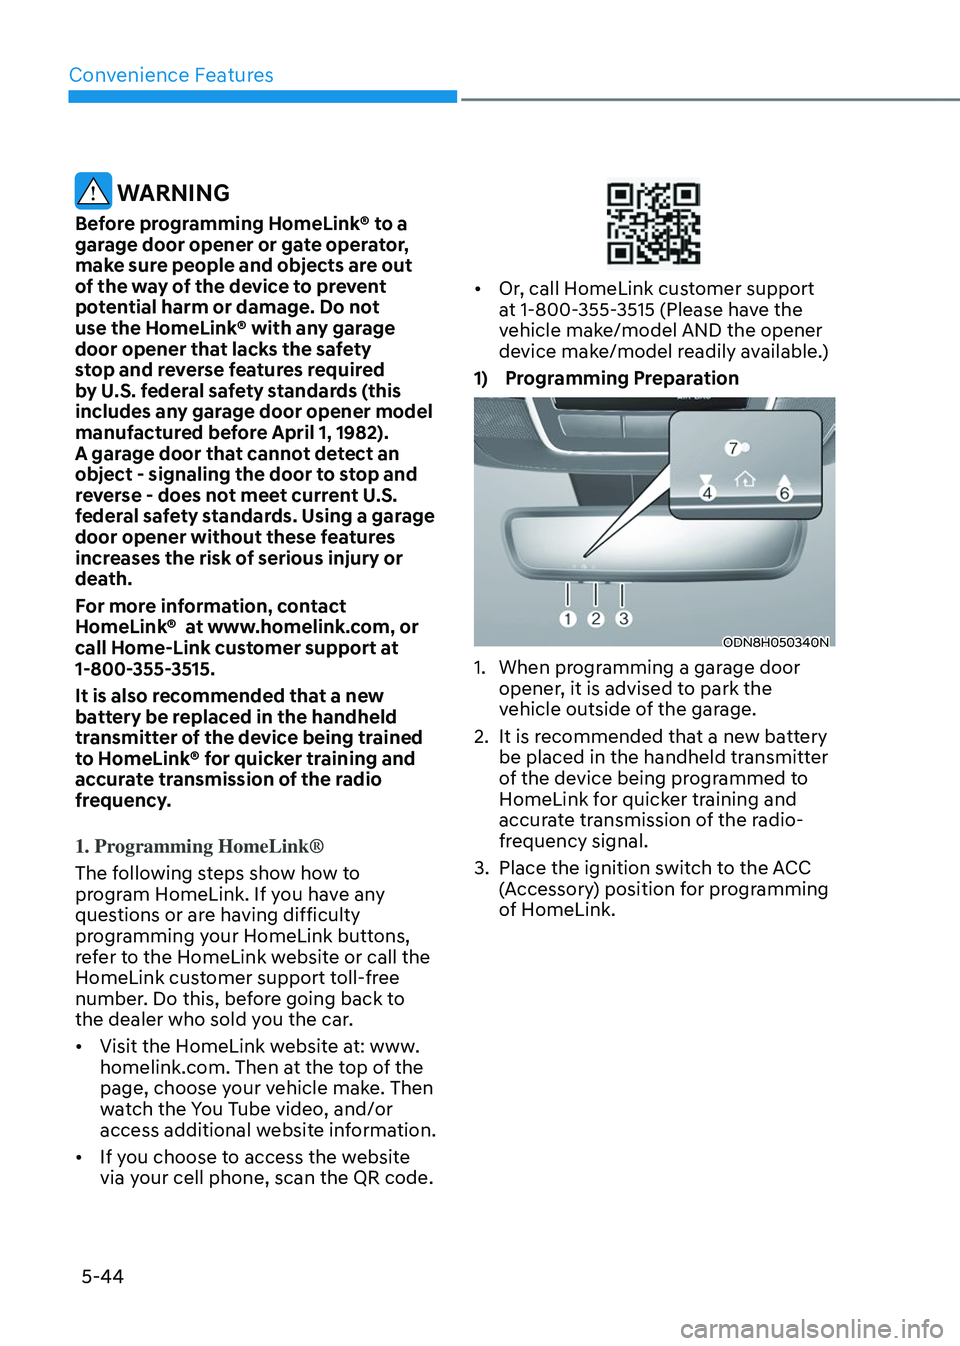
1) Programming Preparation
ODN8H050340NODN8H050340N
1. When programming a garage door
opener, it is advised to park the
vehicle outside of the garage.
2. It is recommended that a new battery
be placed in the handheld transmitter
of the device being programmed to
HomeLink for quicker training and
accurate transmission of the radio-
frequency signal.
3. Place the ignition switch to the ACC
(Accessory) position for programming
of HomeLink.
Page 192 of 549

05
5-45
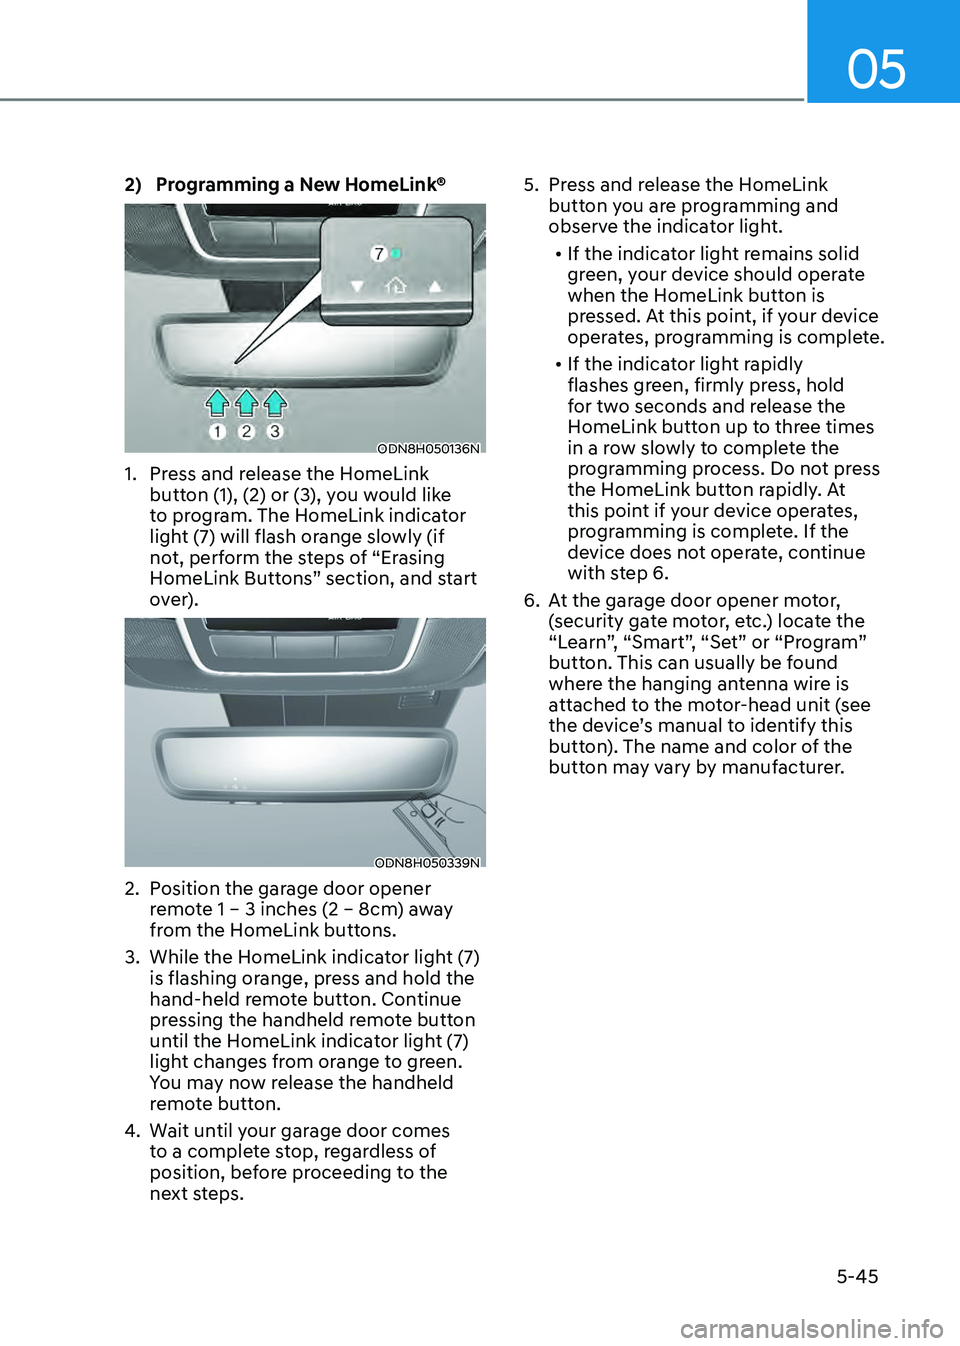
2) Programming a New HomeLink®
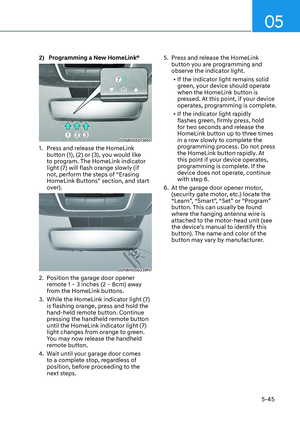
ODN8H050136NODN8H050136N
1. Press and release the HomeLink
button (1), (2) or (3), you would like
to program. The HomeLink indicator
light (7) will flash orange slowly (if
not, perform the steps of “Erasing
HomeLink Buttons” section, and start
over).
ODN8H050339NODN8H050339N
2. Position the garage door opener
remote 1 – 3 inches (2 – 8cm) away
from the HomeLink buttons.
3. While the HomeLink indicator light (7)
is flashing orange, press and hold the
hand-held remote button. Continue
pressing the handheld remote button
until the HomeLink indicator light (7)
light changes from orange to green.
You may now release the handheld
remote button.
4. Wait until your garage door comes
to a complete stop, regardless of
position, before proceeding to the
next steps.
5. Press and release the HomeLink
button you are programming and
observe the indicator light.
• If the indicator light remains solid
green, your device should operate
when the HomeLink button is
pressed. At this point, if your device
operates, programming is complete.
• If the indicator light rapidly
flashes green, firmly press, hold
for two seconds and release the
HomeLink button up to three times
in a row slowly to complete the
programming process. Do not press
the HomeLink button rapidly. At
this point if your device operates,
programming is complete. If the
device does not operate, continue
with step 6.
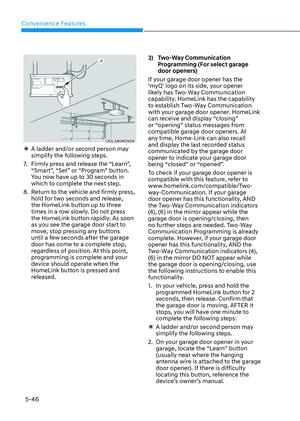
6. At the garage door opener motor,
(security gate motor, etc.) locate the
“Learn”, “Smart”, “Set” or “Program”
button. This can usually be found
where the hanging antenna wire is
attached to the motor-head unit (see
the device’s manual to identify this
button). The name and color of the
button may vary by manufacturer.