2022 TOYOTA VENZA HYBRID change time
[x] Cancel search: change timePage 103 of 548
1032-1. Instrument cluster
2
Vehicle status information and indicators
screen is displayed, select the
setting or desired value (time,
etc.) with .
3 After changing the settings,
press of the meter control
switches.
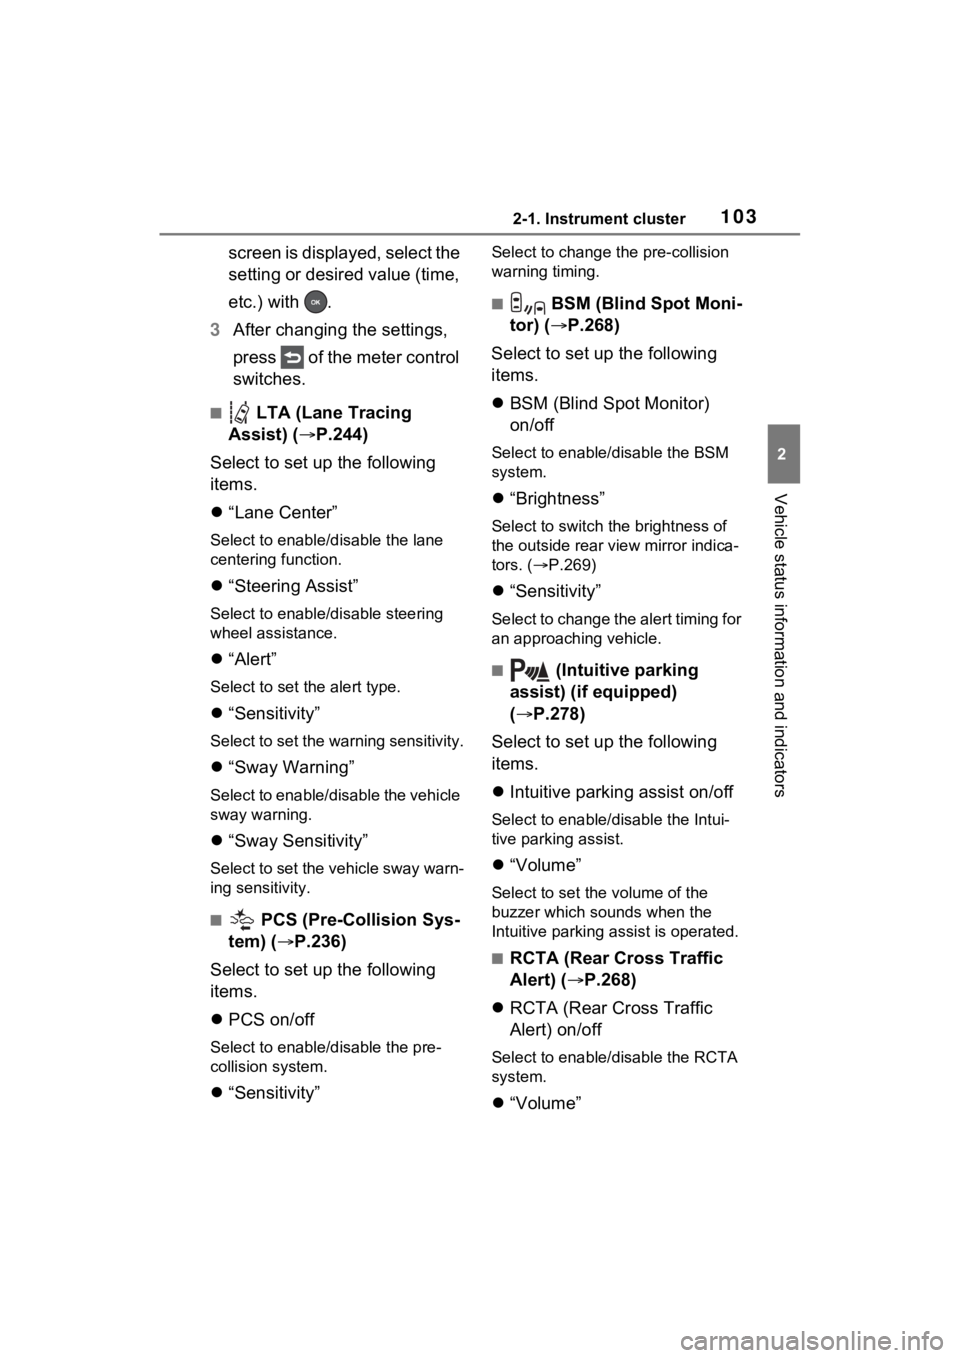
■ LTA (Lane Tracing
Assist) ( P.244)
Select to set up the following
items.
“Lane Center”
Select to enable/disable the lane
centering function.
“Steering Assist”
Select to enable/d isable steering
wheel assistance.
“Alert”
Select to set the alert type.
“Sensitivity”
Select to set the warning sensitivity.
“Sway Warning”
Select to enable/disable the vehicle
sway warning.
“Sway Sensitivity”
Select to set the vehicle sway warn-
ing sensitivity.
■ PCS (Pre-Collision Sys-
tem) ( P.236)
Select to set up the following
items.
PCS on/off
Select to enable/disable the pre-
collision system.
“Sensitivity”
Select to change the pre-collision
warning timing.
■ BSM (Blind Spot Moni-
tor) ( P.268)
Select to set up the following
items.
BSM (Blind Spot Monitor)
on/off
Select to enable/disable the BSM
system.
“Brightness”
Select to switch the brightness of
the outside rear view mirror indica-
tors. ( P.269)
“Sensitivity”
Select to change the alert timing for
an approaching vehicle.
■ (Intuitive parking
assist) (if equipped)
( P.278)
Select to set up the following
items.
Intuitive parking assist on/off
Select to enable/d isable the Intui-
tive parking assist.
“Volume”
Select to set the volume of the
buzzer which sounds when the
Intuitive parking assist is operated.
■RCTA (Rear Cross Traffic
Alert) ( P.268)
RCTA (Rear Cross Traffic
Alert) on/off
Select to enable /disable the RCTA
system.
“Volume”
Page 105 of 548
1052-1. Instrument cluster
2
Vehicle status information and indicators
the multi-information display.
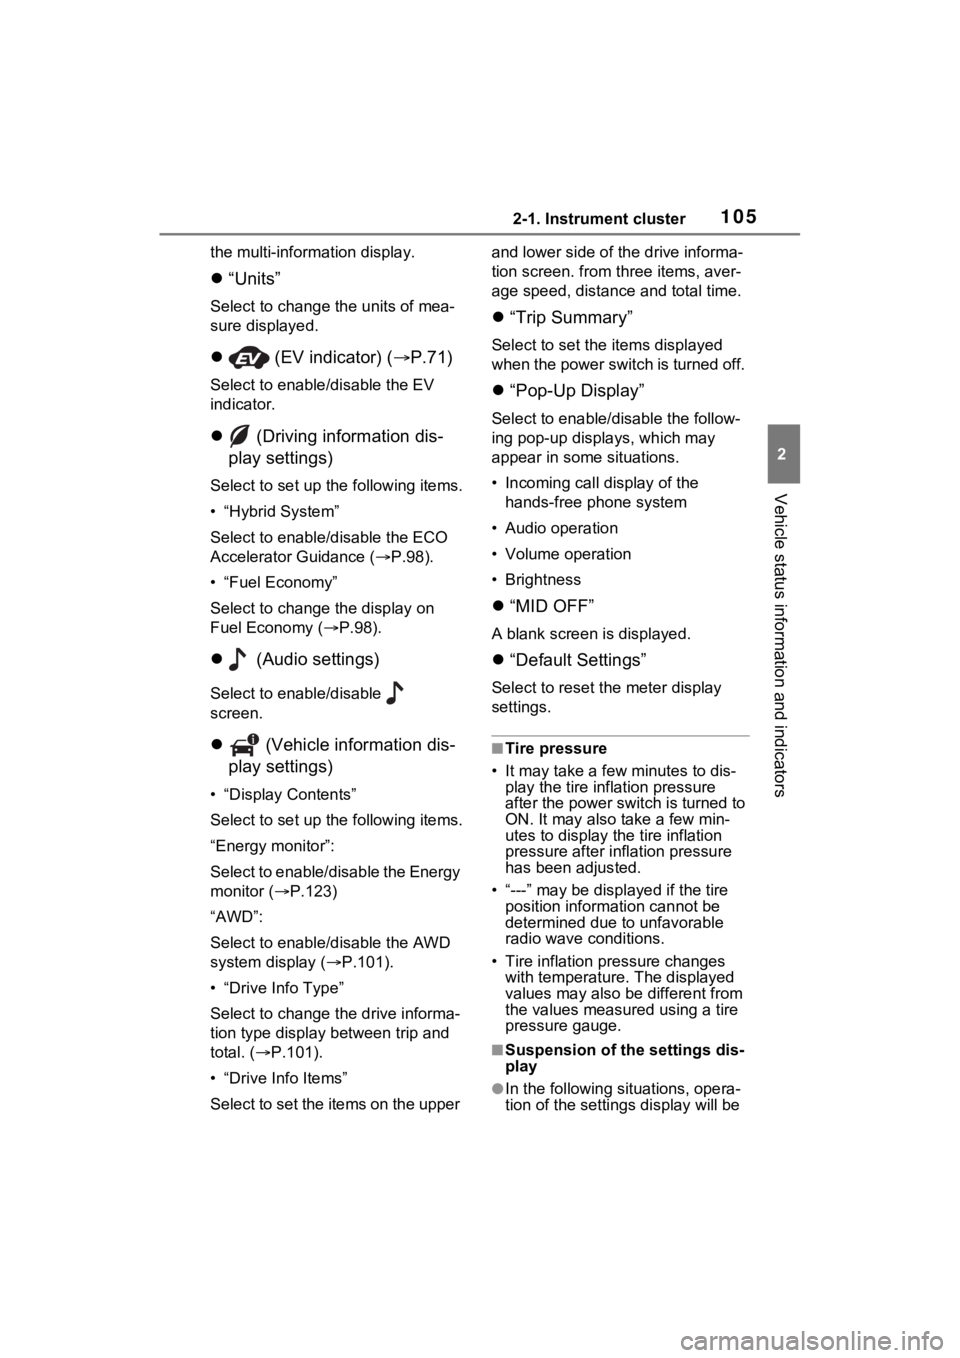
“Units”
Select to change t he units of mea-
sure displayed.
(EV indicator) ( P.71)
Select to enable/disable the EV
indicator.
(Driving information dis-
play settings)
Select to set up the following items.
• “Hybrid System”
Select to enable/disable the ECO
Accelerator Guidance ( P.98).
• “Fuel Economy”
Select to change the display on
Fuel Economy ( P.98).
(Audio settings)
Select to enable/disable
screen.
(Vehicle information dis-
play settings)
• “Display Contents”
Select to set up the following items.
“Energy monitor”:
Select to enable/disable the Energy
monitor ( P.123)
“AWD”:
Select to enable/disable the AWD
system display ( P.101).
• “Drive Info Type”
Select to change the drive informa-
tion type display between trip and
total. ( P.101).
• “Drive Info Items”
Select to set the items on the upper and lower side of
the drive informa-
tion screen. from th ree items, aver-
age speed, distance and total time.
“Trip Summary”
Select to set the items displayed
when the power switch is turned off.
“Pop-Up Display”
Select to enable/d isable the follow-
ing pop-up displays, which may
appear in some situations.
• Incoming call display of the hands-free phone system
• Audio operation
• Volume operation
• Brightness
“MID OFF”
A blank screen is displayed.
“Default Settings”
Select to reset the meter display
settings.
■Tire pressure
• It may take a few minutes to dis-
play the tire inflation pressure
after the power switch is turned to
ON. It may also take a few min-
utes to display the tire inflation
pressure after infl ation pressure
has been adjusted.
• “---” may be displayed if the tire position information cannot be
determined due to unfavorable
radio wave conditions.
• Tire inflation pressure changes with temperature. The displayed
values may also be different from
the values measured using a tire
pressure gauge.
■Suspension of the settings dis-
play
●In the following situations, opera-
tion of the settings display will be
Page 109 of 548
1092-1. Instrument cluster
2
Vehicle status information and indicators
Select to display fuel consump-
tion data in various forms.
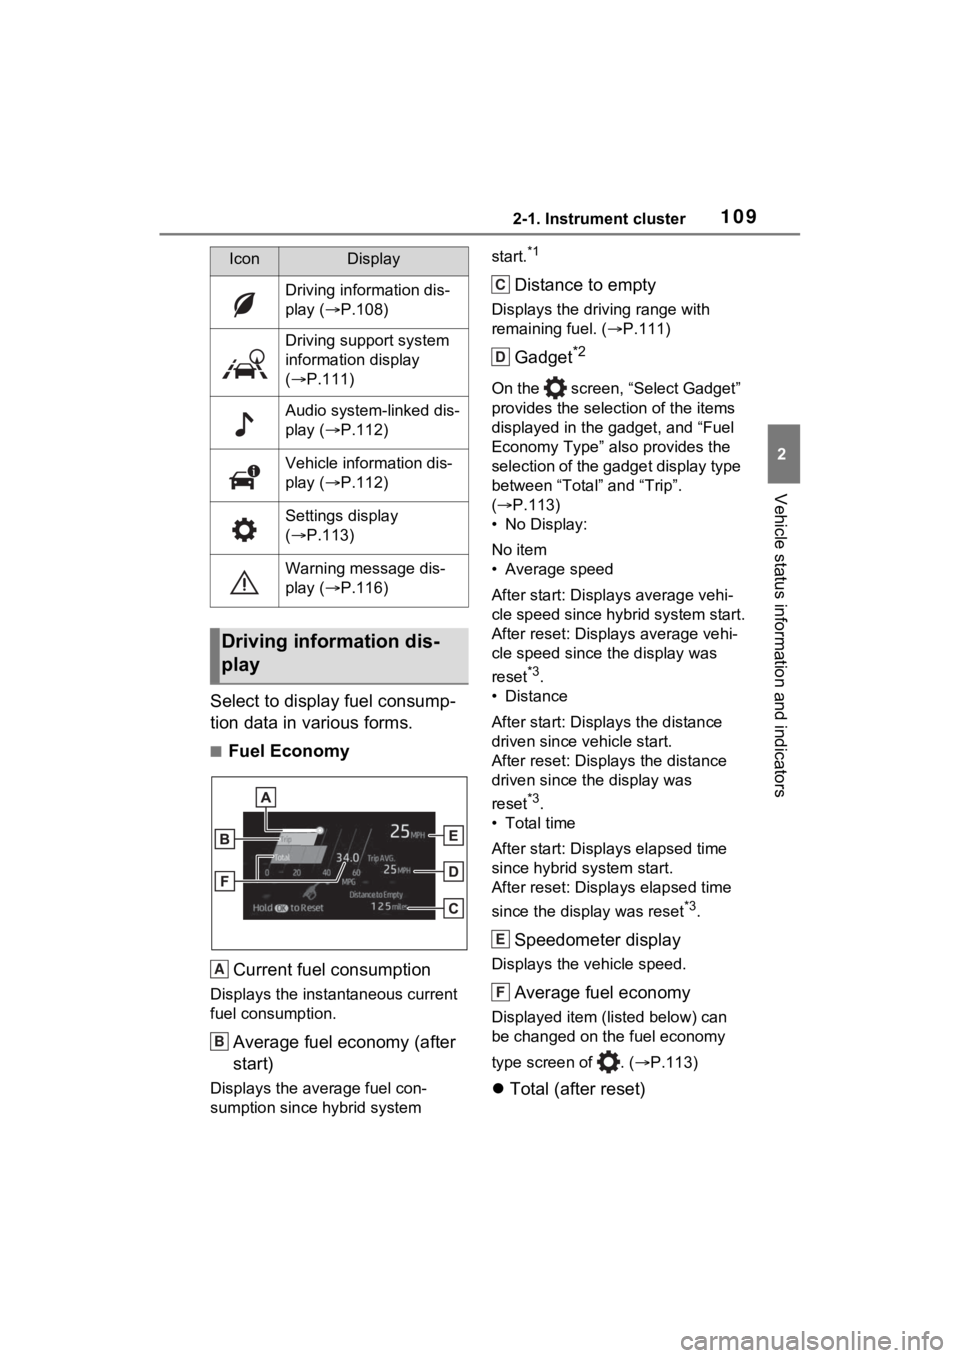
■Fuel EconomyCurrent fuel consumption
Displays the instantaneous current
fuel consumption.
Average fuel economy (after
start)
Displays the average fuel con-
sumption since hybrid system start.
*1
Distance to empty
Displays the driving range with
remaining fuel. (
P.111)
Gadget*2
On the screen, “Select Gadget”
provides the selection of the items
displayed in the gadget, and “Fuel
Economy Type” also provides the
selection of the gadget display type
between “Total” and “Trip”.
( P.113)
• No Display:
No item
• Average speed
After start: Displ ays average vehi-
cle speed since hybrid system start.
After reset: Displays average vehi-
cle speed since the display was
reset
*3.
• Distance
After start: Displays the distance
driven since vehicle start.
After reset: Displays the distance
driven since the display was
reset
*3.
• Total time
After start: Displ ays elapsed time
since hybrid system start.
After reset: Displays elapsed time
since the display was reset
*3.
Speedometer display
Displays the vehicle speed.
Average fuel economy
Displayed item (listed below) can
be changed on the fuel economy
type screen of . ( P.113)
Total (after reset)
IconDisplay
Driving information dis-
play ( P.108)
Driving support system
information display
( P.111)
Audio system-linked dis-
play ( P.112)
Vehicle information dis-
play ( P.112)
Settings display
( P.113)
Warning message dis-
play ( P.116)
Driving information dis-
play
A
B
C
D
E
F
Page 113 of 548
1132-1. Instrument cluster
2
Vehicle status information and indicators
wheel in 6 steps from 0 to 5.
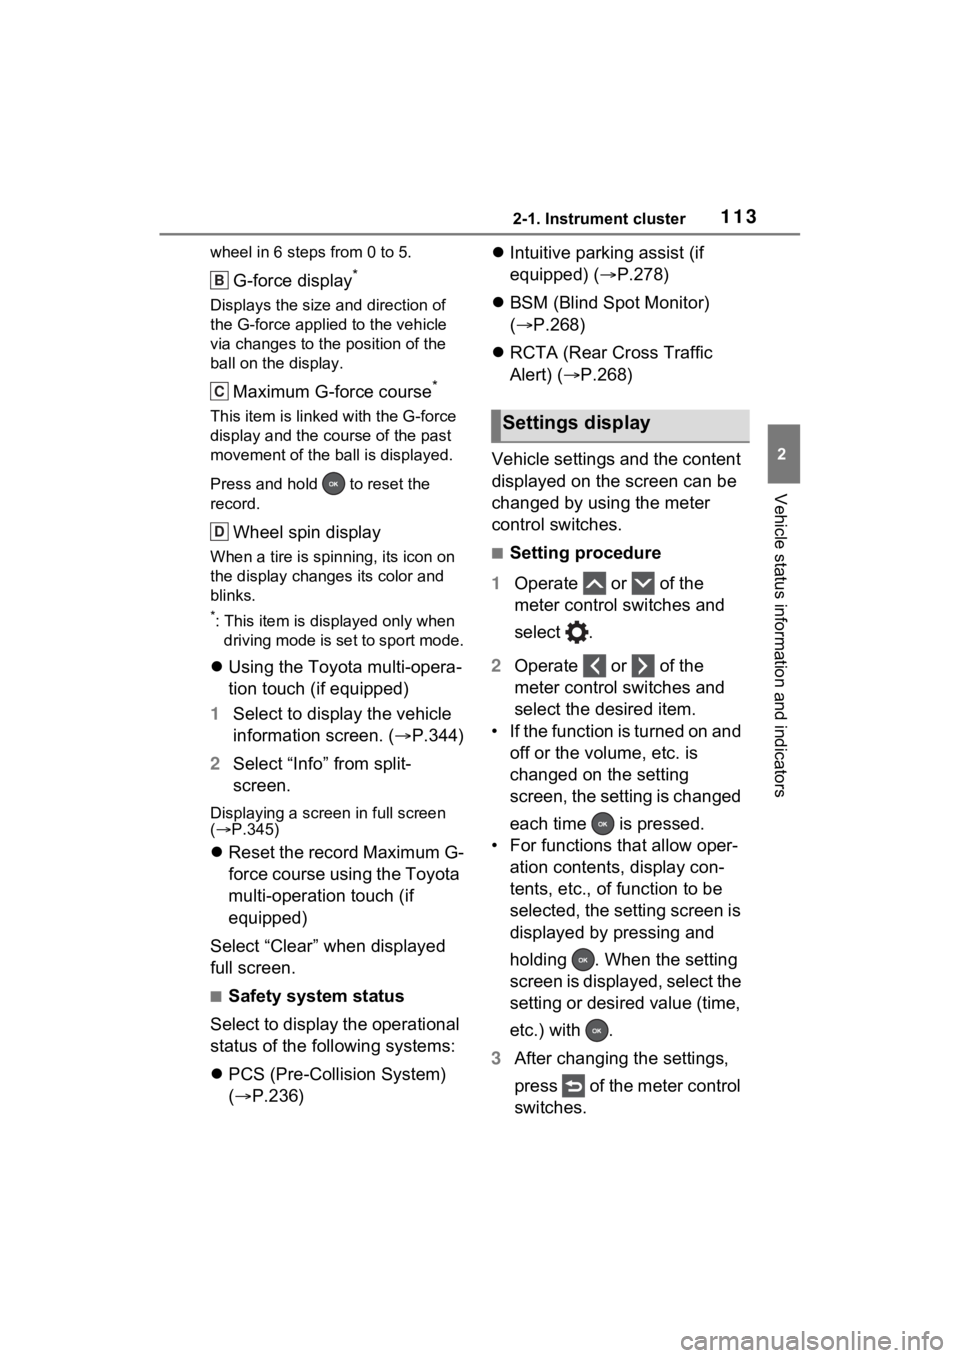
G-force display*
Displays the size and direction of
the G-force applied to the vehicle
via changes to the position of the
ball on the display.
Maximum G-force course*
This item is linke d with the G-force
display and the course of the past
movement of the ball is displayed.
Press and hold to reset the
record.
Wheel spin display
When a tire is spin ning, its icon on
the display change s its color and
blinks.
*: This item is displayed only when driving mode is set to sport mode.
Using the Toyota multi-opera-
tion touch (if equipped)
1 Select to display the vehicle
information screen. ( P.344)
2 Select “Info” from split-
screen.
Displaying a screen in full screen
( P.345)
Reset the record Maximum G-
force course using the Toyota
multi-operation touch (if
equipped)
Select “Clear” when displayed
full screen.
■Safety system status
Select to display the operational
status of the following systems:
PCS (Pre-Collision System)
( P.236)
Intuitive parking assist (if
equipped) ( P.278)
BSM (Blind Spot Monitor)
( P.268)
RCTA (Rear Cross Traffic
Alert) ( P.268)
Vehicle settings and the content
displayed on the screen can be
changed by using the meter
control switches.
■Setting procedure
1 Operate or of the
meter control switches and
select .
2 Operate or of the
meter control switches and
select the desired item.
• If the function is turned on and off or the volume, etc. is
changed on the setting
screen, the setting is changed
each time is pressed.
• For functions that allow oper- ation contents, display con-
tents, etc., of function to be
selected, the setting screen is
displayed by pressing and
holding . When the setting
screen is displayed, select the
setting or desired value (time,
etc.) with .
3 After changing the settings,
press of the meter control
switches.
B
C
D
Settings display
Page 125 of 548
1252-1. Instrument cluster
2
Vehicle status information and indicators
wheel and select , and
then press or to select
the energy monitor display.
Multimedia system screen
(vehicles with 8-inch display)
1 Press the “MENU” button.
2 Select “Info” on the “Menu”
screen.
3 Select “ECO” on the “Info”
screen.
If a screen other than “Energy Mon-
itor” is displayed, select “Energy”.
Navigation system screen
(vehicles with 12.3-inch dis-
play)
1 Select on the Toyota
multi-operation touch
( P.344).
2 Select “Energy” on the split-
screen.
Displaying a screen in full
screen(P.345)
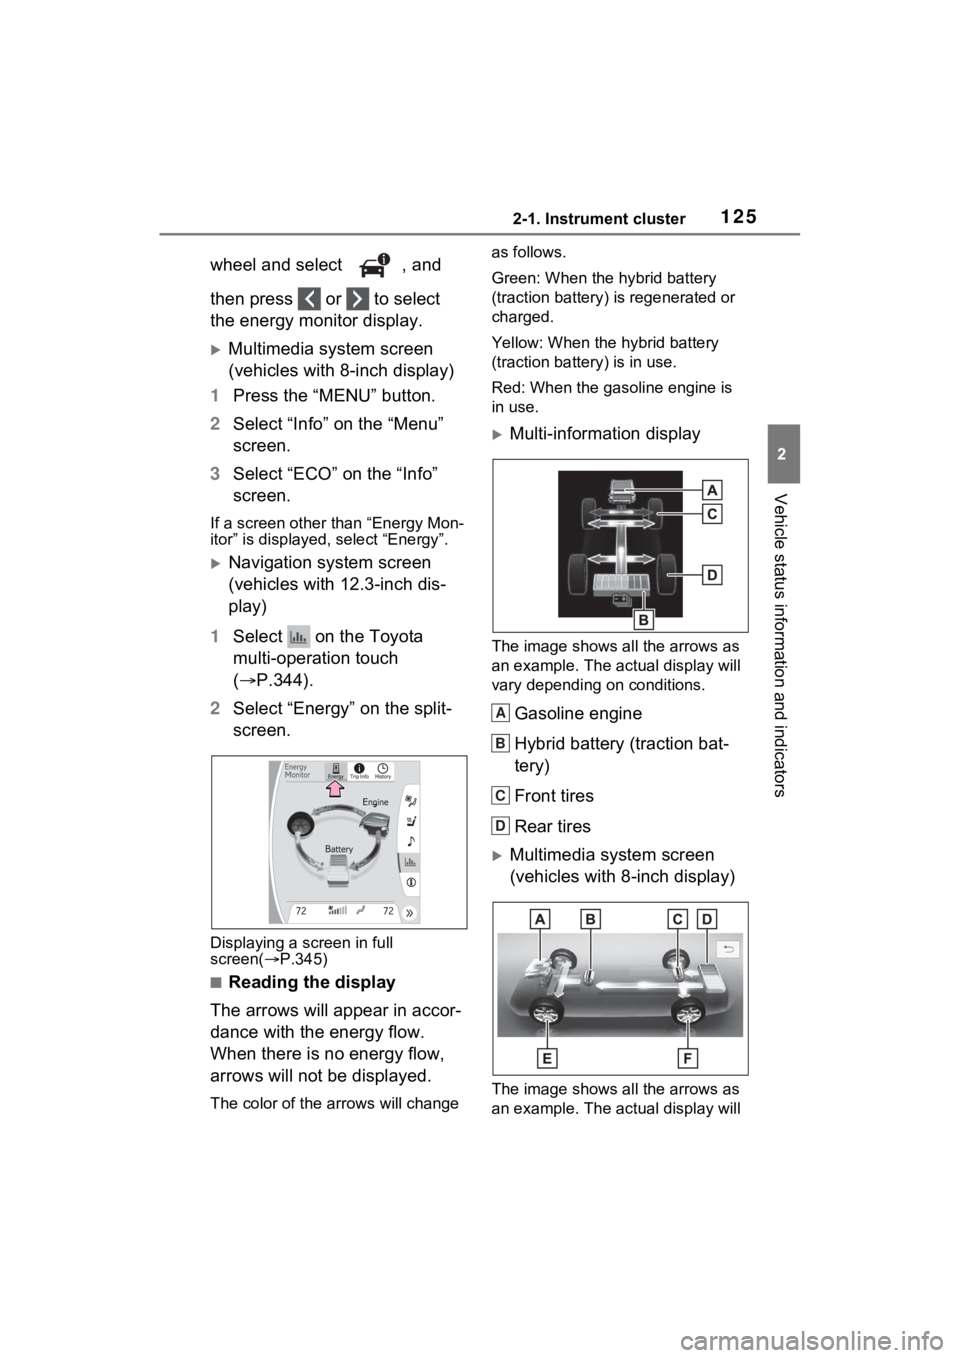
■Reading the display
The arrows will appear in accor-
dance with the energy flow.
When there is no energy flow,
arrows will not be displayed.
The color of the arrows will change as follows.
Green: When the hybrid battery
(traction battery) is regenerated or
charged.
Yellow: When the
hybrid battery
(traction battery) is in use.
Red: When the gasoline engine is
in use.
Multi-information display
The image shows all the arrows as
an example. The ac tual display will
vary depending on conditions.
Gasoline engine
Hybrid battery (traction bat-
tery)
Front tires
Rear tires
Multimedia system screen
(vehicles with 8-inch display)
The image shows all the arrows as
an example. The ac tual display will
A
B
C
D
Page 127 of 548
1272-1. Instrument cluster
2
Vehicle status information and indicators
■Hybrid battery (traction battery)
status
The display changes in 8 levels
according to the remaining charge
amount of the hybrid battery (trac-
tion battery).
• The figure shows the multi-infor- mation display as an example for
explanation.
• These images are examples only, and may vary slight ly from actual
conditions.
Low
High
■Remaining charge amount
warning of hybrid battery (trac-
tion battery)
●The buzzer sounds intermittently
when the hybrid battery (traction
battery) remains without charging
while the shift leve r is in N, or the
remaining charge amount drops
below a certain level. If the
remaining charge amount drops
further, the buzzer sounds contin-
uously.
●When a warning message is
shown on the multi-information
display and the buzzer sounds,
follow the instructions displayed
on the screen to p erform trouble-
shooting.
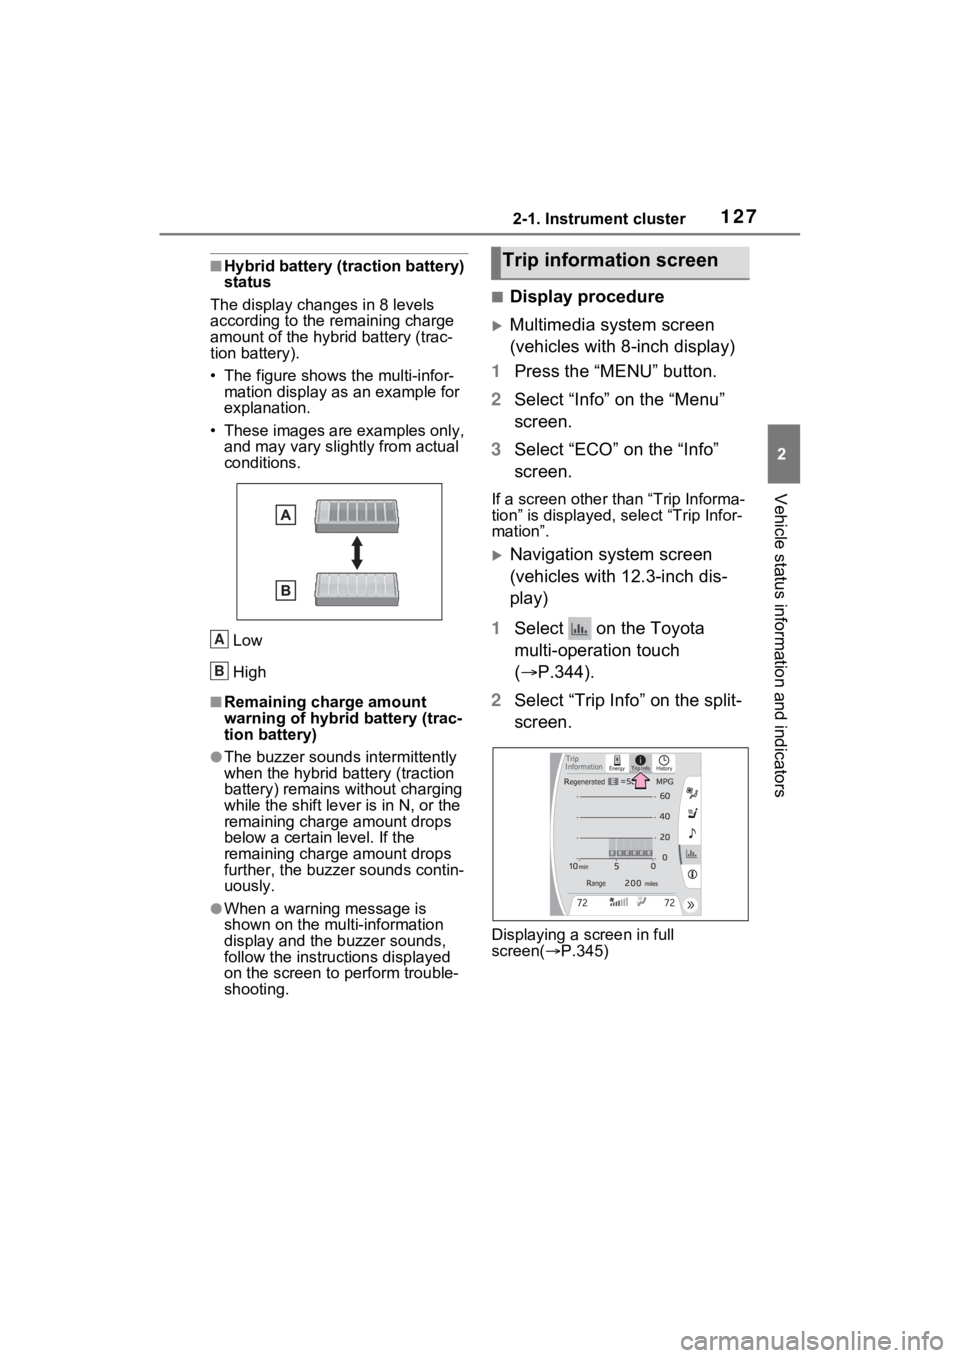
■Display procedure
Multimedia system screen
(vehicles with 8-inch display)
1 Press the “MENU” button.
2 Select “Info” on the “Menu”
screen.
3 Select “ECO” on the “Info”
screen.
If a screen other than “Trip Informa-
tion” is displayed, select “Trip Infor-
mation”.
Navigation system screen
(vehicles with 12.3-inch dis-
play)
1 Select on the Toyota
multi-operation touch
( P.344).
2 Select “Trip Info” on the split-
screen.
Displaying a screen in full
screen( P.345)
A
B
Trip information screen
Page 135 of 548
1343-2. Opening, closing and locking the doors
approximately 5 seconds while
pressing and holding .
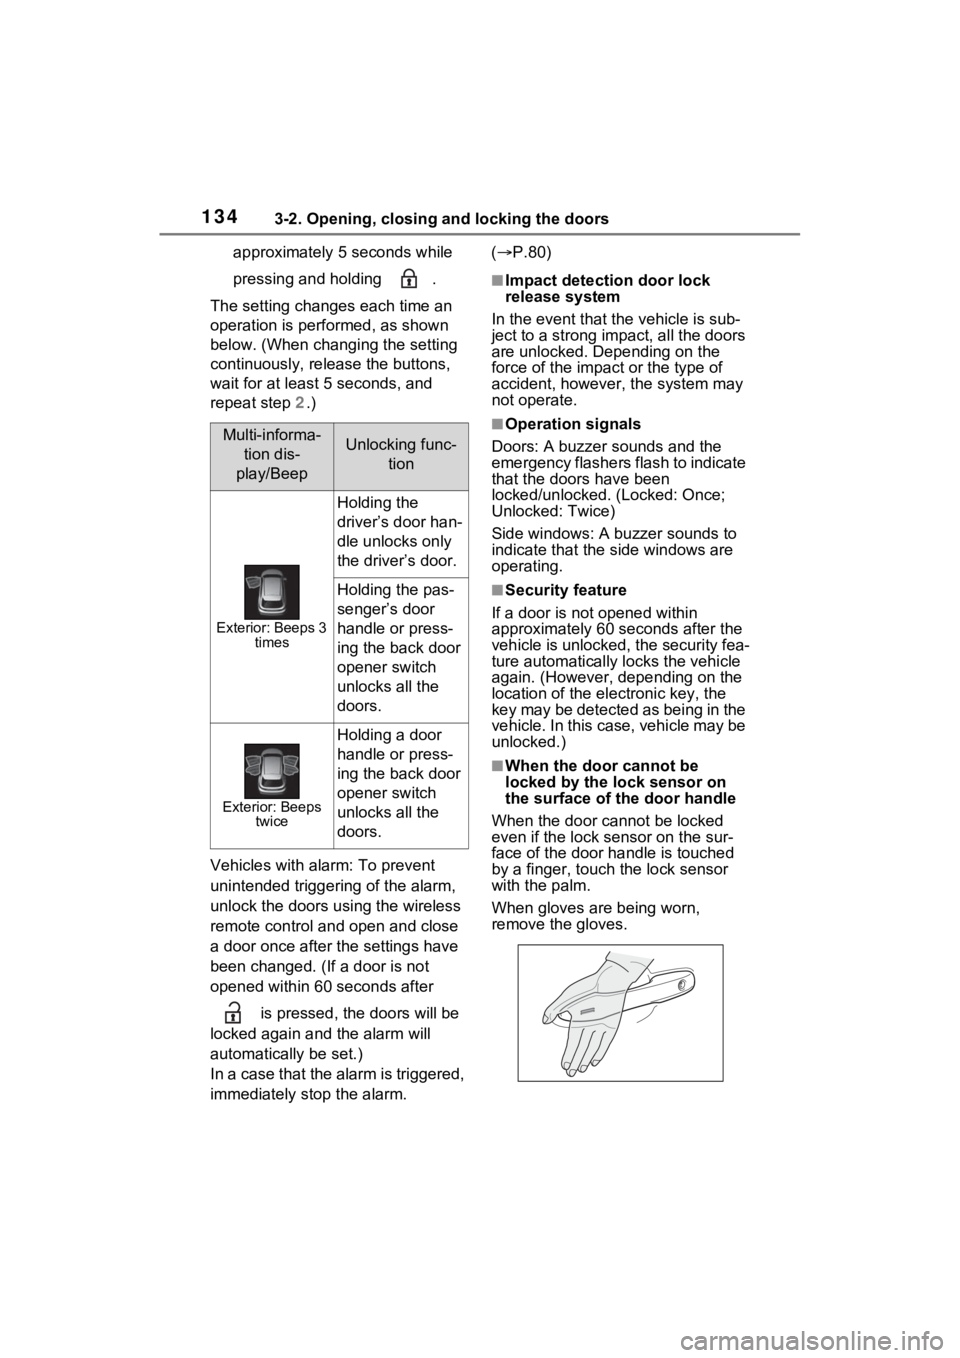
The setting changes each time an
operation is performed, as shown
below. (When changing the setting
continuously, release the buttons,
wait for at least 5 seconds, and
repeat step 2.)
Vehicles with alarm: To prevent
unintended triggering of the alarm,
unlock the doors us ing the wireless
remote control and open and close
a door once after t he settings have
been changed. (If a door is not
opened within 60 seconds after
is pressed, the doors will be
locked again a nd the alarm will
automatically be set.)
In a case that the alarm is triggered,
immediately stop the alarm. (
P.80)
■Impact detection door lock
release system
In the event that t he vehicle is sub-
ject to a strong impact, all the doors
are unlocked. Depending on the
force of the impact or the type of
accident, however, the system may
not operate.
■Operation signals
Doors: A buzzer sounds and the
emergency flashers flash to indicate
that the doors have been
locked/unlocked. (Locked: Once;
Unlocked: Twice)
Side windows: A buzzer sounds to
indicate that the side windows are
operating.
■Security feature
If a door is not opened within
approximately 60 s econds after the
vehicle is unlocked, the security fea-
ture automatically locks the vehicle
again. (However, depending on the
location of the el ectronic key, the
key may be detected as being in the
vehicle. In this case, vehicle may be
unlocked.)
■When the door cannot be
locked by the lock sensor on
the surface of the door handle
When the door cannot be locked
even if the lock se nsor on the sur-
face of the door handle is touched
by a finger, touch the lock sensor
with the palm.
When gloves are being worn,
remove the gloves.
Multi-informa-
tion dis-
play/BeepUnlocking func- tion
Exterior: Beeps 3 times
Holding the
driver’s door han-
dle unlocks only
the driver’s door.
Holding the pas-
senger’s door
handle or press-
ing the back door
opener switch
unlocks all the
doors.
Exterior: Beeps twice
Holding a door
handle or press-
ing the back door
opener switch
unlocks all the
doors.
Page 150 of 548
1493-2. Opening, closing and locking the doors
3
Before driving
The settings of the power back
door system can be changed by
displaying the “Vehicle Set-
tings” - “PBD” screen from the screen of the multi-informa-
tion display. ( P.102, 113)
The changed power back door set-
tings are not reset by turning the
power switch to OFF. In order to
restore the original settings, they
need to be changed back on the
screen of the multi-information
display.
The open position of the power
back door can be adjusted.
1 Stop the back door in the
desirable position. ( P.139)
2 Press and hold the
switch on the lower part of
the back door for approxi-
mately 2 seconds.
When the settings are completed,
the buzzer sounds 4 times.
When opening the back door the
next time, the back door will stop at
NOTICE
●Do not park the vehicle near
objects that may move and con-
tact the lower center part of the
rear bumper, such as grass or
trees.
If the vehicle has been parked
for a while near objects that
may move and contact the
lower center par t of the rear
bumper, such as grass or trees,
the kick sensor may not oper-
ate. In this situation, move the
vehicle from the current position
and then check if the kick sen-
sor operates. If it does not oper-
ate, have the vehicle inspected
by your Toyota dealer.
●Do not subject the kick sensor
or its surrounding area to a
strong impact.
If the kick sensor or its sur-
rounding area has been sub-
jected to a strong impact, the
kick sensor may not operate
properly. If the kick sensor does
not operate in the following situ-
ations, have the vehicle
inspected by your Toyota
dealer.
• The kick sensor or its surround- ing area has been subjected to
a strong impact.
• The lower center part of the rear bumper is scratched or dam-
aged.
●Do not disassemble the rear
bumper.
●Do not attach stickers to the
rear bumper.
●Do not paint the rear bumper.
●If a bicycle carrier or similar
heavy object is attached to the
power back door, disable the
kick sensor. ( P.102, 113)
Changing settings of the
power back door system
Adjusting the open posi-
tion of the back door