2022 HYUNDAI ELANTRA HYBRID clock
[x] Cancel search: clockPage 46 of 529
Seats & Safety System
3-4
Safety Precautions
Adjusting the seats so that you are sitting
in a safe, comfortable position plays an
important role in driver and passenger
safety together with the seat belts and
air bags in an accident.
WARNING
Do not use a cushion that reduces
friction between the seat and the
passenger. The passenger’s hips may
slide under the lap portion of the seat
belt during an accident or a sudden
stop. Serious or fatal internal injuries
could result because the seat belt
cannot operate properly. Air bags
You can take steps to reduce the risk
of being injured by an inflating air bag.
Sitting too close to an air bag greatly
increases the risk of injury in the event
the air bag inflates.
Move your seat as far back as
possible from front air bags, while still
maintaining control of the vehicle.
WARNING
To reduce the risk of serious injury or
death from an inflating air bag, take the
following precautions: • Adjust the driver’s seat as far to the
rear as possible while maintaining
the ability to maintain full control of
the vehicle.
• Adjust the front passenger seat as far
to the rear as possible.
• Hold the steering wheel by the rim
with hands at the 9 o’clock and 3
o’clock positions to minimize the risk
of injuries to your hands and arms. •
NEVER place anything or anyone
between the steering wheel and the air bag.
• Do not allow the front passenger to
place feet or legs on the dashboard
to minimize the risk of leg injuries.
Seat belts
Always fasten your seat belt before
starting any trip.
At all times, passengers should sit
upright and be properly restrained.
Infants and small children must be
restrained in appropriate child restraint
systems. Adults and children who
have outgrown a booster seat must be
restrained using the seat belts.
WARNING
Take the following precautions when
adjusting your seat belt: • NEVER use one seat belt for more
than one occupant.
• Always position the seatback upright
with the lap portion of the seat belt
snug and low across the hips.
• NEVER allow children or small infants
to ride on a passenger’s lap.
• Do not route the seat belt across your
neck, across sharp edges, or reroute
the shoulder strap away from your
body.
• Do not allow the seat belt to become
caught or jammed.
Page 82 of 529
Seats & Safety System
3-40
WARNING
To reduce the risk of serious injury or
death from an inflating side air bag,
take the following precautions: • Seat belts must be worn at all times
to help keep occupants positioned
properly.
• Do not allow passengers to lean their
heads or bodies onto doors, put their
arms on the doors, stretch their arms
out of the window, or place objects
between the doors and seats.
• Hold the steering wheel at the 9
o’clock and 3 o’clock positions, to
minimize the risk of injuries to your hands and arms.
• Do not use any accessory seat
covers. This could reduce or prevent
the effectiveness of the system.
• Do not place any objects over the
air bag or between the air bag and
yourself. Also, do not attach any
objects around the area the air bag
inflates such as the door, side door
glass, front and rear pillar.
• Do not place any objects between
the door and the seat. They may
become dangerous projectiles if the
side air bag inflates.
• Do not install any accessories on the side or near the side air bags.
• Do not put any objects between the
side airbag label and seat cushion. It
could cause harm if the vehicle is in a
crash severe enough to cause the air
bags to deploy.
• Do not cause impact to the doors
when the ignition switch button is in
the ON position as this may cause the
side air bags to inflate.
• If the seat or seat cover is damaged,
have the vehicle checked and
repaired by an authorized HYUNDAI
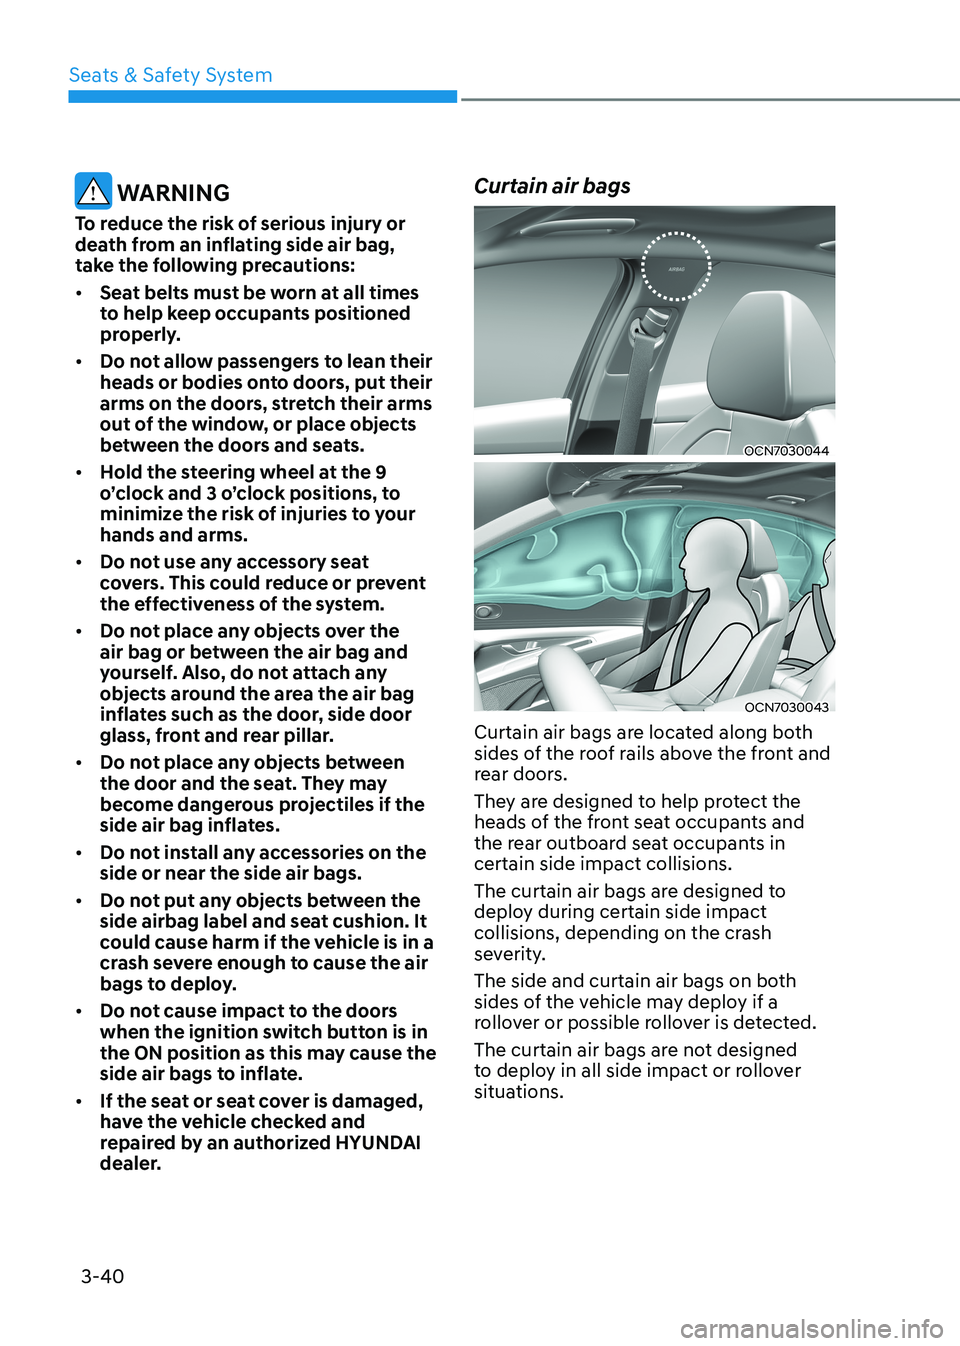
dealer. Curtain air bags
OCN7030044
OCN7030043
Curtain air bags are located along both
sides of the roof rails above the front and
rear doors.
They are designed to help protect the
heads of the front seat occupants and
the rear outboard seat occupants in certain side impact collisions.
The curtain air bags are designed to
deploy during certain side impact
collisions, depending on the crash
severity.
The side and curtain air bags on both
sides of the vehicle may deploy if a
rollover or possible rollover is detected.
The curtain air bags are not designed
to deploy in all side impact or rollover
situations.
Page 85 of 529

03
3-43
•
In addition to inflating in certain side
collisions, vehicles equipped with a
rollover sensor, side and curtain air
bags will inflate if the sensing system
detects a rollover.
When a rollover is detected, side and
curtain air bags will remain inflated
longer to help provide protection
from ejection, especially when used in
conjunction with the seat belts.
• To help provide protection, the air
bags must inflate rapidly. The speed
of air bag inflation is a consequence
of extremely short time in which
to inflate the air bag between the
occupant and the vehicle structures
before the occupant impacts those
structures. This speed of inflation
reduces the risk of serious or life-
threatening injuries and is thus a
necessary part of air bag design.
However, the rapid air bag inflation can also cause injuries which can
include facial abrasions, bruises and
broken bones because the inflation
speed also causes the air bags to
expand with a great deal of force.
• There are even circumstances under
which contact with the air bag can
cause fatal injuries, especially if the
occupant is positioned excessively
close to the air bag.
You can take steps to help reduce the
risk of being injured by an inflating air
bag. The greatest risk is sitting too close
to the air bag. An air bag needs space to
inflate. It is recommended that drivers sit
as far as possible between the center of
the steering wheel and the chest while
still maintaining control of the vehicle.
WARNING
To reduce the risk of serious injury or
death from an inflating air bag, take the
following precautions: • NEVER place a child restraint in the
front passenger seat.
Always properly restrain children
under age 13 in the rear seats of the
vehicle.
• Adjust the front passenger’s and
driver’s seats as far to the rear as
possible while allowing you to
maintain full control of the vehicle.
• Hold the steering wheel with
hands at the 9 o’clock and 3 o’clock positions.
• NEVER place anything or anyone
between the air bag and the seat
occupant.
• Do not allow the front passenger
to place their feet or legs on the
dashboard.
Page 150 of 529
5
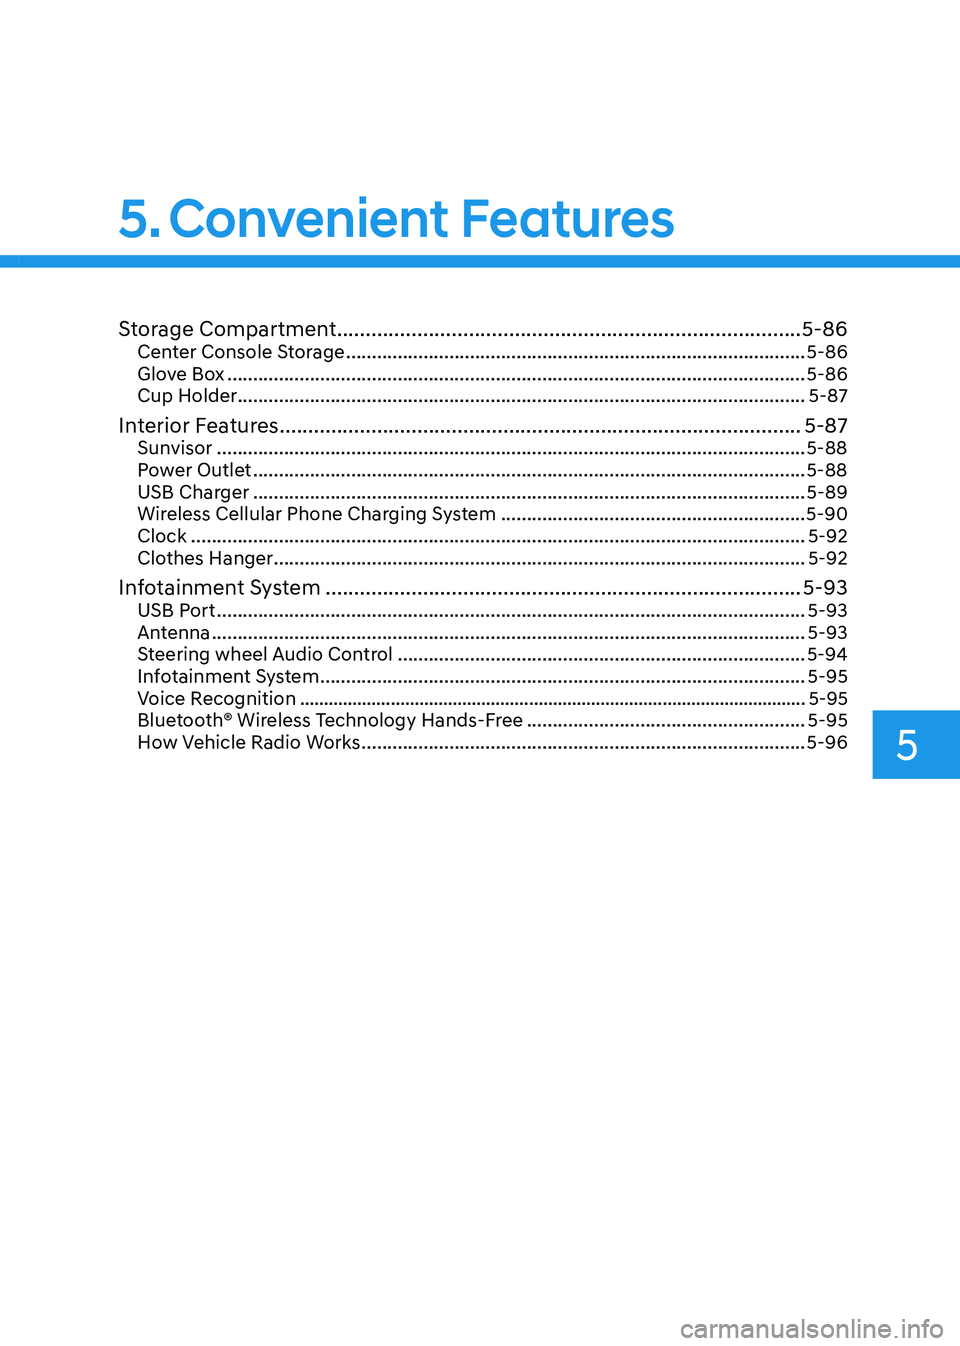
Storage Compartment ................................................................................. 5-86
Center Console Storage ......................................................................................... 5-86
Glove Box ................................................................................................................ 5-86
Cup Holder .............................................................................................................. 5-87
Interior Features ........................................................................................... 5-87
Sunvisor .................................................................................................................. 5-88
Power Outlet ........................................................................................................... 5-88
USB Charger ........................................................................................................... 5-89
Wireless Cellular Phone Charging System ...........................................................5-90
Clock ....................................................................................................................... 5-92
Clothes Hanger ....................................................................................................... 5-92
Infotainment System ................................................................................... 5-93
USB Port .................................................................................................................. 5-93
Antenna ................................................................................................................... 5-93
Steering wheel Audio Control ............................................................................... 5-94
Infotainment System .............................................................................................. 5-95
Voice Recognition .......................................................................................................... 5-95
Bluetooth® Wireless Technology Hands-Free ......................................................5-95
How Vehicle Radio Works ...................................................................................... 5-96
5. Convenient Features
Page 201 of 529
Convenient Features
5-54
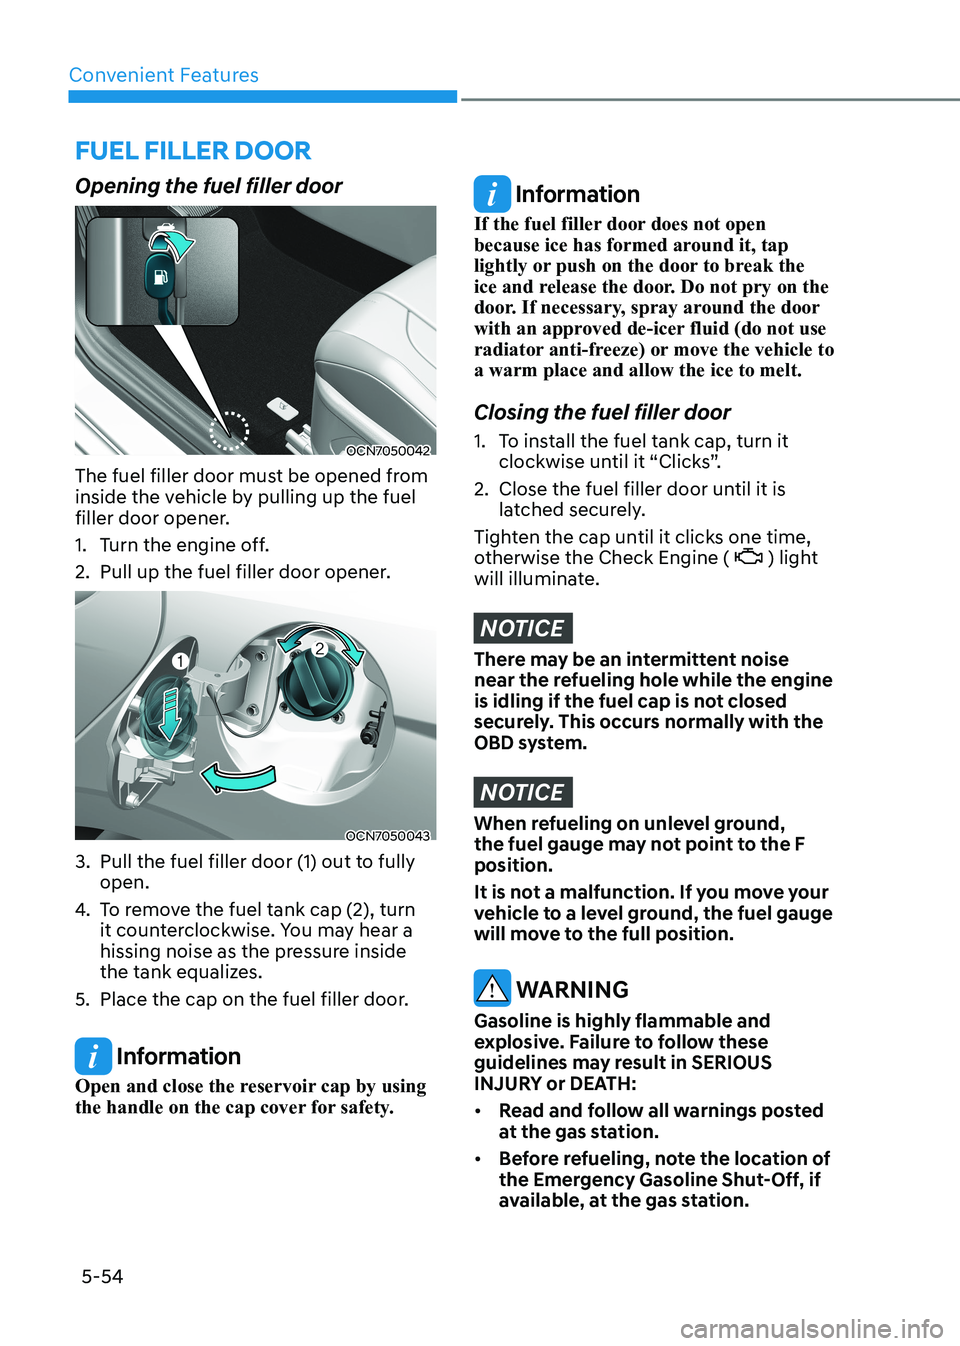
Opening the fuel filler door
OCN7050042
The fuel filler door must be opened from
inside the vehicle by pulling up the fuel
filler door opener.
1. Turn the engine off.
2. Pull up the fuel filler door opener.
OCN7050043
3. Pull the fuel filler door (1) out to fully open.
4. To remove the fuel tank cap (2), turn
it counterclockwise. You may hear a
hissing noise as the pressure inside
the tank equalizes.
5. Place the cap on the fuel filler door.
Information
Open and close the reservoir cap by using
the handle on the cap cover for safety.
Information
If the fuel filler door does not open
because ice has formed around it, tap
lightly or push on the door to break the
ice and release the door. Do not pry on the
door. If necessary, spray around the door
with an approved de-icer fluid (do not use
radiator anti-freeze) or move the vehicle to a warm place and allow the ice to melt. Closing the fuel filler door
1. To install the fuel tank cap, turn it clockwise until it “Clicks”.
2. Close the fuel filler door until it is latched securely.
Tighten the cap until it clicks one time,
otherwise the Check Engine (
) light
will illuminate.
NOTICE
There may be an intermittent noise
near the refueling hole while the engine
is idling if the fuel cap is not closed
securely. This occurs normally with the
OBD system.
NOTICE
When refueling on unlevel ground,
the fuel gauge may not point to the F position.
It is not a malfunction. If you move your
vehicle to a level ground, the fuel gauge
will move to the full position.
WARNING
Gasoline is highly flammable and
explosive. Failure to follow these
guidelines may result in SERIOUS
INJURY or DEATH: • Read and follow all warnings posted
at the gas station.
• Before refueling, note the location of
the Emergency Gasoline Shut-Off, if
available, at the gas station.
Fuel Filler Door
Page 239 of 529
Convenient Features
5-92
Clock
WARNING
Do not attempt to adjust the clock
while driving. Doing so may result in
distracted driving which may lead to
an accident involving personal injury or
death.
For more information, please refer to
the manual that was supplied with your
vehicle.
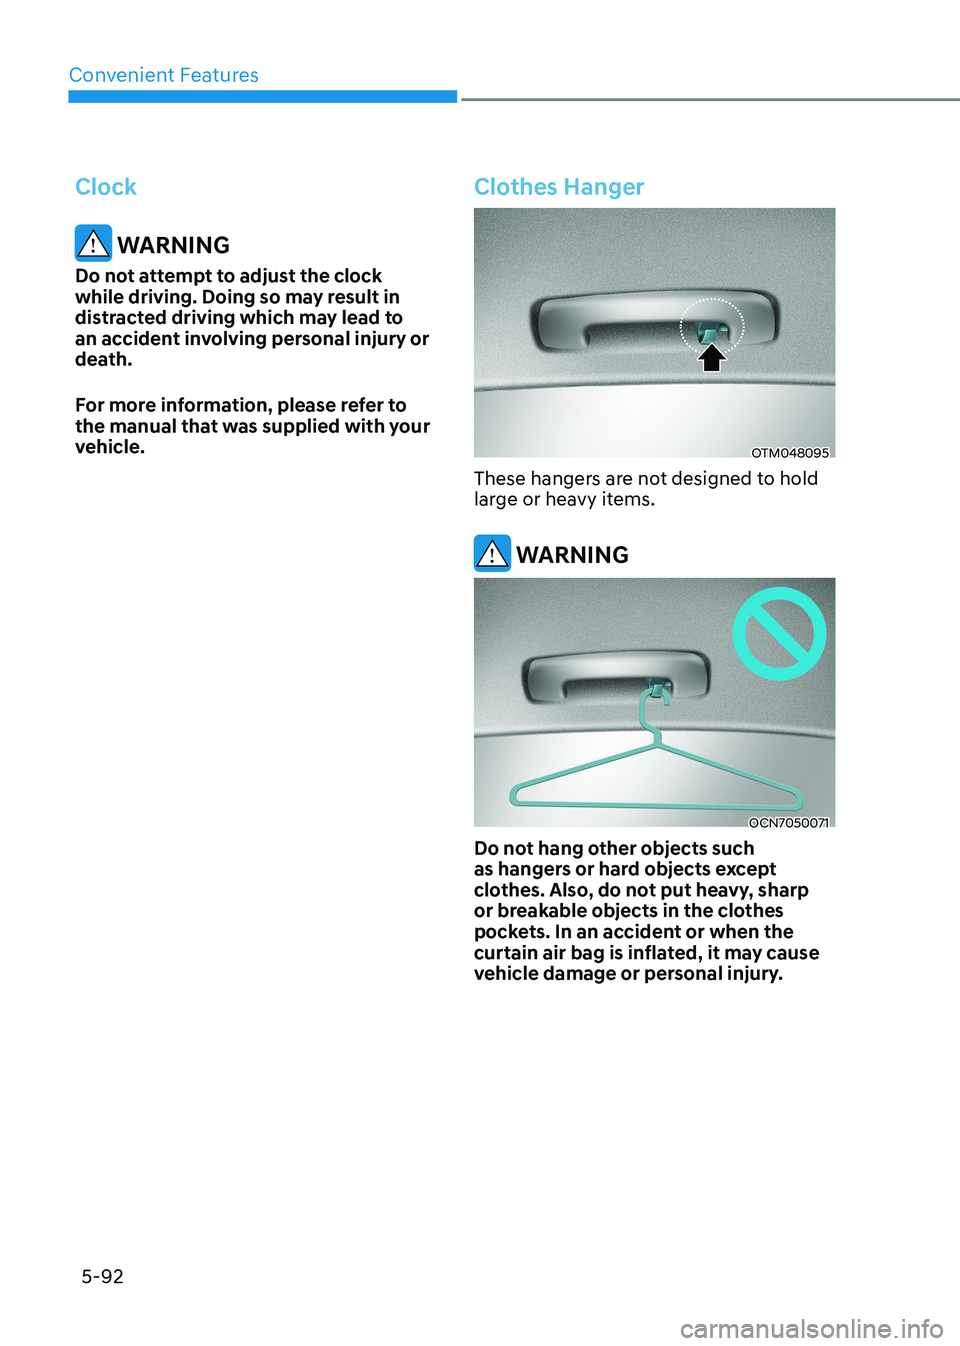
Clothes Hanger
OTM048095
These hangers are not designed to hold
large or heavy items.
WARNING
OCN7050071
Do not hang other objects such
as hangers or hard objects except
clothes. Also, do not put heavy, sharp
or breakable objects in the clothes
pockets. In an accident or when the
curtain air bag is inflated, it may cause
vehicle damage or personal injury.
Page 426 of 529
08
8-5
Before Jump Starting
This vehicle does not have a regular 12V
battery that needs periodic replacement.
It is lithium ion polymer type integrated
into the HEV high voltage battery. The
vehicle has a 12V battery protection
system that cuts 12V battery from vehicle
draw to prevent full discharge.
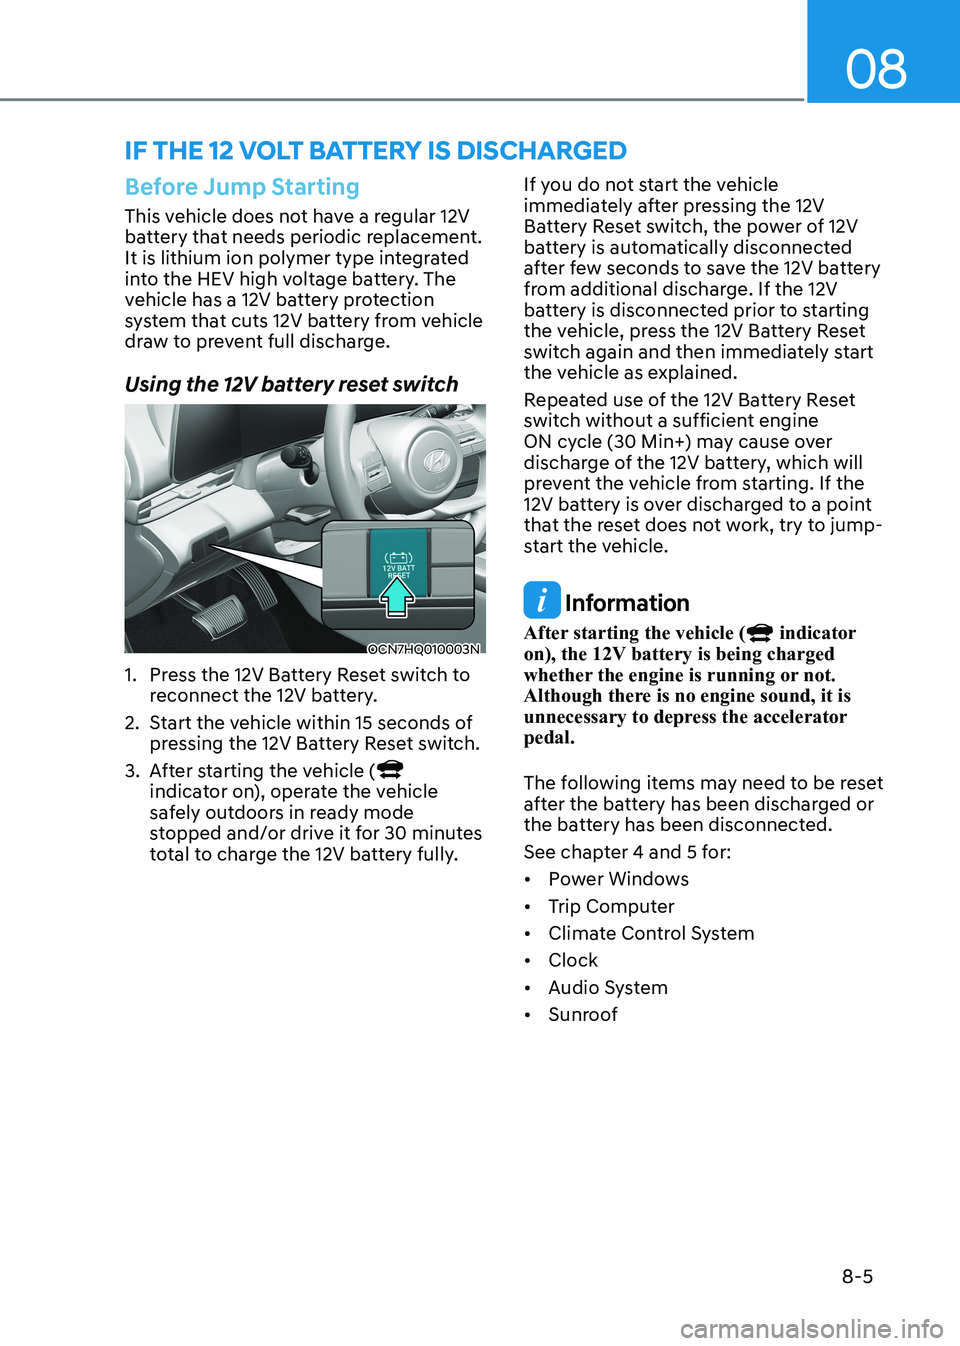
Using the 12V battery reset switch
OCN7HQ010003N
1. Press the 12V Battery Reset switch to reconnect the 12V battery.
2. Start the vehicle within 15 seconds of pressing the 12V Battery Reset switch.
3. After starting the vehicle (
indicator on), operate the vehicle
safely outdoors in ready mode
stopped and/or drive it for 30 minutes
total to charge the 12V battery fully. If you do not start the vehicle
immediately after pressing the 12V
Battery Reset switch, the power of 12V
battery is automatically disconnected
after few seconds to save the 12V battery
from additional discharge. If the 12V
battery is disconnected prior to starting
the vehicle, press the 12V Battery Reset
switch again and then immediately start
the vehicle as explained.
Repeated use of the 12V Battery Reset
switch without a sufficient engine
ON cycle (30 Min+) may cause over
discharge of the 12V battery, which will
prevent the vehicle from starting. If the
12V battery is over discharged to a point
that the reset does not work, try to jump-
start the vehicle.
Information
After starting the vehicle (
indicator
on), the 12V battery is being charged
whether the engine is running or not.
Although there is no engine sound, it is
unnecessary to depress the accelerator pedal.
The following items may need to be reset
after the battery has been discharged or
the battery has been disconnected.
See chapter 4 and 5 for:• Power Windows
• Trip Computer
• Climate Control System
• Clock
• Audio System
• Sunroof
iF tHe 12 volt Battery is disCHarged
Page 430 of 529
08
8-9
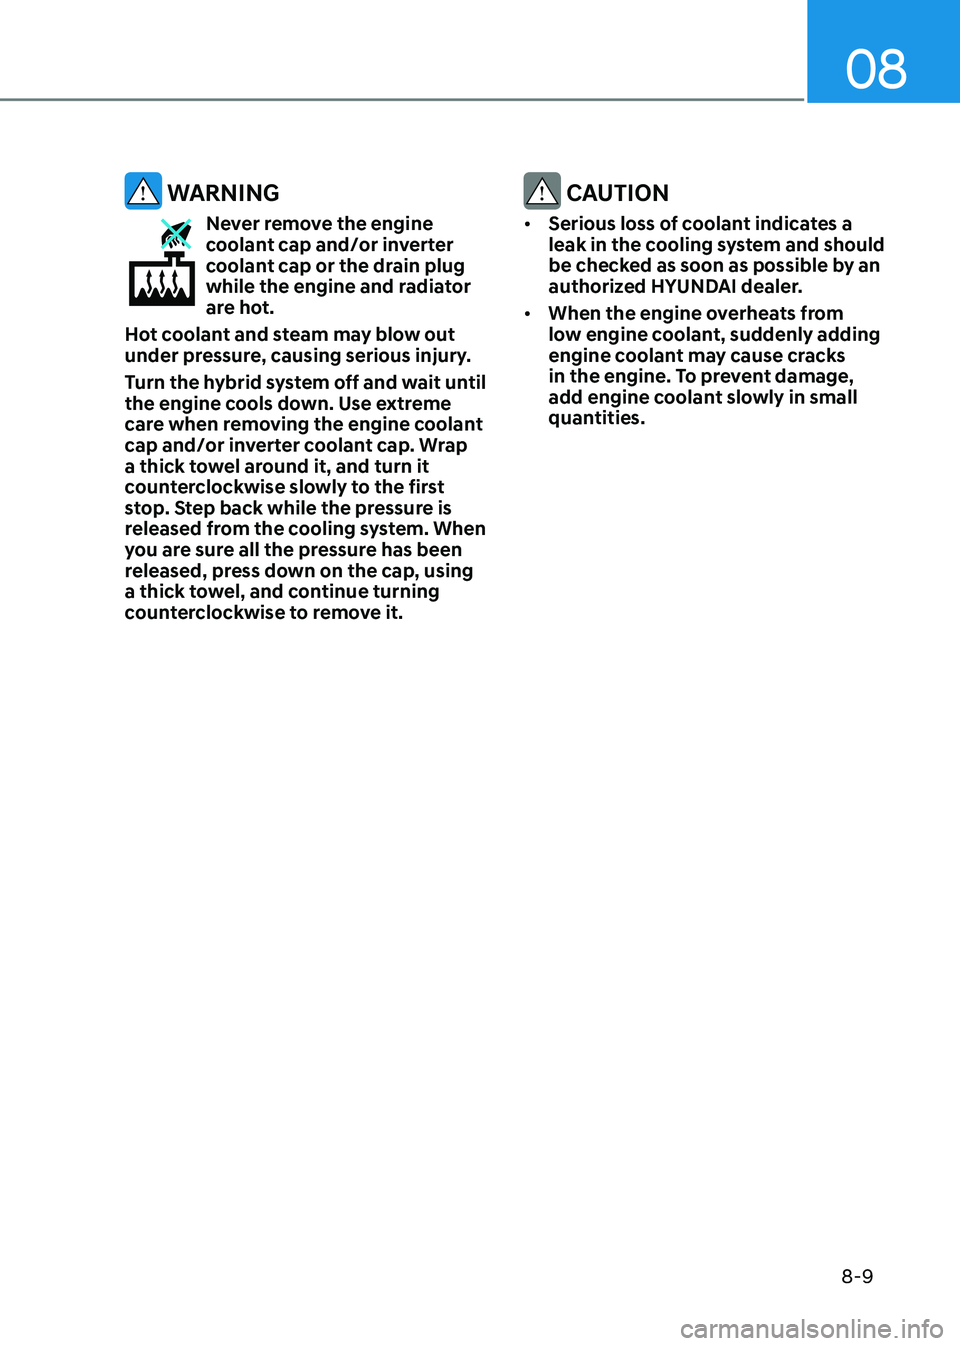
WARNING
Never remove the engine
coolant cap and/or inverter
coolant cap or the drain plug
while the engine and radiator
are hot.
Hot coolant and steam may blow out
under pressure, causing serious injury.
Turn the hybrid system off and wait until
the engine cools down. Use extreme
care when removing the engine coolant
cap and/or inverter coolant cap. Wrap
a thick towel around it, and turn it
counterclockwise slowly to the first
stop. Step back while the pressure is
released from the cooling system. When
you are sure all the pressure has been
released, press down on the cap, using
a thick towel, and continue turning
counterclockwise to remove it.
CAUTION
• Serious loss of coolant indicates a
leak in the cooling system and should
be checked as soon as possible by an
authorized HYUNDAI dealer.
• When the engine overheats from
low engine coolant, suddenly adding
engine coolant may cause cracks
in the engine. To prevent damage,
add engine coolant slowly in small
quantities.