Page 153 of 614
Deploying The Crossbars
1. To deploy the crossbars, completely loosen the thumbscrews at both ends of the crossbar and lift the crossbar
from its stowed position in the side rail. Repeat with
crossbar on the opposite side.
NOTE: The thumb screws cannot be fully removed.
CAUTION!
Use care when removing and handling the crossbars to
prevent damage to the vehicle.
Thumb Screw
Removing Crossbars
3
GETTING TO KNOW YOUR VEHICLE 151
Page 155 of 614
4. Once the crossbar is in place, tighten both thumb screwscompletely.
5. Deploy and tighten the second crossbar to complete the deployment of the crossbars.
NOTE: The crossbars are not identical and have fixed
deployment positions. Rear crossbar can be deployed in
two different positions.
Stowing The Crossbars
1. Starting with one crossbar, completely loosen the thumb screws at both ends. Lift the crossbar away from the matching letter to remove it from the deployed position.
Repeat with the other crossbar.
CAUTION!
Use care when removing and handling the crossbars to
prevent damage to the vehicle.
2. Starting with the one crossbar, bend up the pivot supports at each end.
Installing Crossbars
Crossbar Pivot
3
GETTING TO KNOW YOUR VEHICLE 153
Page 156 of 614
3. Then, position the crossbar along the correct side rail.Make sure the letters on the crossbar align with the
matching letters on the side rail. 4. The crossbar will nest fully within the side rail.
Stowing Crossbars
Crossbar To Side Rail
154 GETTING TO KNOW YOUR VEHICLE
Page 157 of 614
5. Once the driver ’s side crossbar is in place, tighten thethumb screws completely. 6. Repeat the procedure to stow the second crossbar on the
opposite side.
NOTE:
• To help control wind noise, stow the crossbars in the side
rails when they are not in use.
• If any metallic object is placed over the satellite radio
antenna (if equipped), you may experience interruption
of satellite radio reception.
Tightening CrossbarStowed Crossbars
3
GETTING TO KNOW YOUR VEHICLE 155
Page 177 of 614

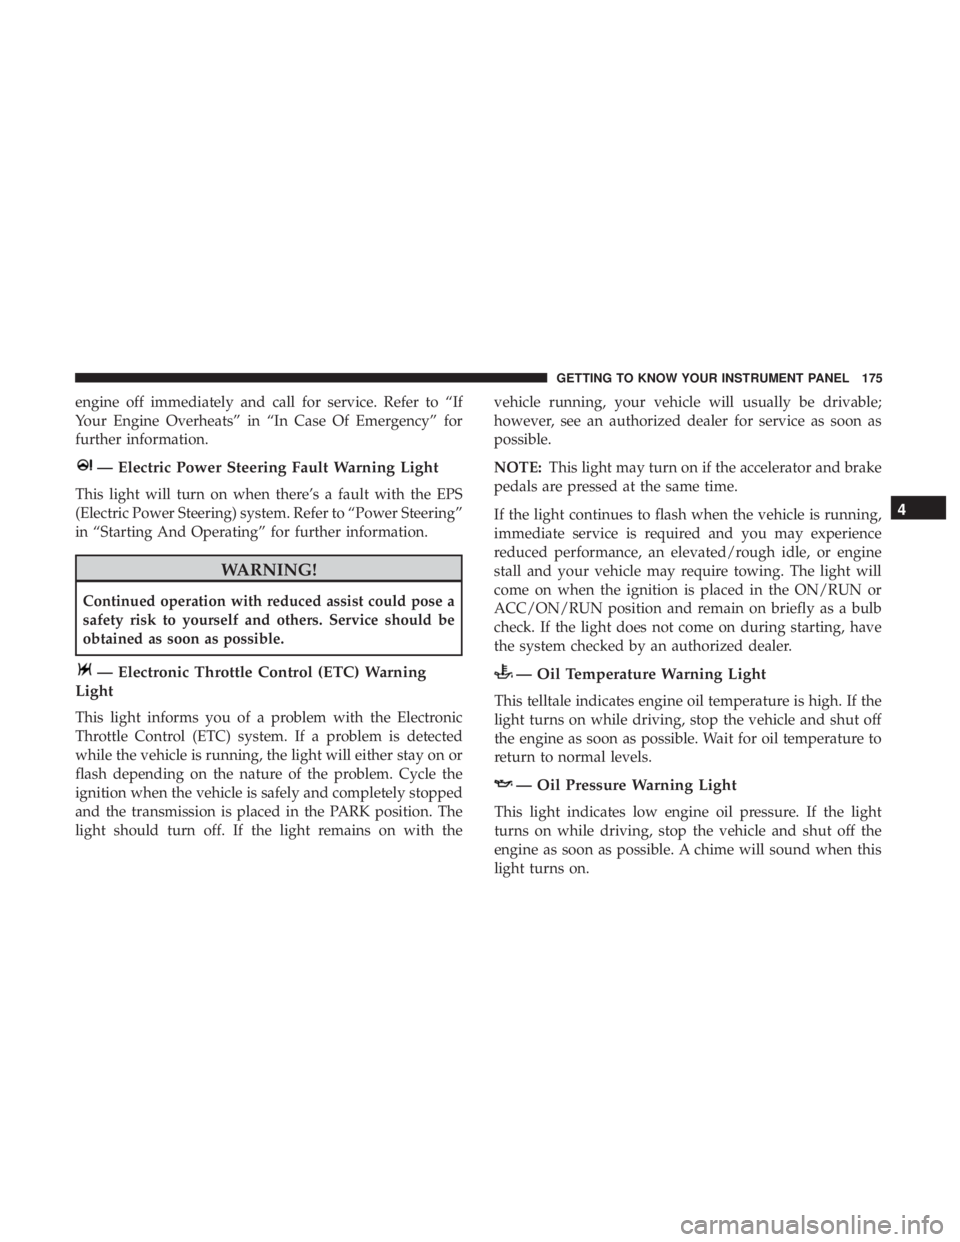
engine off immediately and call for service. Refer to “If
Your Engine Overheats” in “In Case Of Emergency” for
further information.
— Electric Power Steering Fault Warning Light
This light will turn on when there’s a fault with the EPS
(Electric Power Steering) system. Refer to “Power Steering”
in “Starting And Operating” for further information.
WARNING!
Continued operation with reduced assist could pose a
safety risk to yourself and others. Service should be
obtained as soon as possible.
— Electronic Throttle Control (ETC) Warning
Light
This light informs you of a problem with the Electronic
Throttle Control (ETC) system. If a problem is detected
while the vehicle is running, the light will either stay on or
flash depending on the nature of the problem. Cycle the
ignition when the vehicle is safely and completely stopped
and the transmission is placed in the PARK position. The
light should turn off. If the light remains on with the vehicle running, your vehicle will usually be drivable;
however, see an authorized dealer for service as soon as
possible.
NOTE:
This light may turn on if the accelerator and brake
pedals are pressed at the same time.
If the light continues to flash when the vehicle is running,
immediate service is required and you may experience
reduced performance, an elevated/rough idle, or engine
stall and your vehicle may require towing. The light will
come on when the ignition is placed in the ON/RUN or
ACC/ON/RUN position and remain on briefly as a bulb
check. If the light does not come on during starting, have
the system checked by an authorized dealer.
— Oil Temperature Warning Light
This telltale indicates engine oil temperature is high. If the
light turns on while driving, stop the vehicle and shut off
the engine as soon as possible. Wait for oil temperature to
return to normal levels.
— Oil Pressure Warning Light
This light indicates low engine oil pressure. If the light
turns on while driving, stop the vehicle and shut off the
engine as soon as possible. A chime will sound when this
light turns on.
4
GETTING TO KNOW YOUR INSTRUMENT PANEL 175
Page 178 of 614

Do not operate the vehicle until the cause is corrected. This
light does not indicate how much oil is in the engine. The
engine oil level must be checked under the hood.
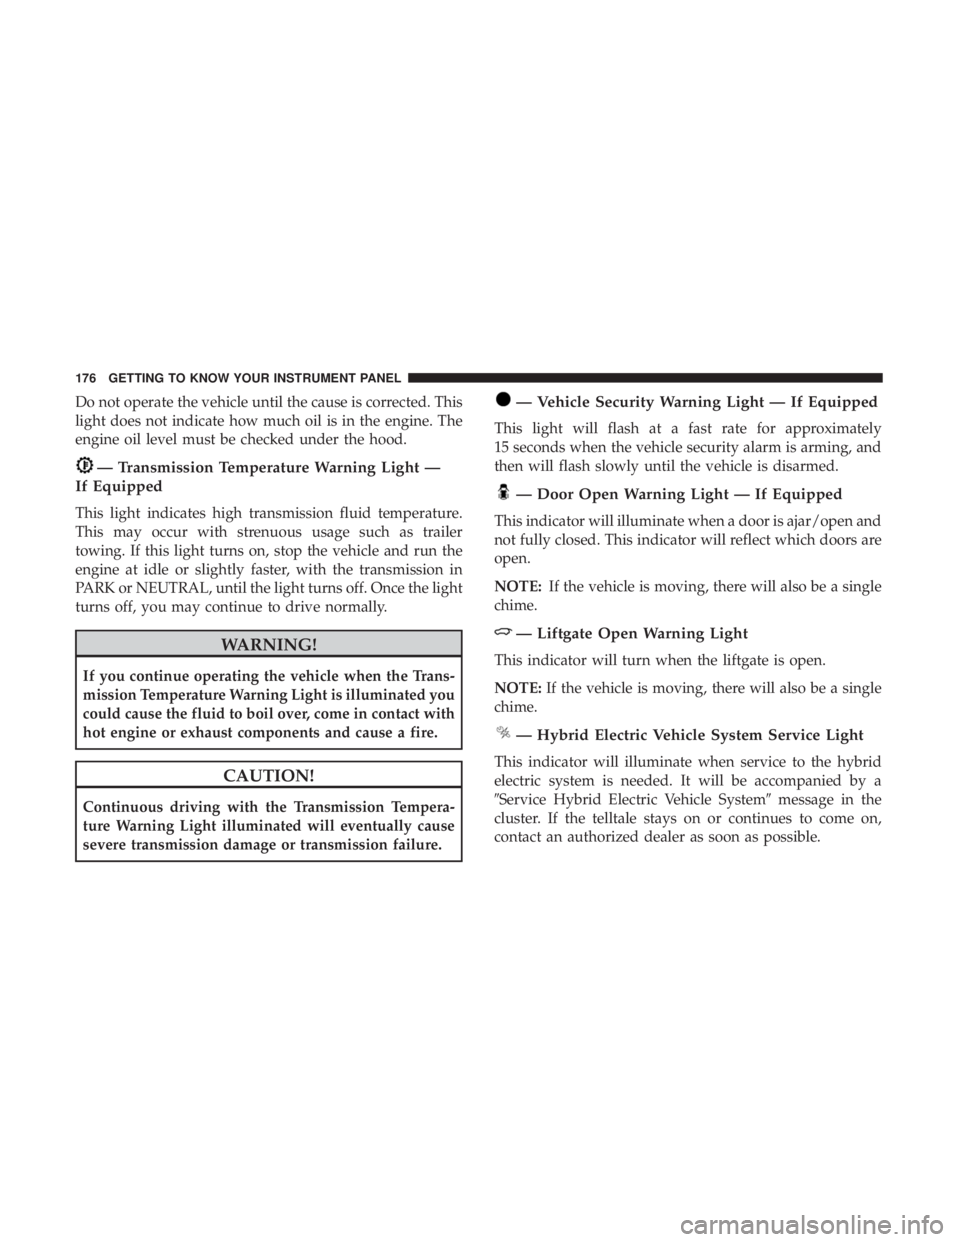
— Transmission Temperature Warning Light —
If Equipped
This light indicates high transmission fluid temperature.
This may occur with strenuous usage such as trailer
towing. If this light turns on, stop the vehicle and run the
engine at idle or slightly faster, with the transmission in
PARK or NEUTRAL, until the light turns off. Once the light
turns off, you may continue to drive normally.
WARNING!
If you continue operating the vehicle when the Trans-
mission Temperature Warning Light is illuminated you
could cause the fluid to boil over, come in contact with
hot engine or exhaust components and cause a fire.
CAUTION!
Continuous driving with the Transmission Tempera-
ture Warning Light illuminated will eventually cause
severe transmission damage or transmission failure.
— Vehicle Security Warning Light — If Equipped
This light will flash at a fast rate for approximately
15 seconds when the vehicle security alarm is arming, and
then will flash slowly until the vehicle is disarmed.
— Door Open Warning Light — If Equipped
This indicator will illuminate when a door is ajar/open and
not fully closed. This indicator will reflect which doors are
open.
NOTE: If the vehicle is moving, there will also be a single
chime.
— Liftgate Open Warning Light
This indicator will turn when the liftgate is open.
NOTE: If the vehicle is moving, there will also be a single
chime.
— Hybrid Electric Vehicle System Service Light
This indicator will illuminate when service to the hybrid
electric system is needed. It will be accompanied by a
�Service Hybrid Electric Vehicle System� message in the
cluster. If the telltale stays on or continues to come on,
contact an authorized dealer as soon as possible.
176 GETTING TO KNOW YOUR INSTRUMENT PANEL
Page 186 of 614

Blue Indicator Lights
— High Beam Indicator Light
This indicator shows that the high beam headlights are on.
With the low beams activated, push the multifunction lever
forward (toward the front of the vehicle) to turn on the
high beams. Pull the multifunction lever rearward (toward
the rear of the vehicle) to turn off the high beams. If the
high beams are off, pull the lever toward you for a
temporary high beam on,�flash to pass�scenario.
ONBOARD DIAGNOSTIC SYSTEM — OBD II
Your vehicle is equipped with a sophisticated Onboard
Diagnostic system called OBD II. This system monitors the
performance of the emissions, engine, and automatic trans-
mission control systems. When these systems are operating
properly, your vehicle will provide excellent performance
and fuel economy, as well as emissions well within current
government regulations.
If any of these systems require service, the OBD II system
will turn on the Malfunction Indicator Light (MIL). It will
also store diagnostic codes and other information to assist
your service technician in making repairs. Although your vehicle will usually be drivable and not need towing, see
an authorized dealer for service as soon as possible.
CAUTION!
•
Prolonged driving with the MIL on could cause
further damage to the emission control system. It
could also affect fuel economy and driveability. The
vehicle must be serviced before any emissions tests
can be performed.
• If the MIL is flashing while the vehicle is running,
severe catalytic converter damage and power loss
will soon occur. Immediate service is required.
Onboard Diagnostic System (OBD II) Cybersecurity
Your vehicle is required to have an Onboard Diagnostic
system (OBD II) and a connection port to allow access to
information related to the performance of your emissions
controls. Authorized service technicians may need to ac-
cess this information to assist with the diagnosis and
service of your vehicle and emissions system.
184 GETTING TO KNOW YOUR INSTRUMENT PANEL
Page 204 of 614

Rear Cross Path (RCP)
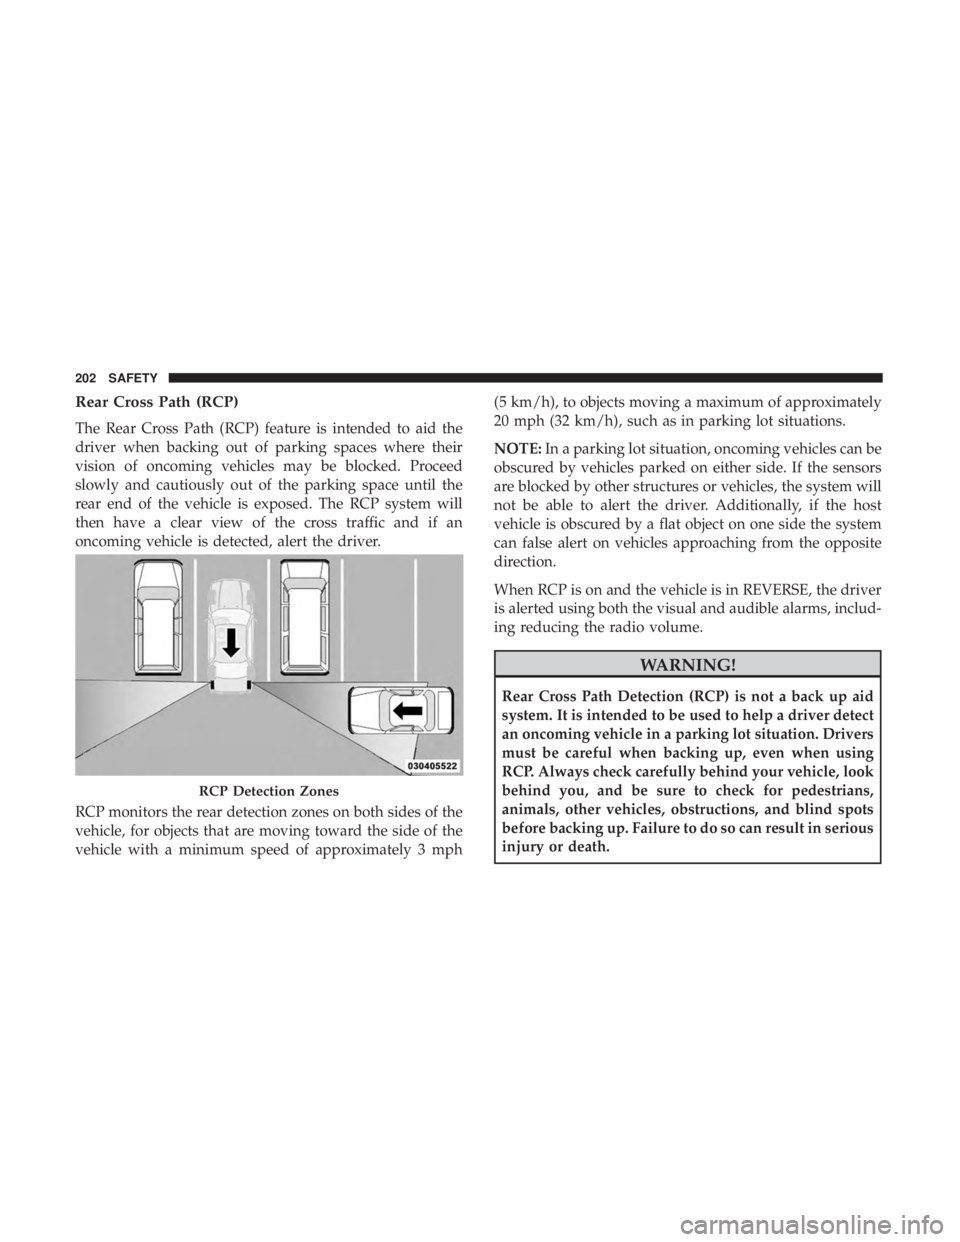
The Rear Cross Path (RCP) feature is intended to aid the
driver when backing out of parking spaces where their
vision of oncoming vehicles may be blocked. Proceed
slowly and cautiously out of the parking space until the
rear end of the vehicle is exposed. The RCP system will
then have a clear view of the cross traffic and if an
oncoming vehicle is detected, alert the driver.
RCP monitors the rear detection zones on both sides of the
vehicle, for objects that are moving toward the side of the
vehicle with a minimum speed of approximately 3 mph(5 km/h), to objects moving a maximum of approximately
20 mph (32 km/h), such as in parking lot situations.
NOTE:
In a parking lot situation, oncoming vehicles can be
obscured by vehicles parked on either side. If the sensors
are blocked by other structures or vehicles, the system will
not be able to alert the driver. Additionally, if the host
vehicle is obscured by a flat object on one side the system
can false alert on vehicles approaching from the opposite
direction.
When RCP is on and the vehicle is in REVERSE, the driver
is alerted using both the visual and audible alarms, includ-
ing reducing the radio volume.
WARNING!
Rear Cross Path Detection (RCP) is not a back up aid
system. It is intended to be used to help a driver detect
an oncoming vehicle in a parking lot situation. Drivers
must be careful when backing up, even when using
RCP. Always check carefully behind your vehicle, look
behind you, and be sure to check for pedestrians,
animals, other vehicles, obstructions, and blind spots
before backing up. Failure to do so can result in serious
injury or death.
RCP Detection Zones
202 SAFETY