Page 13 of 614
INTERIOR
Interior Features
1 — Power Window/Door Lock Switches5 — Door Handle
2 — Electronic Gear Selector 6 — Climate Control
3 — Uconnect Radio 7 — Center Console
4 — Switch Panel 8 — Seats
2
GRAPHICAL TABLE OF CONTENTS 11
Page 137 of 614

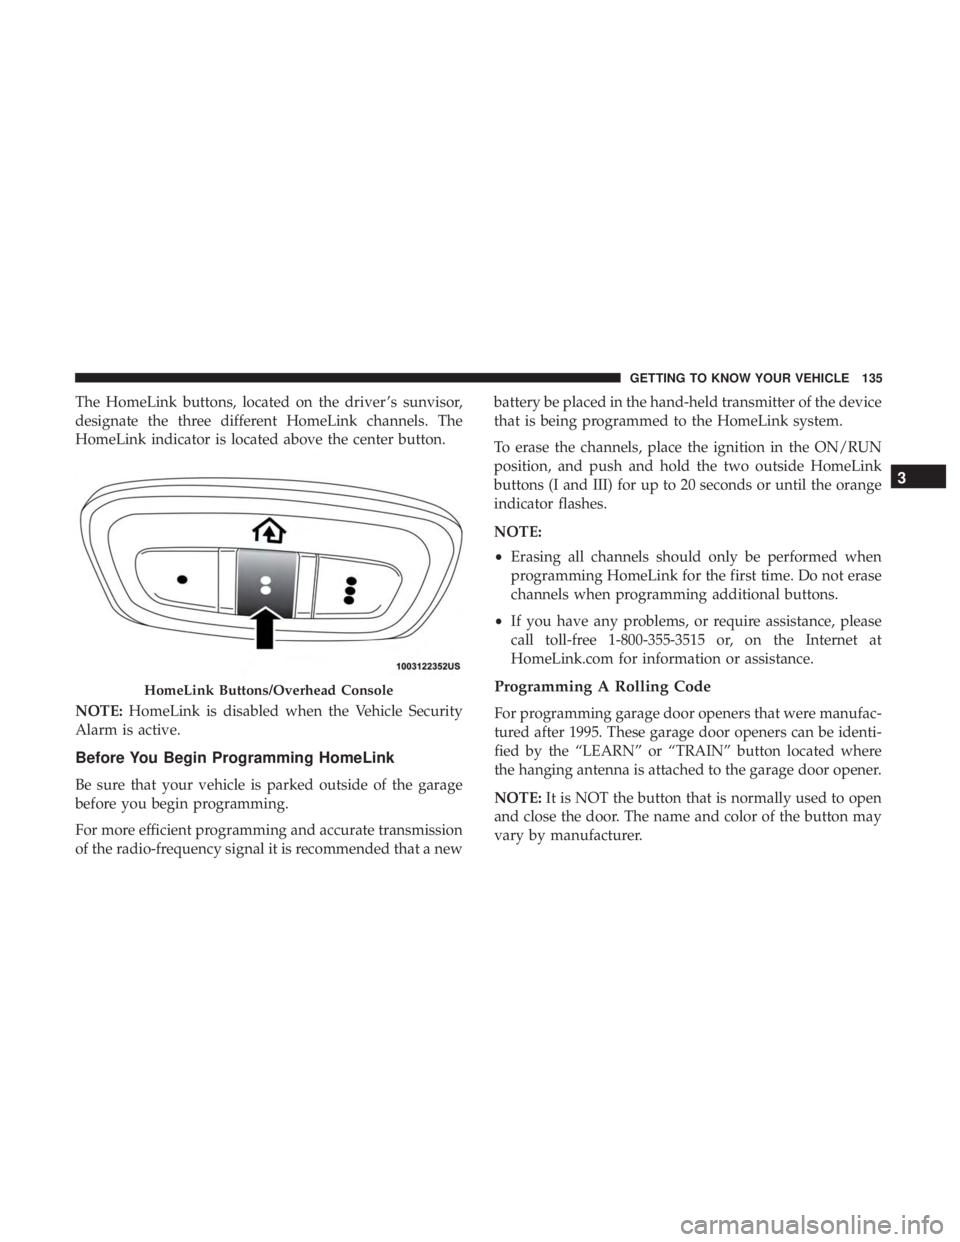
The HomeLink buttons, located on the driver ’s sunvisor,
designate the three different HomeLink channels. The
HomeLink indicator is located above the center button.
NOTE:HomeLink is disabled when the Vehicle Security
Alarm is active.
Before You Begin Programming HomeLink
Be sure that your vehicle is parked outside of the garage
before you begin programming.
For more efficient programming and accurate transmission
of the radio-frequency signal it is recommended that a new battery be placed in the hand-held transmitter of the device
that is being programmed to the HomeLink system.
To erase the channels, place the ignition in the ON/RUN
position, and push and hold the two outside HomeLink
buttons (I and III) for up to 20 seconds or until the orange
indicator flashes.
NOTE:
•
Erasing all channels should only be performed when
programming HomeLink for the first time. Do not erase
channels when programming additional buttons.
• If you have any problems, or require assistance, please
call toll-free 1-800-355-3515 or, on the Internet at
HomeLink.com for information or assistance.
Programming A Rolling Code
For programming garage door openers that were manufac-
tured after 1995. These garage door openers can be identi-
fied by the “LEARN” or “TRAIN” button located where
the hanging antenna is attached to the garage door opener.
NOTE: It is NOT the button that is normally used to open
and close the door. The name and color of the button may
vary by manufacturer.
HomeLink Buttons/Overhead Console
3
GETTING TO KNOW YOUR VEHICLE 135
Page 151 of 614

CAUTION!
Do not connect devices with power higher than 180
Watts (15 Amps) to the socket. Do not damage the
socket by using unsuitable adaptors. If the 180 Watt (15
Amp) power rating is exceeded the fuse protecting the
system will need to be replaced.
Smoker’s Package Kit — If Equipped
With the optional authorized dealer-installed Smoker’s
Package Kit, a removable ash receiver is inserted into one
of the two cupholders in the center floor console. To install
the ash receiver, align the receiver so the thumb grip on the
lid is facing rearward. Push the ash receiver into either of
the cup wells to secure. Pull upward on the ash receiver to
remove for cleaning and/or storage.
The left rear trim panel cupholder is designed to accom-
modate a second ash receiver, if desired.
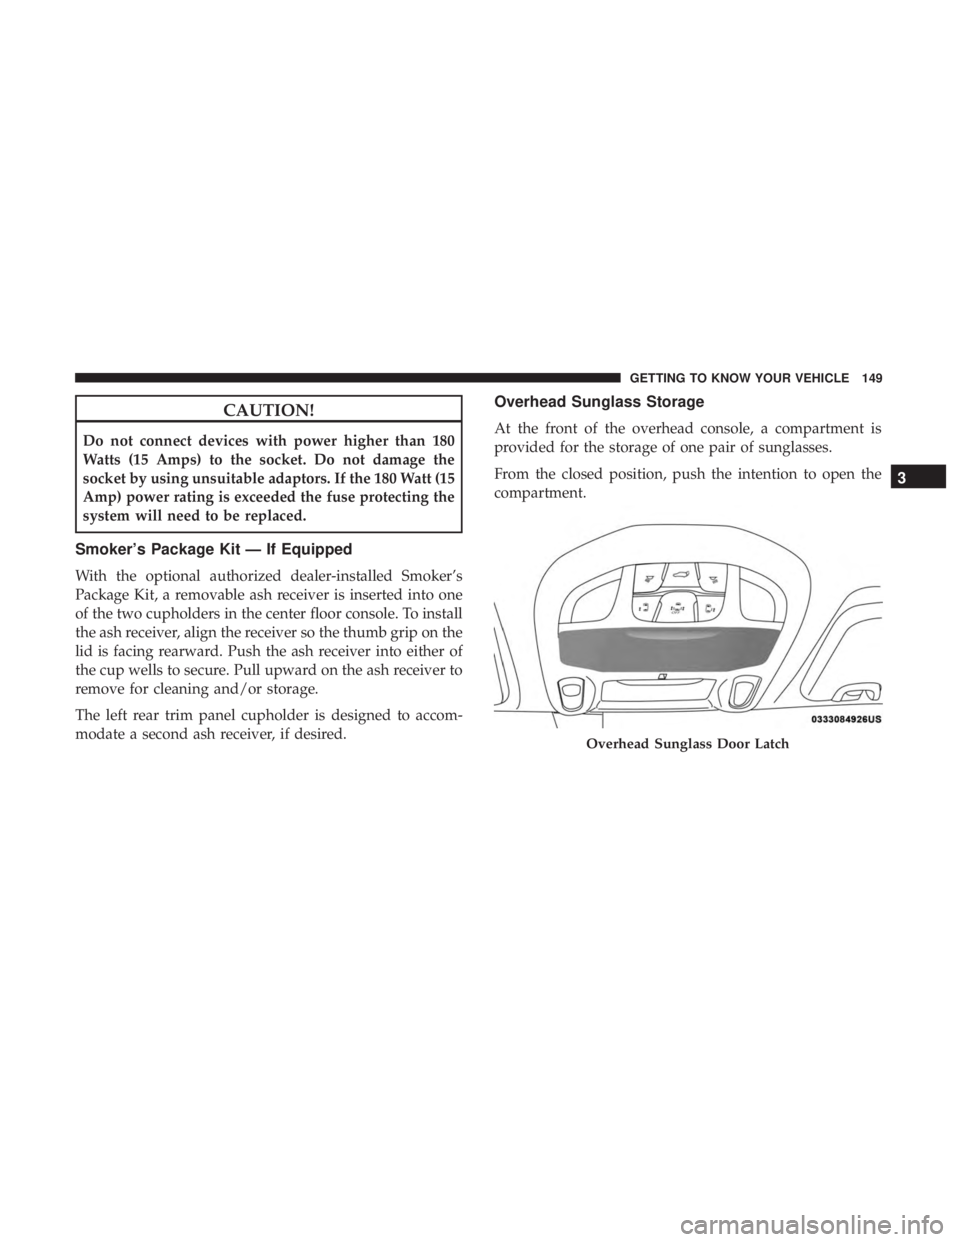
Overhead Sunglass Storage
At the front of the overhead console, a compartment is
provided for the storage of one pair of sunglasses.
From the closed position, push the intention to open the
compartment.
Overhead Sunglass Door Latch
3
GETTING TO KNOW YOUR VEHICLE 149
Page 239 of 614

The OCS will detect the front passenger ’s decreased or
increased seated weight, which may result in an adjusted
inflation rate of the Passenger Advanced Front Air Bag in a
collision. This does not mean that the OCS is working
improperly. Decreasing the front passenger ’s seated weight
on the front passenger seat may result in a reduced-power
deployment of the Passenger Advanced Front Air Bag.
Increasing the front passenger ’s seated weight on the front
passenger seat may result in a full-power deployment of
the Passenger Advanced Front Air Bag.
Examples of improper front passenger seating include:
•The front passenger ’s weight is transferred to another
part of the vehicle (like the door, arm rest or instrument
panel).
• The front passenger leans forward, sideways, or turns to
face the rear of the vehicle.
• The front passenger ’s seatback is not in the full upright
position.
• The front passenger carries or holds an object while
seated (e.g., backpack, box, etc.).
• Objects are lodged under the front passenger seat.
• Objects are lodged between the front passenger seat and
center console. •
Accessories that may change the seated weight on the
front passenger seat are attached to the front passenger
seat.
• Anything that may decrease or increase the front pas-
senger ’s seated weight.
The OCS determines the front passenger ’s most probable
classification. If an occupant in the front passenger seat is
seated improperly, the occupant may provide an output
signal to the OCS that is different from the occupant’s
properly seated weight input, for example:
Not Seated Properly
5
SAFETY 237
Page 290 of 614

pedal must be pressed. The brake pedal must also be
pressed to shift from NEUTRAL into DRIVE or REVERSE
when the vehicle is stopped or moving at low speeds.
Hybrid Transmission
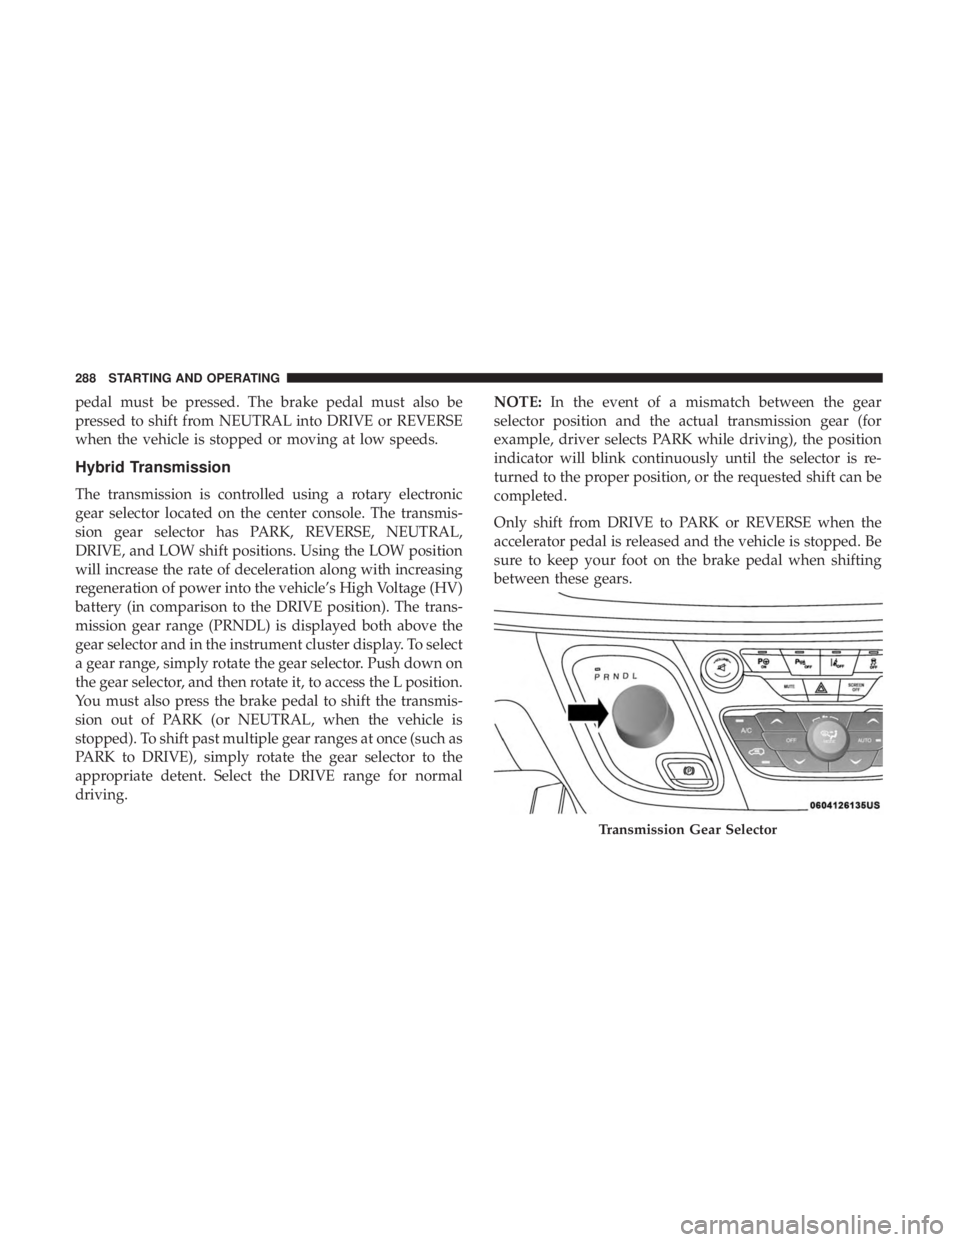
The transmission is controlled using a rotary electronic
gear selector located on the center console. The transmis-
sion gear selector has PARK, REVERSE, NEUTRAL,
DRIVE, and LOW shift positions. Using the LOW position
will increase the rate of deceleration along with increasing
regeneration of power into the vehicle’s High Voltage (HV)
battery (in comparison to the DRIVE position). The trans-
mission gear range (PRNDL) is displayed both above the
gear selector and in the instrument cluster display. To select
a gear range, simply rotate the gear selector. Push down on
the gear selector, and then rotate it, to access the L position.
You must also press the brake pedal to shift the transmis-
sion out of PARK (or NEUTRAL, when the vehicle is
stopped). To shift past multiple gear ranges at once (such as
PARK to DRIVE), simply rotate the gear selector to the
appropriate detent. Select the DRIVE range for normal
driving.NOTE:
In the event of a mismatch between the gear
selector position and the actual transmission gear (for
example, driver selects PARK while driving), the position
indicator will blink continuously until the selector is re-
turned to the proper position, or the requested shift can be
completed.
Only shift from DRIVE to PARK or REVERSE when the
accelerator pedal is released and the vehicle is stopped. Be
sure to keep your foot on the brake pedal when shifting
between these gears.
Transmission Gear Selector
288 STARTING AND OPERATING
Page 386 of 614
BULB REPLACEMENT
Replacement Bulbs
Interior Bulbs
LampsBulb Number
Center & Rear Dome Lamp LED (Serviced At Authorized Dealer)
Center & Rear Reading Lamps LED (Serviced At Authorized Dealer)
Front Door Courtesy Lamp LED (Serviced At Authorized Dealer)
Front Header Reading Lamps – If Equipped LED (Serviced At Authorized Dealer)
Instrument Cluster Lamps LED (Serviced At Authorized Dealer)
Liftgate Lamp(s) LED (Serviced At Authorized Dealer)
Overhead Console Reading Lamps LED (Serviced At Authorized Dealer)
Removable Console Lamp – If Equipped LED (Serviced At Authorized Dealer)
Visor Vanity Lamps 6501966
384 IN CASE OF EMERGENCY
Page 537 of 614
AUX/USB/MP3 CONTROL
There are numerous USB ports located throughout the
vehicle. This feature allows an external USB device to be
plugged into the USB port.
For further information, refer to the Uconnect Owner ’s
Manual Supplement.The data USB ports are located on the instrument panel
below the climate controls.
There are multiple USB “charge only” ports in this vehicle.
•
In the center console
• On the back of the front row seats in the Uconnect
Theater Media hubs
• Above the rear cup holders in the third row of seats
Front Center Stack AUX Jack And USB Ports
1 — USB Port
2 — Aux Jack
3 — Uconnect Theater USB Port
Center Console USB Charging Port
10
MULTIMEDIA 535