2018 CHRYSLER PACIFICA HYBRID oil pressure
[x] Cancel search: oil pressurePage 166 of 614

Instrument Cluster Display Menu Items
NOTE:The Instrument Cluster Display menu items dis-
play in the center of the instrument cluster. Menu items
may vary depending on your vehicle features.
Speedometer
Push and release the upordown arrow button until
Speedometer is highlighted in the instrument cluster dis-
play. Push and release the OKbutton to toggle between
MPH and km/h.
Vehicle Info
Push and release the upordown arrow button until
Vehicle Info is highlighted in the instrument cluster dis-
play. Push the leftorright arrow button to scroll through
the following information submenus:
• Tire Pressure
• If tire pressure is OKfor all tires, a vehicle ICON is
displayed with tire pressure values in each corner of the
ICON.
• If one or more tires have low pressure, “Inflate Tire To
XX” is displayed with the vehicle ICON, and the tire
pressure values in each corner of the ICON with the
pressure value of the low tire displayed in a different
color than the other tire pressure value. •
If the Tire Pressure system requires service, “Service Tire
Pressure System” is displayed.
• Tire PSI is an information only function and cannot be
reset.
• Refer to “Tire Pressure Monitoring System (TPMS)”
under “Safety” for further information.
• Coolant Temperature
Displays the actual coolant temperature.
• Oil Temperature
Displays the actual oil temperature.
• Oil Pressure
Displays the actual oil pressure.
• Battery Voltage
Displays the actual battery voltage.
• Engine Hours — If Equipped
Displays the number of hours of engine operation.
164 GETTING TO KNOW YOUR INSTRUMENT PANEL
Page 177 of 614
engine off immediately and call for service. Refer to “If
Your Engine Overheats” in “In Case Of Emergency” for
further information.
— Electric Power Steering Fault Warning Light
This light will turn on when there’s a fault with the EPS
(Electric Power Steering) system. Refer to “Power Steering”
in “Starting And Operating” for further information.
WARNING!
Continued operation with reduced assist could pose a
safety risk to yourself and others. Service should be
obtained as soon as possible.
— Electronic Throttle Control (ETC) Warning
Light
This light informs you of a problem with the Electronic
Throttle Control (ETC) system. If a problem is detected
while the vehicle is running, the light will either stay on or
flash depending on the nature of the problem. Cycle the
ignition when the vehicle is safely and completely stopped
and the transmission is placed in the PARK position. The
light should turn off. If the light remains on with the vehicle running, your vehicle will usually be drivable;
however, see an authorized dealer for service as soon as
possible.
NOTE:
This light may turn on if the accelerator and brake
pedals are pressed at the same time.
If the light continues to flash when the vehicle is running,
immediate service is required and you may experience
reduced performance, an elevated/rough idle, or engine
stall and your vehicle may require towing. The light will
come on when the ignition is placed in the ON/RUN or
ACC/ON/RUN position and remain on briefly as a bulb
check. If the light does not come on during starting, have
the system checked by an authorized dealer.
— Oil Temperature Warning Light
This telltale indicates engine oil temperature is high. If the
light turns on while driving, stop the vehicle and shut off
the engine as soon as possible. Wait for oil temperature to
return to normal levels.
— Oil Pressure Warning Light
This light indicates low engine oil pressure. If the light
turns on while driving, stop the vehicle and shut off the
engine as soon as possible. A chime will sound when this
light turns on.
4
GETTING TO KNOW YOUR INSTRUMENT PANEL 175
Page 276 of 614
WARNING!(Continued)
•ONLY use the passenger ’s side floor mat on the
passenger ’s side floor area.
• ALWAYS make sure objects cannot fall or slide into
the driver ’s side floor area when the vehicle is
moving. Objects can become trapped under accelera-
tor, brake, or clutch pedals and could cause a loss of
vehicle control.
• NEVER place any objects under the floor mat (e.g.,
towels, keys, etc.). These objects could change the
position of the floor mat and may cause interference
with the accelerator, brake, or clutch pedals.
• If the vehicle carpet has been removed and re-
installed, always properly attach carpet to the floor
and check the floor mat fasteners are secure to the
vehicle carpet. Fully depress each pedal to check for
interference with the accelerator, brake, or clutch
pedals then re-install the floor mats.
• It is recommended to only use mild soap and water
to clean your floor mats. After cleaning, always check
your floor mat has been properly installed and is
secured to your vehicle using the floor mat fasteners
by lightly pulling mat.
Periodic Safety Checks You Should Make Outside
The Vehicle
Tires
Examine tires for excessive tread wear and uneven wear
patterns. Check for stones, nails, glass, or other objects
lodged in the tread or sidewall. Inspect the tread for cuts
and cracks. Inspect sidewalls for cuts, cracks, and bulges.
Check the wheel nuts for tightness. Check the tires (includ-
ing spare) for proper cold inflation pressure.
Lights
Have someone observe the operation of brake lights and
exterior lights while you work the controls. Check turn
signal and high beam indicator lights on the instrument
panel.
Door Latches
Check for proper closing, latching, and locking.
Fluid Leaks
Check area under the vehicle after overnight parking for
fuel, coolant, oil, or other fluid leaks. Also, if gasoline
fumes are detected or if fuel, or brake fluid leaks are
suspected. The cause should be located and corrected
immediately.
274 SAFETY
Page 417 of 614
After Driving:
Pull over to a safe location. Refer to “Whenever You Stop
To Use Tire Service Kit” in this section before continuing.
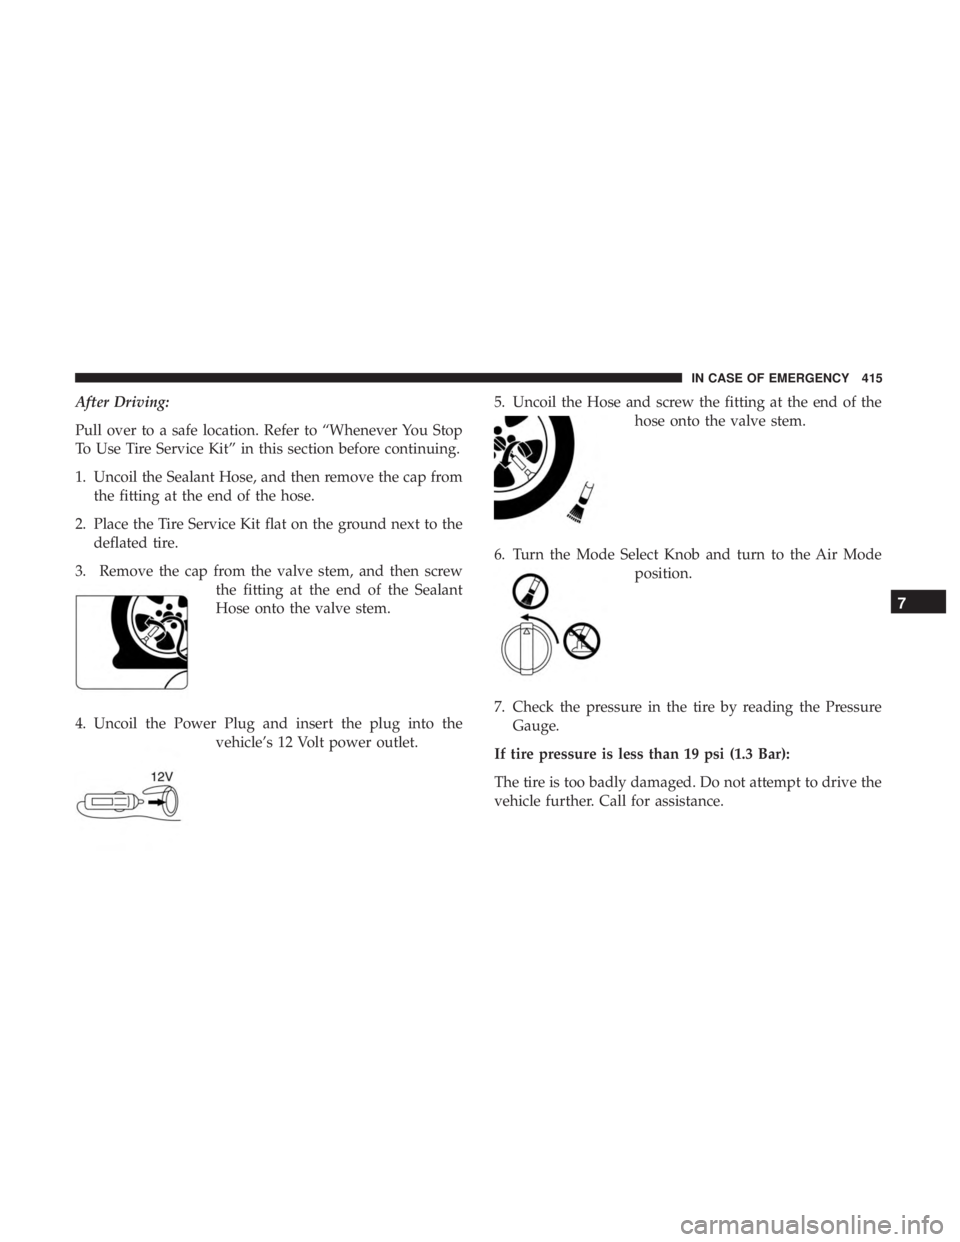
1. Uncoil the Sealant Hose, and then remove the cap fromthe fitting at the end of the hose.
2. Place the Tire Service Kit flat on the ground next to the deflated tire.
3. Remove the cap from the valve stem, and then screw the fitting at the end of the Sealant
Hose onto the valve stem.
4. Uncoil the Power Plug and insert the plug into the vehicle’s 12 Volt power outlet. 5. Uncoil the Hose and screw the fitting at the end of the
hose onto the valve stem.
6. Turn the Mode Select Knob and turn to the Air Mode position.
7. Check the pressure in the tire by reading the Pressure Gauge.
If tire pressure is less than 19 psi (1.3 Bar):
The tire is too badly damaged. Do not attempt to drive the
vehicle further. Call for assistance.
7
IN CASE OF EMERGENCY 415
Page 434 of 614

Once A Month Or Before A Long Trip:
•Check engine oil level.
• Check windshield washer fluid level.
• Check tire pressure and look for unusual wear or
damage. Rotate tires at the first sign of irregular wear,
even if it occurs before the oil indicator system turns on.
• Check the fluid levels of the coolant reservoir and brake
master cylinder, fill as needed.
• Check function of all interior and exterior lights.Maintenance Plan
Required Maintenance Intervals
Refer to the maintenance schedules on the following page
for the required maintenance intervals.
At Every Oil Change Interval As Indicated By Oil Change Indicator System:
• Change oil and filter
• Rotate the tires
Rotate at the first sign of irregular wear, even if it occurs before the oil indicator system turns on
• Inspect battery and clean and tighten terminals as required
• Inspect brake pads, shoes, rotors, drums, hoses and park brake
• Inspect engine cooling system protection and hoses
• Inspect exhaust system
• Inspect engine air cleaner if using in dusty or off-road conditions
432 SERVICING AND MAINTENANCE
Page 438 of 614
Checking Oil Level
To assure proper engine lubrication, the engine oil must be
maintained at the correct level. Check the oil level at
regular intervals, such as every fuel stop. The best time to
check the engine oil level is about five minutes after a fully
warmed engine is shut OFF.
Checking the oil while the vehicle is on level ground will
improve the accuracy of the oil level readings. Maintain the
oil level between the MIN and MAX markings on the
dipstick. Adding one quart or one liter of oil when the
reading is at the MIN mark will result in a MAX reading on
these engines.
CAUTION!
•Overfilling or underfilling will cause oil aeration, or
loss of oil pressure. This could damage your engine.
• Never use Non-Detergent Oil or Straight Mineral Oil
in the engine or damage may result.
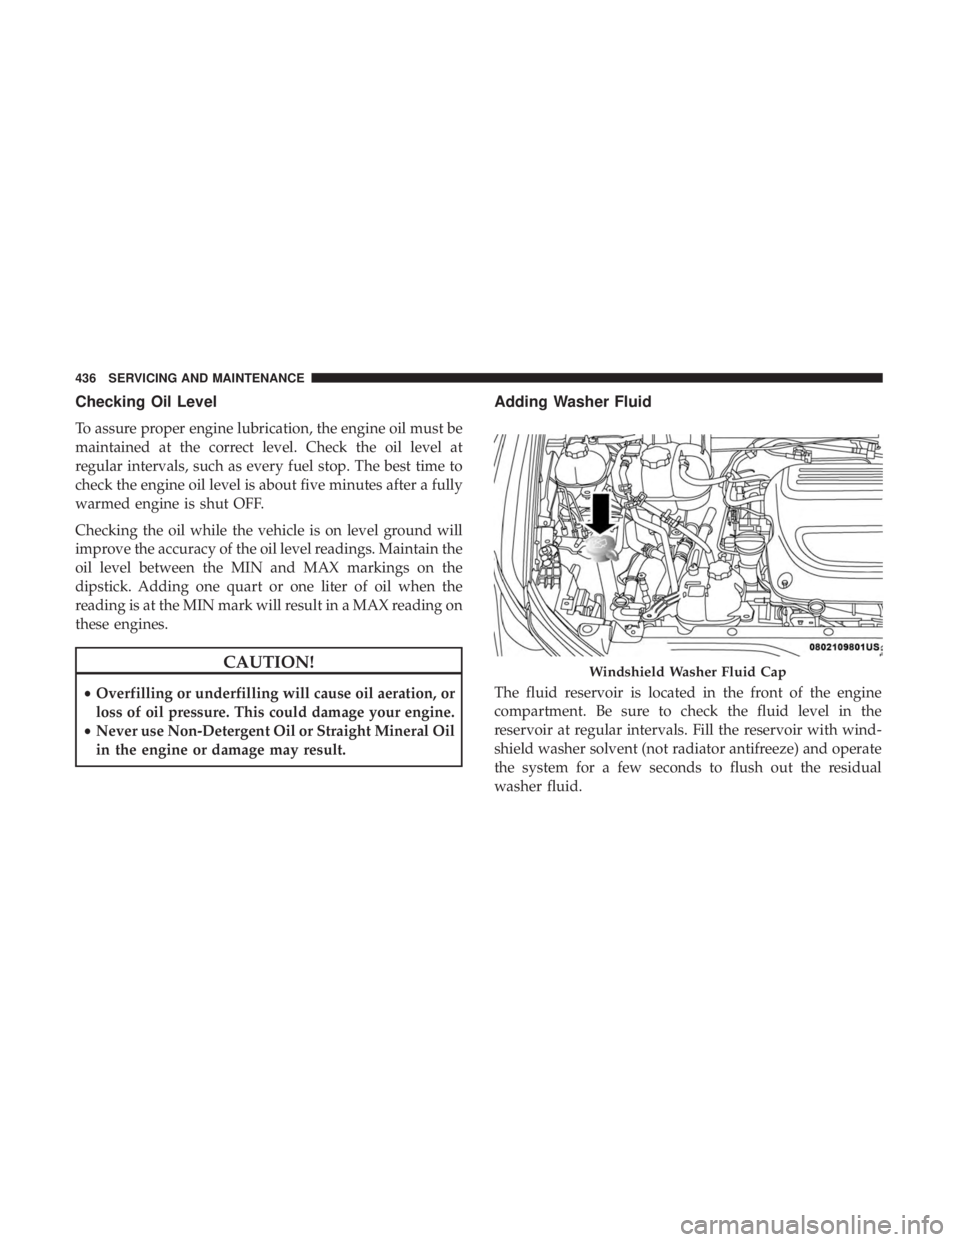
Adding Washer Fluid
The fluid reservoir is located in the front of the engine
compartment. Be sure to check the fluid level in the
reservoir at regular intervals. Fill the reservoir with wind-
shield washer solvent (not radiator antifreeze) and operate
the system for a few seconds to flush out the residual
washer fluid.
Windshield Washer Fluid Cap
436 SERVICING AND MAINTENANCE
Page 478 of 614
Keep dismounted tires in a cool, dry place with as little
exposure to light as possible. Protect tires from contact with
oil, grease, and gasoline.
Replacement Tires
The tires on your new vehicle provide a balance of many
characteristics. They should be inspected regularly for
wear and correct cold tire inflation pressures. The manu-
facturer strongly recommends that you use tires equivalent
to the originals in size, quality and performance when
replacement is needed. Refer to the paragraph on “Tread
Wear Indicators” in this section. Refer to the Tire and
Loading Information placard or the Vehicle Certification
Label for the size designation of your tire. The Load Index
and Speed Symbol for your tire will be found on the
original equipment tire sidewall.
See the Tire Sizing Chart example found in the “Tire Safety
Information” section of this manual for more information
relating to the Load Index and Speed Symbol of a tire.
It is recommended to replace the two front tires or two rear
tires as a pair. Replacing just one tire can seriously affect
your vehicle’s handling. If you ever replace a wheel, make
sure that the wheel’s specifications match those of the
original wheels.It is recommended you contact an authorized tire dealer or
original equipment dealer with any questions you may
have on tire specifications or capability. Failure to use
equivalent replacement tires may adversely affect the
safety, handling, and ride of your vehicle.
WARNING!
•
Do not use a tire, wheel size, load rating, or speed
rating other than that specified for your vehicle.
Some combinations of unapproved tires and wheels
may change suspension dimensions and perfor-
mance characteristics, resulting in changes to steer-
ing, handling, and braking of your vehicle. This can
cause unpredictable handling and stress to steering
and suspension components. You could lose control
and have a collision resulting in serious injury or
death. Use only the tire and wheel sizes with load
ratings approved for your vehicle.
• Never use a tire with a smaller load index or capacity,
other than what was originally equipped on your
vehicle. Using a tire with a smaller load index could
result in tire overloading and failure. You could lose
control and have a collision.
(Continued)
476 SERVICING AND MAINTENANCE
Page 603 of 614
Side Marker........................ .387, 388
SmartBeams .............................95
Tire Pressure Monitoring (TPMS) ..........180, 207
Traction Control ........................ .194
Turn Signal ....................93, 182, 274, 387
Warning (Instrument Cluster Description) . . . .174, 182
Load Floor, Cargo ......................... .134
Loading Vehicle ....................... .134, 370
Tires................................. .467
Load Shed Battery Saver Mode ...................... .170
Battery Saver On ........................ .170
Electrical Load Reduction ...................170
Intelligent Battery Sensor ...................170
Low Tire Pressure System .....................207
Lubrication, Body ......................... .445
Luggage Rack (Roof Rack) ....................150
Lug Nuts ............................... .492
Maintenance Free Battery .....................437
Maintenance Schedule ...................... .431
Malfunction Indicator Light (Check Engine) ........185
Manual, Service ........................... .592
Map/Reading Lights .........................98
Marker Lights, Side ........................ .387Master Cylinder (Brakes)
.....................459
Memory Feature (Memory Seat) .................68
Memory Seat ..............................68
Memory Seats And Radio .....................68
Methanol ............................... .495
Mirrors ..................................89
Automatic Dimming .......................89
Electric Remote ...........................91
Exterior Folding ..........................92
Heated ............................. .89, 92
Outside ............................. .89, 90
Rearview ........................... .89, 378
Vanity .................................93
Modifications/Alterations, Vehicle ................6
Monitor, Tire Pressure System ..................207
Mopar
Parts ............................. .591
Multi-Function Control Lever ...................93
New Vehicle Break-In Period ..................281
Occupant Restraints ........................ .213
Octane Rating, Gasoline (Fuel) ..............494, 499
Oil, Engine ........................... .438, 499
Capacity .............................. .498
Change Interval ........................ .438
12
INDEX 601