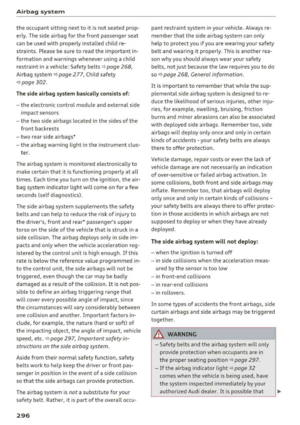
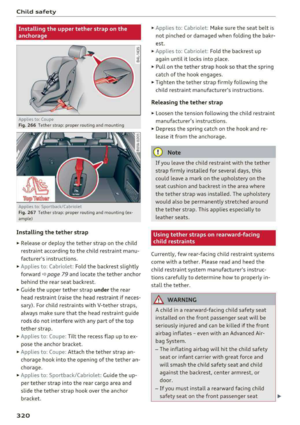
Page 161 of 409

Switching the MMI on/off: the MMI can be
switched on/off manua lly.
-Switching on manually : press the On/Off knob
(f)c:> fig . 162 briefly . Or: press the I MENU I but
ton @
c:>page 158, fig. 160 or c:>page 158,
fig. 161,
or one of the buttons to open the me
nus
directly @.
-Switching off manually : press and hold the
On/Off knob
(f) c::> fig. 162 until the MMI
switches off . If the MMI has been switched off
ma nually, it does
not sw itch on again automati
ca lly the next time the ignit ion is switched on .
Additional functions:
- Adjusting the volume:
turn the On/Off knob (f)
c::>fig. 162.
- Muting : press the On/Off knob (f) c:> fig. 162
briefly.
-Selecting the previous /next function (for ex
ample, a radio station/track) :
press the On/Off
knob
(f) c::> fig . 162 briefly toward the left l<3
rig ht
t>l>I.
-Fast forwarding /rewinding (for example
songs):
press and hold the On/Off knob (f)
c::> fig. 162 toward the left l<3l>I.
A WARNING
Adjust the volume of the audio system so that
signa ls from outside the vehicle, such as po
lice and fire sirens, can be heard easily at all
times.
@ Tips
The M MI switches off automatically if the en
gine is not running and the vehicle battery is
low.
Infotainment system
display
Switching on and off
- Switching on and off manually :
press the l('.)J
button @ c> page 8, fig. 2.
When the MMI is switched on and the display is
switched off, you can operate certain functions
using the On/Off knob with the MMI joystick
function
c> page 158 .
Multi Media Interface
Information on display images
The display version depends on vehicle equip
ment.
Fig . 163 D isp lay ve rs io n A
Fig. 164 Disp lay ve rs io n B
Additional content (such as album cover and map
material) is shown on display version B, if appli
cable
(f) ~ fig. 164. Because the other content
shown on the disp lays is nearly identical between
the two vers ions, this manual will primarily de
scribe display version A .
159
Page 162 of 409

Multi Media Interface
MMI operation
Selecting and confirming a function
F ig . 16 5 Ope rat ing the cont ro l knob
Selecting and confirming a function in a
menu /li st
• Selecting a fun ction : turn t he con trol knob (D
¢ fig. 165 t o the desired functio n (such as se
lecting a frequency).
• Confi rming a selection : press the control knob
@¢fig.165 .
Returning to functions at higher levels
• Press the I BACK j butto n 0 ¢ page 158,
fig . 160
o r ¢ page 158 , fig. 161 .
Opening the main menu/menu
Fig. 1 66 Diagram : main menu
160
Opening the main menu
• Press the I MENU I bu tton @~ page 158,
fig. 160
or ~ page 158 , fig . 161 . The MMI me
nus (s uch as
Radio ) are displayed ~ fig. 166 .
Then you can s elect and confirm a function us
i ng the control knob .
Opening a menu directly
• Press the applicable bu tton to di rec tly open the
menu ®
~pag e 158, fig. 160 or ¢page 158,
fig. 161
in the direction of the desired menu
(such as
I RADIO l l. T hen you can s ele ct and con
firm a function using the control knob .
Opening the selection menu/options menu
with the control buttons
Fig. 167 Co n trol b utto ns on t he MM I co ntro l pa ne l
Sele ction menu : through the se lection menu,
yo u can open additional funct io ns w it hi n a menu
i tem (s uch as
Radio ).
Requireme nt: the se lection menu symbol must
be d isplayed in the Infotainment system disp lay
~ fig . 167.
Opening /clos ing the selection menu : press the
left cont rol
button ¢ fig. 167 . Then you can se
l ect and confirm a function using the control
k nob.
Page 163 of 409

Options menu: using the opt ions menu, you can
select and confirm context-dependent tu nctions
as well as settings within a menu item (such as
Radio ).
Requirement: the options menu symbol G must
be disp layed in the Infotainment system display
r::!) fig. 167 .
Opening/closing the options menu : press the
right control button
r::!) fig. 167.
Information about paths
This guide shows you at a glance the paths for
opening a desired menu and its settings and
functions.
Example of a path
"' Se lect: I RADIO I button > left cont rol button >
FM .
Following the path
"'Press the I RADIO I button.
"' Press the left control button.
"'Turn the control knob to the FM menu item to
select i t.
"'Press the control knob to confirm the selected
FM men u item.
"'The selected and confirmed function is execut
ed. In this example, the
FM frequency band is
set.
Multi Media Interface
MMI touch
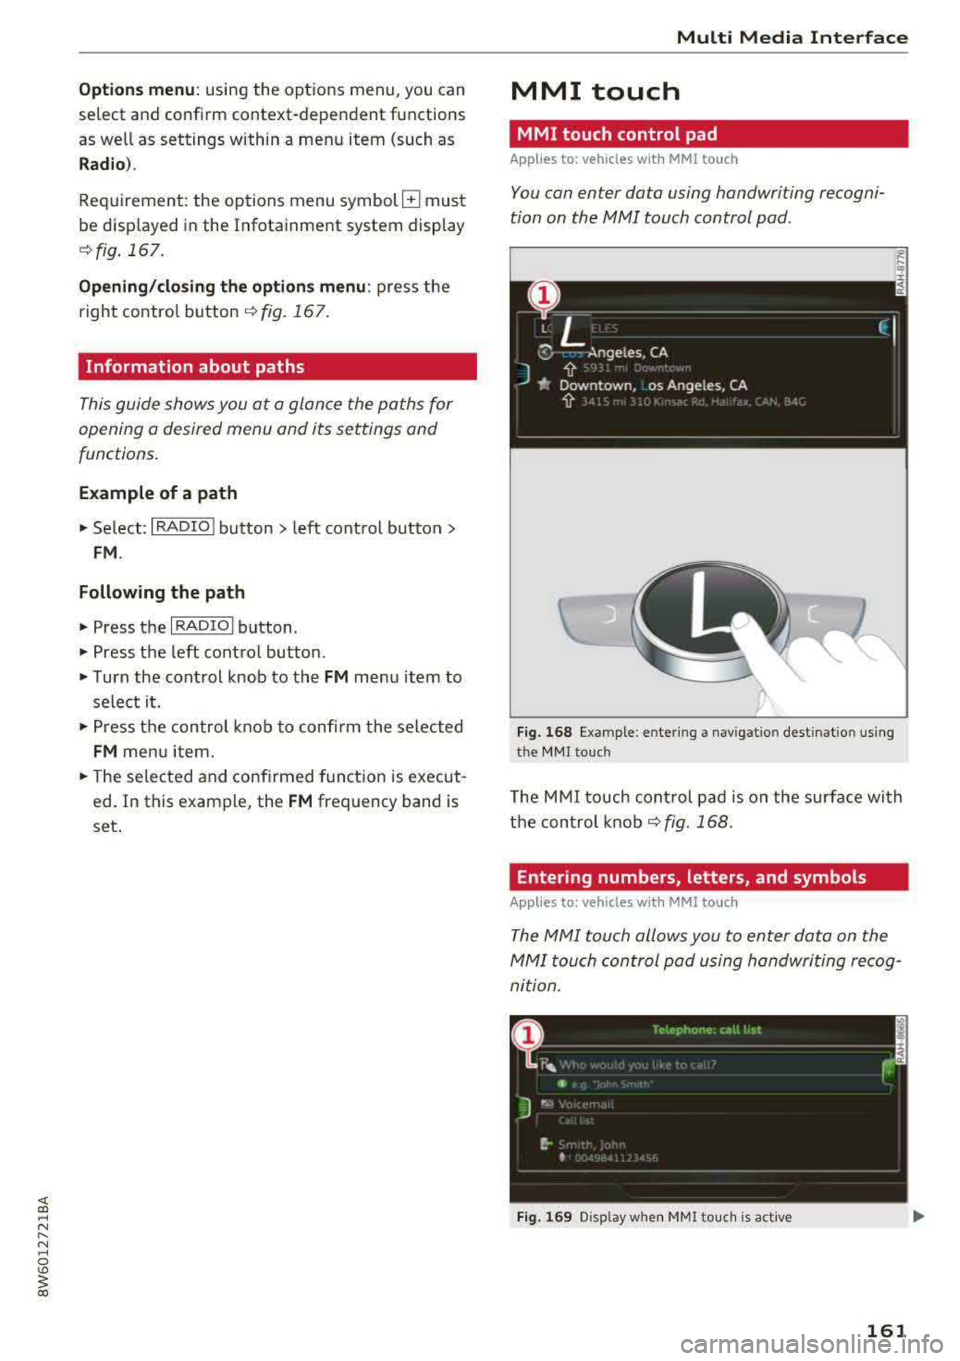
MMI touch control pad
App lies to: veh icles w it h MMI to uch
You can enter data using handwriting recogni
tion on the
MMI touch control pad.
Fig. 168 Examp le: en te ring a navigatio n dest inatio n using
the MMI touch
The MMI touch control pad is on the surface with
the control knob
r::!) fig. 168.
Entering numbers , letters , and symbols
App lies to : vehicles wi th MMI to uch
The MMI touch allows you to enter data on the
MMI touch control pad using handwriting recog
nition.
Fig. 169 Display when MMitouc h is active
161
Page 164 of 409

Multi Media Interface
R eq uiremen t: it must be possib le to enter text or
numbers and the symbol
CD c::> fig . 169 must ap
pea r in t he Infotainment system display.
- Initial entry : writ e an individ ual uppe r ca se or
lower case letter or number/ symbo l on the
M M I touch contro l pad u sing yo ur fin ger . A
symbol that is recognize d clear ly by the system
is d isp layed in the Infota inment system display
CD c::> page 161, fig. 168, co nfirmed with an au
dible s ignal if necessa ry, and t ransferred to the
i npu t field.
- Entering spaces : move your finger ac ross the
MM I touch control pad from left to r igh t.
- Deleting characters : move your finger across
the MMI to uch control pad from r ight to left .
-Selecting the input suggestion : press the con
trol knob .
-Switching directly to the results list : turn the
contro l knob to the right
-Opening the speller : select the right control
button>
Open speller . Text or numbe rs are en
tered using the spelle r
c::> page 165.
-MMI touch volume : press the right contro l but
ton. See
c:> page 256.
Moving the crosshairs
A ppl ies to : ve hicles w ith MM I touch
S flgu 1<0a St I
Fig. 170 Moving the c ross hair s
162
Requireme nt: a map mus t be displayed
c:> page 217 .
-Showing /hiding the crosshairs : press the co n
t rol knob to show the crosshairs
CD c:> fig. 170.
To hide the cross hairs a gai n, press the !BACKI
button (J) <=:> page 158, fig . 160 or <=:>page 158,
fig. 161 .
-Moving the crosshairs on a map : move the
crosshai rs shown in the desired direct ion us ing
your finger on the M MI to uch cont rol pad
c::> fig. 170.
Moving the map
App lies to : vehicles wit h MMI to uch
Fig . 171 Mov ing the map
Requireme nt: a map must be displayed
c:> page 217.
-Showing /hiding the crosshairs : press the con
trol k nob to show the c rosshairs
CD c:> fig. 171.
To hide the c rosshairs agai n, press th e I BACK I
butto n (J) c::> page 158, fig . 160 or c::> page 158 ,
fig. 161 .
-Moving the map: when the crossha irs a re visi
ble, pull two finge rs in the des ired direction
across t he MMI to u ch con trol pad
c::> pag e 219. .,..
Page 165 of 409

-Moving the map quickly : when the crosshairs
are visible, pull two fingers across the MMI
touch contro l pad quickly in the desired direc
tion. The map will come to a stop after several
seconds.
Zooming in/out on the map
App lies to: veh icles with MMI touch
Fig. 172 Zoom in/Zoo m ou t
Requirement : a map must be displayed
c:> page 217 .
-Zooming in/out on the map : press the control
knob to show the crosshairs . Touch the MMI
touch contro l pad with two fingers and pull
your fingers apart or together
c:> fig. 172.
Press the !BACK I button 0 to hide the crosshairs
c:>page 158, fig . 160.
Adjusting the sound focus
Applies to: veh icles with MMI touch
Requirement: the Balance/fader function must
be selected
c:> page 255.
- Moving the crosshairs for sound focus: move
your finger in the desired direction on the MMI
touch contro l pad.
- Storing the crosshairs location : press the con
trol knob twice.
Or : press the I BACK ! button 0
Qpage 158, fig. 160.
Using the DVD main menu
Applies to: veh icles with MMI touch
~ Requirement : a DVD must be play ing
;:::: c:> page 239. The DVD main menu is shown . ...... N ..... 0
'° ~ co
Multi Media Interface
- Selecting a menu item : move your finger up/
down or left/r ight on the MMI touch control
pad .
-Confirming a selection: press the control knob.
(D Tips
The volume of the voice guidance prompts for
the MMI
touch* can be adjusted separately
c:> page 256.
Control knob with
joystick function
Operation
Appl ies to: vehicles wi th joys tick func tion
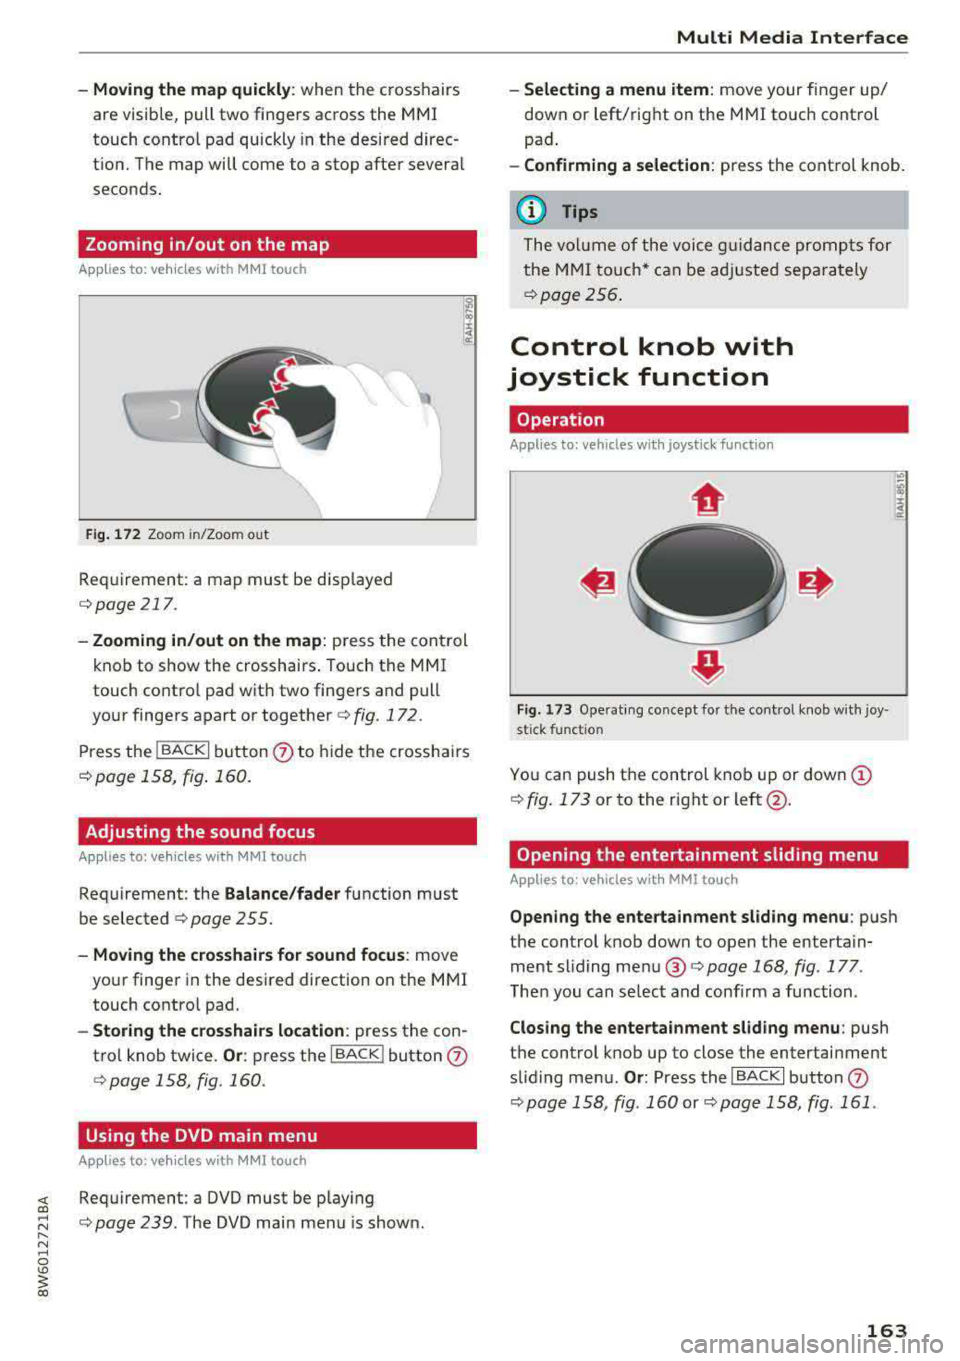
Fig. 173 Ope rat ing concept fo r the cont ro l knob with joy ·
s ti ck fun ctio n
You can push t he control knob up or down (!)
¢fig. 173 or to the r ight or left @.
Opening the entertainment sliding menu
Applies to : vehicles wit h MMI touch
Opening the entertainment sliding menu: push
the control knob down to open the entertain ment sliding menu ®¢
page 168 , fig. 177 .
Then you can select and confirm a function.
Closing the entertainment sliding menu: push
the control knob up to close the entertainment
sliding menu .
Or: Press the I BACK I button 0
¢page 158, fig . 160 or c:>page 158, fig. 161 .
163
Page 166 of 409

Multi Media Interface
Additional functions
Applies to: vehicles with joystick function
Displaying the input field /switching to
speller input
P ush the contro l kno b up c:;, page 163, fig. 173 to
reach the beginning of a list in t he centra l area or
the input field . If the input field is already open,
switch directly to the speller in the inp ut fie ld by
push ing the control knob up again
c:;, page 165,
Le tter/number speller.
On the map
Req uiremen t: a map must be disp layed
¢ page 217.
- Displaying the input field : push the control
k no b up.
- Di splaying route guidan ce : when rou te guid
an ce is acti ve , you can also display the route
guidance by pushing the contro l knob up
¢ page 212 , fig. 195 .
-Zooming in /out on the map (zoom) : turn t he
contro l knob to t he righ t/left to zoom in/o ut on
the map .
Applies to: vehicles without MMI touch with joystick function
-Show ing /h iding the cro sshairs : press the con
tro l knob . The crosshairs are shown o n the
map . Press th e
I BACK I button to h ide t he cross
hairs.
- Moving the crosshairs : when the crossha irs are
vis ible , turn the cont rol knob in t he d irec tion
th e crossh airs shou ld mo ve. Pre ss the contro l
k no b a nd ho ld i t unt il the cross hairs are in the
desired point on the map.
- Additional options on the map : see
c:;,page 218
Adjusting the sound focus
Applies to: vehicles without MMI touch with joystick function
Requiremen t: the ba la nce/fa der funct io n must
be s ele cted
c:;, page 255.
- Moving the sound focus using the crosshairs :
the crosshairs ca n be moved horizontally. Turn
the con trol knob to the left or to the r ight .
P ress t he con trol knob to move the crosshairs
vertically. Turn the contro l knob to the left o r
to the right. P ress the con trol knob ag ai n to
save the se tting.
164
Using the DVD main menu
Requireme nt: a DV D m ust be playing
¢ page 239 . The DV D ma in menu is shown.
- Selecting a menu item : move the contro l knob
w it h joys tick func tion up or down o r to t he left
or r ight.
- Confirming a selection : press the cont ro l knob .
Opening the selection/options menu with
. the control knob
Applies to: vehicles with joystick function
Fig. 174 Opening th e selec tion/op tions me nu w ith t he
cont ro l knob
Requireme nt: the se lec tion menu symbo l §I must
be d isplayed in t he Info tai nmen t sys tem disp lay
¢ fig. 174.
Opening/clos ing the selection menu: push the
contro l knob to t he left
c:;, fig . 174 to ope n these
l ection me nu. Then yo u can select a nd confirm a
funct io n using the co ntro l knob .
P ress the
I BACK I button 0 c:;, page 158, fig. 160
or c:;, page 158, fig . 161 to ret urn to the funct io n
o ne leve l up .
Requireme nt: the options me nu symbo l
G must
be d isplayed in t he Infotainmen t sys tem display
¢ fig . 174 . 1111-
Page 167 of 409

Opening/closing the options menu : push the
control knob to the right
c::> fig. 174 to open the
options menu. Then you can se lect and confirm a
function using the control knob.
Press the
I BACK I button (z) c::> page 158, fig. 160
or c::> page 158, fig . 161 to return to the function
one level up.
Shortcut keys
Frequently used radio stations can be stored on
the shortcut keys.
Applies to: veh icles with auto mat ic tra nsmi ssio ns
The sho rtcut keys are located on the MMI control
panel @c::>page 158, fig .160.
Applies to: veh icles with manual transmiss ion
The shortcut keys are located on the center con
sole ®
c::> page 158, fig . 161 .
Letter/number speller
Fig. 175 Diagram: letter/ num be r spe ller
You can enter letters, numbers and symbo ls in
the MMI using the letter/number speller. Th is
option is ava ilable when the input field
@ is ac
tive
c::> fig . 175.
- Opening/closing the letter/number speller :
move the control knob up/down when the input
field is active .
Or: select the right control but
ton >
Open speller/Close speller .
- Entering characters:
turn the control knob with
the character
selection @<=:> fig . 175 to the de-
Multi Media Interface
Storing radio stations: turn the control knob to
the desired radio station in a list (for examp le, a
radio station in the FM station list). Press and
hold the desired shortcut key for several seconds.
The active radio station wi ll be stored on the
shortcut key.
Accessing a radio station: press the shortcut key.
Displaying a radio station: swipe your finger over
the shortcut keys.
Deleting a stored radio station: reset the Short
cut keys
to the factory default setting
<=:>page 252.
a) Tips
It is not possib le to enter numbers using the
shortcut keys. Use the number speller
<=:> page 165 or MMI touch* <=:>page 161 to en
ter numbers.
sired symbol. Press the control knob to confirm
the character. Your input is displayed in the in put
field @. When you have entered all of the
characters, select and confirm the
I LISTI button
(D c::> fig . 175. Or : push the control knob down .
-Entering accented characters (such as a, ~. n,
o)*: turn the control knob with the character
selection @c::>fig . 175 to a character. To open
the selected accented characters, press and
hold the control knob. T urn the control knob
.,.
165
Page 168 of 409

Multi Media Interface
with the character selection @<=> fig. 175 to an
accented character. Press the control knob to
insert the accented character. To close the ac
cented characters without selecting a charac
ter, press and hold the control knob again.
Or :
select and confirm laou I (z) <=> fig . 175. Select
and confirm an accented character.
- Deleting characters: select and confirm<&l @
<=>fig. 175. To delete all characters in the input
field, press and hold the control knob on
<&l un
ti l all characters in the input field are deleted .
-Entering special characters : select and con
firm
l !&? l@ <=>fig . 175 orll23 I@ . Select and
confirm the desired spec ial character (for ex
amp le, a hyphen or period) with the number
spelle r.
- Input assistance: in some cases such as in navi
gation*, there is a wo rd suggestion* @
Symbol/Description Description
<=> fig. 175 based on avai lable entries while you
are entering data. You can select this sugges
tion by push ing the control knob upward .
-Results list: in some cases, such as in the direc
tory, the system switches automatically to the
res ults list based on ava ilable entries @
<=>
fig. 175. Select and conf irm a suggestion
from the list.
Requirement: the input field
@Q fig. 175 must
be active.
- Switching between speller and MMI touch *:
the handwriting recognit io n for the MMI touch
control pad* is activated automatically. Simp ly
start wr iting.
Overview of symbols in the speller
The symbols in the letter/number speller are ex
plained in the follow ing tab le:
CD ILIST lorB Switches to the results list.
@ Input field Displays the current input.
@ Results list Displays
a list with suggestions based on the letters already en-
tered.
@
+
Switches from lower case to upper case letters or from upper case
to lower case letters .
® E
Opens additional speller options, for example Close speller and
Clear input field
® 11&71 Character sets and special characters
0 laoul Displays accented characters (such as a,<;, fi, o).
Switches from letter to number input or from number to letter in-
® 11 231/IABCI
put .
® ,___, Adds a space in the input fie ld.
@ Character se lection Highlights the selected character .
@
•
Inserts the suggested word* when you push the control knob up .
@ ~ Deletes the character to the left of the cursor.
@ Tips
Accented characters are not available for ev
ery letter.
166